


【开发环境搭建】
一 编辑器
安装vscode
二 node环境搭建
1 安装node
2 配置node的镜像仓库
| 查看镜像代理 | npm config get registry |
| 设置淘宝镜像 | npm config set registry=http://registry.npm.taobao.org |
三 vue插件安装
1 vue-cli脚手架安装
| 3版本之前 | npm install -g vue-cli |
| 3版本之后 | npm install -g @vue/cli |
2 vue-init初始化项目插件安装
| 3版本之前 | npm install -g vue-init |
| 3版本之后 | npm install -g @vue/cli-init |
【项目搭建】
一 初始化项目
vue init webpack 'projectName'
二 引入组件
2.1 引入element-ui
第一步 添加依赖,项目根路径执行
npm i element-ui -S 第二步 vue使用element-ui, main.js中配置
// The Vue build version to load with the `import` command
// (runtime-only or standalone) has been set in webpack.base.conf with an alias.
import Vue from 'vue'
import App from './App'
import router from './router'
import ElementUI from 'element-ui';
import 'element-ui/lib/theme-chalk/index.css';
Vue.use(ElementUI);
Vue.config.productionTip = false

/* eslint-disable no-new */
new Vue({
  el: '#app',
  router,
  components: { App },
  template: '<App/>'
})
2.2 引入axios组件
第一步 添加依赖,项目根路径执行
npm install axios -S第二步 配置axios
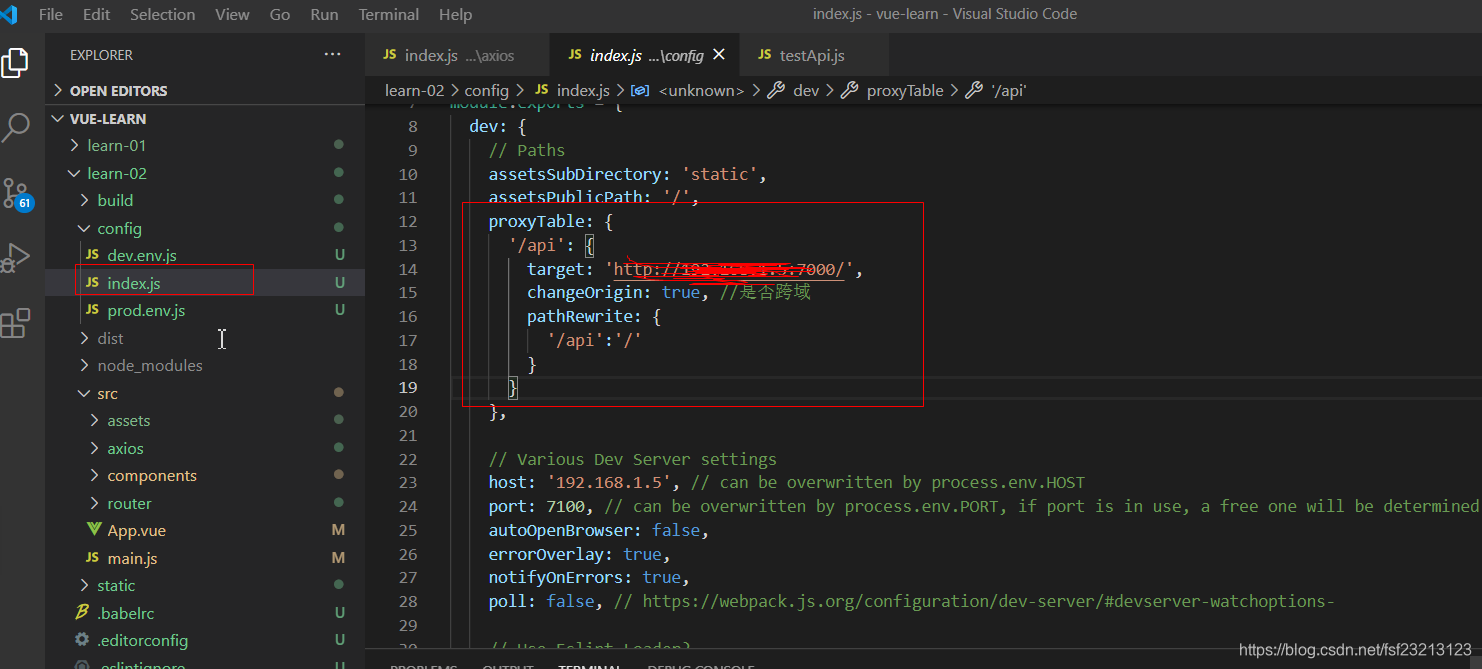
dev.env.js中

增加axios的配置文件

开发环境配置代理
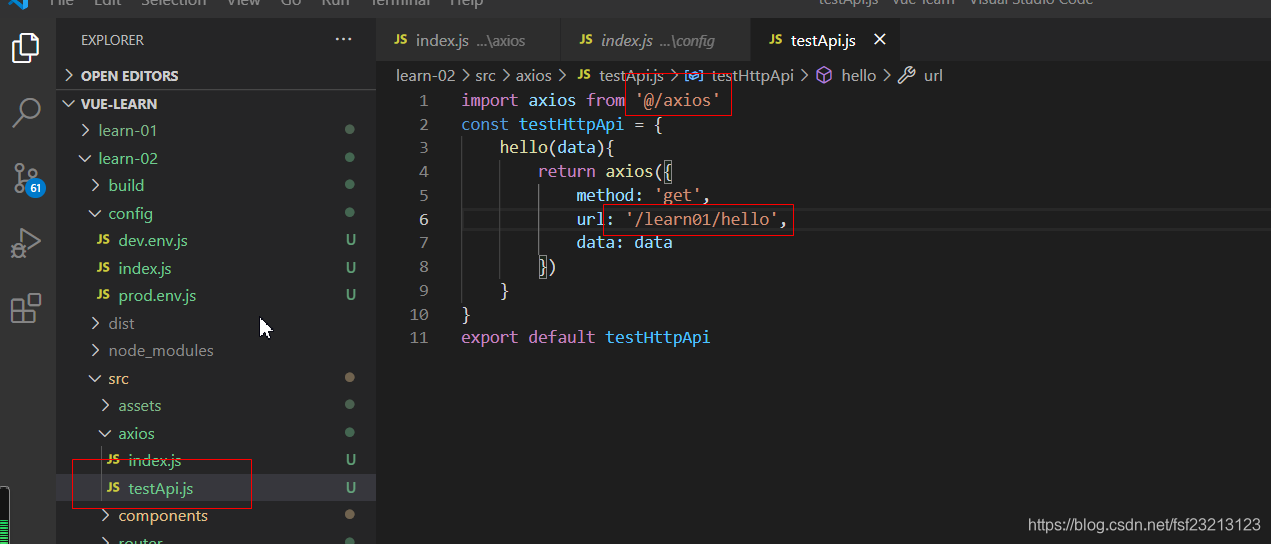
3 测试
三 启动项目
npm run dev 【部署项目 】
部署项目采用一般前后台分离部署,这里只记录前端项目的部署。
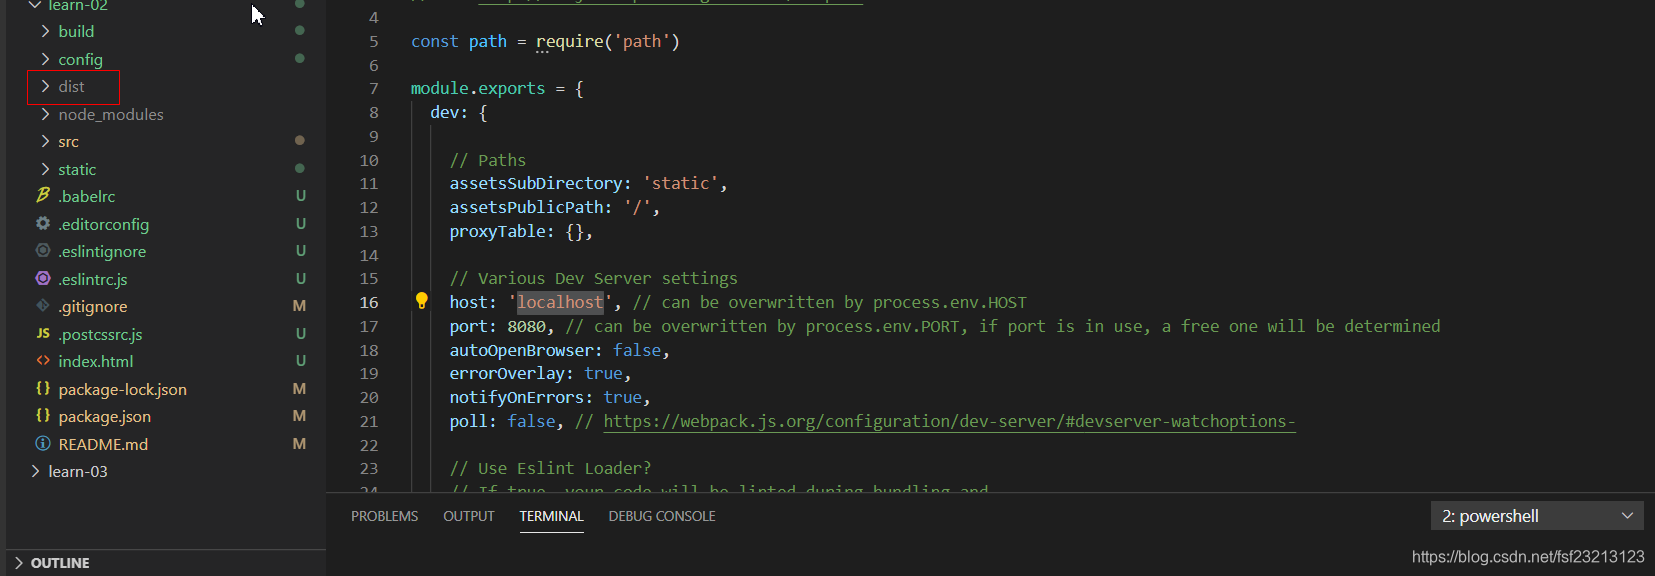
1 打包
npm run build生成dist文件夹
2 windows安装nginx
下载nigix http://nginx.org/en/download.html
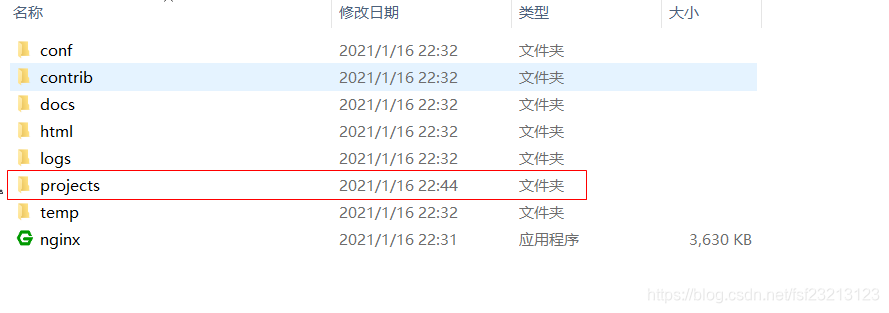
3 在nginx的根目录新建一个projects文件夹,用来存放我们的项目,当然名称任意。把dist文件夹中的内容复制到projects文件夹中
4 配置nginx, 在nginx.conf文件中配置
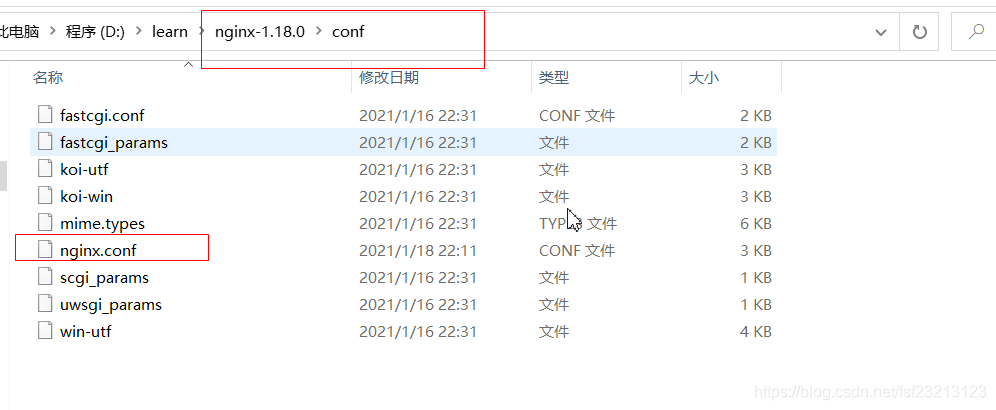
| http.server.listen | nginx服务器的端口 |
| http.server.location | root是项目的文件夹,index是项目的静态访问页面 |

5 备注
| 启动nginx | 双击nginx.exe或者终端中nginx根目录执行 start nginx.exe |
| 关闭nginx服务 | taskkill /im nginx.exe /f |


 1万+
1万+

 被折叠的 条评论
为什么被折叠?
被折叠的 条评论
为什么被折叠?
 到【灌水乐园】发言


