


本人在Mac系统上尝试下载opencv源码,然后通过cmake,make,make install命令编译安装,都失败,各种依赖缺失报错。最后通过brew install --build-from-source opencv安装成功。
这里面虽然通过brew install成功了,但是背后还是cmake,make,make install,为什么这么说,因为在执行brew install之前,做了很多准备工作。
0、这里使用的是brew install,它安装的时候,直接把各种缺少的依赖给装上了,而opencv的安装,需要大量的三方依赖,这些依赖都是需要源码安装的,所以需要设置brew安装源,就像我们在linux下使用yum,apt安装一样,这里设置一下国内源,会提升安装效率。
#进入homebrew安装目录下的Library/Taps,依次通过git命令设置homebrew,homebrew-core,homebrew-cask项目源
cd $(brew --repo)/Library/Taps
cd homebrew
git remote set-url origin https://mirrors.ustc.edu.cn/homebrew.git
cd homebrew-core
git remote set-url origin https://mirrors.ustc.edu.cn/homebrew-core.git
cd ../homebrew-cask
git remote set-url origin https://mirrors.ustc.edu.cn/homebrew-cask.git
这三个项目地址,默认都是github的地址。更换为https://mirrors.ustc.edu.cn中科大的源之后,安装各种依赖会非常快。
1、安装xcode命令行工具,不是非要安装xcode开发工具,xcode develepment command line tool提供了gcc等编译工具,所以必须安装。
2、需要cmake,这个用来将源码构建c工程,最后执行make ,make install编译和安装。我曾经单独安装过cmake,命令行下直接运行cmake指令没问题,但是源码构建过程中,执行cmake命令的时候,竟然去找的是/usr/local/opt/cmake这个路径下的cmake,结果发现找不到,就不执行cmake编译配置。所以只能通过brew install cmake提前安装。
3、如果是编译安装支持java,需要安装ant,这个通过brew install ant即可。另一个,要支持java,需要如下四个检查:ant,jni,java wrappers,java test都检查返回YES才行,尤其jni的检查必须要返回YES,否则,不会编译java相关的动态库和jar包。jni的检查,需要设置三个变量,JAVA_INCLUDE_PATH,JAVA_AWT_INCLUDE_PATH,JAVA_INCLUDE_PATH2,这三个值,需要指定当前系统上安装的jdk目录下的include,include,include/darwin目录,对应如下:
-DJAVA_INCLUDE_PATH=/Library/Java/JavaVirtualMachines/jdk-9.jdk/Contents/Home/include
-DJAVA_AWT_INCLUDE_PATH=/Library/Java/JavaVirtualMachines/jdk-9.jdk/Contents/Home/include
-DJAVA_INCLUDE_PATH2=/Library/Java/JavaVirtualMachines/jdk-9.jdk/Contents/Home/include/darwin
这三个变量设置好了,java检查就通过了,最后编译的时候就会编译生成java动态库和jar包。值得一提的是,opencv-4.5.5版本编译java相关默认使用的是jdk18,所以编译过程中检查,系统中如果没有jdk18,就会安装上openjdk18,并且使用这个openjdk18对应的java版本号来编译jar。最后我们在idea或者eclipse中也只能使用openjdk18来编译opencv for java的项目。
前面说,我是通过brew install的方式安装opencv,那么这里的java参数怎么设置?需要通过brew edit opencv来编辑设置。它会默认以vi的方式打开一个opencv.rb的文件,在这个文件里面我们就可以修改参数。
还有一个重要的设置,就是告诉cmake构建项目的时候,构建java相关依赖库,所以还是在brew edit opencv这里,修改-DBUILD_java=ON -DBUILD_opencv_java=ON。
=======================================
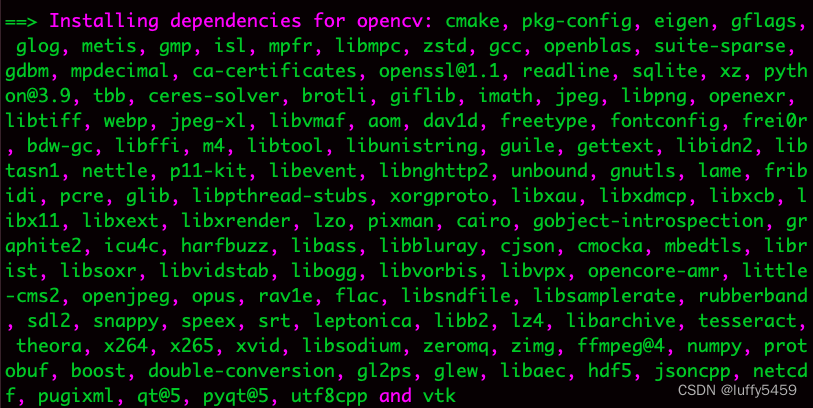
以上的准备工作做好了,就可以开始通过源码安装了。执行brew install --build-from-source opencv,接着会下载各种依赖,然后编译安装,所有的依赖安装完成,就开始执行cmake,make,make install等等操作。
make过程中安装的依赖库:
安装完成的打印信息:
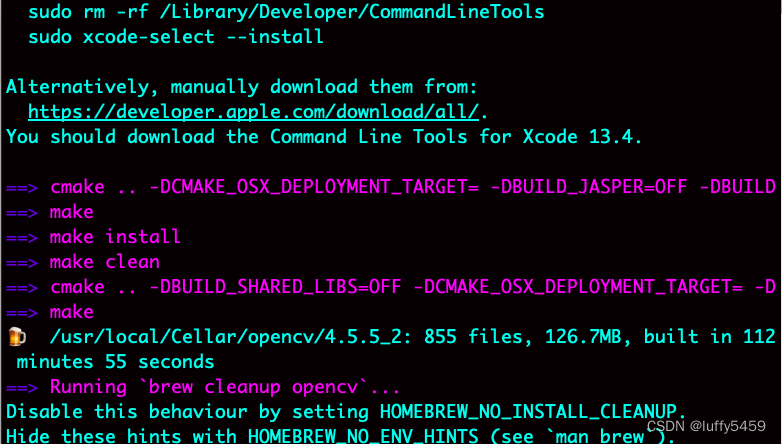
这个过程非常的漫长,这上面显示的是112分钟55秒,其实我运行了好几次,主要是opencv,opencv_contrib源码下载花了一些时间,甚至下载失败,其实这两个下载还是通过github下载的,也是可以设置加速的。另外,这种方式安装,只会出现下载出错,不会编译缺少依赖而报错,最多就是花的时间长一些,如果最后安装成功,没有生成java依赖库,可以确定的是上面执行cmake命令检查java相关项ant,jni,java-wrappers,java-test失败了,因此需要设置JAVA_INCLUDE_PATH, JAVA_AWT_INCLUDE_PATH,JAVA_INCLUDE_PATH2三个参数。
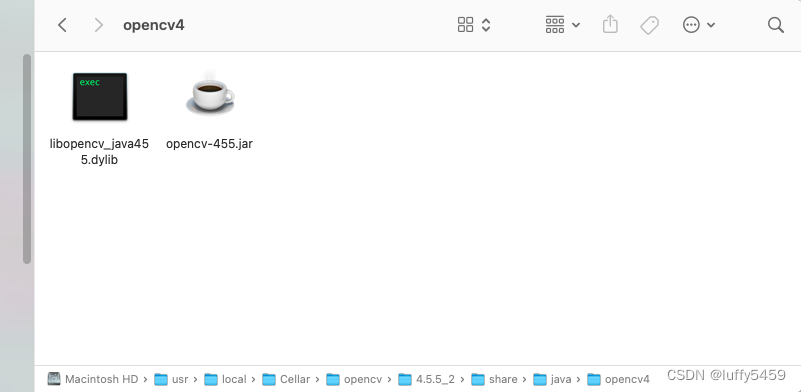
最后安装成功,java相关的两个文件,opencv-455.jar和libopencv_java455.dylib会生成在opencv安装目录的share/java/opencv4目录下。
前面说了,默认java相关依赖是通过jdk18而不是jdk1.8或者系统安装的jdk9编译安装的,所以在使用opencv-455.jar的时候,也需要jdk18的环境。
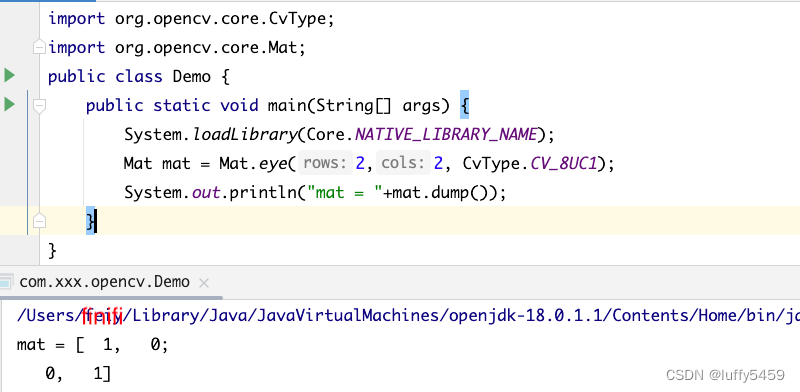
这里,没有手动通过代码加载libopencv_java455.dylib,而是通过设置vm options的方式,在程序运行的时候设置-Djava.library.path=/path/to/libopencv_java455.dylib实现的。


 772
772

 被折叠的 条评论
为什么被折叠?
被折叠的 条评论
为什么被折叠?
 到【灌水乐园】发言


