


 本文介绍了Spring Boot的全局配置,包括如何创建项目、配置Tomcat端口号和Web虚拟路径,以及如何使用`@ConfigurationProperties`和`@Value`注解注入属性。详细讲述了在`application.properties`和`application.yaml`文件中配置对象的过程,同时提供了测试类的编写和运行步骤。
文章目录
全局配置
Spring Boot使用一个application.properties或application.yml/application.yaml的文件作为全局配置文件,该文件放在 【src/main/resources】目录或者类路径的 【/config】,一般为放在resources目录。我们可以在 application.properties / application.yml文件中定义Spring Boot定义项目的相关属性,、这些属性可以是系统属性、环境变量、命令参数等信息,也可以是自定义配置文件名称和位置。
掌握两个注解
- @ConfigurationProperties注入属性
- @Value注入属性
一、创建项目PropertiesDemo


二、配置tomcat端口号和web虚拟路径
- 打开application.properties文件,此文件是系统自动生成的,初始状态是空文件

三、创建Person类和Pet类
- 创建bean子包

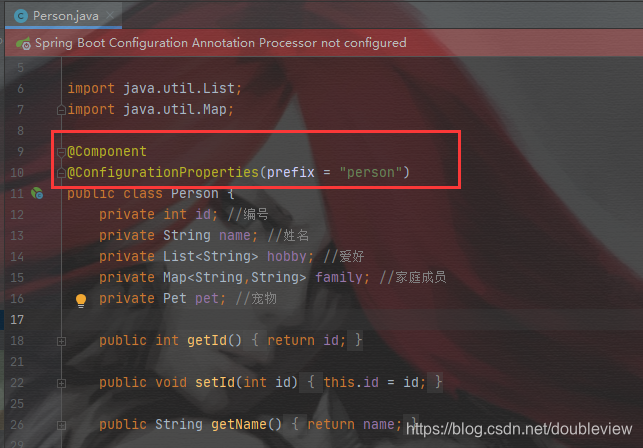
Person.java
package net.lj.lesson03.bean;

import org.springframework.boot.context.properties.ConfigurationProperties;
import org.springframework.stereotype.Component;

import java.util.List;
import java.util.Map;


public class Person {
    private int id; //编号
    private String name; //姓名
    private List<String> hobby; //爱好
    private Map<String,String> family; //家庭成员
    private Pet pet; //宠物

    public int getId() {
        return id;
    }

    public void setId(int id) {
        this.id = id;
    }

    public String getName() {
        return name;
    }

    public void setName(String name) {
        this.name = name;
    }

    public List<String> getHobby() {
        return hobby;
    }

    public void setHobby(List<String> hobby) {
        this.hobby = hobby;
    }

    public Map<String, String> getFamily() {
        return family;
    }

    public void setFamily(Map<String, String> family) {
        this.family = family;
    }

    public Pet getPet() {
        return pet;
    }

    public void setPet(Pet pet) {
        this.pet = pet;
    }

    @Override
    public String toString() {
        return "Person{" +
                "id=" + id +
                ", name='" + name + '\'' +
                ", hobby=" + hobby +
                ", family=" + family +
                ", pet=" + pet +
                '}';
    }
}
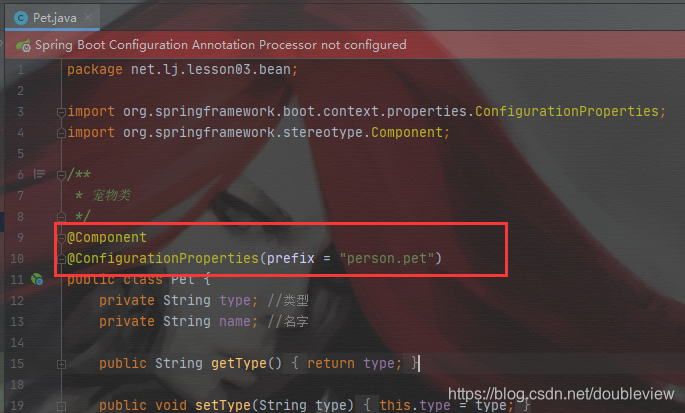
Pet.java
package net.lj.lesson03.bean;

import org.springframework.boot.context.properties.ConfigurationProperties;
import org.springframework.stereotype.Component;

/**
 * 宠物类
 */
public class Pet {
    private String type; //类型
    private String name; //名字

    public String getType() {
        return type;
    }

    public void setType(String type) {
        this.type = type;
    }

    public String getName() {
        return name;
    }

    public void setName(String name) {
        this.name = name;
    }

    @Override
    public String toString() {
        return "Pet{" +
                "type='" + type + '\'' +
                ", name='" + name + '\'' +
                '}';
    }
}
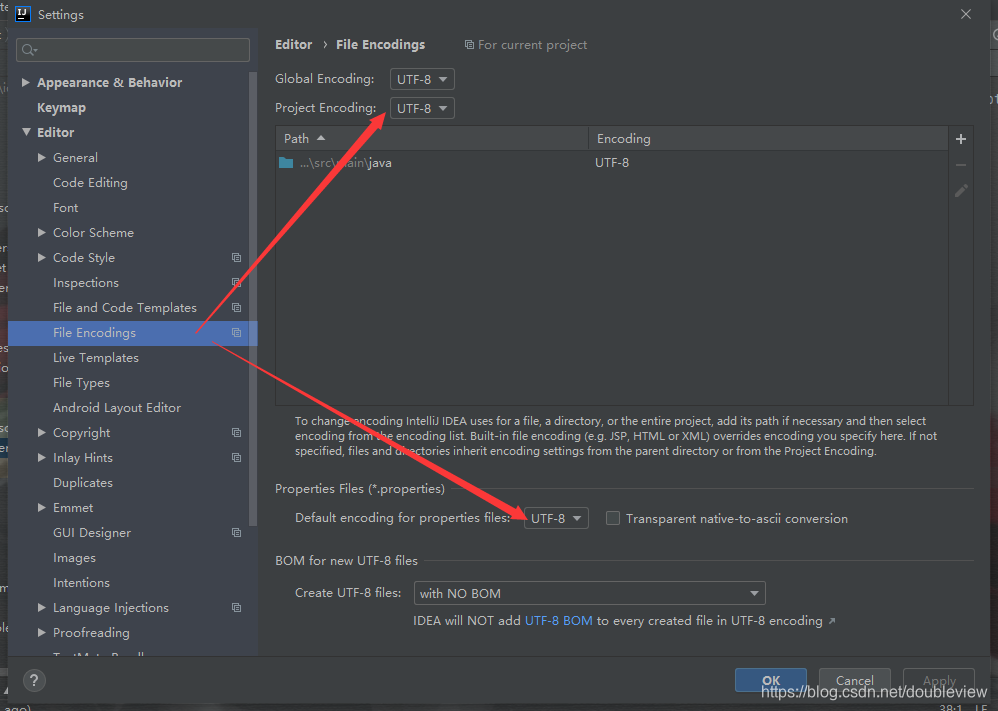
- 检查下项目编码是否为UFT-8,否则可能出现乱码
三、在application.properties里配置对象
配置对象
person.id=1
person.name=二哈
person.hobby=拆家,拆楼
person.family.father=哈狗
person.family.mother=傻狗
person.family.grandpa=二狗
person.famliy.grandma=土狗
person.family.son=玛卡巴卡
person.family.daughter=汤不理吧
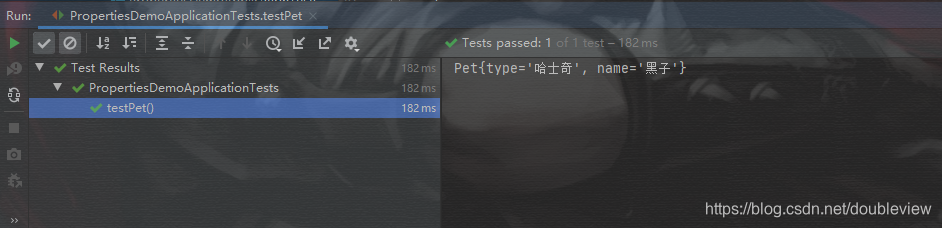
person.pet.type=哈士奇
person.pet.name=黑子
四、给Person类和Pet类添加注解
五、编写测试类
package net.lj.lesson03;

import net.lj.lesson03.bean.Person;
import net.lj.lesson03.bean.Pet;
import org.junit.jupiter.api.Test;
import org.springframework.beans.BeansException;
import org.springframework.boot.test.context.SpringBootTest;
import org.springframework.context.ApplicationContext;
import org.springframework.context.ApplicationContextAware;

@SpringBootTest
class PropertiesDemoApplicationTests implements ApplicationContextAware {//应用容器感知接口
    private ApplicationContext context;//声明应用容器

    @Test
    void contextLoads() {
}

    @Override
    public void setApplicationContext(ApplicationContext applicationContext) throws BeansException {
        context = applicationContext;
    }

    @Test
    public void testPerson() {
        //从应用容器里按名称获取person实例
        Person person = (Person) context.getBean("person");
        //输出Person对象
        System.out.println(person);
    }

    @Test
    public void testPet(){
        //从应用容器里按名称获取Pet实例
        Pet pet = (Pet) context.getBean("pet");
        //输出Pet对象
        System.out.println(pet);

    }

}
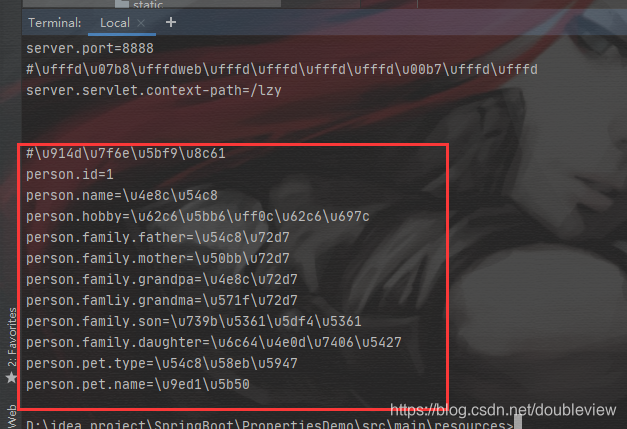
- 现在还不能运行项目,因为会乱码,需要使用JDK工具native2ascii.exe将汉字处理成uncode编码
1.打开Terminal面板,输入以下命令
cd src/main/resources

native2ascii -encoding utf8 application.properties
2.将转码的内容复制到application.properties文件

六、运行测试类

使用value注解
1.修改application.properties文件

2.修改Pet类注解方式

3.运行Pet测试类

-
@ConfigurationProperties注解方式,必须要有set方法才会自动为所注解的类的全部属性注入相应的值
-
@Value注解方式,可以不要set方法,但需要一个一个地注入,比较麻烦,而且对于复杂类型不能注入
使用yaml方式
- yaml具有层次结构,并且支持中文
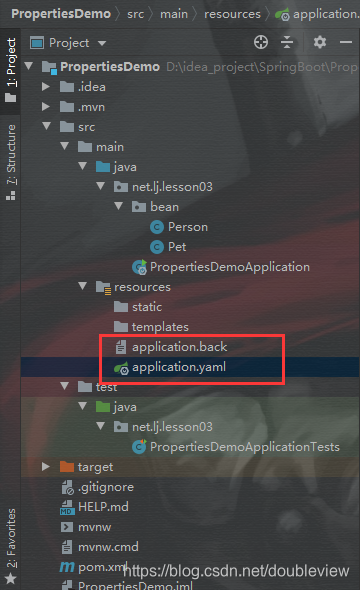
一、备份application.properties文件
- 更改application.properties后缀名,使其失效
- 创建application.yaml文件
二、配置yaml对象属性
- 注意层次,跟Python一样要求缩进
#配置服务器
server:
port: 8888
servlet:
context-path: /lzy
#配置person对象
person:
id: 1
name: 张三
hobby:
吃东西
跳舞
唱歌
family: {
father: 李四,
mother: 王五,
grandpa: 赵六,
grandma: 孙七,
son: 王八,
daughter: 李二
}
pet:
type: 斗牛犬
name: 拉拉
#配置pet对象
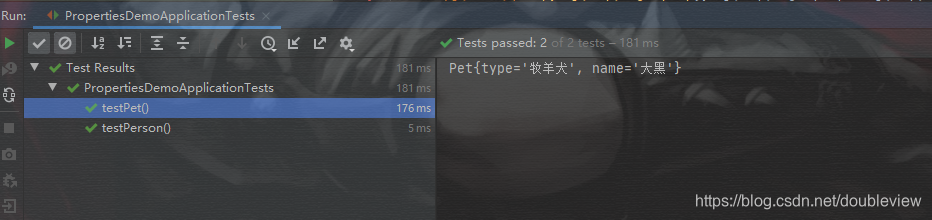
pet:
type: 牧羊犬
name: 大黑
三、运行测试


 2万+
2万+

 被折叠的 条评论
为什么被折叠?
被折叠的 条评论
为什么被折叠?
 到【灌水乐园】发言


