 Docker部署Nginx:从镜像到前端项目集成


1. nginx镜像部署(准备工作)
1.1、创建nginx工作目录
#需要一个conf文件存放目录,和html文件目录,及日志存放目录
1. mkdir -p /data/applications/nginx/conf
2. mkdir -p /data/applications/nginx/html
3. mkdir -p /data/logs
1.2、 启动nginx容器,如果这个镜像本机中没有,会自动下载镜,我这下载是的1.18版本
docker run --name nginx -p 80:80 -d nginx:1.18.0
1.3、复制容器中配置文件目录到本机中,然后删除该容器
# 复制配置
docker cp nginx:/etc/nginx/nginx.conf /data/applications/nginx/conf/nginx.conf
docker cp nginx:/etc/nginx/conf.d /data/applications/nginx/conf/conf.d
docker cp nginx:/usr/share/nginx/html /data/applications/nginx/
#先用 [docker ps – a] 命令 找到对应容器ID
#才可以删除容器
docker rm -f [容器ID]
1.4、启动新的nginx容器
docker run -d \
-p 80:80 \
-p 443:443 \
--name nginx \
--restart=always \
--network-alias nginx \
-e TZ="Asia/Shanghai" \
-v /data/applications/nginx/conf/nginx.conf:/etc/nginx/nginx.conf \
-v /data/applications/nginx/conf/conf.d:/etc/nginx/conf.d \
-v /data/logs/nginx:/var/log/nginx \
-v /data/applications/nginx/html:/usr/share/nginx/html \
-v /data/applications/nginx/cert:/etc/nginx/cert \
nginx:1.18.0按照自己的需求进行挂载
创建启动容器后如果无法访问检查firewalld防火墙是否关闭,或者端口是否开启,以及服务器的安全组是否配置!
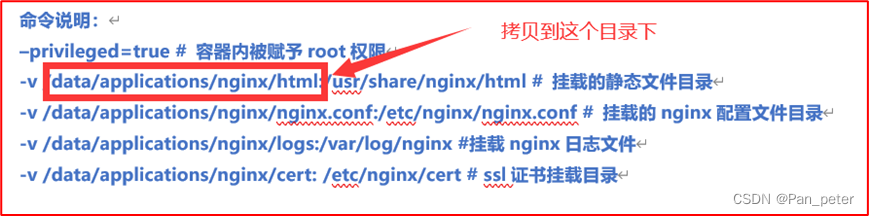
命令说明:
在Docker中,如果容器需要访问主机上的设备或系统功能,则需要使用--privileged=true参数。该参数启用特权模式,使容器可以绕过某些安全限制,并访问主机的设备和文件系统。
例如,如果我们要启动一个容器,使用主机的/dev/sda设备作为容器的磁盘,我们需要使用--privileged=true参数来访问该设备
--privileged=true # 容器内访问主机被赋予root权限
-v /data/applications/nginx/html:/usr/share/nginx/html # 挂载的静态文件目录
-v /data/applications/nginx/nginx.conf:/etc/nginx/nginx.conf # 挂载的nginx配置文件
-v /data/applications/nginx/conf/conf.d:/etc/nginx/conf.d # 挂载nginx配置文件,nginx.conf中include引入了conf.d, 如果配置了conf.d也需要挂载,不适用conf.d也可不挂载
-v /data/applications/nginx/logs:/var/log/nginx #挂载nginx日志文件目录到主机logs下
-v /data/applications/nginx/cert: /etc/nginx/cert # ssl证书挂载目录, 按需挂载
-e TZ="Asia/Shanghai # 指定docker容器的时区
注意:
如果不需要配置证书可以直接挂载这几个配置文件启动
docker run -d -p 90:90 --name nginx-container -e TZ="Asia/Shanghai" \
-v /home/yqhq/docker-nginx/conf/nginx.conf:/etc/nginx/nginx.conf \
-v /home/yqhq/docker-nginx/conf/conf.d:/etc/nginx/conf.d \
-v /home/yqhq/docker-nginx/logs/nginx:/var/log/nginx \
-v /home/yqhq/docker-nginx/html:/usr/share/nginx/html \
nginx:1.18.0
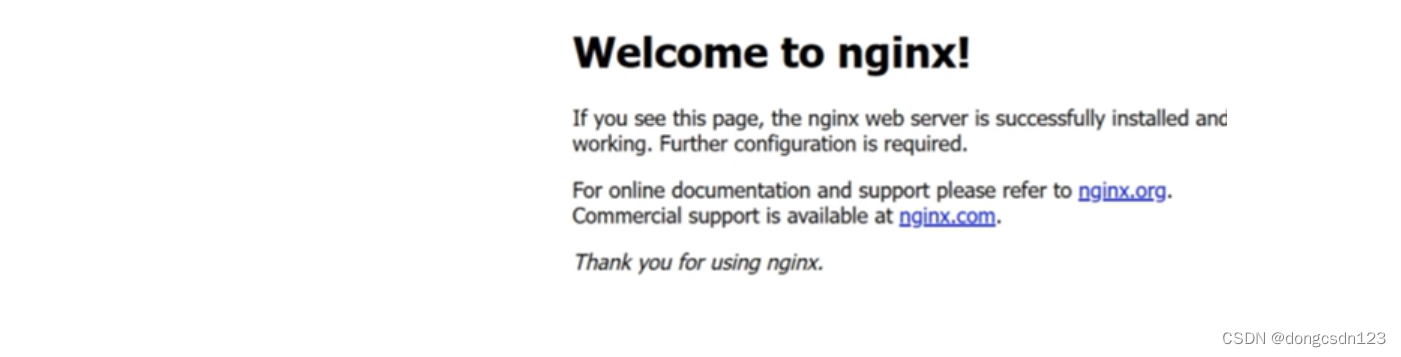
1.5、查看容器后,访问服务器ip地址(检验是否启动成功)
# 查看nginx容器的启动状态是否为UP正在运行状态
docker ps -a (查所有容器, docker ps 查正在运行容器)
1.6 访问ip+端口成功
2. 使用docker启动nginx部署前端项目
1、将前端打包好的dist目录拷贝到/data/applications/nginx/html/ 目录下边如
/data/applications/nginx/html/dist
2、修改/data/applications/nginx/nginx.conf配置文件如
#user nobody;
worker_processes 1;#error_log logs/error.log;
#error_log logs/error.log notice;
#error_log logs/error.log info;#pid logs/nginx.pid;
events {
worker_connections 1024;
}
http {
include mime.types;
default_type application/octet-stream;#log_format main '$remote_addr - $remote_user [$time_local] "$request" '
# '$status $body_bytes_sent "$http_referer" '
# '"$http_user_agent" "$http_x_forwarded_for"';#access_log logs/access.log main;
sendfile on;
#tcp_nopush on;#keepalive_timeout 0;
keepalive_timeout 65;#gzip on;
gzip on;
gzip_min_length 1k; # 设置允许压缩的页面最小字节数
gzip_buffers 4 16k; # 用来存储 gzip 的压缩结果
gzip_http_version 1.1; # 识别 HTTP 协议版本
gzip_comp_level 2; # 设置 gzip 的压缩比 1-9。1 压缩比最小但最快,而 9 相反
gzip_types gzip_types text/plain text/css application/json application/javascript text/xml application/xml application/xml+rss text/javascript; # 指定压缩类型
gzip_proxied any; # 无论后端服务器的 headers 头返回什么信息,都无条件启用压缩
server {
listen 80;
server_name 127.0.0.1; # !!! 换成自己的ip#charset koi8-r;
#access_log logs/host.access.log main;
location / { ## 前端项目
root /usr/share/nginx/html/dist; # 重要!!! 配置docker容器中的路径
index index.html index.htm;
try_files $uri $uri/ /index.html;
}
location /api/{
proxy_pass http://127.0.0.1:8081/; ## 重要!!!proxy_pass 需要设置为后端项目所在服务器的 IP
proxy_set_header Host $http_host;
proxy_set_header X-Real-IP $remote_addr;
proxy_set_header REMOTE-HOST $remote_addr;
proxy_set_header X-Forwarded-For $proxy_add_x_forwarded_for;}
location /admin-api/ { ## 后端项目 - 管理后台
proxy_pass http://127.0.0.1:8082/admin-api/; ## 重要!!!proxy_pass 需要设置为后端项目所在服务器的 IP
proxy_set_header Host $http_host;
proxy_set_header X-Real-IP $remote_addr;
proxy_set_header REMOTE-HOST $remote_addr;
proxy_set_header X-Forwarded-For $proxy_add_x_forwarded_for;
}
#location / {
# root html;
# index index.html index.htm;
#}#error_page 404 /404.html;
# redirect server error pages to the static page /50x.html
#
error_page 500 502 503 504 /50x.html;
location = /50x.html {
root html;
}# proxy the PHP scripts to Apache listening on 127.0.0.1:80
#
#location ~ \.php$ {
# proxy_pass http://127.0.0.1;
#}# pass the PHP scripts to FastCGI server listening on 127.0.0.1:9000
#
#location ~ \.php$ {
# root html;
# fastcgi_pass 127.0.0.1:9000;
# fastcgi_index index.php;
# fastcgi_param SCRIPT_FILENAME /scripts$fastcgi_script_name;
# include fastcgi_params;
#}# deny access to .htaccess files, if Apache's document root
# concurs with nginx's one
#
#location ~ /\.ht {
# deny all;
#}
}
# another virtual host using mix of IP-, name-, and port-based configuration
#
#server {
# listen 8000;
# listen somename:8080;
# server_name somename alias another.alias;# location / {
# root html;
# index index.html index.htm;
# }
#}
# HTTPS server
#
#server {
# listen 443 ssl;
# server_name localhost;# ssl_certificate cert.pem;
# ssl_certificate_key cert.key;# ssl_session_cache shared:SSL:1m;
# ssl_session_timeout 5m;# ssl_ciphers HIGH:!aNULL:!MD5;
# ssl_prefer_server_ciphers on;# location / {
# root html;
# location / {
# root html;
# index index.html index.htm;
# }
#}}
3、修改后保存并退出,重新启动nginx容器
先用 [docker ps – a] 命令 找到对应容器ID
docker restart [容器ID]
4.4、查看容器(是否启动成功)
docker ps -a
5.5、再次访问配置的nginx ip + 端口, 出现前端项目页面即成功


 757
757

 被折叠的 条评论
为什么被折叠?
被折叠的 条评论
为什么被折叠?
 到【灌水乐园】发言


