


 本文介绍Spring框架中两种依赖注入方式:XML配置文件和注解方式。通过实例展示了如何使用XML文件配置Bean属性,并对比注解方式实现相同功能的方法。包括创建Maven项目、定义实体类、配置XML及注解,最后通过测试类验证Bean的正确注入。
本文会演示spring.xml的方式注入数据,以及对应的注解会是怎么注册的代码
1.首先需要用idea创建maven java project项目
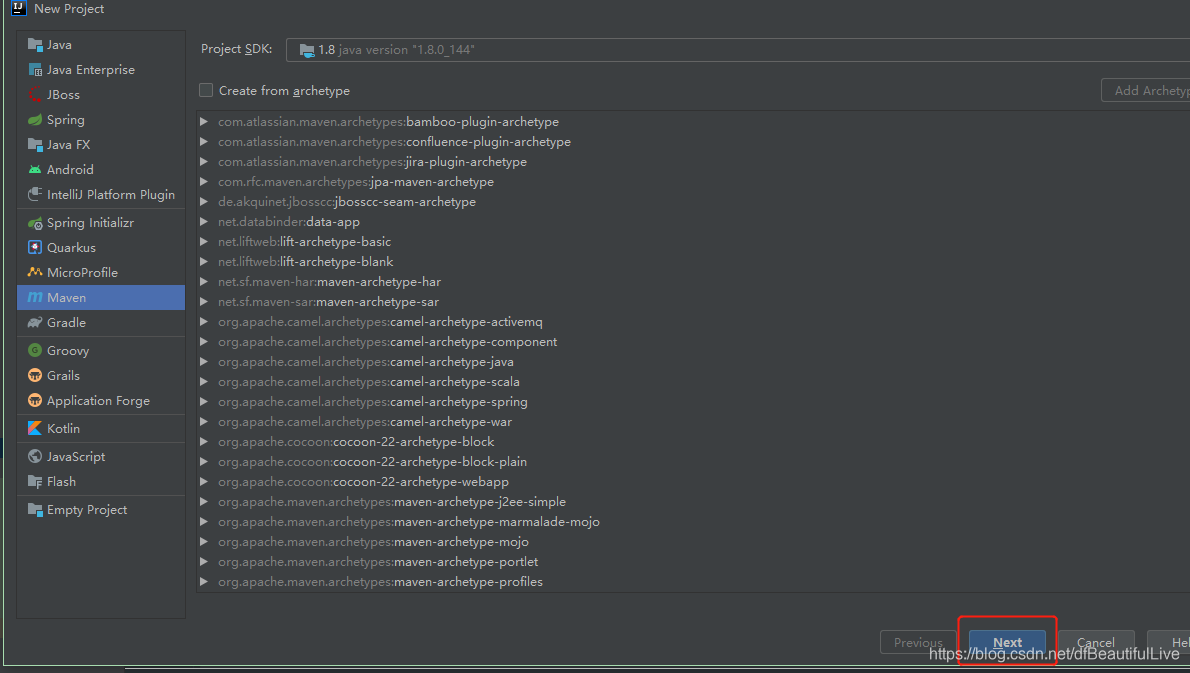
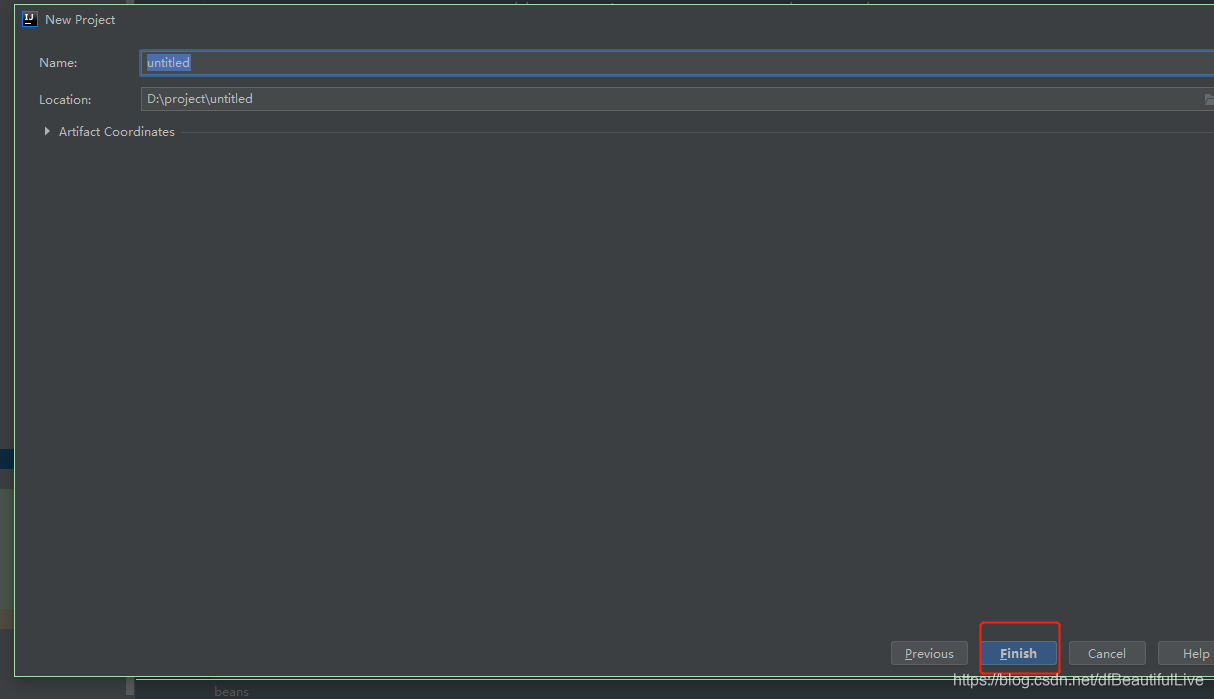
点击下一步,填上名字和路径,点击finish。
2.我们需要用spring方式注入实体属性测试,所以要建一个Person.class
package springorgin.demo.configbean;

public class Person {
    private String name;
    private Integer age;

    public String getName() {
        return name;
    }

    public void setName(String name) {
        this.name = name;
    }

    public Integer getAge() {
        return age;
    }

    public void setAge(Integer age) {
        this.age = age;
    }

    @Override
    public String toString() {
        return "Person{" +
                "name='" + name + '\'' +
                ", age=" + age +
                '}';
    }

    public Person(String name, Integer age) {
        this.name = name;
        this.age = age;
    }

    public Person() {

    }
}
3.然后在resources下添加beans.xml,再往bean里注册person的属性
<?xml version="1.0" encoding="UTF-8" ?>
<beans xmlns="http://www.springframework.org/schema/beans"
       xmlns:xsi="http://www.w3.org/2001/XMLSchema-instance"
       xsi:schemaLocation="http://www.springframework.org/schema/beans
          http://www.springframework.org/schema/beans/spring-beans.xsd">

    <bean id="person" class="springorgin.demo.configbean.Person">
        <!-- property是以属性注入 -->
        <property name="age" value="18"></property>
        <property name="name" value="df"></property>
    </bean>
</beans>
4.添加测试类,通过applicationContext获取beans.xml
package springorgin.demo.configbean;

import org.springframework.context.ApplicationContext;
import org.springframework.context.support.ClassPathXmlApplicationContext;

public class MainTest {
    public static void main(String[] args) {
        ApplicationContext context = new ClassPathXmlApplicationContext("beans.xml");
        // 获取被注入的bean
        Person person=(Person)context.getBean("person");
        System.out.println(person);
    }
}
5.运行main方法,得到Person信息
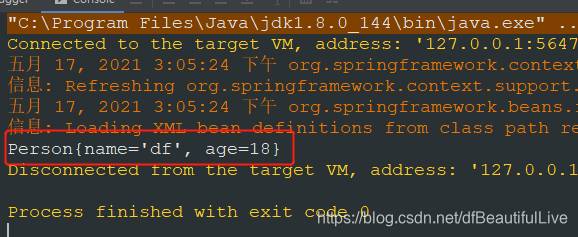
那么以上是spring,xml的方式,如果是注解方式我们需要怎么实现呢?
1.首先我们添加一个配置,为什么添加配置类呢,你是不是使用spring的时候也要往xx.xml写上配置呢?这个xx.xml难道不是一个配置文件么?我们这个配置类也是一样的意义哦。
@Configuration 注解:相当于spring的配置类
@Bean注解:给容器种注册一个bean,相当于beans.xml中的<bean">标签功能
package springanntition.configbean;

import org.springframework.context.annotation.Bean;
import org.springframework.context.annotation.Configuration;
import springorgin.demo.configbean.Person;

// 配置类==配置文件
@Configuration  // @Configuration含义:告诉spring这是一个配置类
public class MainConfig {
    // @Bean含义:给容器中注册一个Bean;类型为返回值类型,id默认是用方法名作为id,也可以起别名称
    @Bean
    public Person person() {
        return new Person("ddf", 25);
    }
}
2.创建运行测试类,不能使用ClassPathXmlApplicationContext,因为那个类是xml时候使用的, 我们使用注解的话就得换一个类了,换成什么呢?
换成下面的AnnotationConfigApplicationContext,这个就是注解方面使用的
package springanntition.configbean;

import org.springframework.context.annotation.AnnotationConfigApplicationContext;
import springorgin.demo.configbean.Person;

public class MainTestAnnotion {
    public static void main(String[] args) {
        AnnotationConfigApplicationContext context = new AnnotationConfigApplicationContext(MainConfig.class);
        Person person = context.getBean(Person.class);
        System.out.println(person);

        // 获取bean注册的名称
        String[] namesForType = context.getBeanNamesForType(Person.class);
        for (String str : namesForType) {
            System.out.println(str);
        }
    }
}
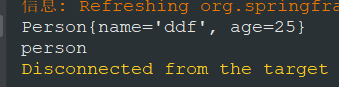
3.运行一下
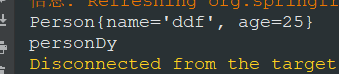
4.我们把@Bean person改成persondy
    @Bean
    public Person personDy() {
        return new Person("ddf", 25);
    }
@Bean本身也可以加别名
    @Bean("personSee")
    public Person personDy() {
        return new Person("ddf", 25);
    }

如果@Bean上加别名,默认就会按Bean的别名走


 被折叠的 条评论
为什么被折叠?
被折叠的 条评论
为什么被折叠?
 到【灌水乐园】发言


