


Tekton 是云原生应用的 CICD 平台。可以非常方便地搭建起来云原生应用的自动化持续集成,持续部署,包含应用打包,应用的镜像构建,镜像发布,测试,helm chart 发布,部署到测试、生产环境。
使用 Tekton 可以只部署 tekton pipeline, 通过命令行交互。 也可以部署 tekton pipeline + tekton dashbaord, 可以在 dashbaord 上面进行维护管理。
原本安装 tekton pipeline 和 tekton dashboard 到 kubernetes 集群上是非常简单的事情, 两个命令完成:
kubectl create namespace tekton-pipelines
kubectl apply -f https://storage.googleapis.com/tekton-releases/pipeline/previous/v0.32.3/release.yaml
kubectl apply -f https://github.com/tektoncd/dashboard/releases/download/v0.25.0/tekton-dashboard-release.yaml
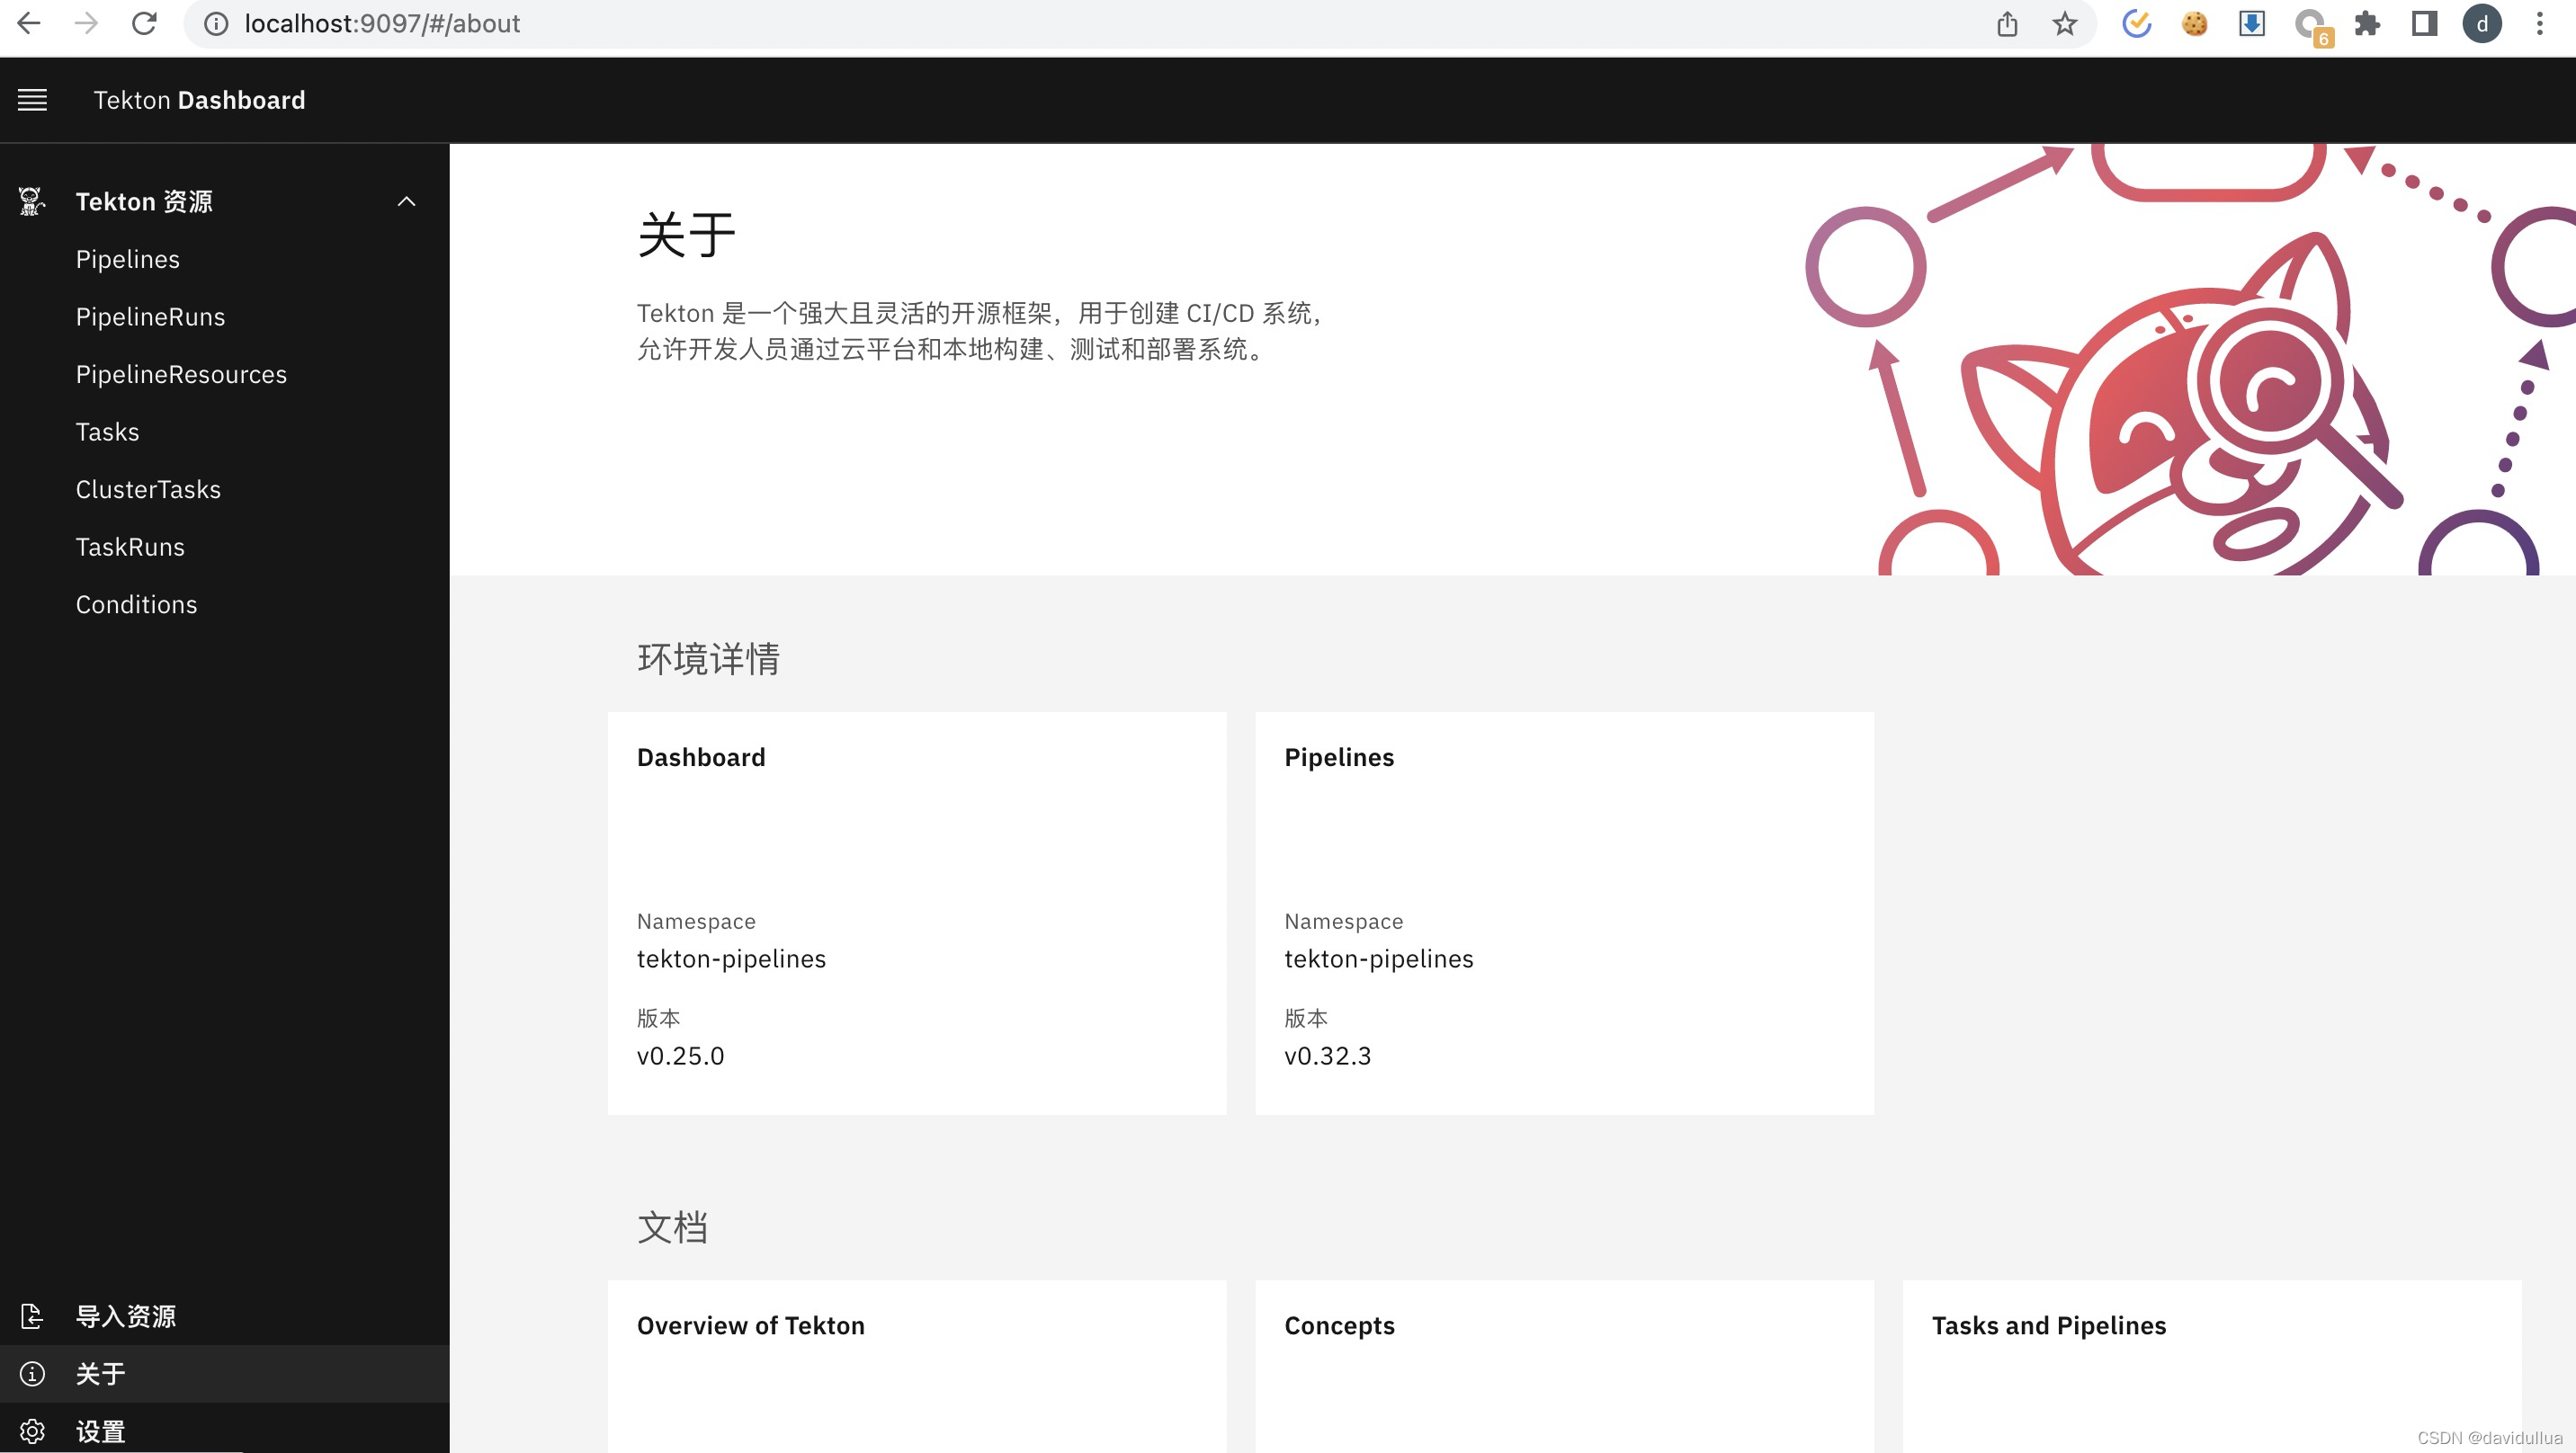
kubectl --namespace tekton-pipelines port-forward svc/tekton-dashboard 9097:9097然后就可以本地访问 Dashboard: http://localhost:9097
由于众所周知的国内网络的问题,国内由于访问不到 gcr.io 上面的镜像。整个过程比较折腾,需要通过代理把用到的镜像 pull 下来,然后放到自己的镜像仓库。
不过我把整个过程通过脚本几乎自动化了, 你可以参考下文操作即可快速部署起来。大约10多分钟能够部署完,慢的话可能30分钟,当然前提是你对于 k8s, kubectl 之类的比较熟悉,另外需要有以下3个条件:
- 一台 mac 或者 linux工作机。
- 这台工作机上配置好了对于 kubernetes 集群的访问。Tekton 将部署于 kubernetes 之上。
- 有一个你可以访问的 docker 镜像仓库,比如阿里云上创建的镜像仓库。不建议使用 docker.io 作为镜像仓库,国内的 k8s 集群很可能也访问不到上面的镜像。
整个过程如下:
设置代理,docker pull 镜像到本地 -> docker tag && docker push 到国内的镜像仓库 -> 更新 yaml 文件中的配置 -> deploy tekton/tekton dashboard 到 kubernetes.
以下是详细的 4 个步骤的安装过程。
1.下载用于 kubernetes 环境部署的 yaml 文件
以下步骤执行前,开启代理,确保可以正常访问 googleapis, github, gcr.io。
Tekton controller, 选择跟 k8s 相配套的版本:
https://github.com/tektoncd/pipeline#required-kubernetes-version
说明:版本不配套部署的时候会有“Version check failed, kubernetes version xxx is not compatible”的错误日志。
wget https://storage.googleapis.com/tekton-releases/pipeline/previous/v0.32.3/release.yaml -O tekton-pipeline-release.yamlTekton Dashboard,选择跟 k8s 相配套的版本:
https://github.com/tektoncd/dashboard#which-version-should-i-use
wget https://github.com/tektoncd/dashboard/releases/download/v0.25.0/tekton-dashboard-release.yaml -O tekton-dashboard-release.yaml 2.拉取 gcr.io 镜像,推送到自己的镜像
在 mac/linux 的工作机器上,执行如下代码(如果你用的 Windows,可以通过安装 gnu 的命令行工具来获取 grep, aws 的工具:
grep -Eo "gcr.io([^\" ]*)" tekton-pipeline-release.yaml | awk '{print "docker pull "$0}' > pull.sh

grep -Eo "gcr.io([^\" ]*)" tekton-pipeline-release.yaml | awk -F"@" '{origin = $0;gsub("gcr.io/","",$1);print "docker tag " origin " my-registry.cn-beijing.cr.aliyuncs.com/gcrio/"$1 ";\ndocker push my-registry.cn-beijing.cr.aliyuncs.com/gcrio/" $1}' > tag.push.sh

source pull.sh
source push.sh
然后更改 tekton-pipeline-release 中的地址为自己的镜像仓库(Linux):
sed -i "s/gcr.io/my-registry.cn-beijing.cr.aliyuncs.com\/gcrio/g" tekton-pipeline-release.yamlmac 上这样运行(如果 mac 上面安装了 gnu sed,可以直接执行上面的 sed 命令):
sed -i "" "s/gcr.io/my-registry.cn-beijing.cr.aliyuncs.com\/gcrio/g" tekton-pipeline-release.yaml然后编辑 tekton-pipeline-release.yaml 里面的内容, 去掉镜像仓库中的 SHA256 ,通过 版本号或者 latest 来引用。
3.部署 Tekton (Tekton pipeline)
kubectl create namespace tekton-pipelines
kubectl apply -f tekton-pipeline-release.yaml
4.部署 Tekton Dashboard
类似于前面部署 Tekton Pipeline 的过程, 由于 dashboard 用到的镜像目前只有1个。 直接生成 docker pull, docker tag, docker push 命令, 输出到 console, 然后手工执行这些命令即可:
grep -Eo "gcr.io([^\" ]*)" tekton-dashboard-release.yaml | awk '{print "docker pull "$0}'

grep -Eo "gcr.io([^\" ]*)" tekton-dashboard-release.yaml | awk -F"@" '{origin = $0;gsub("gcr.io/","",$1);print "docker tag " origin " my-registry.cn-beijing.cr.aliyuncs.com/gcrio/"$1 ";\ndocker push my-registry.cn-beijing.cr.aliyuncs.com/gcrio/" $1}'
拷贝前面两个命令的输出, 执行一下命令(docker pull, docker push)
然后替换文件中的镜像地址(Linux):
sed -i "s/gcr.io/my-registry.cn-beijing.cr.aliyuncs.com\/gcrio/g" tekton-dashboard-release.yamlmac 上这样运行:
sed -i "" "s/gcr.io/my-registry.cn-beijing.cr.aliyuncs.com\/gcrio/g" tekton-dashboard-release.yaml然后部署 tekton dashboard:
kubectl apply -f tekton-dashboard-release.yaml
检查 pod 的状态:
kubectl get pods --namespace tekton-pipelines可以看到如下的输出

pod 正常 running 之后, 转发集群端口到本地, 即可通过本地访问:
kubectl --namespace tekton-pipelines port-forward svc/tekton-dashboard 9097:9097然后就可以本地访问 Dashboard: http://localhost:9097


 1711
1711

 被折叠的 条评论
为什么被折叠?
被折叠的 条评论
为什么被折叠?
 到【灌水乐园】发言


