


一、Spring中配置tiles配置
<!-- 普通视图解析器视图解析器 -->

	<bean class="org.springframework.web.servlet.view.InternalResourceViewResolver">
		<property name="prefix" value="/"></property>
		<property name="suffix" value=".jsp"></property>
		<property name="order" value="2"></property>
	</bean>

	<!-- tiles视图解析器 -->

	<bean class="org.springframework.web.servlet.view.UrlBasedViewResolver" id="urlBasedViewResolver">
		<property name="viewClass" value="org.springframework.web.servlet.view.tiles3.TilesView"></property>
		<property name="order" value="1"></property>
	</bean>


	<!-- 加载tiles瓦片 -->

	<bean class="org.springframework.web.servlet.view.tiles3.TilesConfigurer" id="tilesConfigurer">
		<property name="definitions">
			<list>
				<value>/WEB-INF/tiles.xml</value>
			</list>
		</property>
	</bean>
二、tiles.xml的配置
<tiles-definitions>
  	<!-- 定义一个模板 -->
  <definition name="layout" template="/view/index.jsp">
  		<put-attribute name="top" value="/view/laway/top.jsp"></put-attribute>
  		<put-attribute name="left" value="/view/laway/left.jsp"></put-attribute>
  		<put-attribute name="foot" value="/view/laway/foot.jsp"></put-attribute>
  </definition>


 <!-- 又定义了N个视图  控制器返回视图: sale/lookstore      -->
  <definition name="salay/*" extends="layout">
  		<put-attribute name="right" value="/view/salay/{1}.jsp"></put-attribute>
  </definition>


</tiles-definitions>
说明 name为返回视图的路径
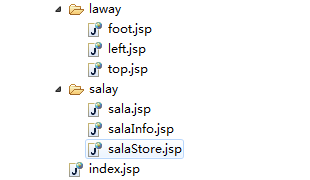
三、页面分层布局(即用下图的foot.jsp、left.jsp、top.jsp合成一个完整的页面)
foot,jsp书写如下(直接写标签就可以了)
<%@ page language="java" import="java.util.*" pageEncoding="UTF-8"%>
<h1>尾部</h1>
index.jsp书写如下
<%@ page language="java" import="java.util.*" pageEncoding="utf-8"%>
<%@ taglib prefix="tiles" uri="http://tiles.apache.org/tags-tiles"%>


<!DOCTYPE HTML PUBLIC "-//W3C//DTD HTML 4.01 Transitional//EN">
<html>
  <head>


    <title>My JSP 'index.jsp' starting page</title>
	<meta http-equiv="pragma" content="no-cache">
	<meta http-equiv="cache-control" content="no-cache">
	<meta http-equiv="expires" content="0">
	<meta http-equiv="keywords" content="keyword1,keyword2,keyword3">
	<meta http-equiv="description" content="This is my page">
	<!--
	<link rel="stylesheet" type="text/css" href="styles.css">
	-->

	<style type="text/css">
		.div1{
			float: left;
			width: 200px;
			height: 500px;
			border: 1px solid red;
		}

		.div2{
		width: 10 00px;
		height: 500px;
		border: 1px solid red;

		}

	</style>
  </head>

  <body>

    <div>
    	<tiles:insertAttribute name="top"></tiles:insertAttribute>
    </div>

    <div>
    	<div class="div1">
    		<tiles:insertAttribute name="left"></tiles:insertAttribute>
    	</div>

    	<div class="div2">
    	<tiles:insertAttribute name="right"></tiles:insertAttribute>

    	</div>

    </div>

    <div >
    	<tiles:insertAttribute name="foot"></tiles:insertAttribute>
    </div>


  </body>
</html>
四、controller的书写
package com.exam.story.controller;
import javax.servlet.http.HttpServletRequest;
import org.springframework.stereotype.Controller;
import org.springframework.web.bind.annotation.RequestMapping;
@Controller
public class ExamController {
@RequestMapping("sala")
public String sala(){
return "salay/sala";
}
@RequestMapping("salaInfo")
public String salaInfo(){
return "salay/salaInfo";
}
@RequestMapping("salaStore")
public String salaStore(HttpServletRequest request){
return "salay/salaStore";
}
@RequestMapping("goIndex")
public String goIndex(){
return "salay/sala";
}
}
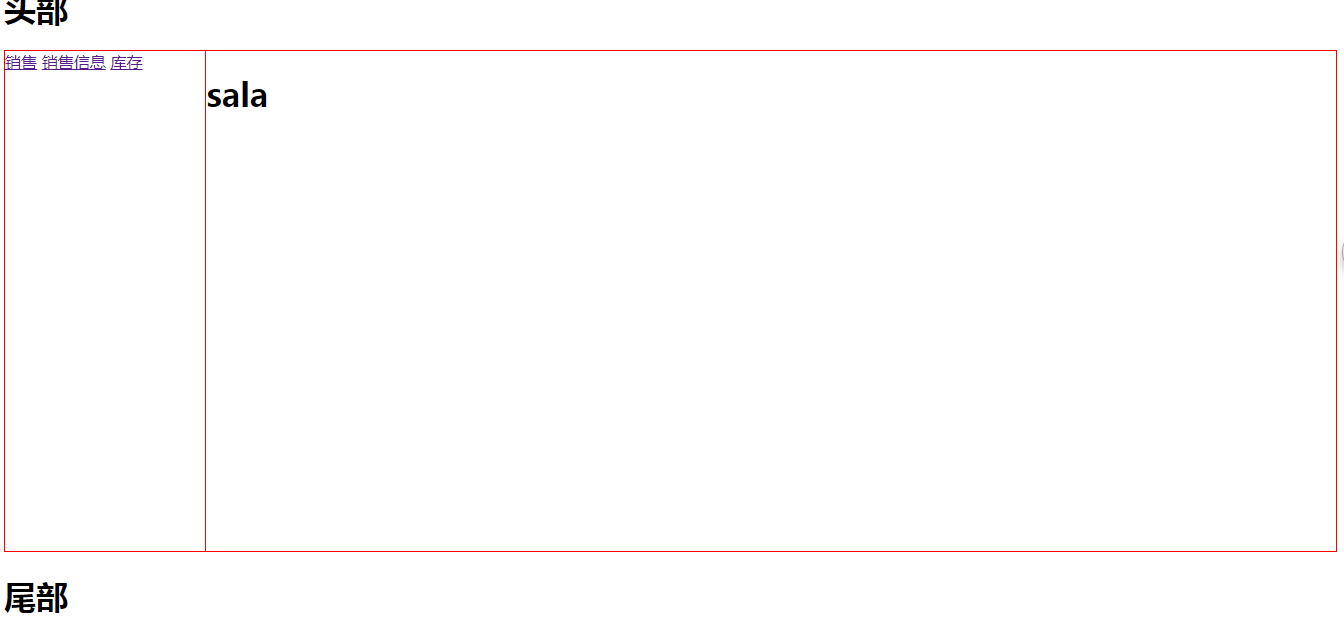
界面效果如下:


 1491
1491

 被折叠的 条评论
为什么被折叠?
被折叠的 条评论
为什么被折叠?
 到【灌水乐园】发言


