


 本文详细介绍如何通过Maven创建SpringMVC Web应用程序,包括配置pom.xml文件以引入必要的依赖项,创建webapp文件夹及web.xml配置文件,并最终部署到Tomcat服务器。
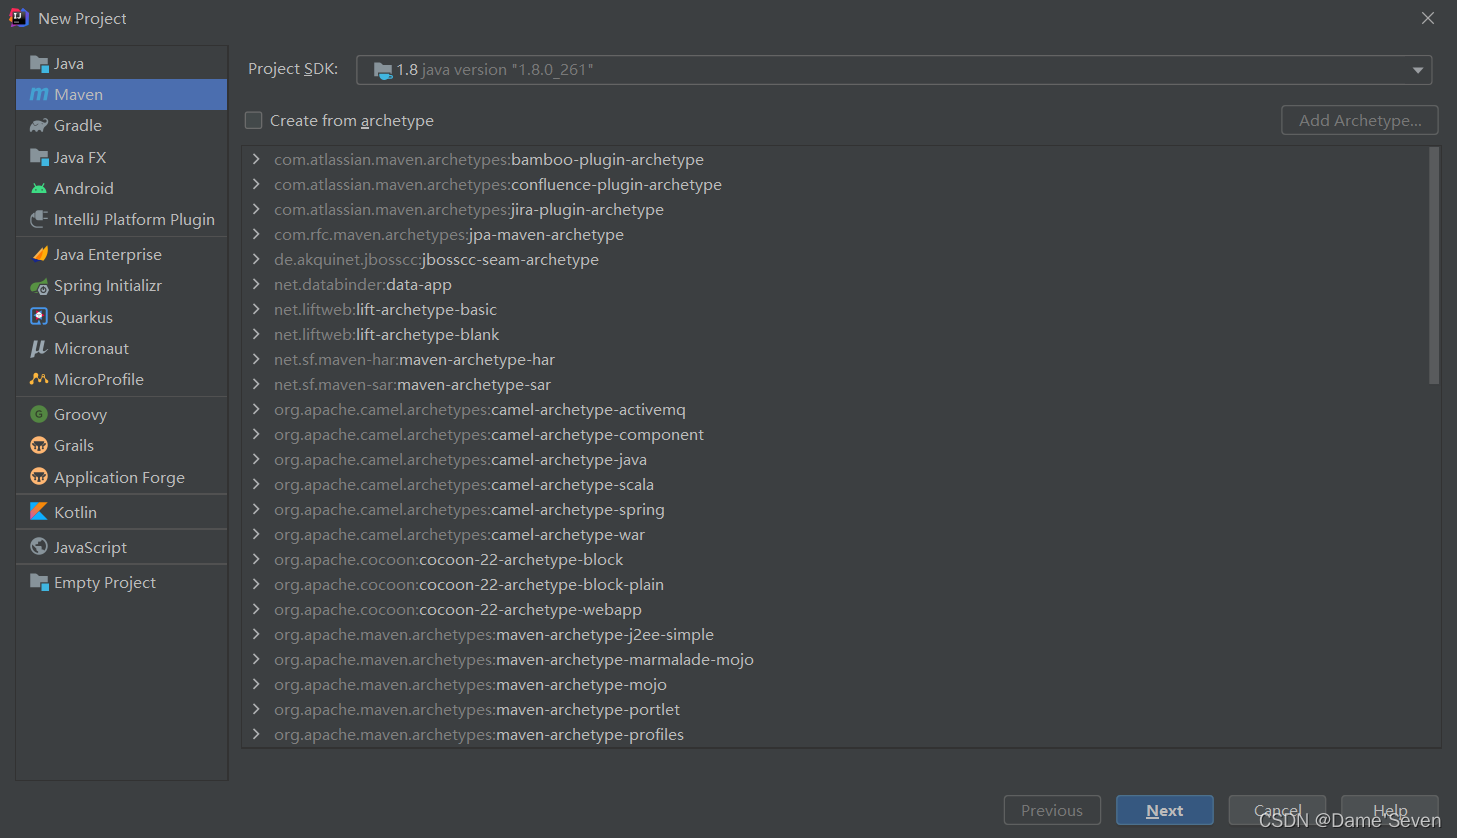
1.创建工程
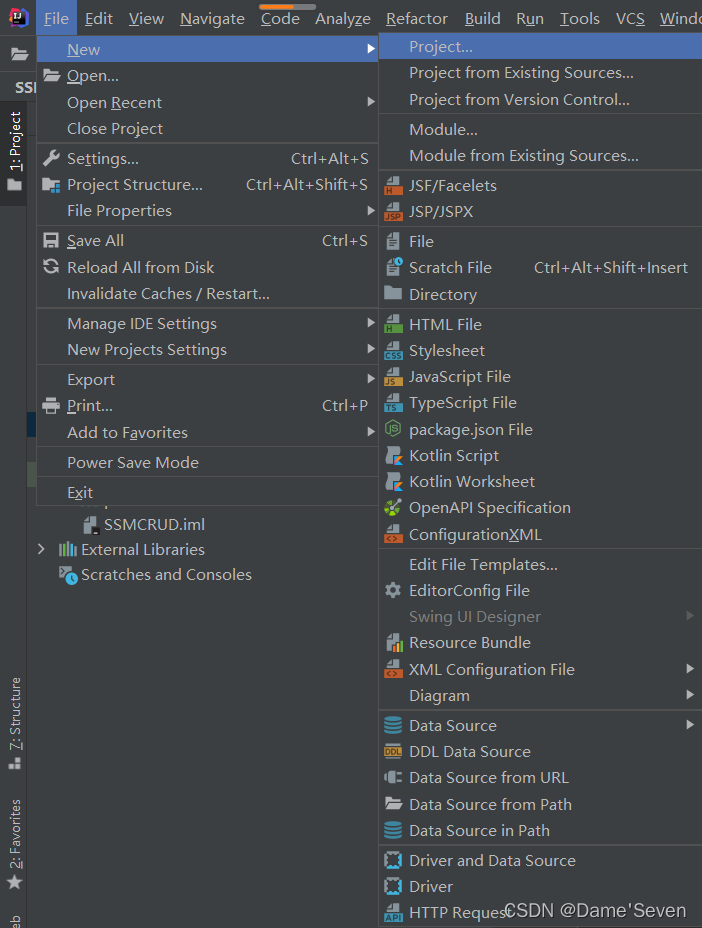
创建maven工程:
2.配置pom.xml
设置打包方式为war包形式:
<packaging>war</packaging>
并引入maven依赖:
<dependencies>
        <!-- SpringMVC -->
        <dependency>
            <groupId>org.springframework</groupId>
            <artifactId>spring-webmvc</artifactId>
            <version>5.3.1</version>
        </dependency>

        <!-- 日志 -->
        <dependency>
            <groupId>ch.qos.logback</groupId>
            <artifactId>logback-classic</artifactId>
            <version>1.2.3</version>
        </dependency>

        <!-- ServletAPI -->
        <dependency>
            <groupId>javax.servlet</groupId>
            <artifactId>javax.servlet-api</artifactId>
            <version>3.1.0</version>
            <scope>provided</scope>
        </dependency>

        <!-- Spring5和Thymeleaf整合包 -->
        <dependency>
            <groupId>org.thymeleaf</groupId>
            <artifactId>thymeleaf-spring5</artifactId>
            <version>3.0.12.RELEASE</version>
        </dependency>

        <!-- 导入jackson的依赖 -->
        <dependency>
            <groupId>com.fasterxml.jackson.core</groupId>
            <artifactId>jackson-databind</artifactId>
            <version>2.12.1</version>
        </dependency>

        <!-- https://mvnrepository.com/artifact/commons-fileupload/commons-fileupload -->
        <dependency>
            <groupId>commons-fileupload</groupId>
            <artifactId>commons-fileupload</artifactId>
            <version>1.3.1</version>
        </dependency>
    </dependencies>
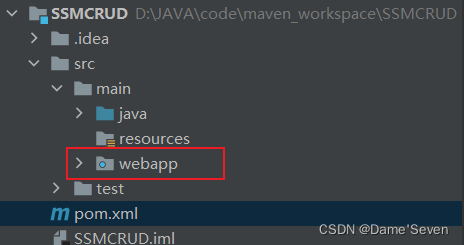
3.创建webapp文件夹
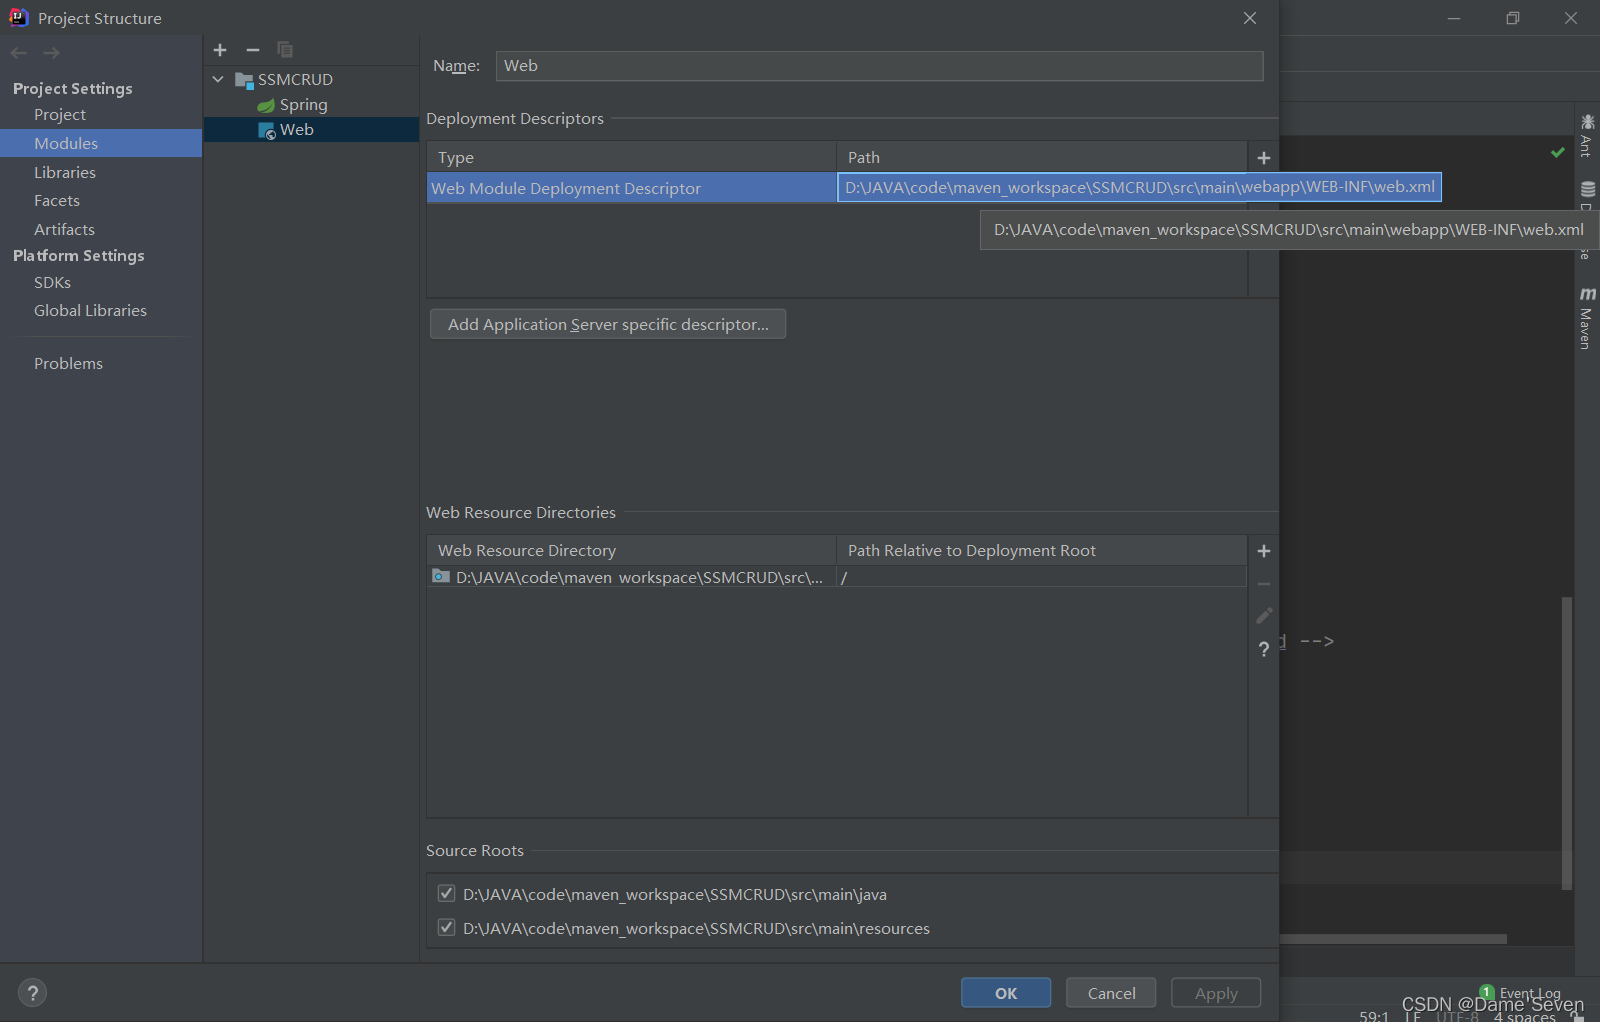
4.生成web.xml配置文件
注意文件的路径要写对,要在webapp\WEB-INF下:
5.将工程部署到Tomcat服务器上
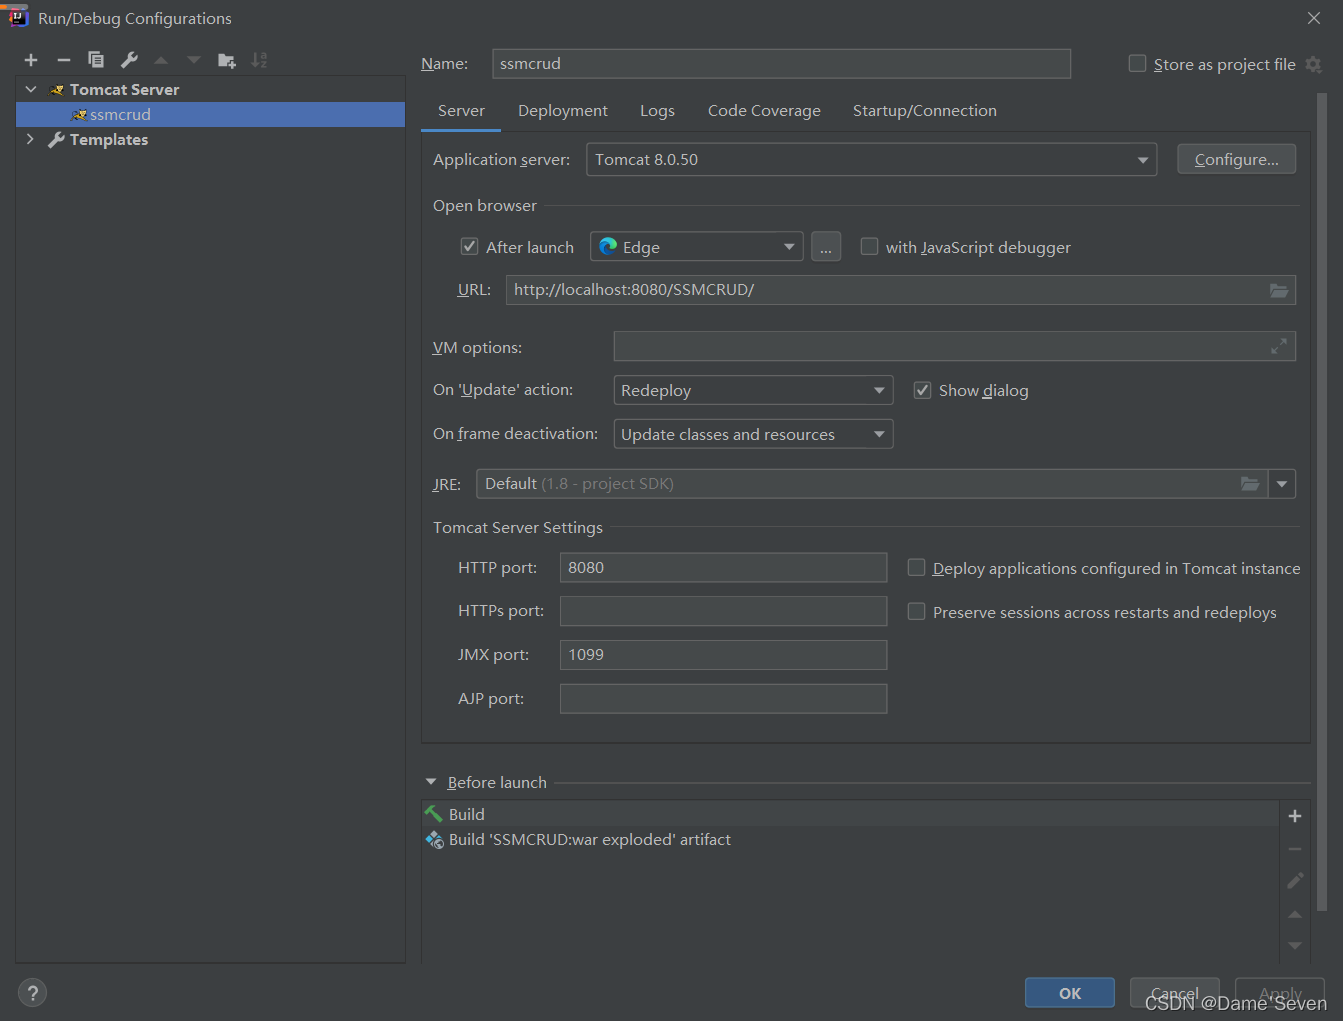
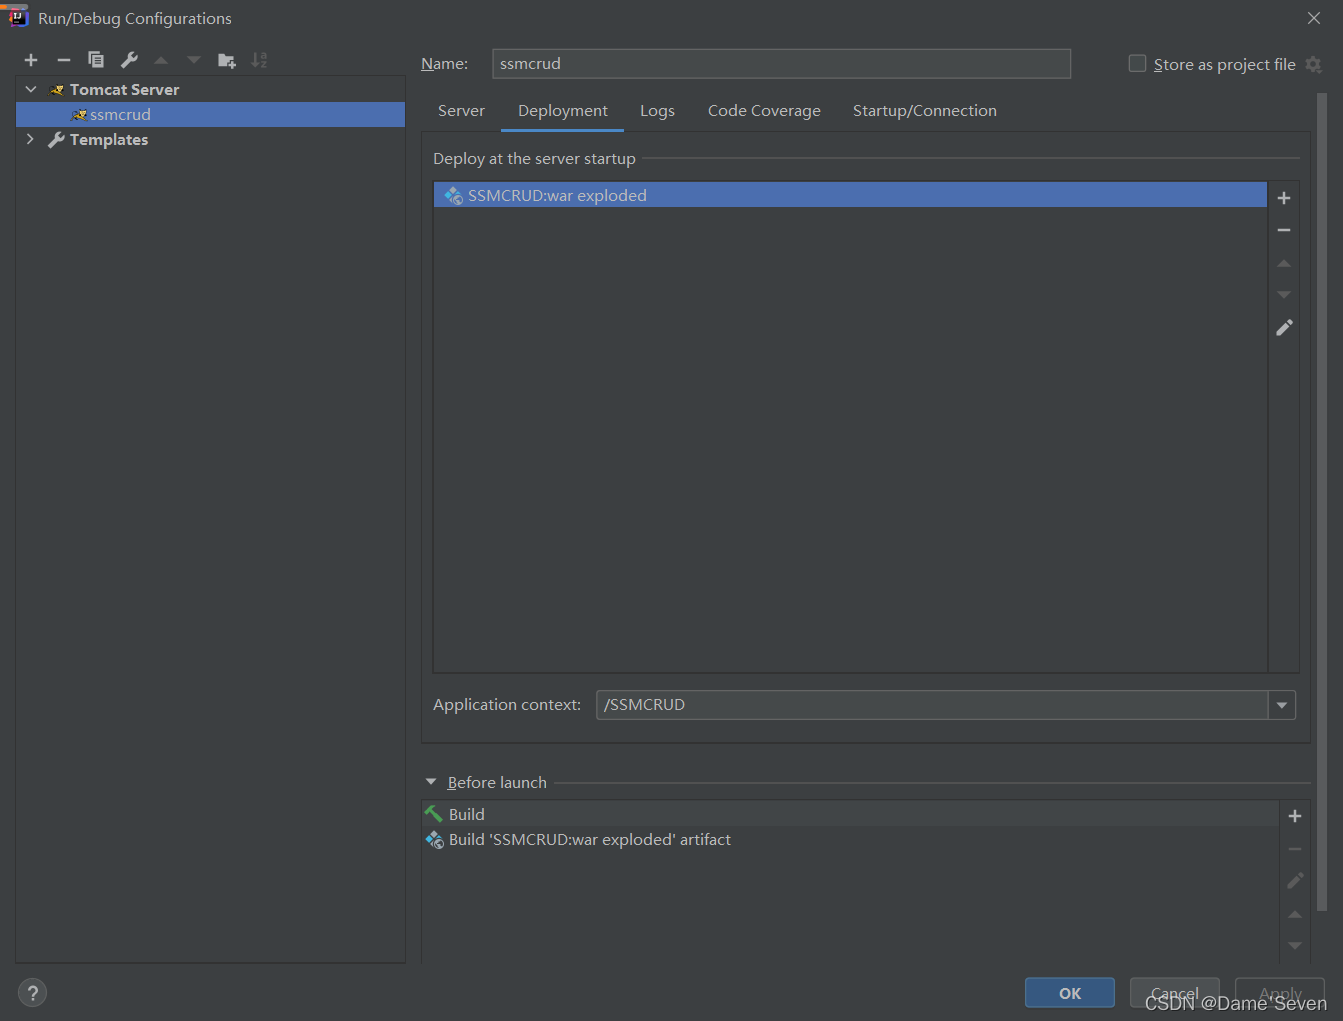
工程部署完成!


 2899
2899

 被折叠的 条评论
为什么被折叠?
被折叠的 条评论
为什么被折叠?
 到【灌水乐园】发言


