


 本文介绍了如何通过ndk-build构建Android共享库,并使用dlopen和dlsym动态加载及调用SO文件中的加密算法。通过示例代码展示了如何获取SO层的输入输出和内存数据,强调了这种方法在Frida之外的持久性工具化优势。
前文
为了方便讲解这里简单提一下自己编写so
使用ndk-build工具编写so文件,不懂的可以先看看我的“使用gdb调试Android(aarch 64)可执行二进制文件”文章
Android.mk文件
$ cat Android.mk
LOCAL_PATH := $(call my-dir)
include $(CLEAR_VARS)
LOCAL_MODULE    := png_to_yuv
LOCAL_SRC_FILES := png_to_yuv.c
include $(BUILD_SHARED_LIBRARY)
#会在obj/local/arm64-v8a/生成libdemo.so库
#include $(BUILD_EXECUTABLE) #生成可执行二进制文件。后面会用到!
Application.mk文件
$ cat Application.mk
APP_ABI := armeabi-v7a arm64-v8a
APP_OPTIM := debug
编译脚本
$ cat load.sh
#!/bin/zsh

ndk-build NDK_PROJECT_PATH=. NDK_APPLICATION_MK=Application.mk APP_BUILD_SCRIPT=Android.mk  NDK_DEBUG=1 NDK_HOST_32BIT=1  #32bit

#adb push ./obj/local/arm64-v8a/$1 /data/local/tmp/
adb push ./obj/local/armeabi-v7a/$1 /data/local/tmp/
这样经过脚本移动端有了一个so文件
----------------------------------------------------ok------------------------------------------------------------------------------
背景
APK文件中需要分析一个so加密算法(不适用于jni层相关的函数!!)那么一般情况下加密so会是一个导出函数,因为要提供给外界调用嘛,是吧。
首先将目标so放入移动端工作目录,编写程序时可以通过dlopen()函数进行调用so库,如下:
    void* handle2 = dlopen("./libByteVC1_dec.so",RTLD_LAZY);
    void* handle = dlopen("./libttheif_dec.so",RTLD_LAZY);
这种情况适用于so之间的嵌套调用,只需要通过dlopen加载该so程序会识别到该库,因为源码是通过Systen.load()实现的。当然一个so也可以这样玩
然后动态声明到本程序
 int*(*heif_decode_to_yuv420p_inner)(int **a1, int *byteArray, int byteArray_length,int**width,int**height, int* rect);

    heif_decode_to_yuv420p_inner = dlsym(handle,"heif_decode_to_yuv420p_inner");
这里的参数,可以很简单的通过IDA por静态分析出来参数类别变量
最后实现调用
int *result = heif_decode_to_yuv420p_inner(&a1,byteArr,size,&wid,&h
ei,rect);
完整代码:
#include<stdio.h>
#include<stdlib.h>
#include<unistd.h>
#include <dlfcn.h>

int main(){
    FILE * fp = fopen("./prepare_to_yuv.log","r");
    fseek(fp,0,SEEK_END);
    int size = ftell(fp);
    fseek(fp, 0, SEEK_SET);
    printf("size: %#x\n",size);

    int *byteArr = malloc(size);
    fread(byteArr,size,1,fp);
    fclose(fp);

	void* handle2 = dlopen("./libByteVC1_dec.so",RTLD_LAZY);
	void* handle = dlopen("./libttheif_dec.so",RTLD_LAZY);
	if (!handle || !handle2) {
		 fprintf(stderr, "%s\n", dlerror());
		 exit(EXIT_FAILURE);
		 }
//		 printf("%p\n", handle);
//		 printf("%p\n", handle2);
	int*(*heif_decode_to_yuv420p_inner)(int **a1, int *byteArray, int byteArray_length,int**width,int**height, int* rect);

	heif_decode_to_yuv420p_inner = dlsym(handle,"heif_decode_to_yuv420p_inner");
	if (heif_decode_to_yuv420p_inner== NULL) {
        fprintf(stderr, "Couldn't find function: \n");
        exit(1);
    }

	int* rect = malloc(0x18);
	for(int i=0; i<0x18/4 ;i++){
		rect[i] = 0;
	}
		rect[0] = 1;
		rect[1] = 1;
	int buf[15];
	int *a1 =  buf;
	int wid = 0;
	int hei = 0;
	int *result = heif_decode_to_yuv420p_inner(&a1,byteArr,size,&wid,&hei,rect);
	printf("size -> %#x\n",result[0]);
	printf("buff -> %#x\n",result[1]);
	printf("data -> %#x\n",*(int*)(result[1]));
	dlclose(handle);

	int fd = open("./local_out_data.yuv",2);
	char*buffer = result[1];
	int len = result[0];
	int err = write(fd,buffer,len);
	printf("err->%d\n",err);
	close(fd);

    return 0;
}
这样就可以正常获取so层的输入输出、内存数据。
当然你会觉得Frida会更方便~
但是Frida并不是持久的,通过这种方式你可以毫不费力的将它工具化。
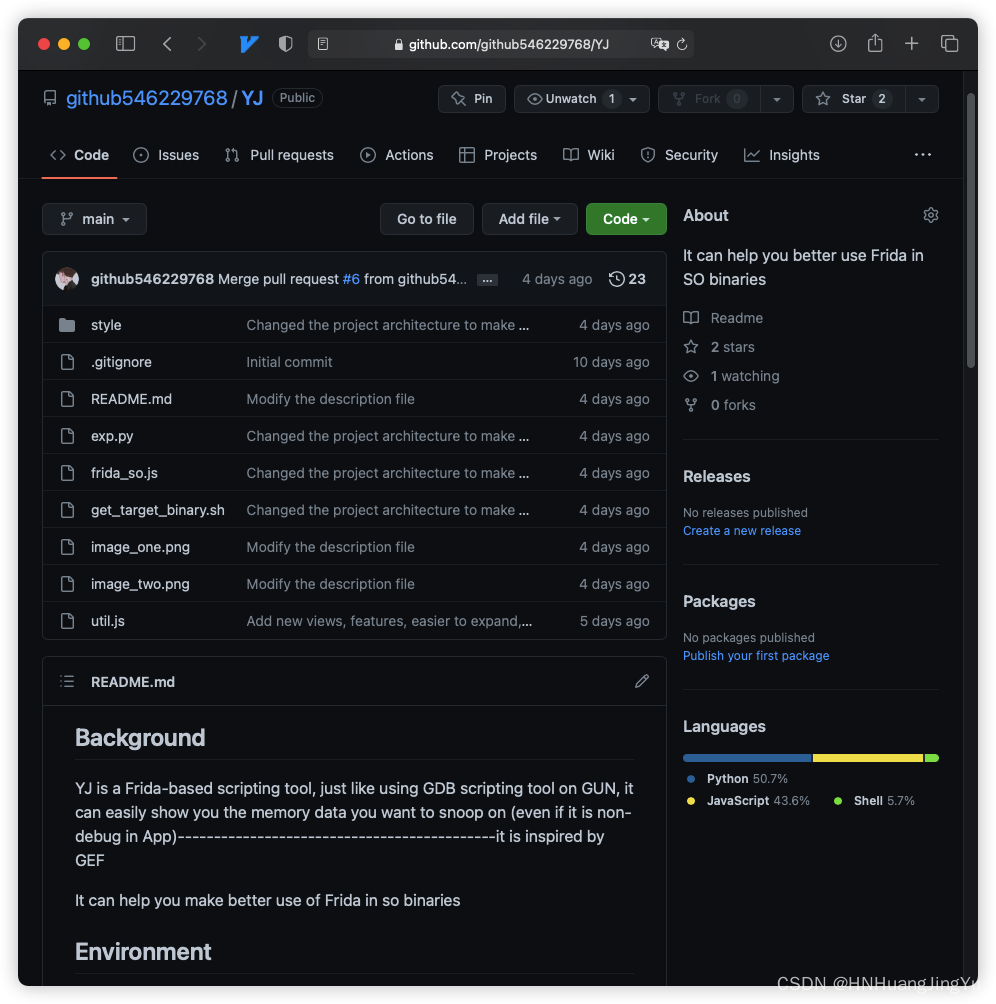
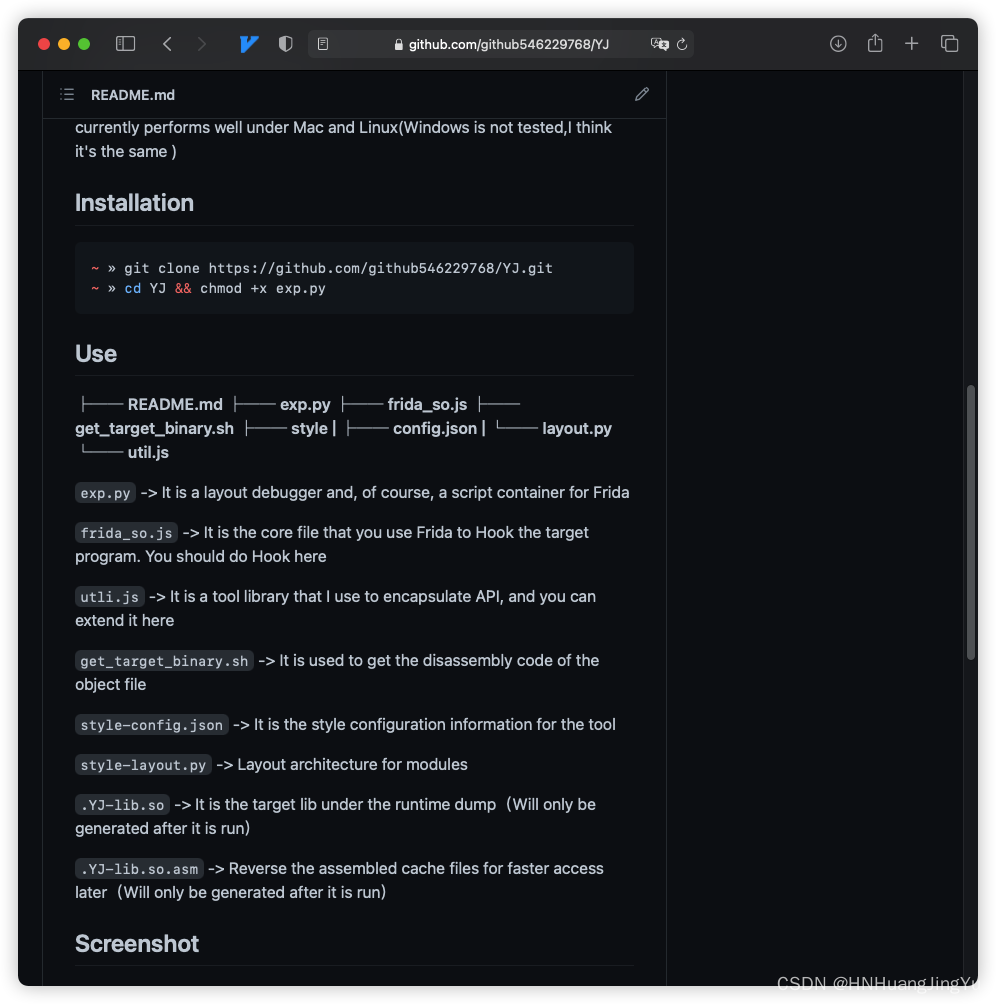
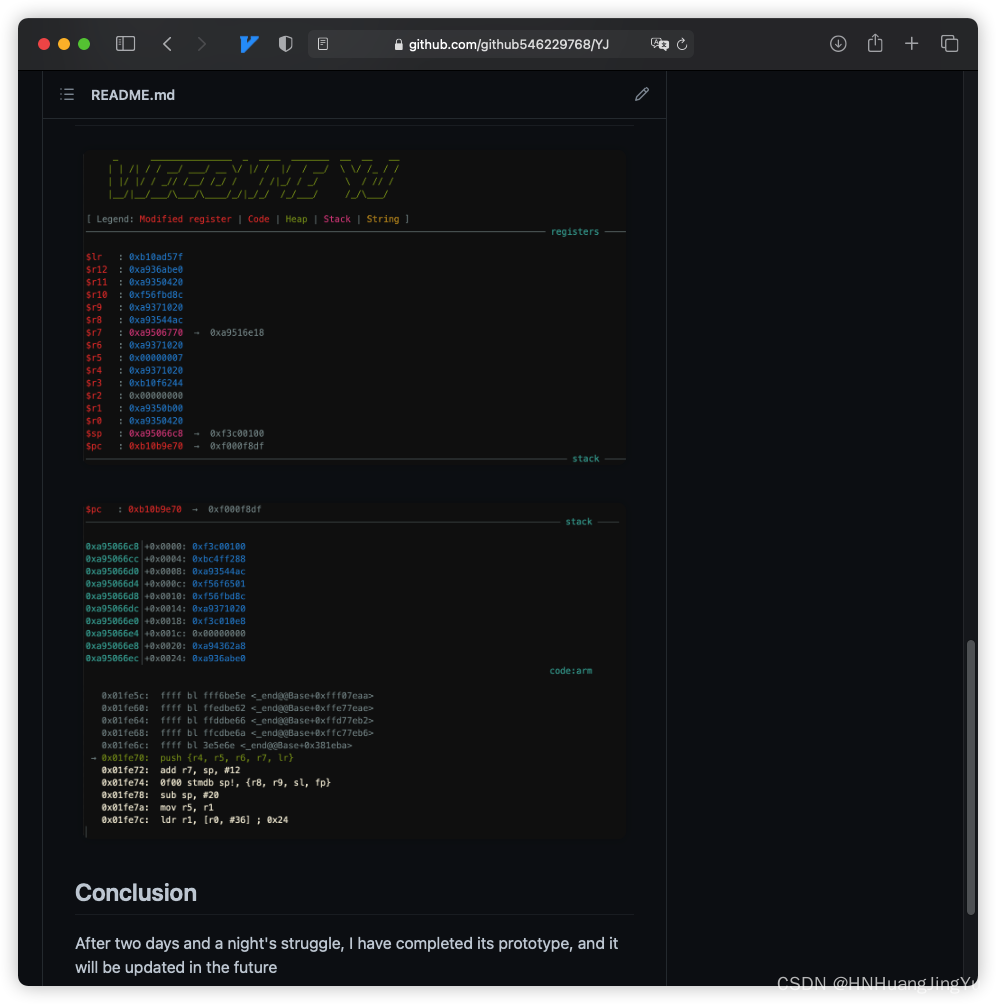
博主最近开发了一款基于Frida的工具,现在主要用来调试SO文件,也是非常适合该篇文章的背景下使用,详细了解的话在这里: https://github.com/github546229768/YJ
工具使用截图如下:
结语
上述脚本灵感来源于一次实战积累


 1579
1579

 被折叠的 条评论
为什么被折叠?
被折叠的 条评论
为什么被折叠?
 到【灌水乐园】发言


