


 本文详细介绍了Angular6的基本语法,包括创建组件、数据绑定(插值表达式、属性绑定)、*ngFor循环、*ngIf条件判断、*ngSwitch多条件选择、DOM元素获取及事件绑定,同时涉及到了双向数据绑定和管道的使用。
文章目录
1.创建组件
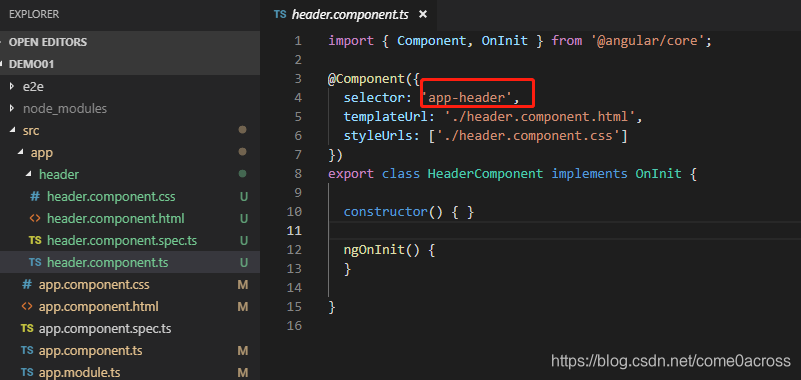
(1)创建组件
//创建一个header组件
ng generate component header  (简写 ng g c header)
//创建自定义服务service
ng generate service header  (简写 ng g s header)
//创建路由
ng generate module app-routing --flat --module=app
(2)使用组件
app.component.html
<app-header></app-header>
2.绑定数据
(1)插值表达式绑定
app.component.html
<h1>{{title}}</h1>
app.component.ts
export class AppComponent {
     public title: string = 'hello world';
}
(2)属性绑定
<!-- 使用[属性]="值"进行属性绑定 -->
<img [src]="src" />
<h1 [ngClass]="{'show': true}">{{title}}</h1>
<h1 [ngStyle]="{'color': red}">{{title}}</h1>
<div [id]='id' [title]='title'>绑定属性</div>
3.*ngFor
<ul>
    <li *ngFor="let item of fruits">
        {{item}}
    </li>
</ul>
4.*ngIf
<p *ngIf="fruits.length>2">ngIf判断是否显示</p>
5.*ngSwitch
<span [ngSwitch]="data">
    <p *ngSwitchCase="1">
        已付款
    </p>
    <p *ngSwitchCase="2">
        待收货
    </p>
    <p *ngSwitchDefault>
        完成
    </p>
</span>
6.获取dom元素
<div class="msgBox" #msgBox>12333</div>
<button (click)="submit($event)">确定</button>
import { Component, ElementRef, ViewChild } from '@angular/core'

export class AppComponent {
  @ViewChild('msgBox') msgBox: ElementRef

  submit(e){
    console.log(this.msgBox.nativeElement)
  }
}
7.绑定事件
<button (click)="onClickEvent($event)">确定</button>
8.双向数据绑定
app.module.ts中引入FormsModule
import { BrowserModule } from '@angular/platform-browser'; //BrowserModule,浏览器的解析模块
import { NgModule } from '@angular/core';//angular核心模块

import { AppComponent } from './app.component';//根组建

import { FormsModule } from '@angular/forms'

@NgModule({ //装饰器
  declarations:  [//声明组件、指令、管道
    AppComponent
  ],
  imports: [ //引入项目需要的模块
    BrowserModule,
    FormsModule
  ],
  providers: [],//声明模块中提供的是什么服务
  bootstrap: [AppComponent]//声明模块的组件是什么
})
export class AppModule { } //类
html中使用
<input type="text" [(ngModel)]="title">
9.管道
创建管道
//创建管道
ng generate pipe week (简写 ng g p week)
<span>{{item.endTime | week}}</span>
week.pipe.ts
import { Pipe, PipeTransform } from '@angular/core';

@Pipe({
  name: 'week'
})
export class WeekPipe implements PipeTransform {

  transform(value: any, args?: any): any {

    var weekArray = new Array("周日", "周一", "周二", "周三", "周四", "周五", "周六");
    return weekArray[new Date(value).getDay()];
  }

}


 1809
1809


 到【灌水乐园】发言


