


[root@localhost ~]# logout
CentOS Linux 7 (Core)
Kernel 3.10.0-862.el7.x86_64 on an x86_64
web2 login: # 按ctrl+]
* 配置web服务器
配置yum
[root@web2 ~]# vim /etc/yum.repos.d/local.repo
[local_repo]
name=CentOS-KaTeX parse error: Expected 'EOF', got '#' at position 93: …0
[root@web3 ~]#̲ vim /etc/yum.r…releasever - Base
baseurl=ftp://192.168.2.254/centos-1804
enabled=1
gpgcheck=0
把web1的nginx打包拷贝到web2和web3上
[root@web1 ~]# cd /usr/local/
[root@web1 local]# tar czf /root/nginx.tar.gz nginx
[root@web1 local]# cd
[root@web1 ~]# scp nginx.tar.gz 192.168.2.12:/root/
[root@web1 ~]# 1213 # 将上一条命令的12换成13执行
在web2和web3上解压,实现nginx部署
[root@web2 ~]# tar xf nginx.tar.gz -C /usr/local/
[root@web3 ~]# tar xf nginx.tar.gz -C /usr/local/
把web1上的service文件拷贝到web2和web3上
[root@web1 ~]# scp /usr/lib/systemd/system/nginx.service 192.168.2.12:/usr/lib/systemd/system/
[root@web1 ~]# 1213
在web2和web3上启服务
[root@web2 ~]# systemctl daemon-reload
[root@web2 ~]# systemctl enable nginx.service --now
[root@web2 ~]# ss -tlnp | grep :80
LISTEN 0 128 *:80
[root@web3 ~]# systemctl daemon-reload
[root@web3 ~]# systemctl enable nginx.service --now
[root@web3 ~]# ss -tlnp | grep :80
LISTEN 0 128 *:80


* 配置web2和web3支持php
[root@web2 ~]# yum install -y php php-fpm php-mysql
[root@web2 ~]# systemctl enable php-fpm --now
[root@web3 ~]# yum install -y php php-fpm php-mysql
[root@web3 ~]# systemctl enable php-fpm --now
访问测试2.11 ,2.12,2.13


* 在web1、web2、web3上任意的一个页面上新建文章,另外的两台主机,也可以看到更新。因为3台web服务器新建文章时,都是把数据存入到数据库服务器了。

### 配置NFS服务器
* 准备环境
[root@zzgrhel8 ~]# clone-vm7
Enter VM number: 5
VM tedu_node05 Create… …
[root@zzgrhel8 ~]# virsh start tedu_node05
[root@zzgrhel8 ~]# virsh console tedu_node05
CentOS Linux 7 (Core)
Kernel 3.10.0-862.el7.x86_64 on an x86_64
localhost login: root
Password: 123456
执行以下命令进行初始化
hostnamectl set-hostname nfs
nmcli connection modify eth1 ipv4.method manual ipv4.addresses 192.168.2.31/24
nmcli connection down eth1
nmcli connection up eth1
echo a | passwd --stdin root
[root@localhost ~]# logout
CentOS Linux 7 (Core)
Kernel 3.10.0-862.el7.x86_64 on an x86_64
web2 login: # 按ctrl+]
* 配置NFS服务
[root@nfs ~]# vim /etc/yum.repos.d/local.repo
[local_repo]
name=CentOS-$releasever - Base
baseurl=ftp://192.168.2.254/centos-1804
enabled=1
gpgcheck=0
安装nfs
[root@nfs ~]# yum install -y nfs-utils.x86_64
配置共享
[root@nfs ~]# mkdir /web_share
[root@nfs ~]# vim /etc/exports
/web_share 192.168.2.0/24(rw,no_root_squash)

启动服务。注意,NFS服务依赖rpcbind服务
[root@nfs ~]# systemctl enable rpcbind --now
[root@nfs ~]# ss -tlnp | grep :111
LISTEN 0 128 *:111
[root@nfs ~]# systemctl enable nfs --now
[root@nfs ~]# ss -tlnp | grep :2049
LISTEN 0 64 *:2049
验证
[root@nfs ~]# showmount -e
Export list for nfs:
/web_share 192.168.2.0/24

* 迁移文件至nfs共享
- 将网页目录保留权限,打压缩包
[root@web1 ~]# cd /usr/local/nginx/
[root@web1 nginx]# tar cpzf /root/html.tar.gz html
- 拷贝文件至nfs服务器
[root@nfs ~]# tar xf html.tar.gz -C /web_share/
[root@web1 ~]# scp html.tar.gz 192.168.2.31:/root/

- 在nfs服务器上解压
[root@nfs ~]# tar xf html.tar.gz -C /web_share/
- 删除web服务器html目录中的内容
[root@web1 ~]# rm -rf /usr/local/nginx/html/*
[root@web2 ~]# rm -rf /usr/local/nginx/html/*
[root@web3 ~]# rm -rf /usr/local/nginx/html/*
- 此时,通过浏览器访问各web服务器,将会报403错误


- 在各web服务器上挂载共享目录

[root@web1 ~]# yum install -y nfs-utils
[root@web1 ~]# echo ‘192.168.2.31:/web_share/html /usr/local/nginx/html nfs defaults 0 0’ >> /etc/fstab
[root@web1 ~]# mount -a
[root@web1 ~]# df -h /usr/local/nginx/html/
文件系统 容量 已用 可用 已用% 挂载点
192.168.2.31:/web_share/html 17G 1.2G 16G 7% /usr/local/nginx/html
[root@web2 ~]# yum install -y nfs-utils
[root@web2 ~]# echo ‘192.168.2.31:/web_share/html /usr/local/nginx/html nfs defaults 0 0’ >> /etc/fstab
[root@web2 ~]# mount -a
[root@web2 ~]# df -h /usr/local/nginx/html/
文件系统 容量 已用 可用 已用% 挂载点
192.168.2.31:/web_share/html 17G 1.2G 16G 7% /usr/local/nginx/html
[root@web3 ~]# yum install -y nfs-utils
[root@web3 ~]# echo ‘192.168.2.31:/web_share/html /usr/local/nginx/html nfs defaults 0 0’ >> /etc/fstab
[root@web3 ~]# mount -a
[root@web3 ~]# df -h /usr/local/nginx/html/
文件系统 容量 已用 可用 已用% 挂载点
192.168.2.31:/web_share/html 17G 1.2G 16G 7% /usr/local/nginx/html
- 此时,通过浏览器访问各web服务器,又将恢复正常


- 在任意一台web服务器上新建文章,查看web是否同步

### 配置代理服务器
* 准备环境
[root@zzgrhel8 ~]# clone-vm7
Enter VM number: 6
VM tedu_node05 Create… …
[root@zzgrhel8 ~]# virsh start tedu_node06
[root@zzgrhel8 ~]# virsh console tedu_node06
CentOS Linux 7 (Core)
Kernel 3.10.0-862.el7.x86_64 on an x86_64
localhost login: root
Password: 123456
执行以下命令进行初始化
hostnamectl set-hostname proxy
nmcli connection modify eth1 ipv4.method manual ipv4.addresses 192.168.2.5/24
nmcli connection modify eth0 ipv4.method manual ipv4.addresses 192.168.4.5/24
nmcli connection down eth1
nmcli connection up eth1
nmcli connection down eth0
nmcli connection up eth0
echo a | passwd --stdin root
[root@localhost ~]# logout
CentOS Linux 7 (Core)
Kernel 3.10.0-862.el7.x86_64 on an x86_64
proxy login: # 按ctrl+]
### 最后的话
最近很多小伙伴找我要Linux学习资料,于是我翻箱倒柜,整理了一些优质资源,涵盖视频、电子书、PPT等共享给大家!
### 资料预览
给大家整理的视频资料:

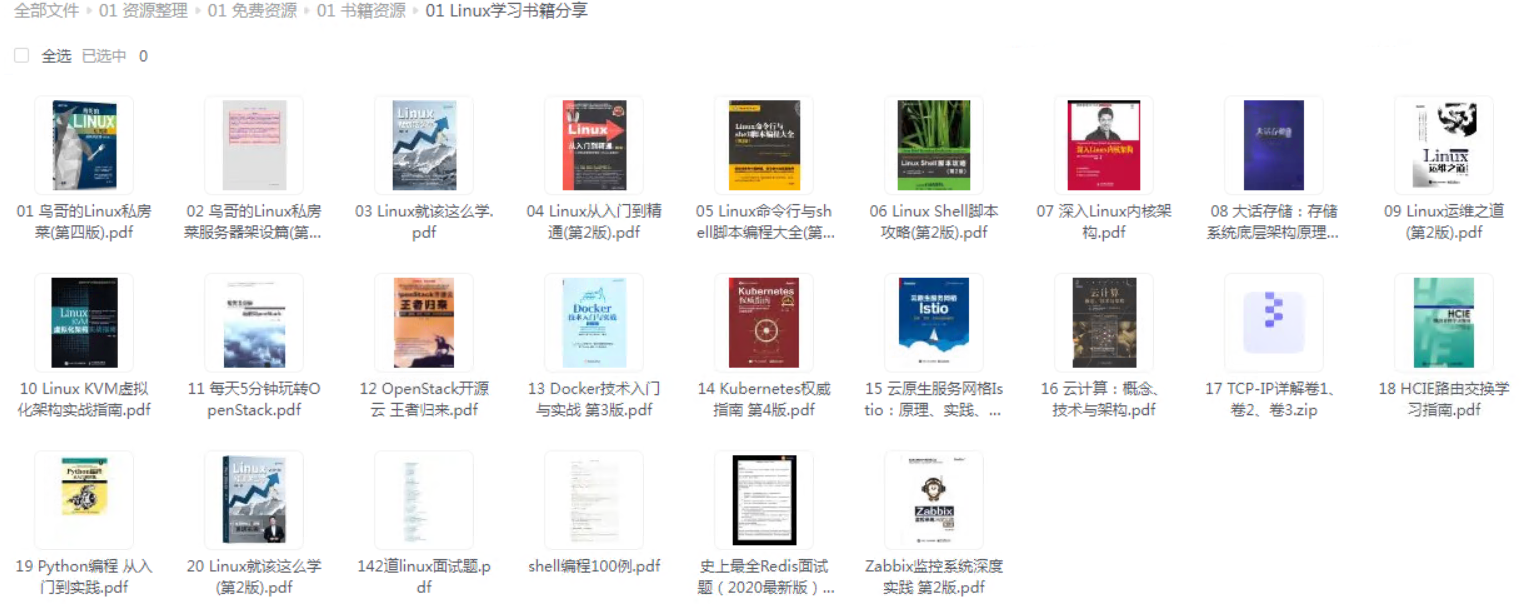
给大家整理的电子书资料:
**如果本文对你有帮助,欢迎点赞、收藏、转发给朋友,让我有持续创作的动力!**
**网上学习资料一大堆,但如果学到的知识不成体系,遇到问题时只是浅尝辄止,不再深入研究,那么很难做到真正的技术提升。**
**[需要这份系统化的资料的朋友,可以点击这里获取!](https://bbs.youkuaiyun.com/topics/618542503)**
**一个人可以走的很快,但一群人才能走的更远!不论你是正从事IT行业的老鸟或是对IT行业感兴趣的新人,都欢迎加入我们的的圈子(技术交流、学习资源、职场吐槽、大厂内推、面试辅导),让我们一起学习成长!**
sPcS-1714213122035)]
给大家整理的电子书资料:
[外链图片转存中...(img-fOco8hEq-1714213122036)]
**如果本文对你有帮助,欢迎点赞、收藏、转发给朋友,让我有持续创作的动力!**
**网上学习资料一大堆,但如果学到的知识不成体系,遇到问题时只是浅尝辄止,不再深入研究,那么很难做到真正的技术提升。**
**[需要这份系统化的资料的朋友,可以点击这里获取!](https://bbs.youkuaiyun.com/topics/618542503)**
**一个人可以走的很快,但一群人才能走的更远!不论你是正从事IT行业的老鸟或是对IT行业感兴趣的新人,都欢迎加入我们的的圈子(技术交流、学习资源、职场吐槽、大厂内推、面试辅导),让我们一起学习成长!**


 29万+
29万+

 被折叠的 条评论
为什么被折叠?
被折叠的 条评论
为什么被折叠?
 到【灌水乐园】发言


