


 本文介绍了一种在Android中创建自定义对话框的方法,并详细解释了实现步骤,包括XML布局设计、自定义Dialog类的封装及使用方式。
简单的Android弹出Dialog效果(圆角)
最近一段时间工作挺忙的,一直想写一篇博文,总是被各种事情打破计划,终于这次利用这个周末来开始自己第一次的技术文章的写作,提前说明,本人还是个菜鸟,哈哈...由于技术有限,有写的不好的地方还请各位路过的高手多多指教。
说起自己的程序员生涯也挺不容易的,从大四自学入门以来也吃了好多苦头,但是听过别人说过一句话:“成年人的世界里没有容易二字”,也许每个人都挺不容易的,但是现在这个世界,不学习根本不可能适应社会的,虽然偶尔觉得技术有点枯燥乏味,但是,能混碗饭吃也算是对得起刚开始的职业生涯的,毕竟路还远着呢,只要好好努力未来该有的还是会有的,年轻人嘛...不要浮躁,慢慢来。
好了,不多说了,以后的博文再慢慢讲自己是如何从一个门外汉自学跨行进入这个行业的,今晚先早点写完这个博文好好休息下,言归正传,嘿嘿 。
。
首先我们来看一下效果图:
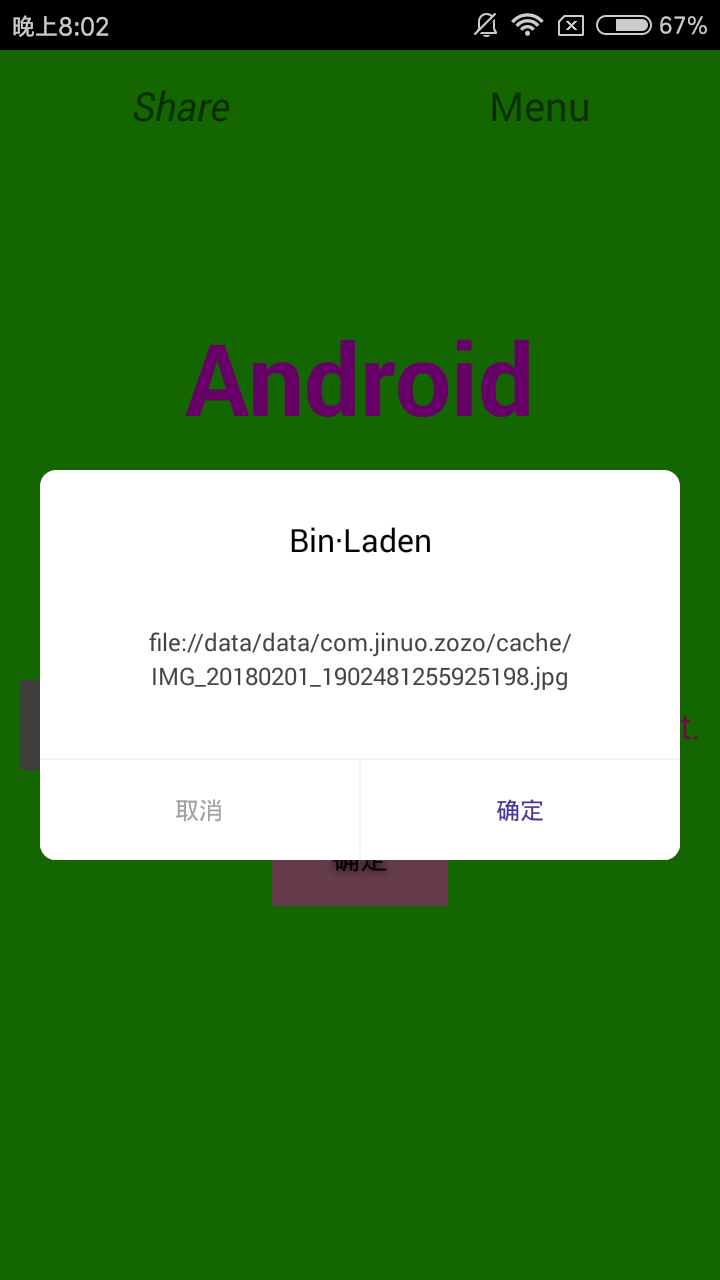
点击按钮弹出白色的提示框,这个到时候可以根据项目业务逻辑修改底下的按钮
我们来分析下,这个肯定不是Android系统的Dialog,大家都知道,系统自带的都很丑,我不是说崇拜iphone,IOS能有的效果Android也照样能做出来。这个Dialog要实现肯定是自定义的!
Dialog的布局不多说了吧,大家直接看xml文件...
<?xml version="1.0" encoding="utf-8"?>
<LinearLayout xmlns:android="http://schemas.android.com/apk/res/android"
    android:layout_width="match_parent"
    android:layout_height="match_parent"
    android:background="@drawable/bg_round_white"
    android:orientation="vertical" >

    <TextView
        android:id="@+id/title"
        android:layout_width="match_parent"
        android:layout_height="wrap_content"
        android:gravity="center_horizontal"
        android:padding="12dp"
        android:layout_marginTop="12dp"
        android:text="提示"
        android:textSize="16sp"
        android:textColor="@color/black"/>


    <TextView
        android:id="@+id/content"
        android:layout_width="match_parent"
        android:layout_height="wrap_content"
        android:gravity="center"
        android:layout_gravity="center_horizontal"
        android:lineSpacingExtra="3dp"
        android:layout_marginLeft="40dp"
        android:layout_marginTop="20dp"
        android:layout_marginRight="40dp"
        android:layout_marginBottom="30dp"
        android:text="签到成功,获得200积分"
        android:textSize="12sp"
        android:textColor="@color/font_common_1"/>
    <View
        android:layout_width="match_parent"
        android:layout_height="1dp"
        android:background="@color/commom_background"/>

    <LinearLayout
        android:layout_width="match_parent"
        android:layout_height="50dp"
        android:orientation="horizontal">

        <TextView
            android:id="@+id/cancel"
            android:layout_width="match_parent"
            android:layout_height="match_parent"
            android:background="@drawable/bg_dialog_left_white"
            android:layout_weight="1.0"
            android:gravity="center"
            android:text="取消"
            android:textSize="12sp"
            android:textColor="@color/font_common_2"/>
        <!--中间的分割线-->
        <View
            android:layout_width="1dp"
            android:layout_height="match_parent"
            android:background="@color/commom_background"/>

        <TextView
            android:id="@+id/submit"
            android:layout_width="match_parent"
            android:layout_height="match_parent"
            android:background="@drawable/bg_dialog_right_white"
            android:gravity="center"
            android:layout_weight="1.0"
            android:text="确定"
            android:textSize="12sp"
            android:textColor="@color/font_blue"/>

    </LinearLayout>


</LinearLayout>
然后我们来看下封装的这个自定义Dialog的类:
package com.zhaichenyang.home.customdialog;

import android.app.Dialog;
import android.content.Context;
import android.os.Bundle;
import android.view.View;
import android.widget.Button;
import android.widget.ImageView;

import com.zhaichenyang.home.R;

/**
 * Created by zhaichenyang@outlook.com on 2018/2/7 0007.
 */

public class CustomedOneDialog extends Dialog {

  private Button vipButton;
  private ImageView closeButton;
  private onCloseClickListener closeClickListener;
  private onVipClickListener vipClikListener;
    private Context mComtext;

    @Override
    protected void onStart() {

        getWindow().setBackgroundDrawableResource(android.R.color.transparent);
    }

    public CustomedOneDialog(Context context, int themeResId){
        super(context, themeResId);
        this.mComtext = context;
    }

    @Override
    protected void onCreate(Bundle savedInstanceState) {
        super.onCreate(savedInstanceState);
        this.setContentView(R.layout.dialog_first_layout);
        setCancelable(false);
        initView();
        initData();
        initEvent();
    }
    private void initView(){

        vipButton = (Button) findViewById(R.id.bt_comeacross_signupvip);

        //关闭
        closeButton = (ImageView)findViewById(R.id.iv_dialog_comeacross_close);


    }
    private void initData(){

    }
    private void initEvent(){
        closeButton.setOnClickListener(new View.OnClickListener() {
            @Override
            public void onClick(View view) {
                closeClickListener.onCloseClick();
            }
        });
        vipButton.setOnClickListener(new View.OnClickListener() {
            @Override
            public void onClick(View view) {
                vipClikListener.onVipClick();
            }
        });

    }
    public interface onCloseClickListener{
        public void onCloseClick();
    }
    public interface onVipClickListener{
        public void onVipClick();
    }
    public void setOnCloseClickListener(onCloseClickListener listener){
        this.closeClickListener = listener;
    }
    public void setOnVipClickListener(onVipClickListener listener){
        this.vipClikListener = listener;
    }

}
这个类主要是完成了布局的设置,以及Dialog的样式的设定,用的时候可以根据自己的需要修改Themresid这个配置属性。
接下来也就是最后一步了,我们来看一下如何使用,我们只需要在点击某个按钮触发时通过自定义Dialog类中的构造传入具体的参数即可:
new CommonDialog(this, R.style.MyDialogStyle, myStr1 + "", new CommonDialog.OnCloseListener() {
            @Override
            public void onClick(Dialog dialog, boolean confirm) {
                if (confirm) {
                    //Toast.makeText(MyActivity.this,"QQ1181878209", Toast.LENGTH_SHORT).show();
                    Intent intent = new Intent(MyActivity.this, SecondActivity.class);
                    startActivity(intent);
                    dialog.dismiss();
                } else {
                    //
                    Intent intent = new Intent(MyActivity.this, ThirdActivity.class);
                    startActivityForResult(intent, mRequestCode);
                    Toast.makeText(MyActivity.this, "QQ1181878209", Toast.LENGTH_SHORT).show();
                    dialog.dismiss();
                }
            }
        }).setTitle("Bin·Laden").show();
一定不要忘记调用Dialog的show()方法,不然的话Dialog是不会弹出来的。
最后,感谢一直以来理解支持我的人,正是因为他们我才走的更加坚定。
喜欢就点个赞吧


 300
300

 被折叠的 条评论
为什么被折叠?
被折叠的 条评论
为什么被折叠?
 到【灌水乐园】发言


