


nexus是什么? https://blog.youkuaiyun.com/yamaxifeng_132/article/details/52479891
1、下载免安装版,直接解压,过一遍文旦。
【官网的下载与配置解压】
https://www.sonatype.com/download-oss-sonatype
https://help.sonatype.com/repomanager3/maven-repositories

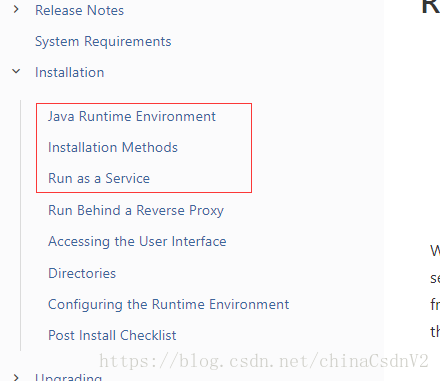
安装条件、如何安装、运行入口:
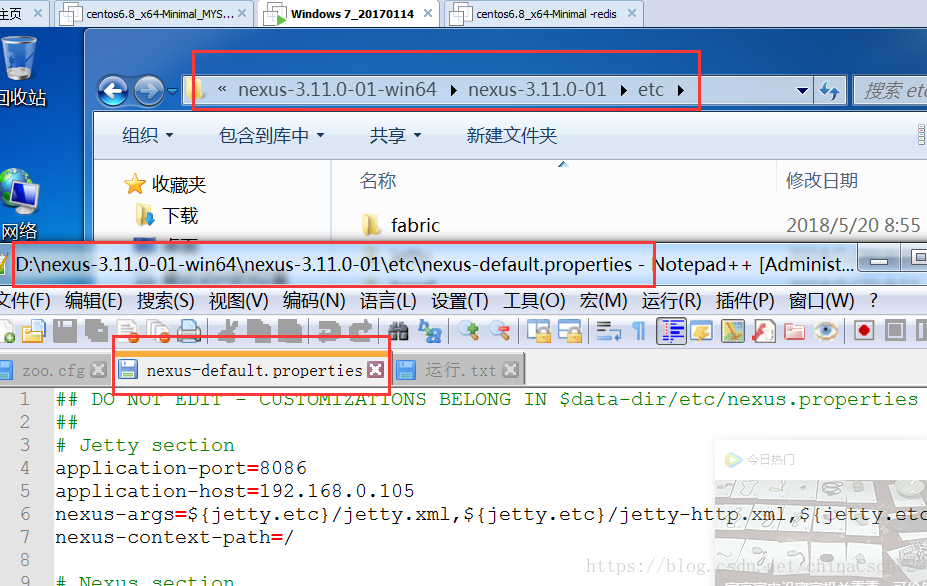
2、配置,运行。修改ip跟端口
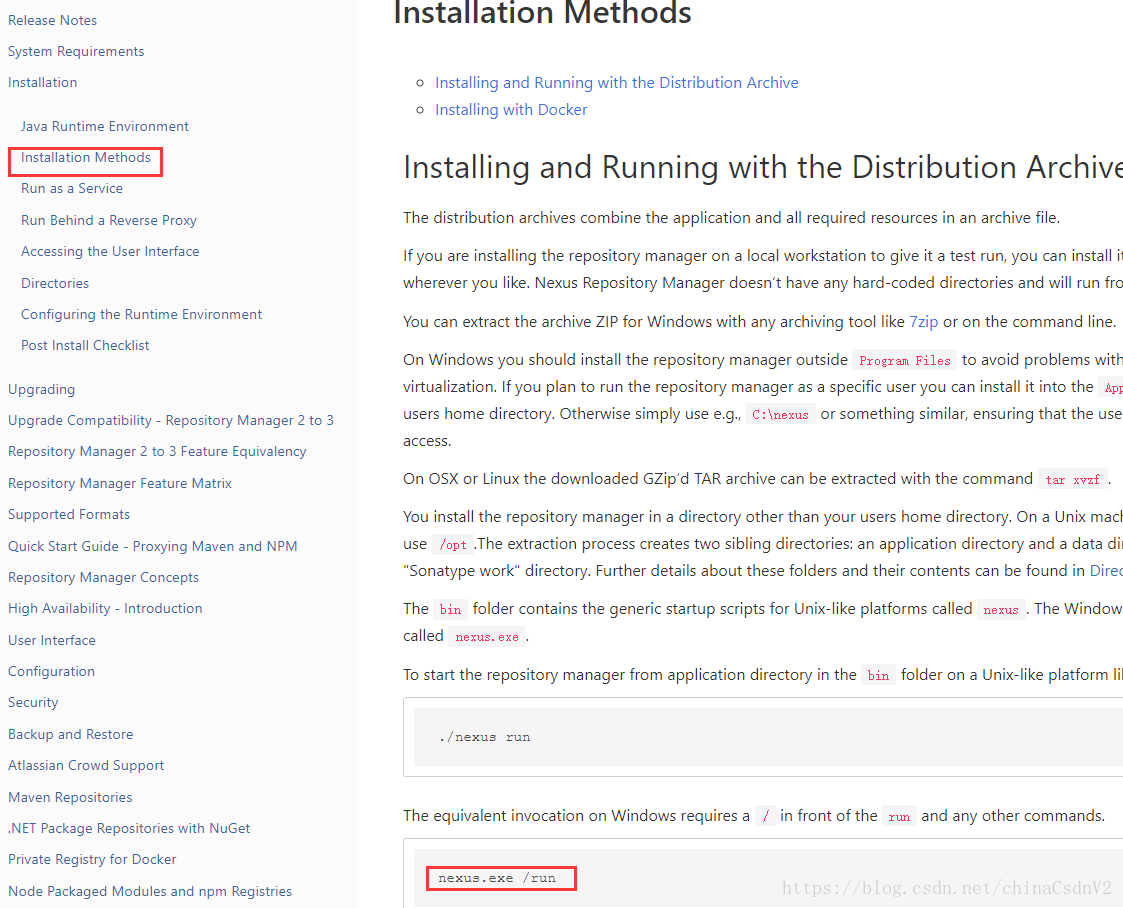
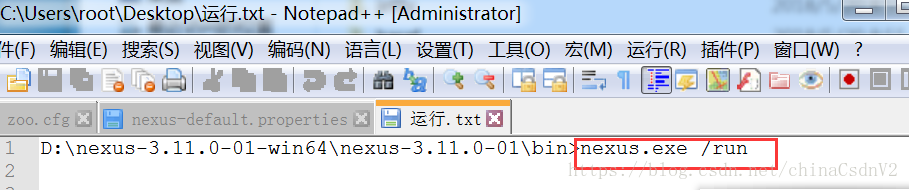
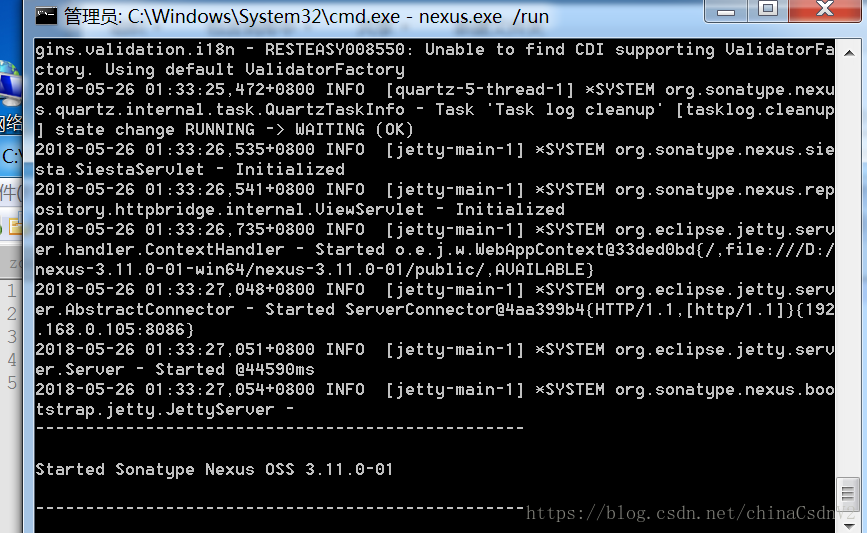
3、启动 D:\nexus-3.11.0-01-win64\nexus-3.11.0-01\bin>nexus.exe /run
参考官网 https://help.sonatype.com/repomanager3/installation/installation-methods
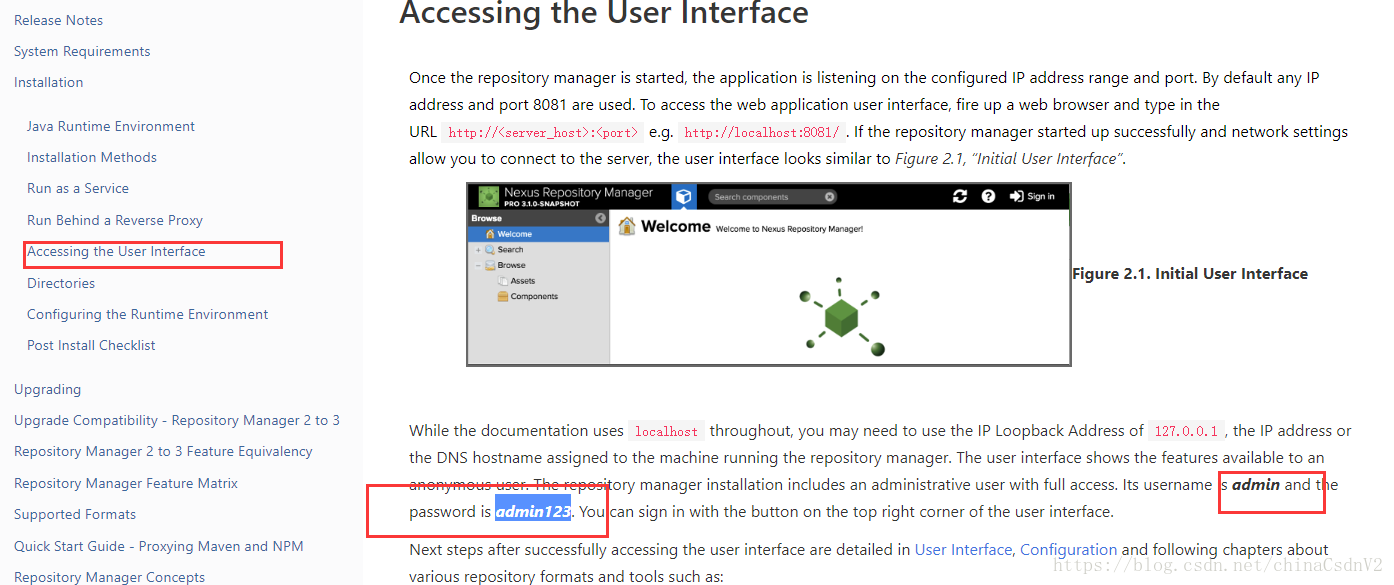
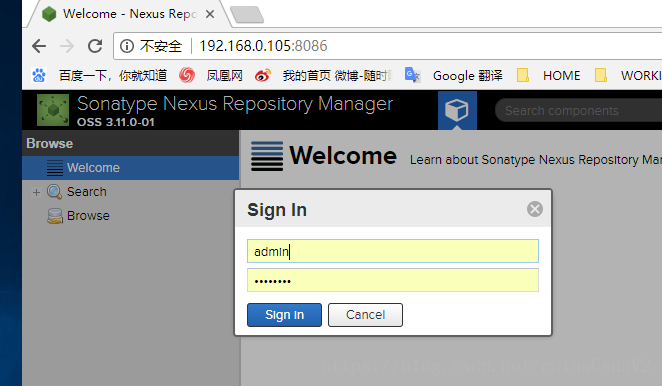
4、登录 http://192.168.0.105:8086
默认密码登录
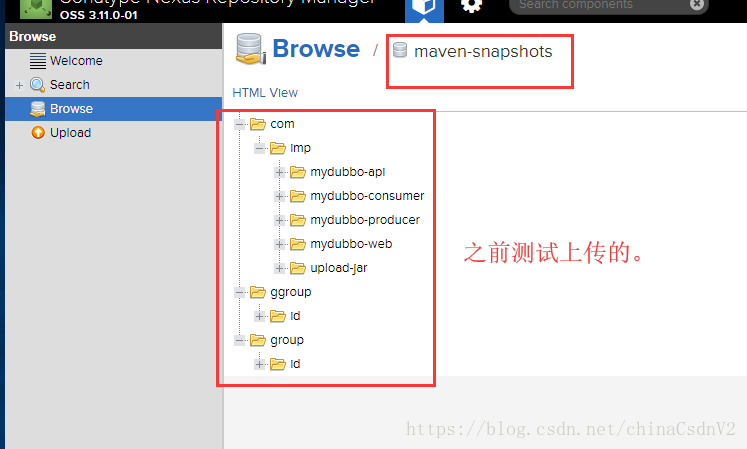
查看版本库:

这些是之前下面maven项目上传的。
5、配置maven的 setting文件【下载个压缩版的maven解压,配置系统环境变量。】
<?xml version="1.0" encoding="UTF-8"?>
<settings>
<pluginGroups>
<!-- pluginGroup
| Specifies a further group identifier to use for plugin lookup.
<pluginGroup>com.your.plugins</pluginGroup>
-->
<pluginGroup>org.sonatype.plugins</pluginGroup>
</pluginGroups>
<proxies>
</proxies>
<servers>
<server>
<id>nexus</id>
<username>admin</username>
<password>admin123</password>
</server>
</servers>
<mirrors>
<mirror>
<id>nexus</id>
<mirrorOf>*</mirrorOf>
<url>http://192.168.0.105:8086/repository/maven-public/</url>
</mirror>
</mirror> -->
</mirrors>
<profiles>
<profile>
<id>nexus</id>
<!--Enable snapshots for the built in central repo to direct -->
<!--all requests to nexus via the mirror -->
<repositories>
<repository>
<id>central</id>
<url>http://central</url>
<releases><enabled>true</enabled><updatePolicy>always</updatePolicy></releases>
<snapshots><enabled>true</enabled><updatePolicy>always</updatePolicy></snapshots>
</repository>
</repositories>
<pluginRepositories>
<pluginRepository>
<id>central</id>
<url>http://central</url>
<releases><enabled>true</enabled><updatePolicy>always</updatePolicy></releases>
<snapshots><enabled>true</enabled><updatePolicy>always</updatePolicy></snapshots>
</pluginRepository>
</pluginRepositories>
</profile>
</profiles>
<activeProfiles>
<!--make the profile active all the time -->
<activeProfile>nexus</activeProfile>
</activeProfiles>
</settings>
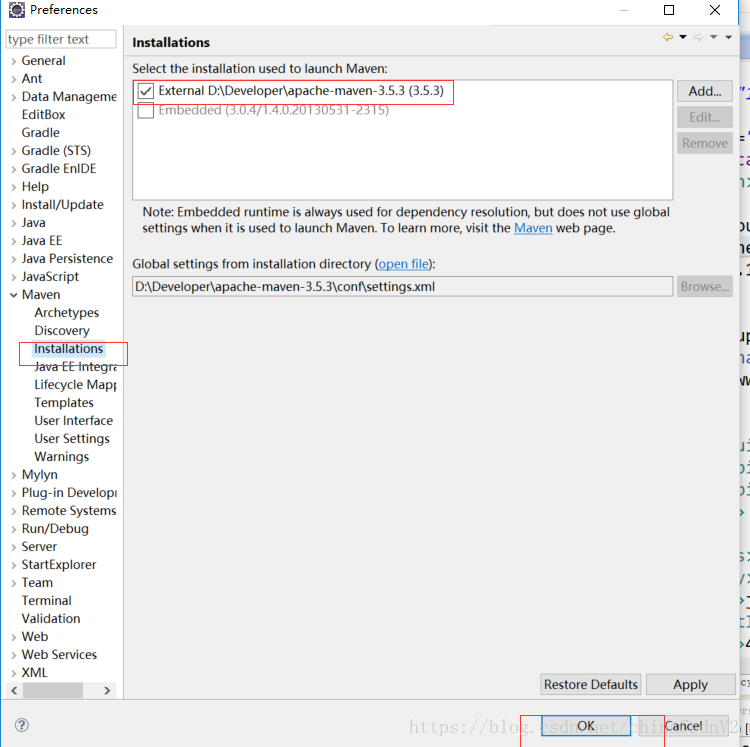
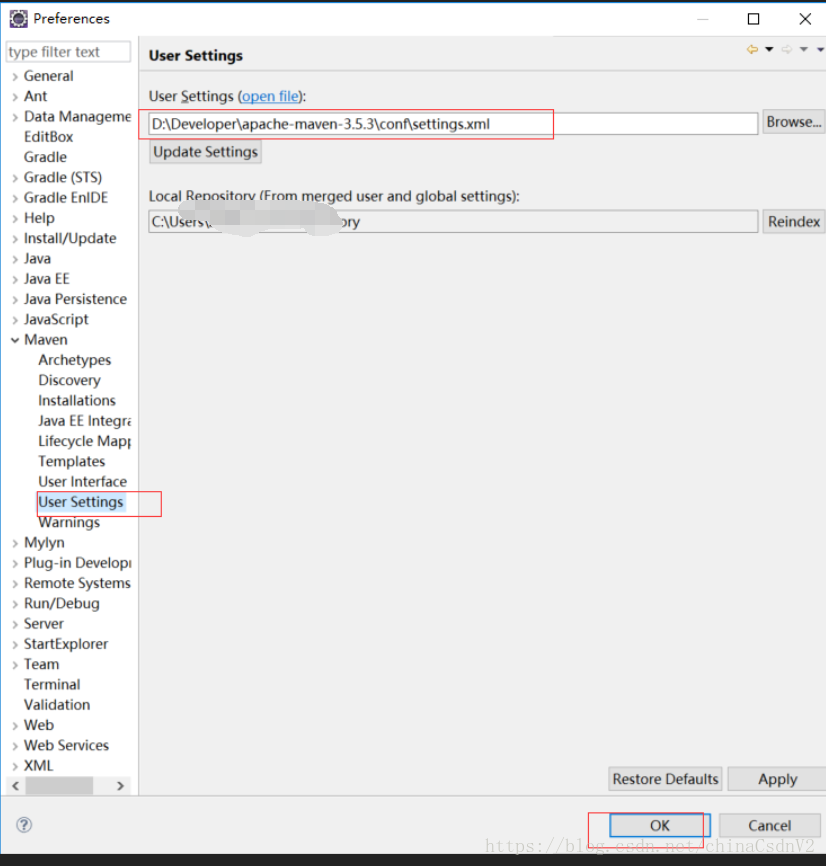
6、配置eclipse 的maven配置、setting文件 【setting文件一定要指对, 不然 maven deploy时报401 ReasonPhrase: Unauthorized 错误 】
7、eclipse新建maven项目,eclipse可以选择maven 的骨架 archetype
https://blog.youkuaiyun.com/cx1110162/article/details/78297654
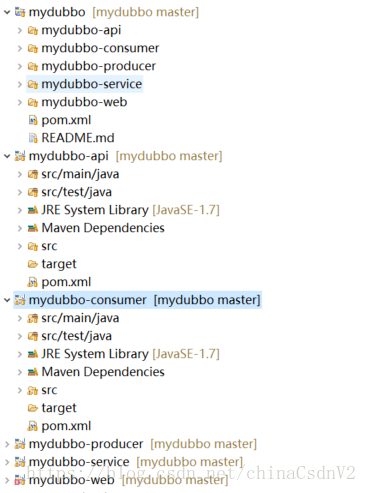
建一个父子依赖的项目
https://www.cnblogs.com/qiyebao/p/5300539.html
https://blog.youkuaiyun.com/leipeng321123/article/details/50995736
加载部署dubbo的包,搭建
https://blog.youkuaiyun.com/qq_18860653/article/details/53186040
【dubbo、web大整合 https://www.cnblogs.com/blueness-sunshine/p/6015965.html
【国内maven仓库 https://www.zhihu.com/question/47261839?sort=created 】
8、先打包package, 再deploy上传【jdk设置要正确、maven配置、setting配置】
clean package deploy
/*********************************************************************/
推送github
https://www.cnblogs.com/smileLuckBoy/p/5796566.html
1、通过github创建repository
2、在项目根目录下添加文件.gitignore 【要么在github上增加,要么在项目下增加,否则下面push会冲突】
3、在terminal中执行github提示的命令【GitHub创建repository时就有命令提示】
#初始化本地仓库
git init
#将本地内容添加至git索引中
git add .
#将索引添加至本地仓库中
git commit -m "first commit"
#添加远程仓库路径
git remote add origin https://github.com/xxxxx/xxxxx.git
#将本地内容push至远程仓库中
git push -u origin master
如何启动dubbo,见上一篇文章 dubbo例子
https://github.com/gemeiren/mydubbo


 566
566

 被折叠的 条评论
为什么被折叠?
被折叠的 条评论
为什么被折叠?
 到【灌水乐园】发言


