


AutoGen是一个用于创建可自主行动或与人类一起工作的多智能体AI应用程序的框架。通过 AgentChat,我们可以使用预设智能体快速构建应用程序。为了说明这一点,我们将从创建一个可以与之聊天的单个工具使用智能体团队开始。
安装
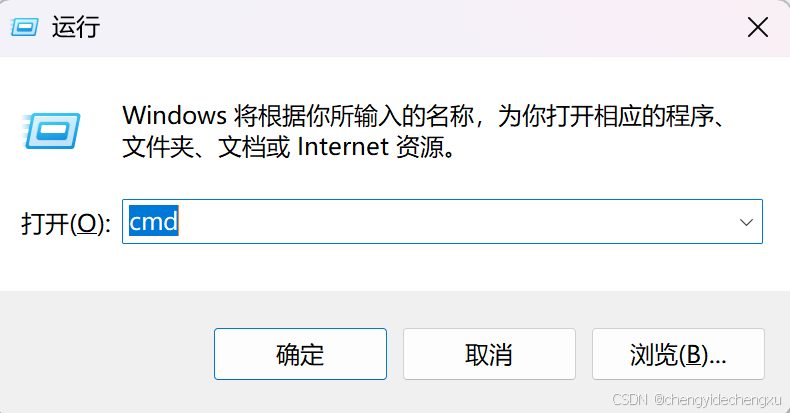
AutoGen需要Python 3.10 或更高版本。Windows平台,键盘按Win+R快速打开Windows系统中的“运行”对话框,输入cmd然后按下回车键。
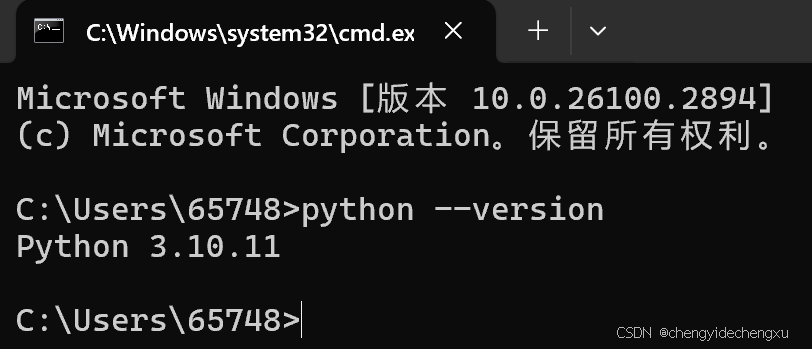
在打开的命令提示符(Command Prompt)窗口输入命令 python --version 查看当前python安装版本。若Python版本不是3.10,则需要打开python官网下载对应版本。Python官网地址:Welcome to Python.org
以下代码使用OpenAI模型。如果您尚未安装以下软件包和扩展,则需要安装:
pip install -U "autogen-agentchat" "autogen-ext[openai,azure]"代码
以下是AutoGen快速入门代码:
import asyncio
from autogen_agentchat.agents import AssistantAgent
from autogen_agentchat.teams import RoundRobinGroupChat
from autogen_agentchat.ui import Console
from autogen_ext.models.openai import OpenAIChatCompletionClient


# 定义工具
async def get_weather(city: str) -> str:
    return f"The weather in {city} is 73 degrees and Sunny."


async def main() -> None:
    # 定义智能体
    weather_agent = AssistantAgent(
        name="weather_agent",
        model_client=OpenAIChatCompletionClient(
            model="gpt-3.5-turbo",
            # api_key="你的OPENAI_API_KEY",
        ),
        tools=[get_weather],
    )

    # 定义一个只有一个智能体的团队,最大自动生成轮次为 1。
    agent_team = RoundRobinGroupChat([weather_agent], max_turns=1)

    while True:
        # 从控制台获取用户输入。
        user_input = input("Enter a message (type 'exit' to leave): ")
        if user_input.strip().lower() == "exit":
            break
        # 运行智能体团队并将消息流传输到控制台。
        stream = agent_team.run_stream(task=user_input)
        await Console(stream)

asyncio.run(main())
控制台输出效果:
Enter a message (type 'exit' to leave): What is the weather in Beijing?
---------- user ----------
What is the weather in Beijing?
---------- weather_agent ----------
[FunctionCall(id='call_vN04UiNJgqSz6g3MHt7Renig', arguments='{"city":"Beijing"}', name='get_weather')]
---------- weather_agent ----------
[FunctionExecutionResult(content='The weather in Beijing is 73 degrees and Sunny.', call_id='call_vN04UiNJgqSz6g3MHt7Renig')]
---------- weather_agent ----------
The weather in Beijing is 73 degrees and Sunny.
Enter a message (type 'exit' to leave): exit

进程已结束,退出代码为 0
说明
到这里,我们已完成AutoGen使用的快速入门。需要注意的是,以上示例使用的LLM为OpenAI的gpt-3.5-trubo,请根据自己的LLM进行设置。若使用OpenAI的LLM,必须要设置OpenAI API Key,否则运行代码会报错。
第一种方式为:在环境变量->系统变量->新建系统变量,变量名称为OPENAI_API_KEY,变量值为你自己的OpenAI API Key。
第二种方式为:在上述Pyhon代码中将model_client里的api_key取消注释,等号右边输入你的OpenAI API Key。
虽然两种方法都可行,但是博主并不推荐第二种方式,因为当别人获取到你的代码就知道你的OpenAI API Key是多少了。


 1529
1529

 被折叠的 条评论
为什么被折叠?
被折叠的 条评论
为什么被折叠?
 到【灌水乐园】发言


