


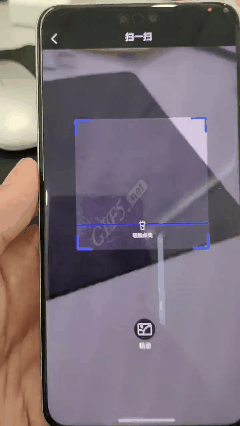
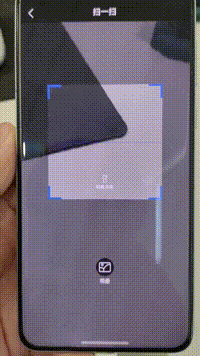
简述:在开发项目的过程中,系统给我们提供的的很多ui界面经常不满足我们的业务需求,这样就需要我们自己来定义很多ui组件。目前我在开发鸿蒙(api 11)项目的时候就发现鸿蒙官网提供的原生扫码页面并不能满足我们的业务需求,这就需要们自己自定义扫码页面。先来看看我自己写的自定义扫码页面的效果:
实现步骤:
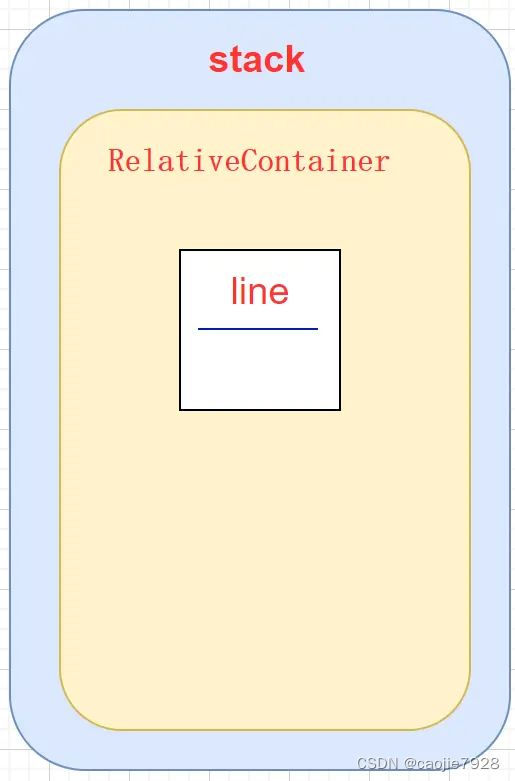
1.绘制页面相机数据预览组件和遮罩组件
先说明下页面的整体层级,直接上图:
大致代码如下:
 Stack() {


    XComponent({
      id: 'componentId',
      type: 'surface',
      controller: this.mXComponentController
    }).onLoad(() => {

      // 获取XComponent的surfaceId
      this.surfaceId = this.mXComponentController.getXComponentSurfaceId();

      // 设置ViewControl相应字段
      this.viewControl = {
        width: 1080,
        height: 1920,
        surfaceId: this.surfaceId,
      };
      this.isLoaded = true;
      // customScan.start(this.viewControl, this.callback);
      this.alpha = 0;
      this.translateXY = {
        x: 0,
        y: px2vp(this.screenWidth * this.scanRectSize),
        z: 0
      }
    }).backgroundColor(Color.Transparent)
      .position({ x: 0, y: 0 })


    RelativeContainer() {

      Row()
        .width("100%")
        .height(this.scanRectMarginTop * px2vp(this.screenHeight))
        .backgroundColor("#60000000")
        .alignRules({
          top: { anchor: '__container__', align: VerticalAlign.Top },
          left: { anchor: '__container__', align: HorizontalAlign.Start }
        })
        .id("topRect")


      Row()
        .width(((1 - this.scanRectSize) / 2.0) * px2vp(this.screenWidth))
        .height(this.scanRectSize * px2vp(this.screenWidth))
        .backgroundC
最低0.47元/天 解锁文章


 1万+
1万+

 被折叠的 条评论
为什么被折叠?
被折叠的 条评论
为什么被折叠?
 到【灌水乐园】发言


