


 本文介绍了SpringCloud微服务项目的搭建过程。先新建父项目,由maven管理。再创建eureka注册中心子模块,通过注解和配置文件开启服务。接着创建微服务service - one和service - two,选择相关组件,配置客户端,编写测试类和接口,最后启动应用。
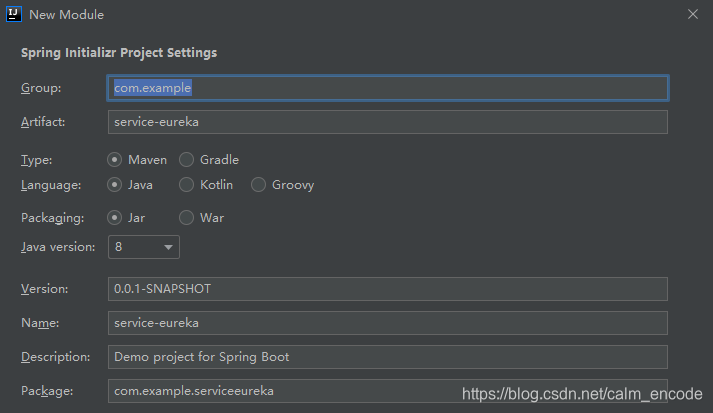
一 新建一个项目作为微服务项目的父项目

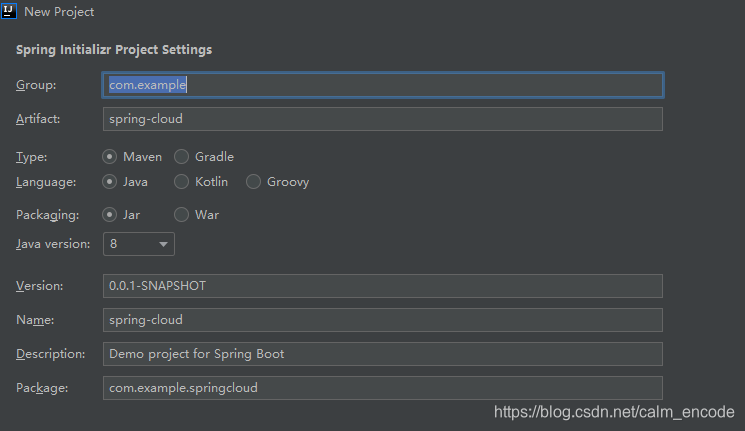
基于此,该项目什么组件都不选,整个项目由maven进行管理,因为微服务需要一个父模块+多个子模块,我们就将该项目作为父模块并利用它来管理子模块。
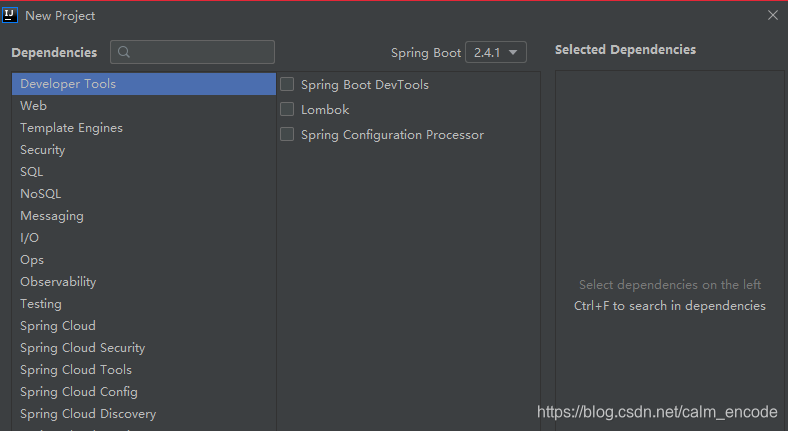
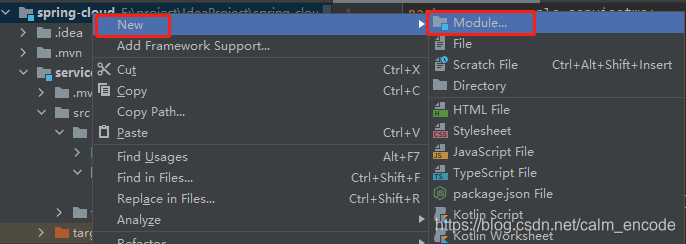
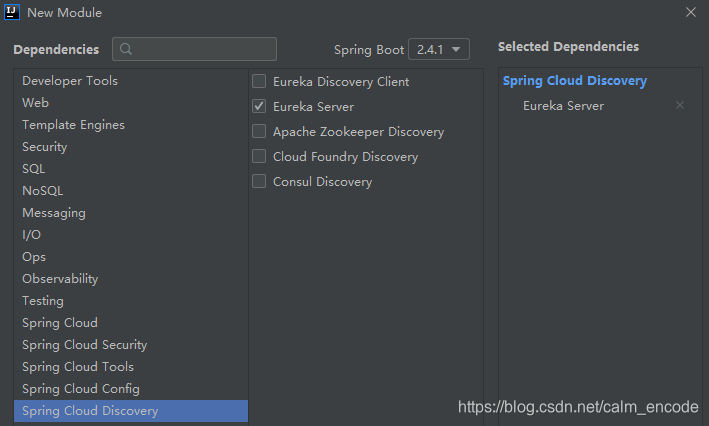
二 新建一个子模块,作为SpringCloud项目的核心——eureka注册中心,因为微服务需要把一个整个后台应用拆分成一个个小的功能模块,我们需要通过一个注册中心来保证模块之间的通信。
选择组件Eureka Server
通过注解@EnableEurekaServer开启服务
@SpringBootApplication
@EnableEurekaServer //开启Eureka服务
public class ServiceEurekaApplication {

    public static void main(String[] args) {
        SpringApplication.run(ServiceEurekaApplication.class, args);
    }

}
对注册中心进行配置,这里通过application.yml配置文件进行配置,也可以用application.properties文件进行配置。他们都可以配置工程。
server:
  # 配置服务端口
  port: 8081
eureka:
  client:
    service-url:
      # 配置eureka服务器地址
      defaultZone: http://127.0.0.1:8081/eureka
    #是否需要将自己注册到注册中心(注册中心集群需要设置为true)
    register-with-eureka: false
    #是否需要搜索服务信息 因为自己是注册中心所以为false
    fetch-registry: false
三创建微服务
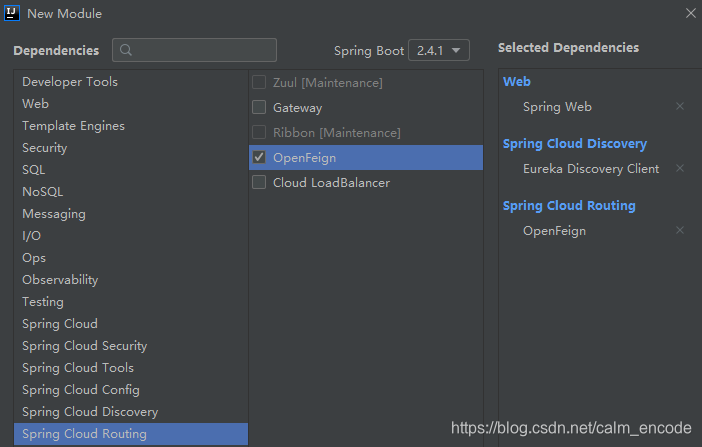
微服务service-one
选择web组件,用来写api接口;选择Eureka Discovery Client组件作为注册中心客户端模块;选择组件OpenFeign模块,使得微服务之间的调用变得简单。
通过applicaiton.yml对微服务service-one进行配置
server:
  # 服务端口号
  port: 8082
spring:
  application:
    # 服务名称 - 服务之间使用名称进行通讯
    name: service-one
eureka:
  client:
    service-url:
      # 填写注册中心服务器地址
      defaultZone: http://localhost:8081/eureka
    # 是否需要将自己注册到注册中心
    register-with-eureka: true
    # 是否需要搜索服务信息
    fetch-registry: true
  instance:
    # 使用ip地址注册到注册中心
    prefer-ip-address: true
    # 注册中心列表中显示的状态参数
    instance-id: ${spring.cloud.client.ip-address}:${server.port}
通过注解@EnableEurekaClient配置Eureka客户端
@SpringBootApplication
@EnableEurekaClient
public class ServiceOneApplication {

    public static void main(String[] args) {
        SpringApplication.run(ServiceOneApplication.class, args);
    }

}
编写服务service一个简单访问控制测试类
@RestController
public class TestController {
    @RequestMapping("/hello")
    public String hello(){
        return "hello world";
    }
}
微服务service-two
构建过程和选择的组件同service-one一致,所以步骤省略。通过注解@EnableEurekaClient配置Eureka客户端。
@SpringBootApplication
@EnableEurekaClient
public class ServiceTwoApplication {

    public static void main(String[] args) {
        SpringApplication.run(ServiceTwoApplication.class, args);
    }

}
通过applicaiton.yml配置文件对该微服务进行配置。
server:
  # 服务端口号
  port: 8083
spring:
  application:
    # 服务名称 - 服务之间使用名称进行通讯
    name: service-two
eureka:
  client:
    service-url:
      # 填写注册中心服务器地址
      defaultZone: http://localhost:8081/eureka
    # 是否需要将自己注册到注册中心
    register-with-eureka: true
    # 是否需要搜索服务信息
    fetch-registry: true
  instance:
    # 使用ip地址注册到注册中心
    prefer-ip-address: true
    # 注册中心列表中显示的状态参数
    instance-id: ${spring.cloud.client.ip-address}:${server.port}
编写接口ServiceOneFeignClient,通过注解@FeignClient("SERVICE-ONE")调用微服务service-one
@FeignClient("SERVICE-ONE")
public interface ServiceOneFeignClient {
    @RequestMapping("/hello")
    public String hello();
}
编写service-two的访问控制接口
@RestController
public class TestController {
@Autowired
private ServiceOneFeignClient serviceOneFeignClient;
@RequestMapping("/call")
public String call() {
String result = serviceOneFeignClient.hello();
return "Server B call Server A : " + result;
}
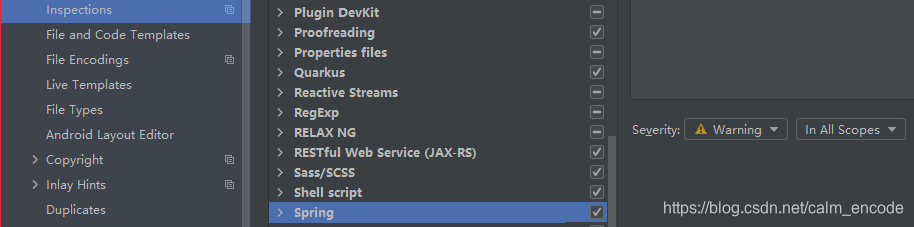
}提示Could not autowire. No beans of 'ServiceOneFeignClient' type found。
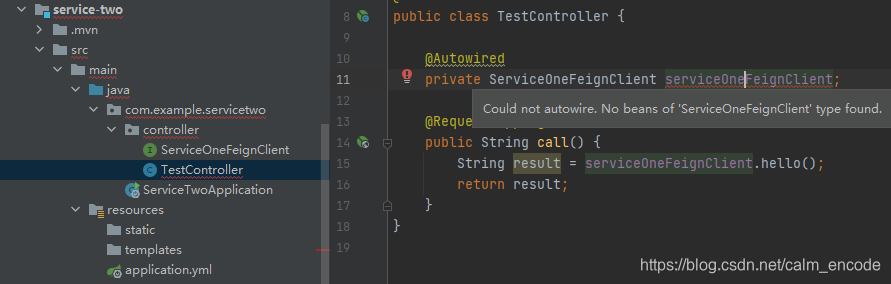
设置Settings->Inspections->Spring将Severity设置为Warning级别。
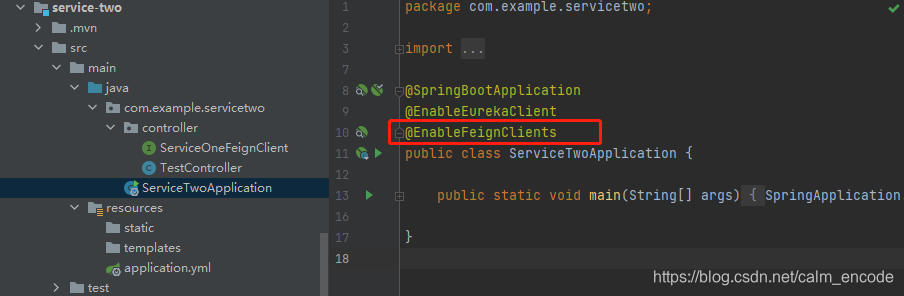
在ServiceTwoApplication增加注解@EnableFeignClients
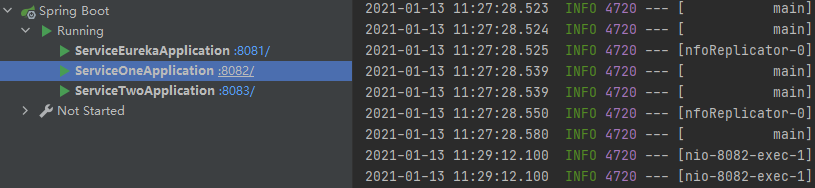
启动微服务应用

服务service-one:http://localhost:8082/hello

服务service-tow:http://localhost:8083/call
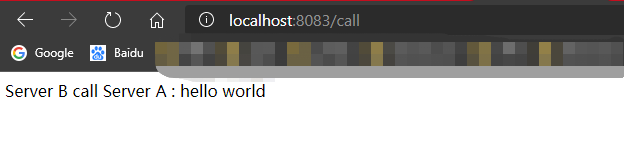
至此一个简单的微服务应用项目就告一段落了,后续还有很多内容进行回顾。


 3292
3292

 被折叠的 条评论
为什么被折叠?
被折叠的 条评论
为什么被折叠?
 到【灌水乐园】发言


