


简易安装完centos之后,发现网卡没有IP
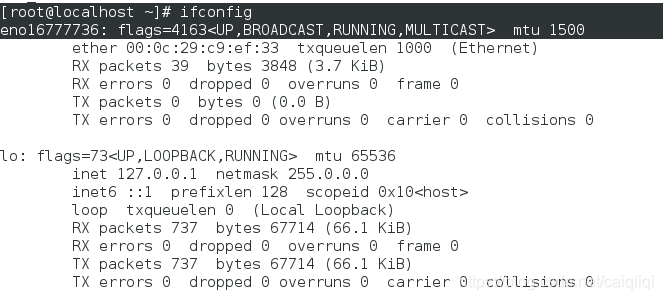
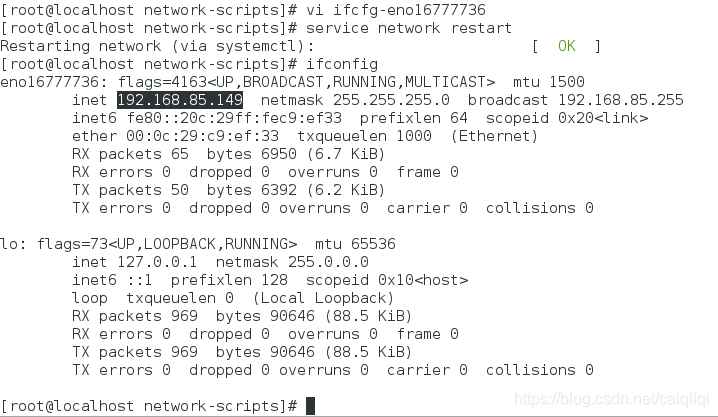
vi /etc/sysconfig/network-scripts/ifcfg-enp0s3
将ONBOOT=no改为ONBOOT=yes,即开机启动。
参考:
https://www.jianshu.com/p/d897bc755532
关闭防护墙
参考:
https://blog.youkuaiyun.com/ytangdigl/article/details/79796961
默认情况下,安装了之后开启端口外部无法访问,原来是开了防火墙。
查看防火墙状态:
firewall-cmd --state
停止firewall:
systemctl stop firewalld.service
禁止firewall开机启动:
systemctl disable firewalld.service
然后就可以访问端口了。
修改网卡为静态IP
参考:
https://blog.youkuaiyun.com/RBPicsdn/article/details/81205179
https://zhuanlan.zhihu.com/p/52699651
修改网卡为静态IP之后无法上网:
Centos7设置静态IP后无法上网的解决方法
设置VMWare中ubuntu的静态IP
ubuntu server 20修改为静态IP
注意默认的是NetworkManager,需要修改为netwokd。
/etc/netplan/01-netcfg.yaml
network:
        version: 2
        renderer: networkd
        ethernets:
                ens33:
                        addresses: [192.168.17.128/24]
                        dhcp4: no
                        optional: true
                        gateway4: 192.168.17.2
                        nameservers:
                                addresses: [114.114.114.114, 8.8.8.8]
Ref:
- https://linuxize.com/post/how-to-configure-static-ip-address-on-ubuntu-20-04/
超时连接设置
找到
#ClientAliveInterval 0
#ClientAliveCountMax 3
修改为
ClientAliveInterval 60
ClientAliveCountMax 5
然后重启:
systemctl restart sshd
使用yum安装MySQL
参考:
https://segmentfault.com/a/1190000015216149
# 下载mysql的repo源
wget http://repo.mysql.com/mysql-community-release-el7-5.noarch.rpm
# 安装mysql-community-release-el7-5.noarch.rpm包
sudo rpm -ivh mysql-community-release-el7-5.noarch.rpm
然后会得到两个源:
/etc/yum.repos.d/mysql-community.repo
/etc/yum.repos.d/mysql-community-source.repo
然后安装mysql:
sudo yum install mysql-server
然后修改mysql目录的权限:
sudo chown -R cqq:cqq /var/lib/mysql
然后重启mysql:
sudo service mysqld restart
重置mysql密码:
$ mysql -u root  //直接回车进入mysql控制台
mysql > use mysql;
mysql > update user set password=password('root') where user='root';
mysql > flush privileges;
mysql > exit;
yum卸载:
yum remove <package>
使用yum安装postgresql
使用阿里云的源:
sudo yum install postgresql-server
sudo   postgresql-setup initdb
sudo systemctl enable postgresql.service
sudo systemctl start postgresql.service
参考:
https://www.postgresql.org/download/linux/redhat/
https://ken.io/note/centos7-postgresql12-install-and-configuration
使用postgresql创建数据库:
https://www.digitalocean.com/community/tutorials/how-to-install-and-use-postgresql-on-centos-7
centos安装redis
https://linuxize.com/post/how-to-install-and-configure-redis-on-centos-7/
centos安装kafka
https://www.mtyun.com/library/how-to-install-kafka-on-centos7
https://www.cnblogs.com/linjiqin/p/13196347.html
tar zxvf kafka_2.11-0.8.2.2.tgz
mv kafka_2.11-0.8.2.2 kafka
cd kafka
启动kafka服务:
bin/kafka-server-start.sh config/server.properties
centos安装elastic search
//TODO
centos使用yum update时碰到问题
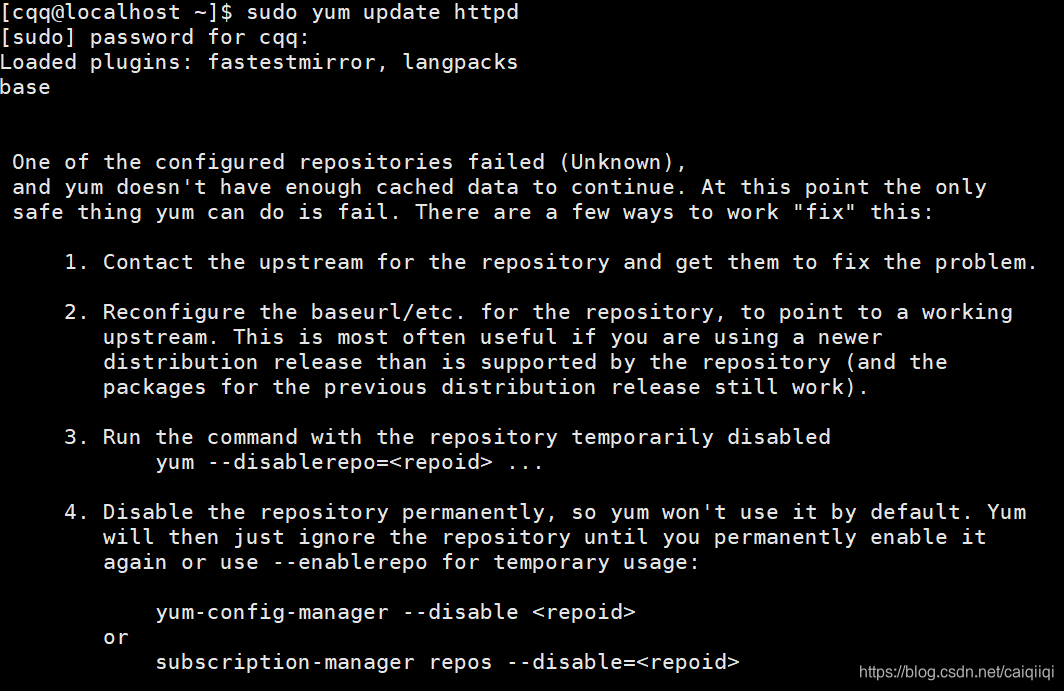
本来想安装个httpd,使用yum安装的时候,结果碰到这种问题,
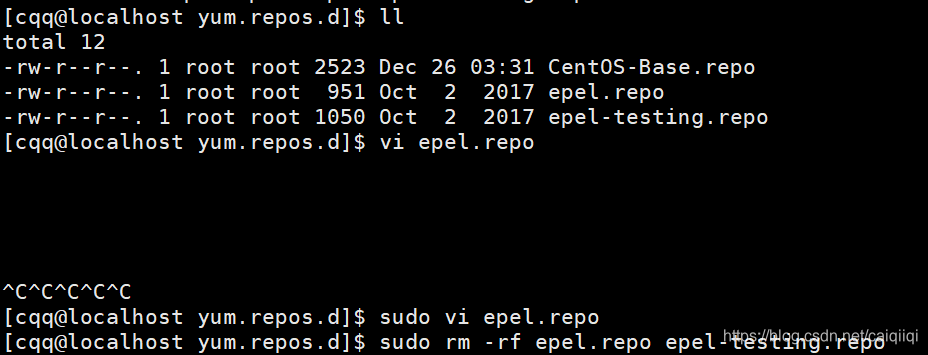
后来想起之前碰到这种问题的时候就是因为这个目录/etc/yum.repos.d下多了其他的.repo文件。
于是尝试将除CentOS-Base.repo之外的删除掉了。
然后重新执行yum update就可以了。
centos安装apache httpd
sudo yum install httpd
sudo systemctl enable httpd
sudo systemctl start httpd
参考:
https://www.digitalocean.com/community/tutorials/how-to-install-the-apache-web-server-on-centos-7


 被折叠的 条评论
为什么被折叠?
被折叠的 条评论
为什么被折叠?
 到【灌水乐园】发言


