 HTML实现注册登录页面跳转


要求:
- 主页中,可以点击 **注册**或者**登录**能直接在新窗口跳转到对应的页面
- 登录页面中,输入账号、密码可以点击登录-自动跳转到主页
- 注册页面中,输入账号、密码、确认密码、昵称,点击注册,注册后自动跳转到登录页面
以下为代码与实现图例
主页:
代码
<!DOCTYPE html>
<html lang="en">
<head>
<meta charset="UTF-8">
<meta name="viewport" content="width=device-width, initial-scale=1.0">
<title>Document</title>
<style>
body {
font-family: Arial, sans-serif;
text-align: center;
}
button {
padding: 15px 32px;
text-align: center;
text-decoration: none;
display: inline-block;
font-size: 16px;
border: none;
background-color: #eb097a;
color: white;
margin: 4px 2px;
cursor: pointer;
}
</style>
</head>
<body>
<h1>欢迎来到主页</h1>
<button onclick="window.open('注册.html', '_blank')">注册</button>
<button onclick="window.open('登录.html', '_blank')">登录</button>
</body>
</html>
图例

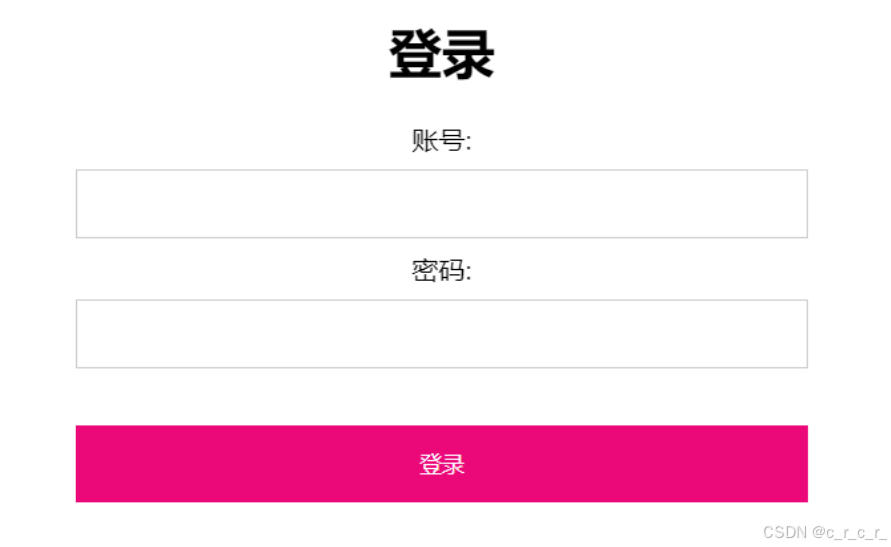
登录
代码:
<!DOCTYPE html>
<html lang="en">
<head>
<meta charset="UTF-8">
<meta name="viewport" content="width=device-width, initial-scale=1.0">
<title>Document</title>
<style>
body {
font-family: Arial, sans-serif;
text-align: center;
}
input[type=text], input[type=password] {
width: 30%;
padding: 12px 20px;
margin: 8px 0;
display: inline-block;
border: 1px solid #ccc;
box-sizing: border-box;
}
button {
background-color: #eb097a;
color: white;
padding: 14px 20px;
margin: 8px 0;
border: none;
cursor: pointer;
width: 30%;
}
</style>
</head>
<body>
<h1>登录</h1>
<form>
<label for="username">账号:</label><br>
<input type="text" id="username" name="username"><br>
<label for="password">密码:</label><br>
<input type="password" id="password" name="password"><br><br>
<button type="button" onclick="window.location.href = '主页.html'">登录</button>
</form>
</body>
</html>
图例
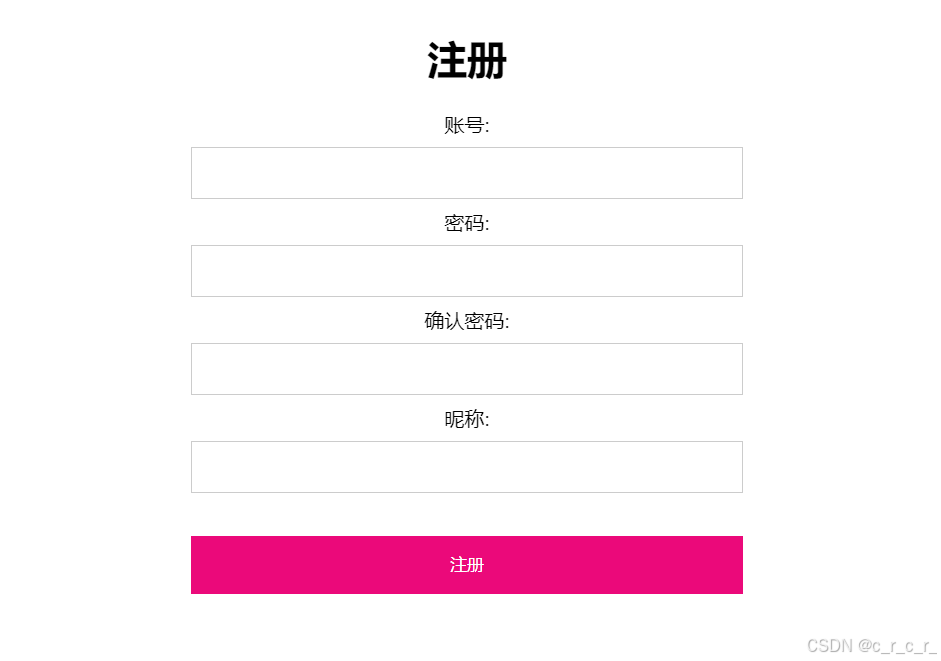
注册
代码:
<!DOCTYPE html>
<html lang="en">
<head>
<meta charset="UTF-8">
<meta name="viewport" content="width=device-width, initial-scale=1.0">
<title>Document</title>
<style>
body {
font-family: Arial, sans-serif;
text-align: center;
}
input[type=text], input[type=password] {
width: 30%;
padding: 12px 20px;
margin: 8px 0;
display: inline-block;
border: 1px solid #ccc;
box-sizing: border-box;
}
button {
background-color: #eb097a;
color: white;
padding: 14px 20px;
margin: 8px 0;
border: none;
cursor: pointer;
width: 30%;
}
</style>
</head>
<body>
<h1>注册</h1>
<form>
<label for="username">账号:</label><br>
<input type="text" id="username" name="username"><br>
<label for="password">密码:</label><br>
<input type="password" id="password" name="password"><br>
<label for="confirmPassword">确认密码:</label><br>
<input type="password" id="confirmPassword" name="confirmPassword"><br>
<label for="nickname">昵称:</label><br>
<input type="text" id="nickname" name="nickname"><br><br>
<button type="button" onclick="window.location.href = '登录.html'">注册</button>
</form>
</body>
</html>
图例


 1300
1300

 被折叠的 条评论
为什么被折叠?
被折叠的 条评论
为什么被折叠?
 到【灌水乐园】发言


