


 本文详细介绍了如何在SpringBoot项目中整合MyBatis分页插件PageHelper和代码生成插件mybatis-generator,包括环境搭建、依赖配置、YAML配置、数据库表创建、代码自动生成及控制器、服务层实现。
环境:
- 开发工具Intellij IDEA 2017.1.3
- springboot: 2.1.0
- jdk:jdk1.8.0_141
- maven:3.3.9
插件
- PageHelper 分页插件
- mybatis generator 代码生成插件
步骤
1.创建一个springboot项目

2.设置项目属性(Packageing默认jar)
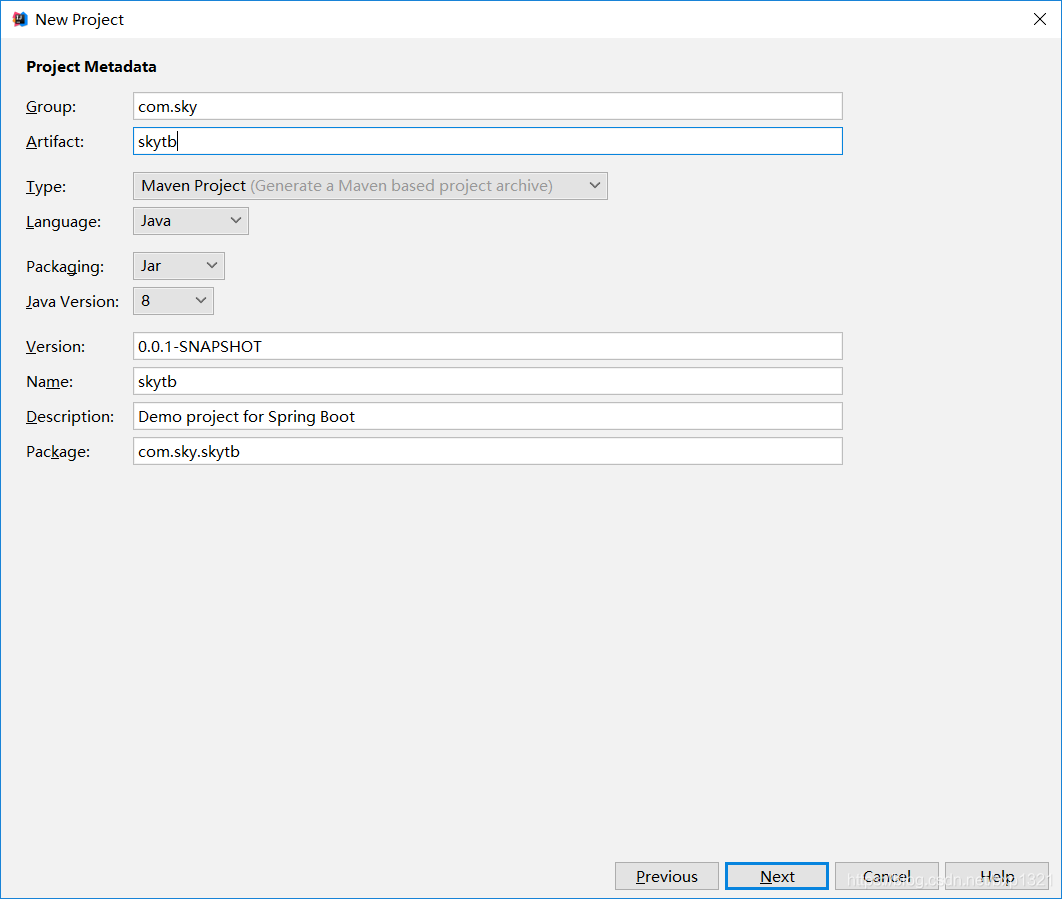
3.选择项目需要的依赖(web mybatis mysql jdbc)

4.点击finish,生成项目

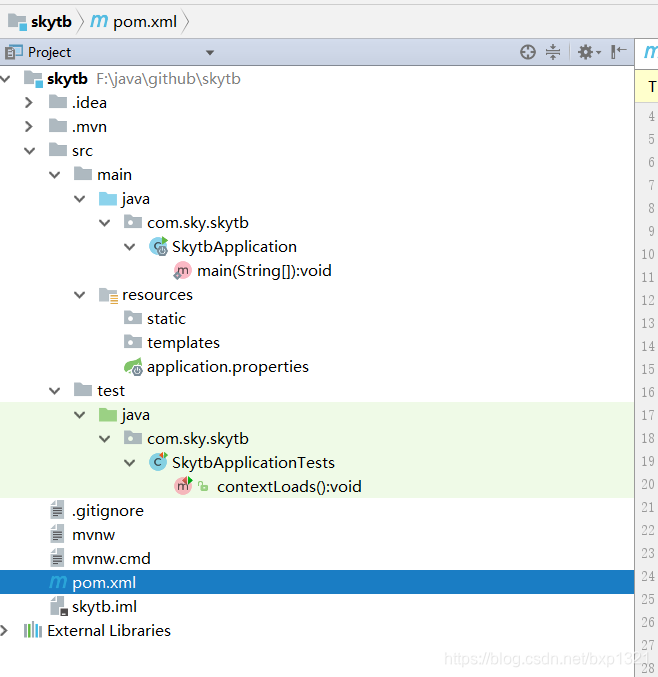
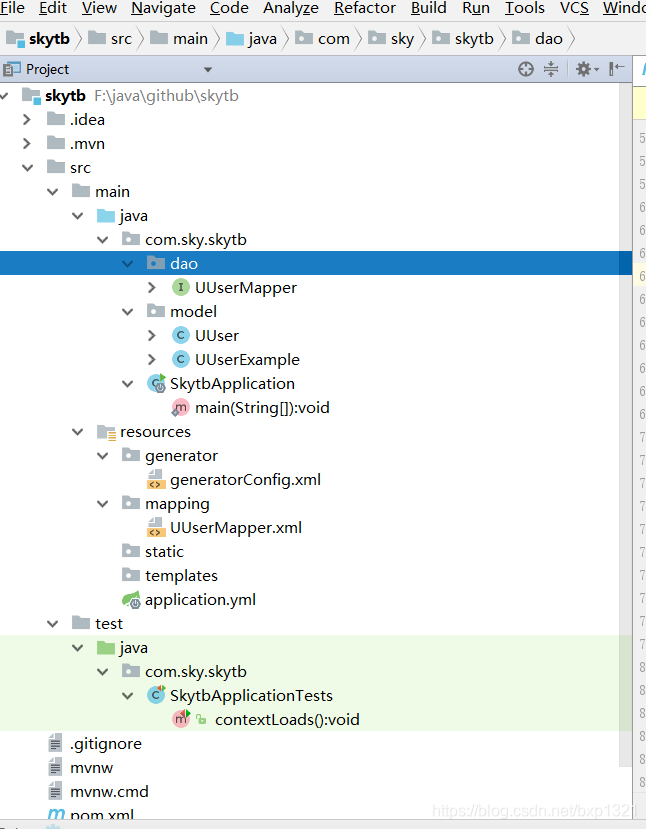
5.代码文件结构
6.添加依赖文件
springboot2.0要求pagehelper版本需要高一点,不然可能会引起异常。
<!-- 分页插件 -->
		<dependency>
			<groupId>com.github.pagehelper</groupId>
			<artifactId>pagehelper-spring-boot-starter</artifactId>
			<version>1.2.5</version>
		</dependency>
		<!-- alibaba的druid数据库连接池 -->
		<dependency>
			<groupId>com.alibaba</groupId>
			<artifactId>druid-spring-boot-starter</artifactId>
			<version>1.1.9</version>
</dependency>7.可以根据个人使用习惯选择使用properties或者yml文件,推荐使用yml配置文件,简洁一点,所以把原本application.properties删除,创建一个application.yml文件
server:
  port: 8080

spring:
    datasource:
        name: test
        url: jdbc:mysql://127.0.0.1:3306/test
        username: root
        password: root
        # 使用druid数据源
        type: com.alibaba.druid.pool.DruidDataSource
        driver-class-name: com.mysql.jdbc.Driver
        filters: stat
        maxActive: 20
        initialSize: 1
        maxWait: 60000
        minIdle: 1
        timeBetweenEvictionRunsMillis: 60000
        minEvictableIdleTimeMillis: 300000
        validationQuery: select 'x'
        testWhileIdle: true
        testOnBorrow: false
        testOnReturn: false
        poolPreparedStatements: true
        maxOpenPreparedStatements: 20

## 该配置节点为独立的节点,有很多同学容易将这个配置放在spring的节点下,导致配置无法被识别
mybatis:
  mapper-locations: classpath:mapping/*.xml  #注意:一定要对应mapper映射xml文件的所在路径
  type-aliases-package: com.sky.skytb.model  # 注意:对应实体类的路径

#pagehelper分页插件
pagehelper:
    helperDialect: mysql
    reasonable: true
    supportMethodsArguments: true
    params: count=countSql
8.创建表格
CREATE TABLE `u_user` (
  `user_id` bigint(20) unsigned NOT NULL AUTO_INCREMENT COMMENT '用户id',
  `user_name` varchar(32) NOT NULL COMMENT '用户名',
  `password` varchar(32) NOT NULL COMMENT '用户密码',
  `mobile` varchar(32) NOT NULL COMMENT '手机号',
  `create_by` bigint(20) unsigned NOT NULL COMMENT '创建人',
  `create_time` datetime NOT NULL COMMENT '创建时间',
  `update_by` bigint(20) unsigned DEFAULT NULL COMMENT '修改人',
  `update_time` datetime DEFAULT NULL COMMENT '修改时间',
  PRIMARY KEY (`user_id`)
) ENGINE=InnoDB DEFAULT CHARSET=utf8


INSERT INTO `u_user`(user_name,PASSWORD,mobile,create_by,create_time)VALUES('admin','123456','13911111111','1',NOW());
9.使用mybatis generator 自动生成代码
添加插件
<build>
        <plugins>
            <plugin>
                <groupId>org.springframework.boot</groupId>
                <artifactId>spring-boot-maven-plugin</artifactId>
            </plugin>
            <!-- mybatis generator 自动生成代码插件 -->
            <plugin>
                <groupId>org.mybatis.generator</groupId>
                <artifactId>mybatis-generator-maven-plugin</artifactId>
                <version>1.3.2</version>
                <configuration>
                    <configurationFile>${basedir}/src/main/resources/generator/generatorConfig.xml</configurationFile>
                    <overwrite>true</overwrite>
                    <verbose>true</verbose>
                </configuration>
            </plugin>
        </plugins>
    </build>
配置generatorConfig.xml
<?xml version="1.0" encoding="UTF-8"?>
<!DOCTYPE generatorConfiguration
PUBLIC "-//mybatis.org//DTD MyBatis Generator Configuration 1.0//EN"
"http://mybatis.org/dtd/mybatis-generator-config_1_0.dtd">
<generatorConfiguration>
<!-- 数据库驱动:选择你的本地硬盘上面的数据库驱动包-->
<classPathEntry location="E:\work\mysql-connector-java-5.1.30.jar"/>
<context id="DB2Tables" targetRuntime="MyBatis3">
<commentGenerator>
<property name="suppressDate" value="true"/>
<!-- 是否去除自动生成的注释 true:是 : false:否 -->
<property name="suppressAllComments" value="true"/>
</commentGenerator>
<!--数据库链接URL,用户名、密码 -->
<jdbcConnection driverClass="com.mysql.jdbc.Driver" connectionURL="jdbc:mysql://10.60.65.181:3306/test" userId="root" password="root">
</jdbcConnection>
<javaTypeResolver>
<property name="forceBigDecimals" value="false"/>
</javaTypeResolver>
<!-- 生成模型的包名和位置-->
<javaModelGenerator targetPackage="com.sky.skytb.model" targetProject="src/main/java">
<property name="enableSubPackages" value="true"/>
<property name="trimStrings" value="true"/>
</javaModelGenerator>
<!-- 生成映射文件的包名和位置-->
<sqlMapGenerator targetPackage="mapping" targetProject="src/main/resources">
<property name="enableSubPackages" value="true"/>
</sqlMapGenerator>
<!-- 生成DAO的包名和位置-->
<javaClientGenerator type="XMLMAPPER" targetPackage="com.sky.skytb.dao" targetProject="src/main/java">
<property name="enableSubPackages" value="true"/>
</javaClientGenerator>
<!-- 要生成的表 tableName是数据库中的表名或视图名 domainObjectName是实体类名-->
<table tableName="u_user" enableCountByExample="false">
<generatedKey column="user_id" sqlStatement="MySql" identity="true"/>
</table>
</context>
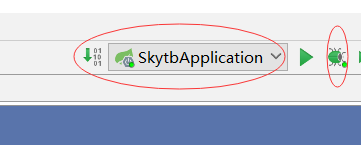
</generatorConfiguration>点击run-Edit Configurations

添加配置
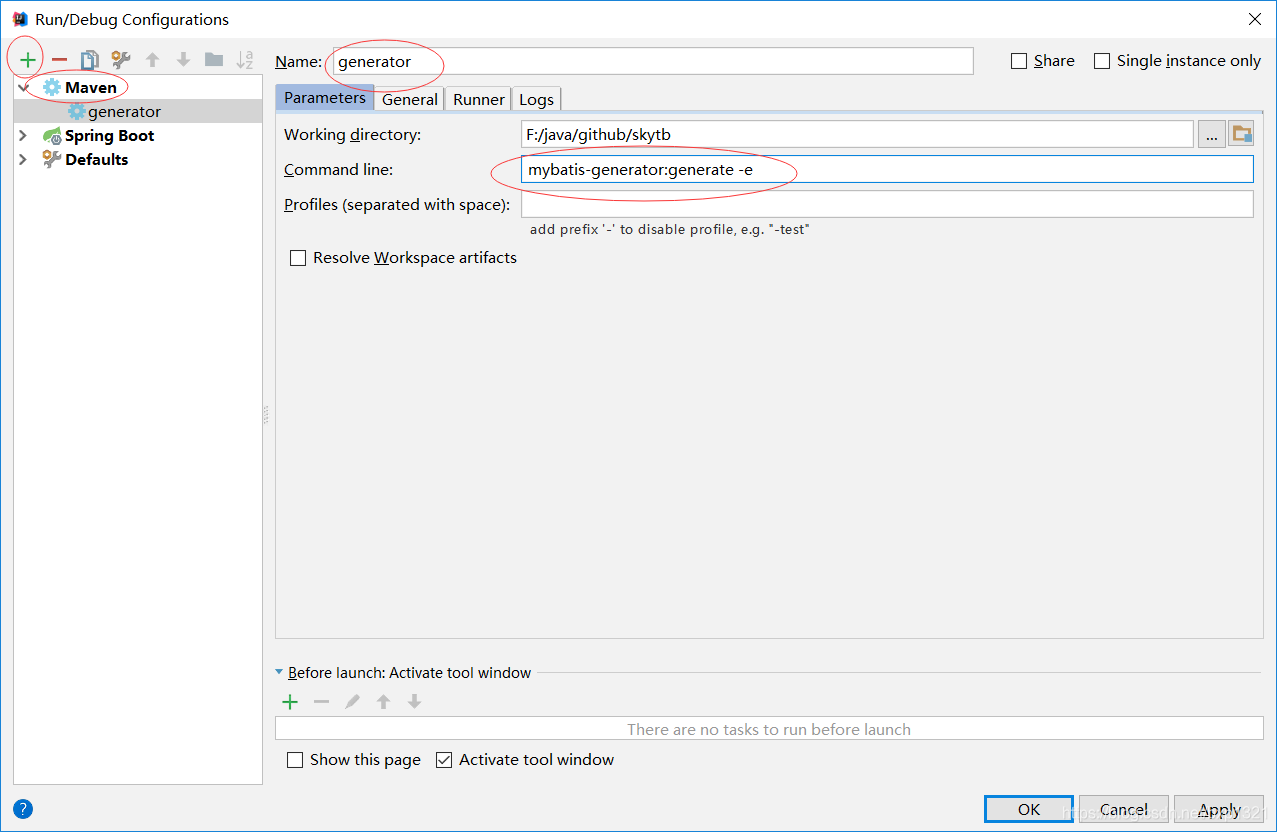
运行
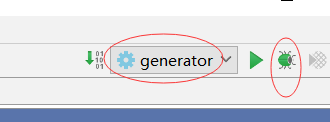
注意!!!同一张表一定不要运行多次,因为mapper的映射文件中会生成多次的代码,导致报错,切记
生成后的代码
10.打开类SkytbApplication.java,这个是springboot的启动类。我们需要添加点东西:
package com.sky.skytb;

import org.mybatis.spring.annotation.MapperScan;
import org.springframework.boot.SpringApplication;
import org.springframework.boot.autoconfigure.SpringBootApplication;

@SpringBootApplication
@MapperScan("com.sky.skytb.dao")//将项目中对应的mapper类的路径加进来就可以了
public class SkytbApplication {

	public static void main(String[] args) {
		SpringApplication.run(SkytbApplication.class, args);
	}
}
11添加UserService和UserServiceImpl类
UserService:
package com.sky.skytb.service;

import com.sky.skytb.model.UUser;

public interface UserService {
    UUser getUser(Long userId);
}
UserServiceImpl
package com.sky.skytb.service.impl;

import com.sky.skytb.dao.UUserMapper;
import com.sky.skytb.model.UUser;
import com.sky.skytb.service.UserService;
import org.springframework.beans.factory.annotation.Autowired;
import org.springframework.stereotype.Service;

@Service
public class UserServiceImpl implements UserService{
    @Autowired
    UUserMapper userMapper;

    @Override
    public UUser getUser(Long userId) {
        if(userId==null){
            return null;
        }
        return userMapper.selectByPrimaryKey(userId);
    }
}
12添加UserController类
package com.sky.skytb.controller;

import com.sky.skytb.model.UUser;
import com.sky.skytb.service.UserService;
import org.springframework.beans.factory.annotation.Autowired;
import org.springframework.web.bind.annotation.GetMapping;
import org.springframework.web.bind.annotation.RequestMapping;
import org.springframework.web.bind.annotation.RestController;

@RestController
@RequestMapping("/user")
public class UserController {
    @Autowired
    UserService userService;
    @GetMapping("/getUser")
    public UUser getUser(Long userId){
        return userService.getUser(userId);
    }
}
13运行SkytbApplication
14浏览器调用getUser方法
http://localhost:8080/user/getUser?userId=1


 873
873

 被折叠的 条评论
为什么被折叠?
被折叠的 条评论
为什么被折叠?
 到【灌水乐园】发言


