


 本文介绍如何在SpringBoot项目中实现评论功能,包括创建Comment实体类、Service接口及其实现、Controller类,以及如何实现评论的分类展示。通过示例展示了评论的发布、回复操作,并给出了分类展示的效果。
我们接着上次的代码开发
和之前做其他功能的流程类似,新建comment实体类:
@Entity
@Table(name="t_comment")
public class Comment {
    @Id
    @GeneratedValue(strategy = GenerationType.IDENTITY)
    private Long id;
    private String nickname;
    private String email;
    private String content;
    private String avatar;
    @Temporal(TemporalType.TIMESTAMP)
    private Date createTime;

    @ManyToOne
    private News news;

    @OneToMany(mappedBy = "parentComment")
    private List<Comment> replyComments = new ArrayList<>();

    @ManyToOne
    private Comment parentComment;

    private boolean adminComment;
}
之后新建CommentService接口和CommentServiceImpl实现类。
@Service
public class CommentServiceImpl implements CommentService {
    @Autowired
    private CommentRepository commentRepository;

    @Override
    public List<Comment> listCommentByNewId(Long newId) {
        Sort sort = Sort.by("createTime");
        List<Comment> comments =commentRepository.findByNewsIdAndParentCommentNull(newId,sort);

        return eachComment(comments);
    }

    private List<Comment> eachComment(List<Comment> comments){
        List<Comment> commentsView = new ArrayList<>();
        for(Comment comment:comments){
            Comment c = new Comment();
            BeanUtils.copyProperties(comment,c);
            commentsView.add(c);
        }
        //合并评论的各层子代到第一级子代集合中
        combineChildren(commentsView);
        return commentsView;
    }

    private void combineChildren(List<Comment> comments){
        for(Comment comment:comments){
            List<Comment> replys1 = comment.getReplyComments();
            for(Comment reply1:replys1){
                //循环迭代,找出子代,存放在临时tempReplys中
                recursively(reply1);
            }
            comment.setReplyComments(tempReplys);

            //清除临时存放区
            tempReplys = new ArrayList<>();
        }
    }

    private List<Comment> tempReplys = new ArrayList<>();
    private void recursively(Comment comment){
        tempReplys.add(comment);//顶节点
        if(comment.getReplyComments().size()>0){
            List<Comment> replys = comment.getReplyComments();
            for(Comment reply:replys){
                tempReplys.add(reply);
                if(reply.getReplyComments().size()>0){
                    recursively(reply);
                }
            }
        }
    }
    @Override
    public Comment saveComment(Comment comment) {
        Long parentCommentId = comment.getParentComment().getId();
        if(parentCommentId!=-1){
            comment.setParentComment(commentRepository.findById(parentCommentId).orElse(null));
        }
        else{
            comment.setParentComment(null);
        }
        comment.setCreateTime(new Date());
        return commentRepository.save(comment);
    }

}
之后创建CommentCotroller类:
@Controller
public class CommentController {
    @Autowired
    private CommentService commentService;

    @Autowired
    private NewService newService;

    private String avatar = "https://tse1-mm.cn.bing.net/th?id=OIP.Sj_rholpZgWlN9u68P5z-wHaHE&w=185&h=160&c=8&rs=1&qlt=90&dpr=1.25&pid=3.1&rm=2";

    @GetMapping("/comments/{newId}")
    public String comments(@PathVariable Long newId, Model model){
        model.addAttribute("comments",commentService.listCommentByNewId(newId));
        return "new::commentList";
    }
    @PostMapping("/comments")
    public String post(Comment comment, HttpSession session){
        Long newId = comment.getNews().getId();
        comment.setNews(newService.getNew(newId));
        User user = (User) session.getAttribute("user");
        if(user!=null){
            comment.setAdminComment(true);
            comment.setAvatar(avatar);
        }else{
            comment.setAvatar(avatar);
        }
        commentService.saveComment(comment);
//        System.out.println(commentService.saveComment(comment));
        return "redirect:/comments/"+newId;
    }
}
之后要实现分类展示,直接新建一个TypeShowController类:
@Controller
public class TypeShowController {

    @Autowired
    private TypeService typeService;

    @Autowired
    private NewService newService;

    @GetMapping("/types/{id}")
    public String types(@PageableDefault(size = 8,sort = {"updateTime"},direction = Sort.Direction.DESC)Pageable pageable,
                        @PathVariable Long id, Model model){
        List<Type> types = typeService.listTypeTop(20);
        if(id==-1){
            id = types.get(0).getId();
        }
        NewQuery newQuery = new NewQuery();
        newQuery.setTypeId(id);
        model.addAttribute("types",types);
        model.addAttribute("page",newService.listNew(pageable,newQuery));
        model.addAttribute("activeTypeId",id);
        return "types";
    }
}
之后我们直接看下运行效果:
记得创建新闻的时候要打开评论功能:
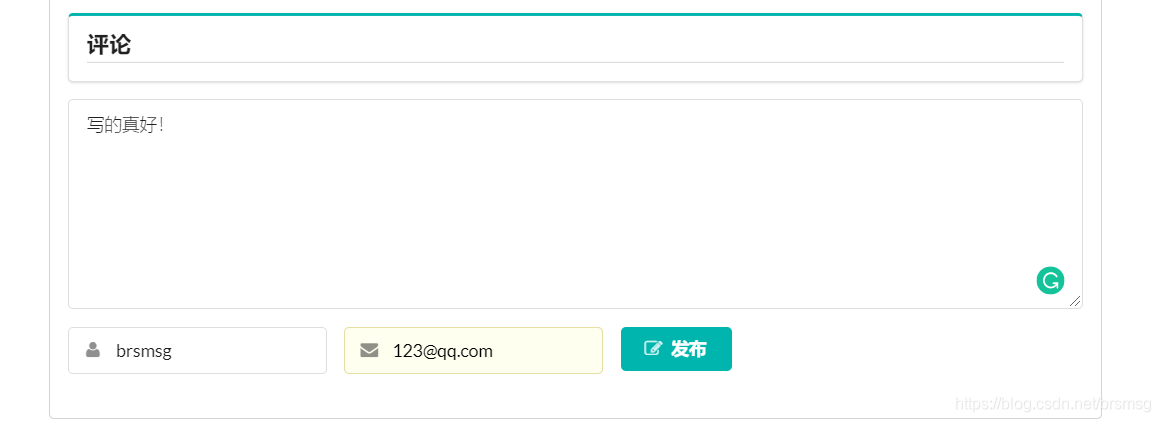
点击发布就可以了,
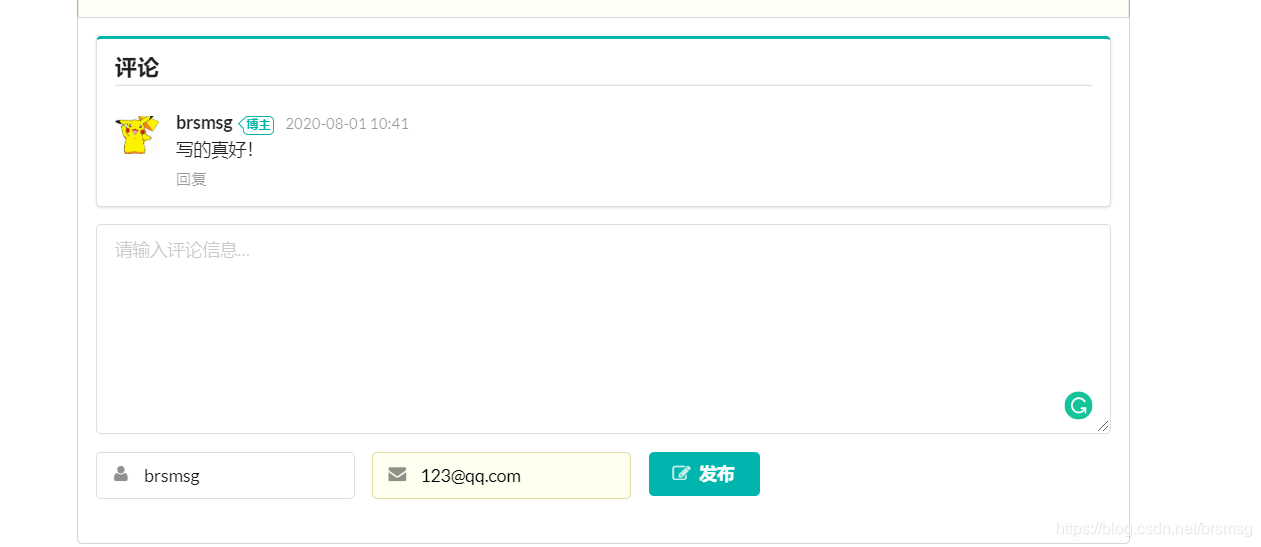
试着回复一下刚刚那条评论
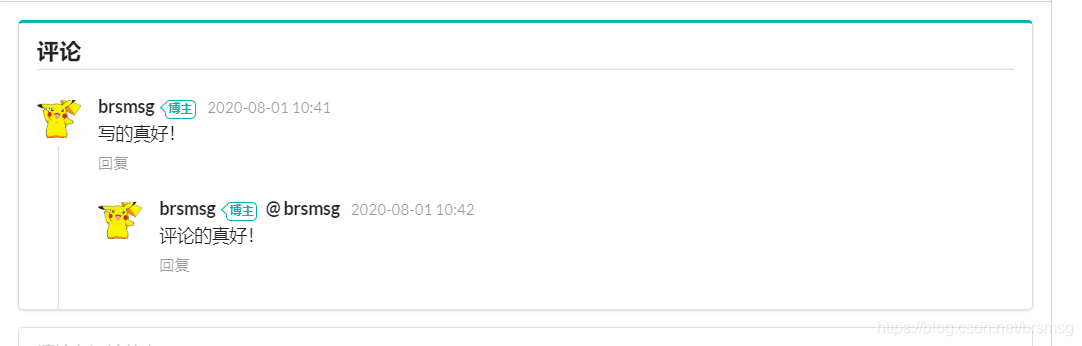
可以看到回复也成功了。
再看一下分类展示功能:
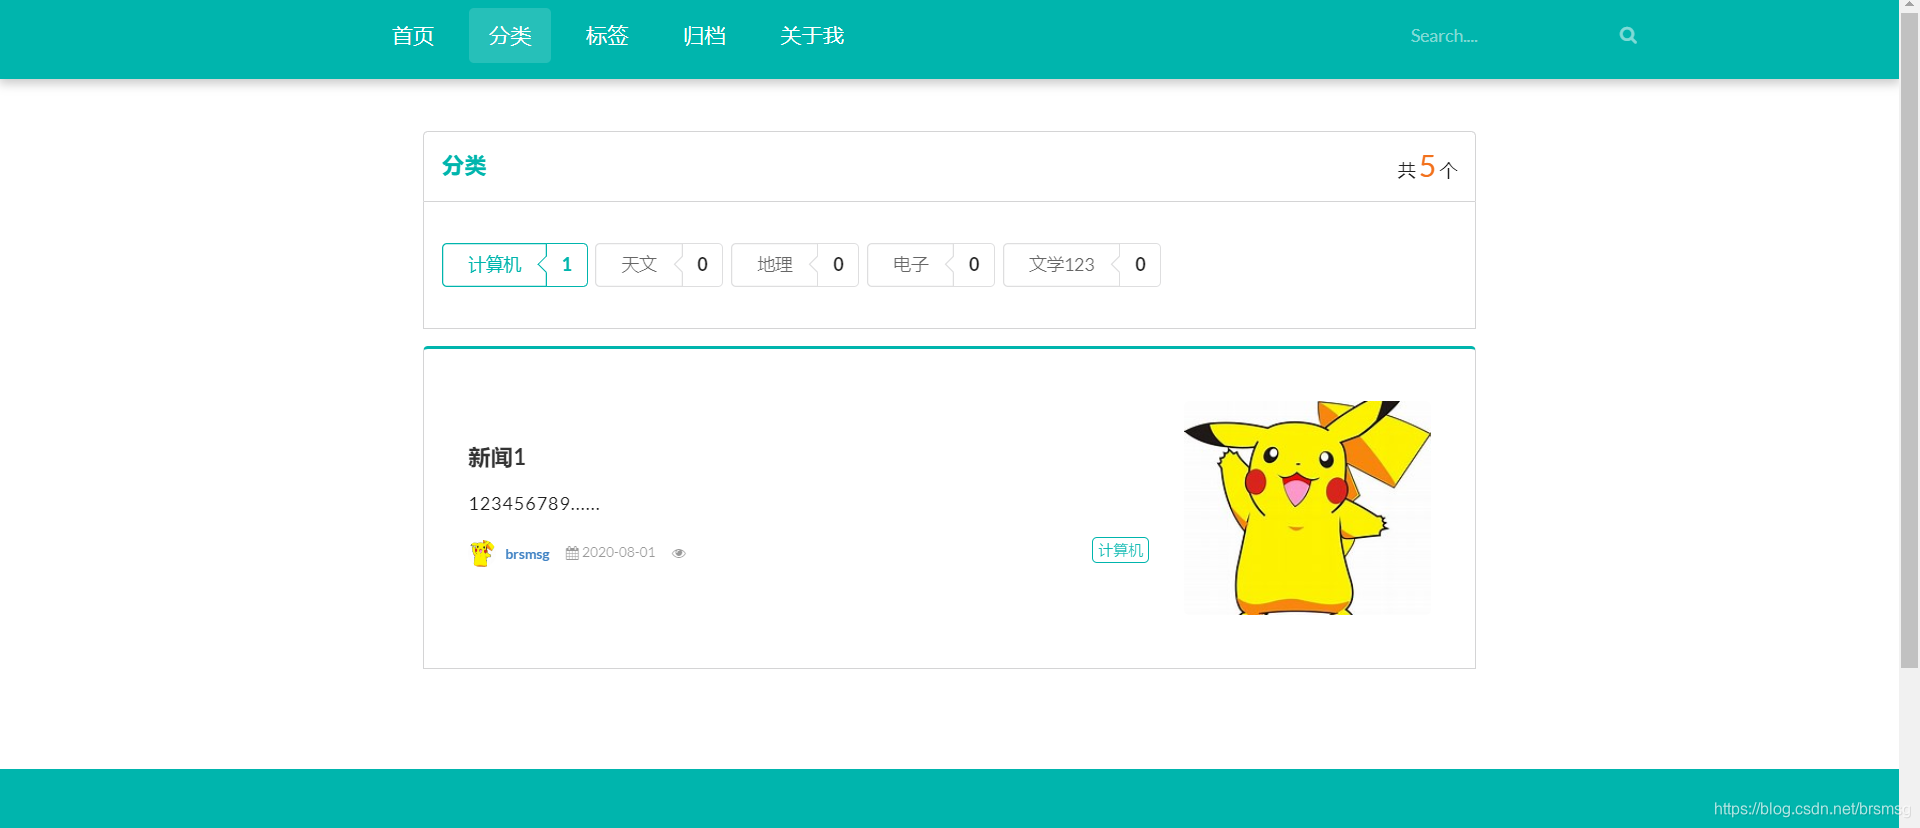
标签展示页同理,就不演示了。


 1524
1524

 被折叠的 条评论
为什么被折叠?
被折叠的 条评论
为什么被折叠?
 到【灌水乐园】发言


