


Spring Boot自定义starter
创建工程
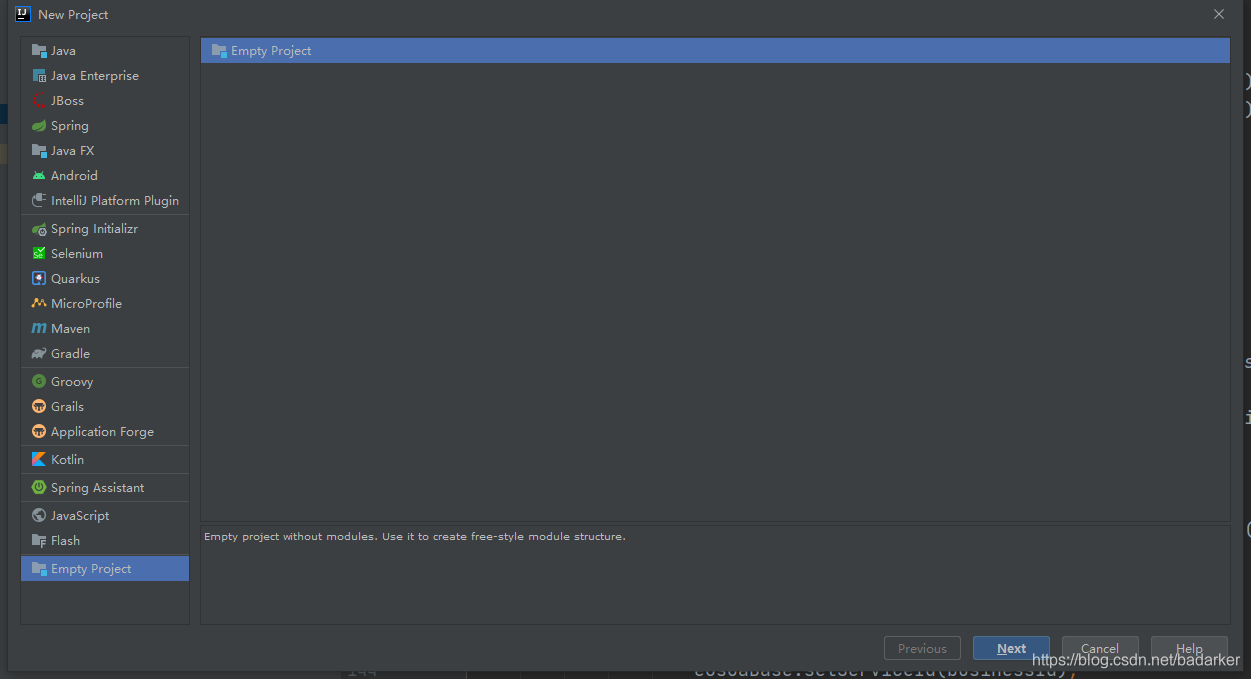
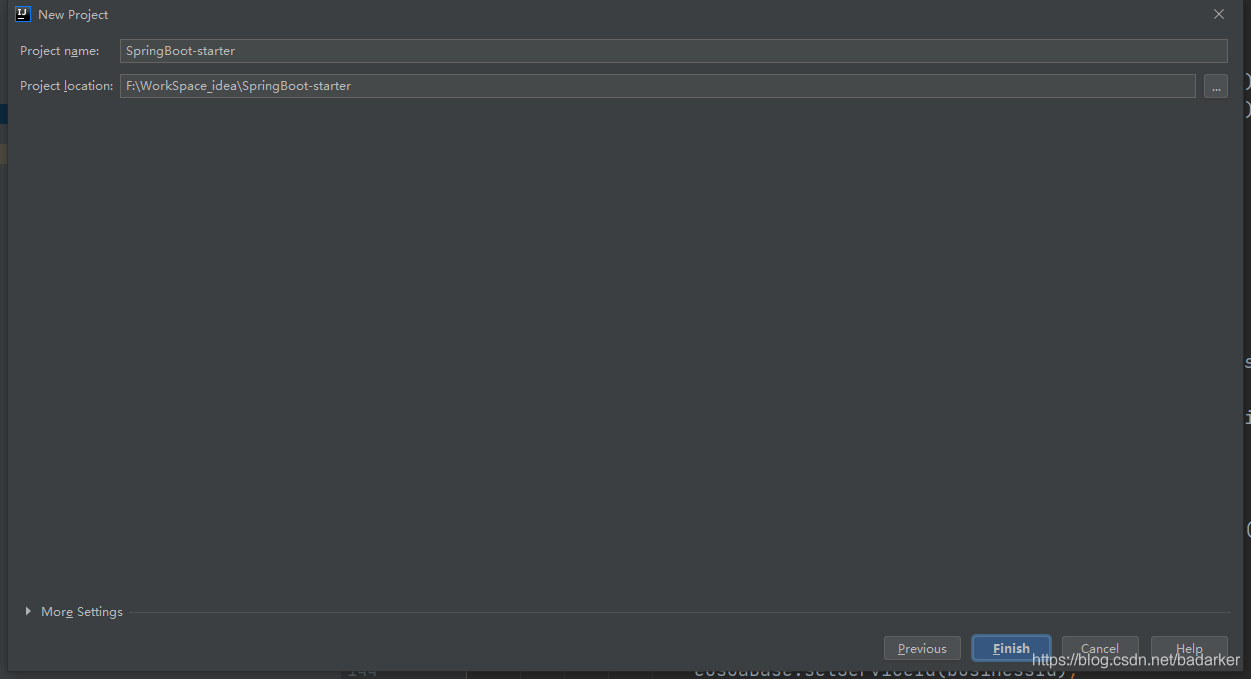
1、创建一个新的空项目
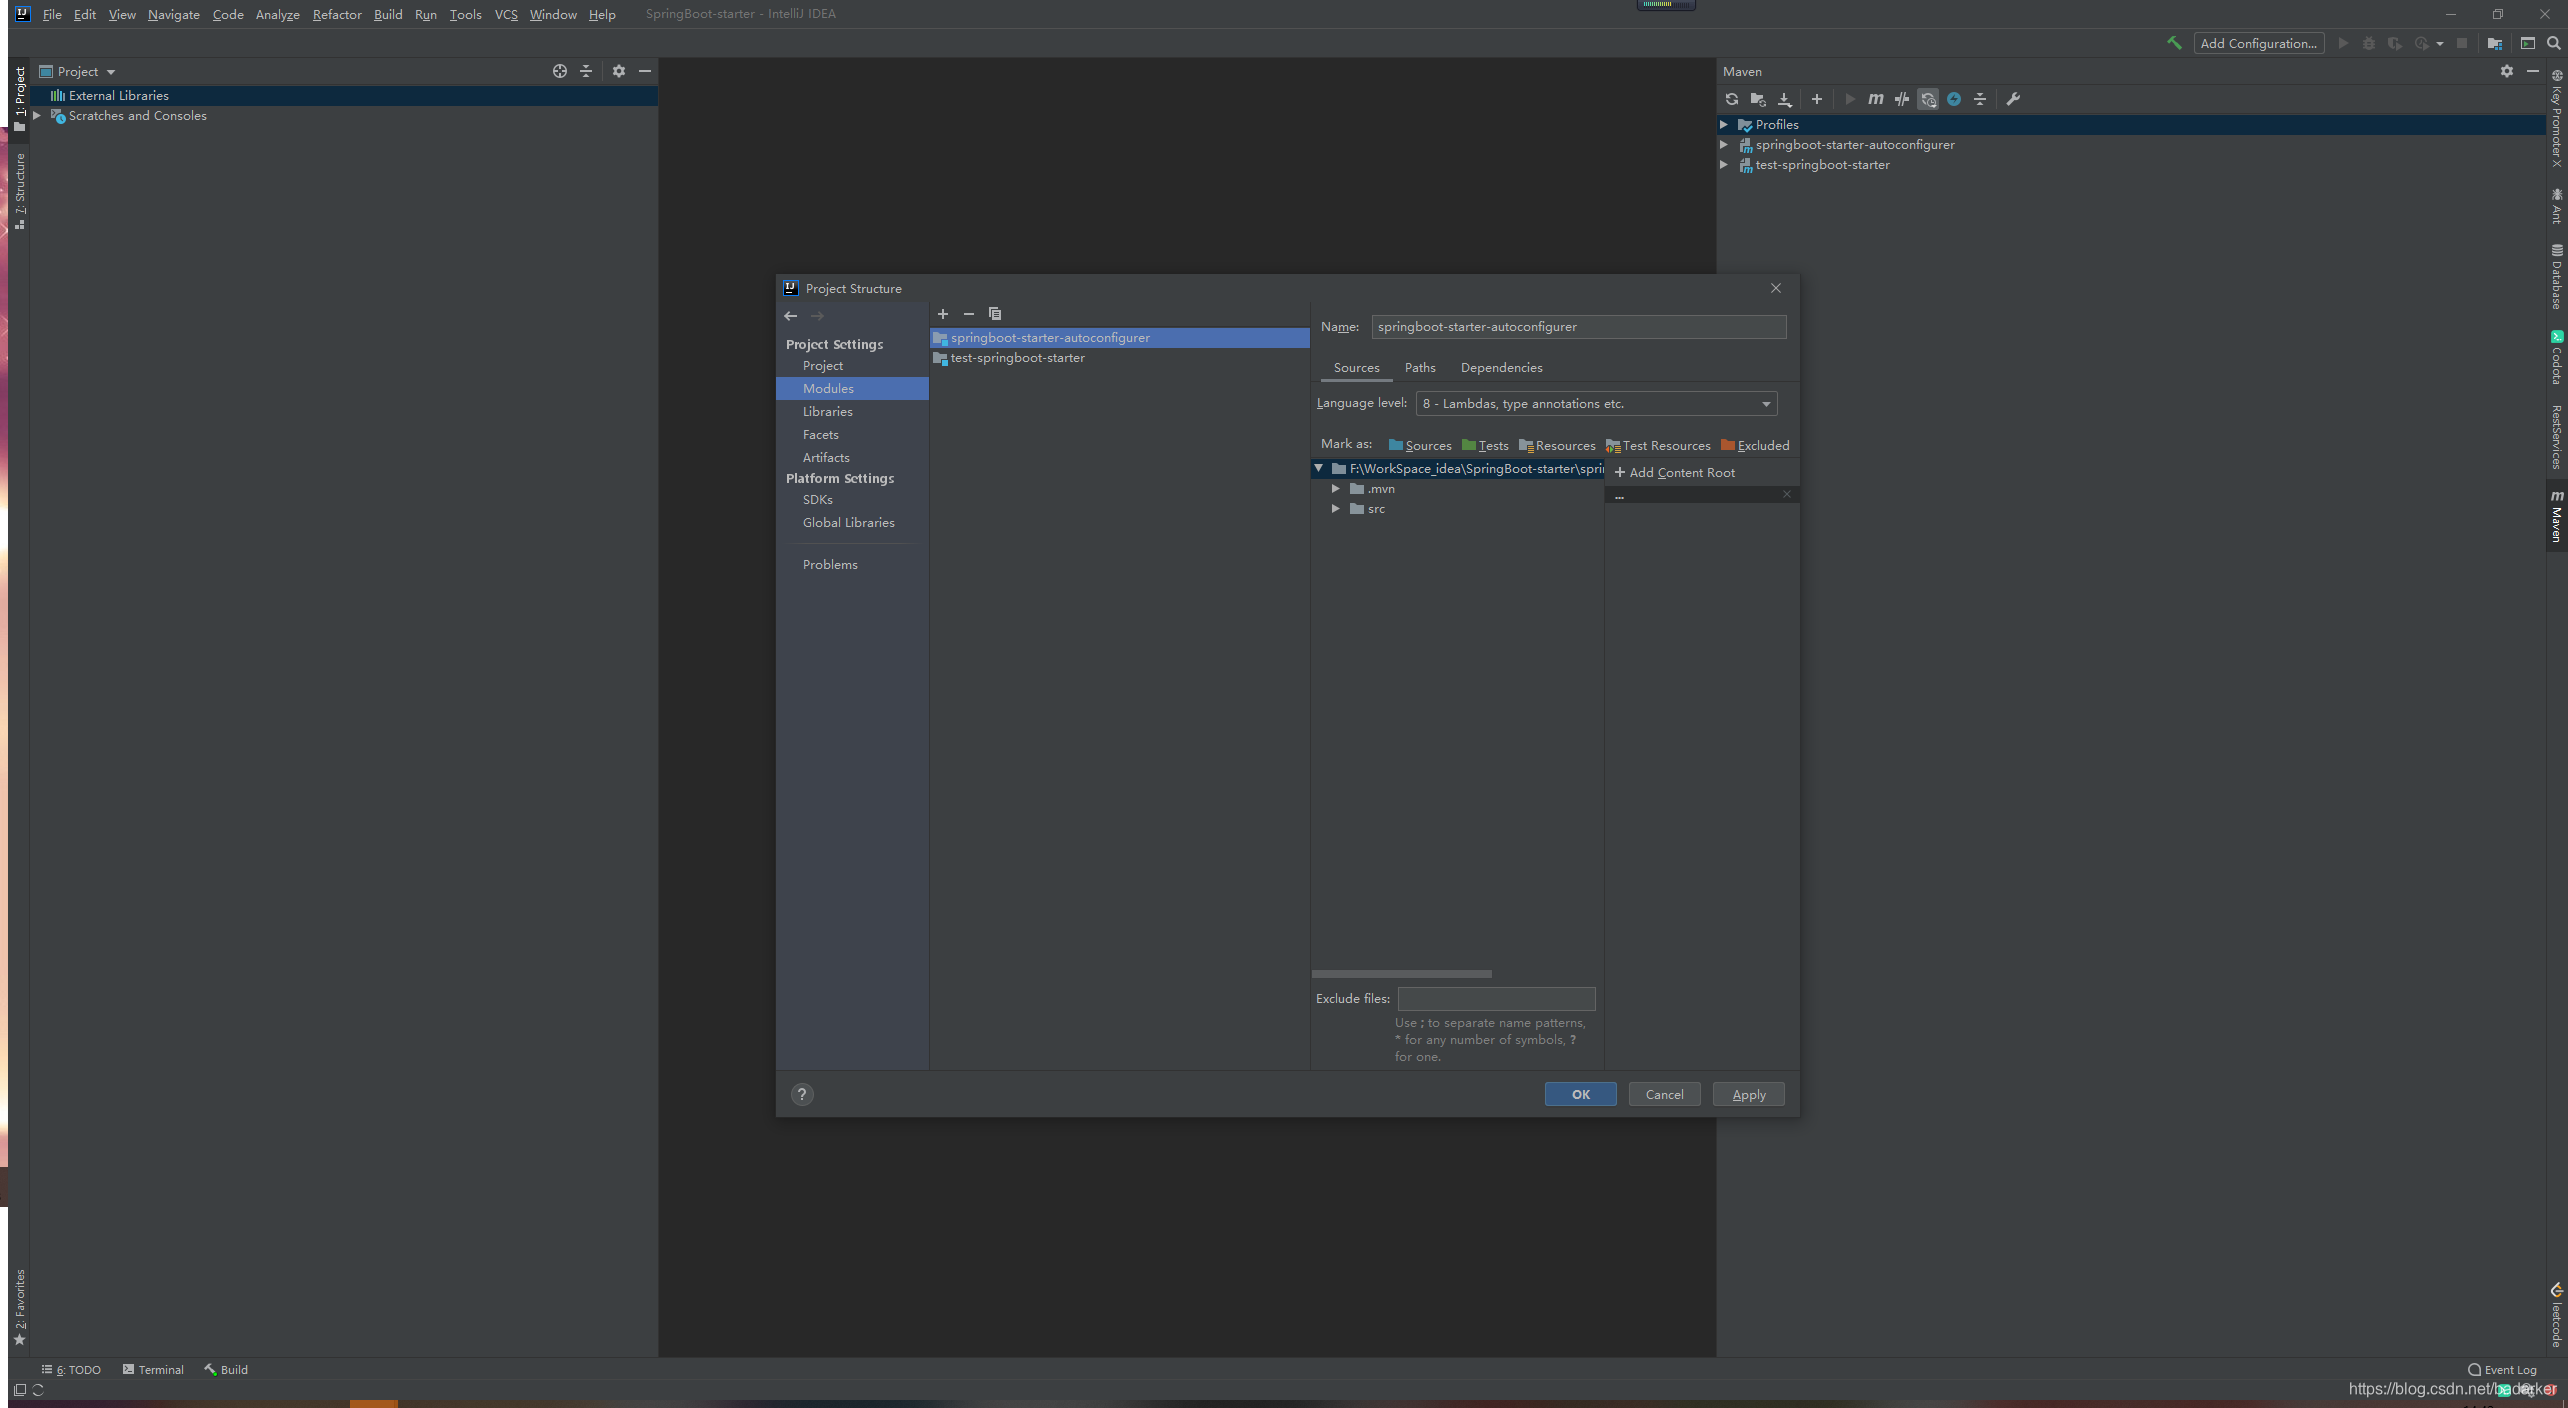
2、创建两个新的模块
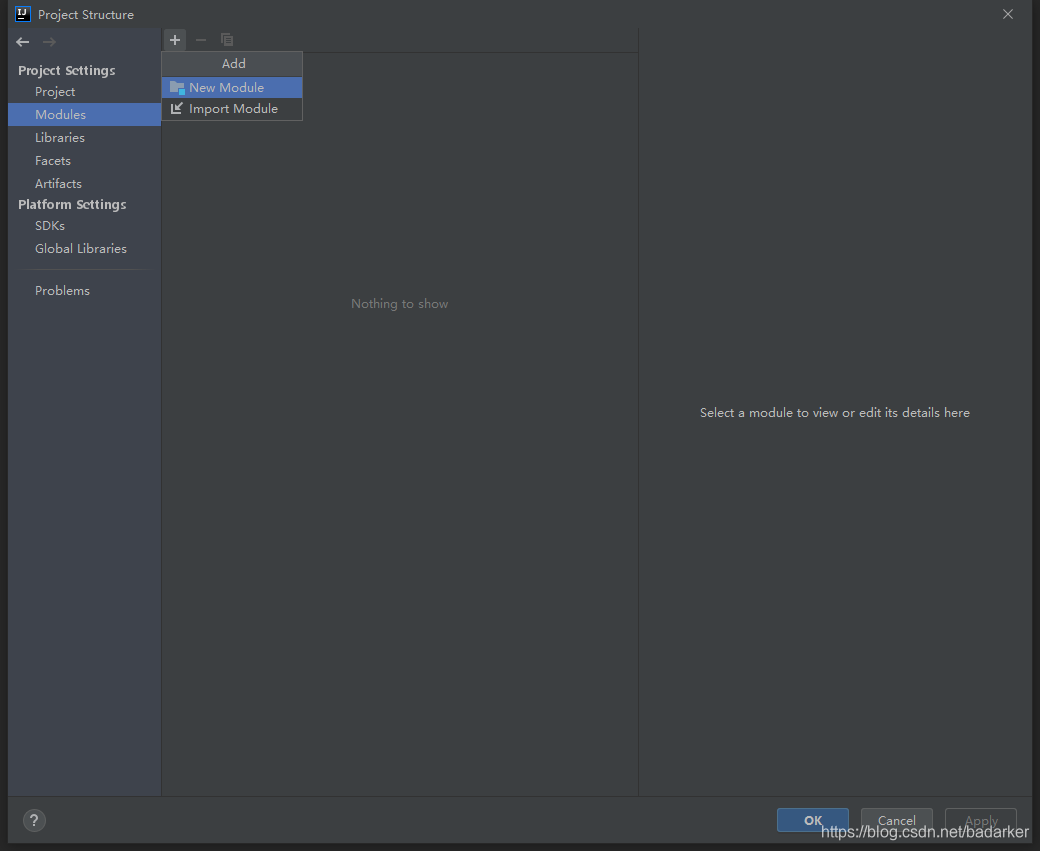
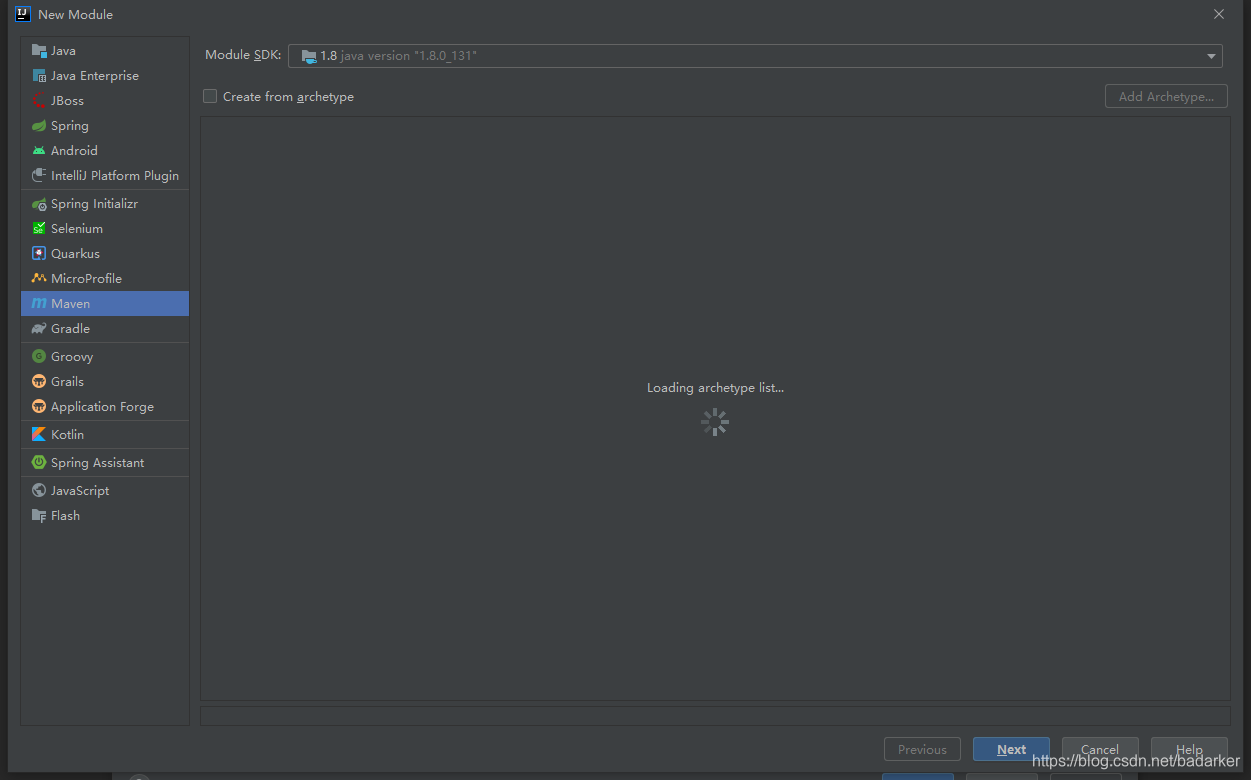
创建一个maven模块
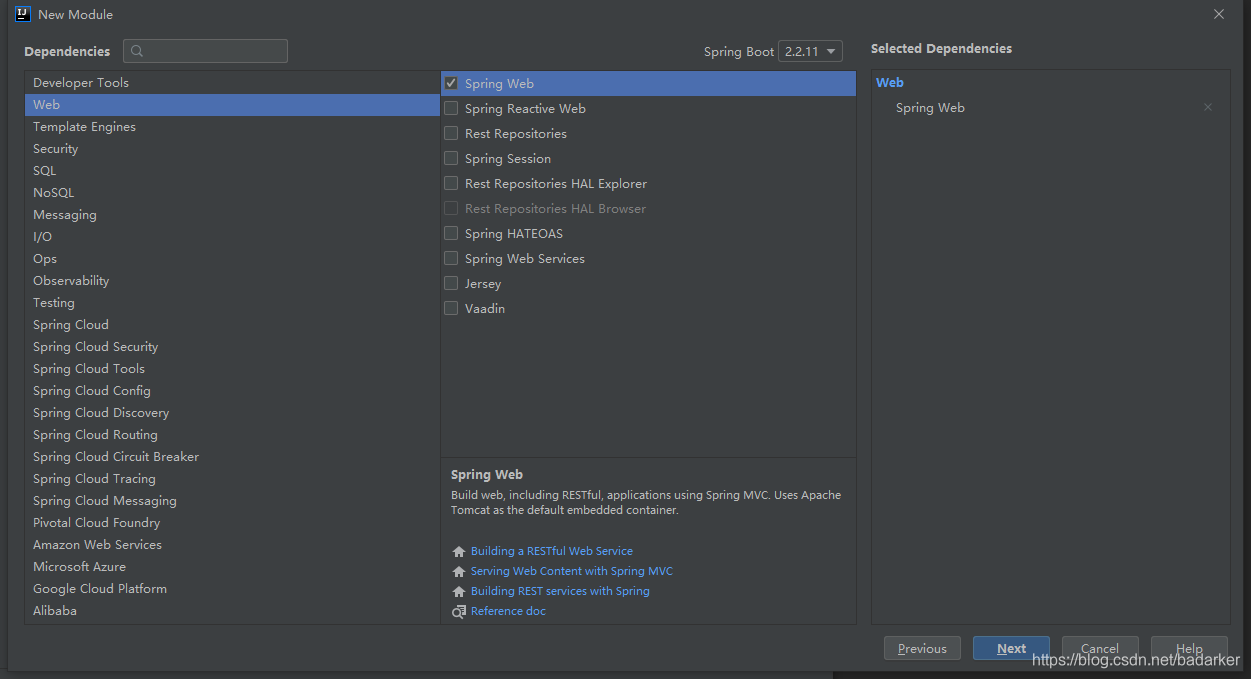
创建一个springboot模块
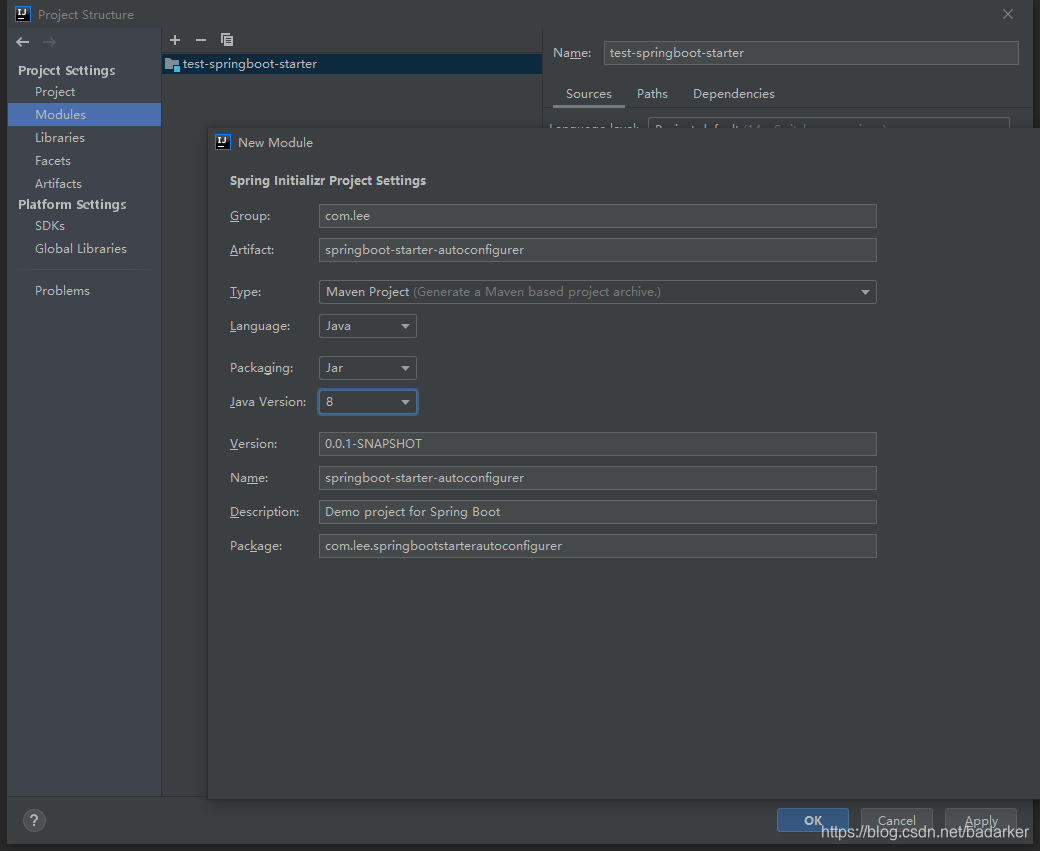
勾选web选项,只是做个演示
创建完两个模块之后创建即可
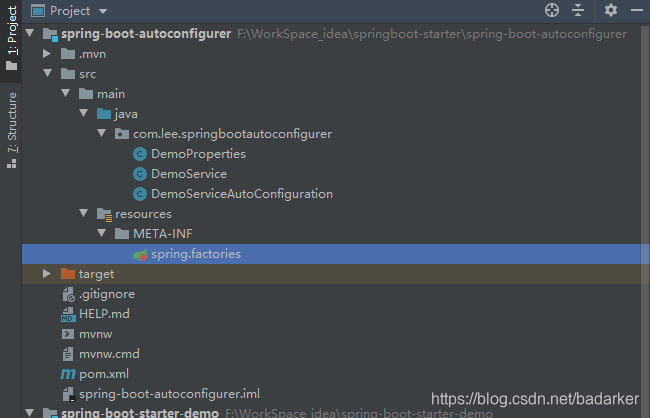
配置相应文件
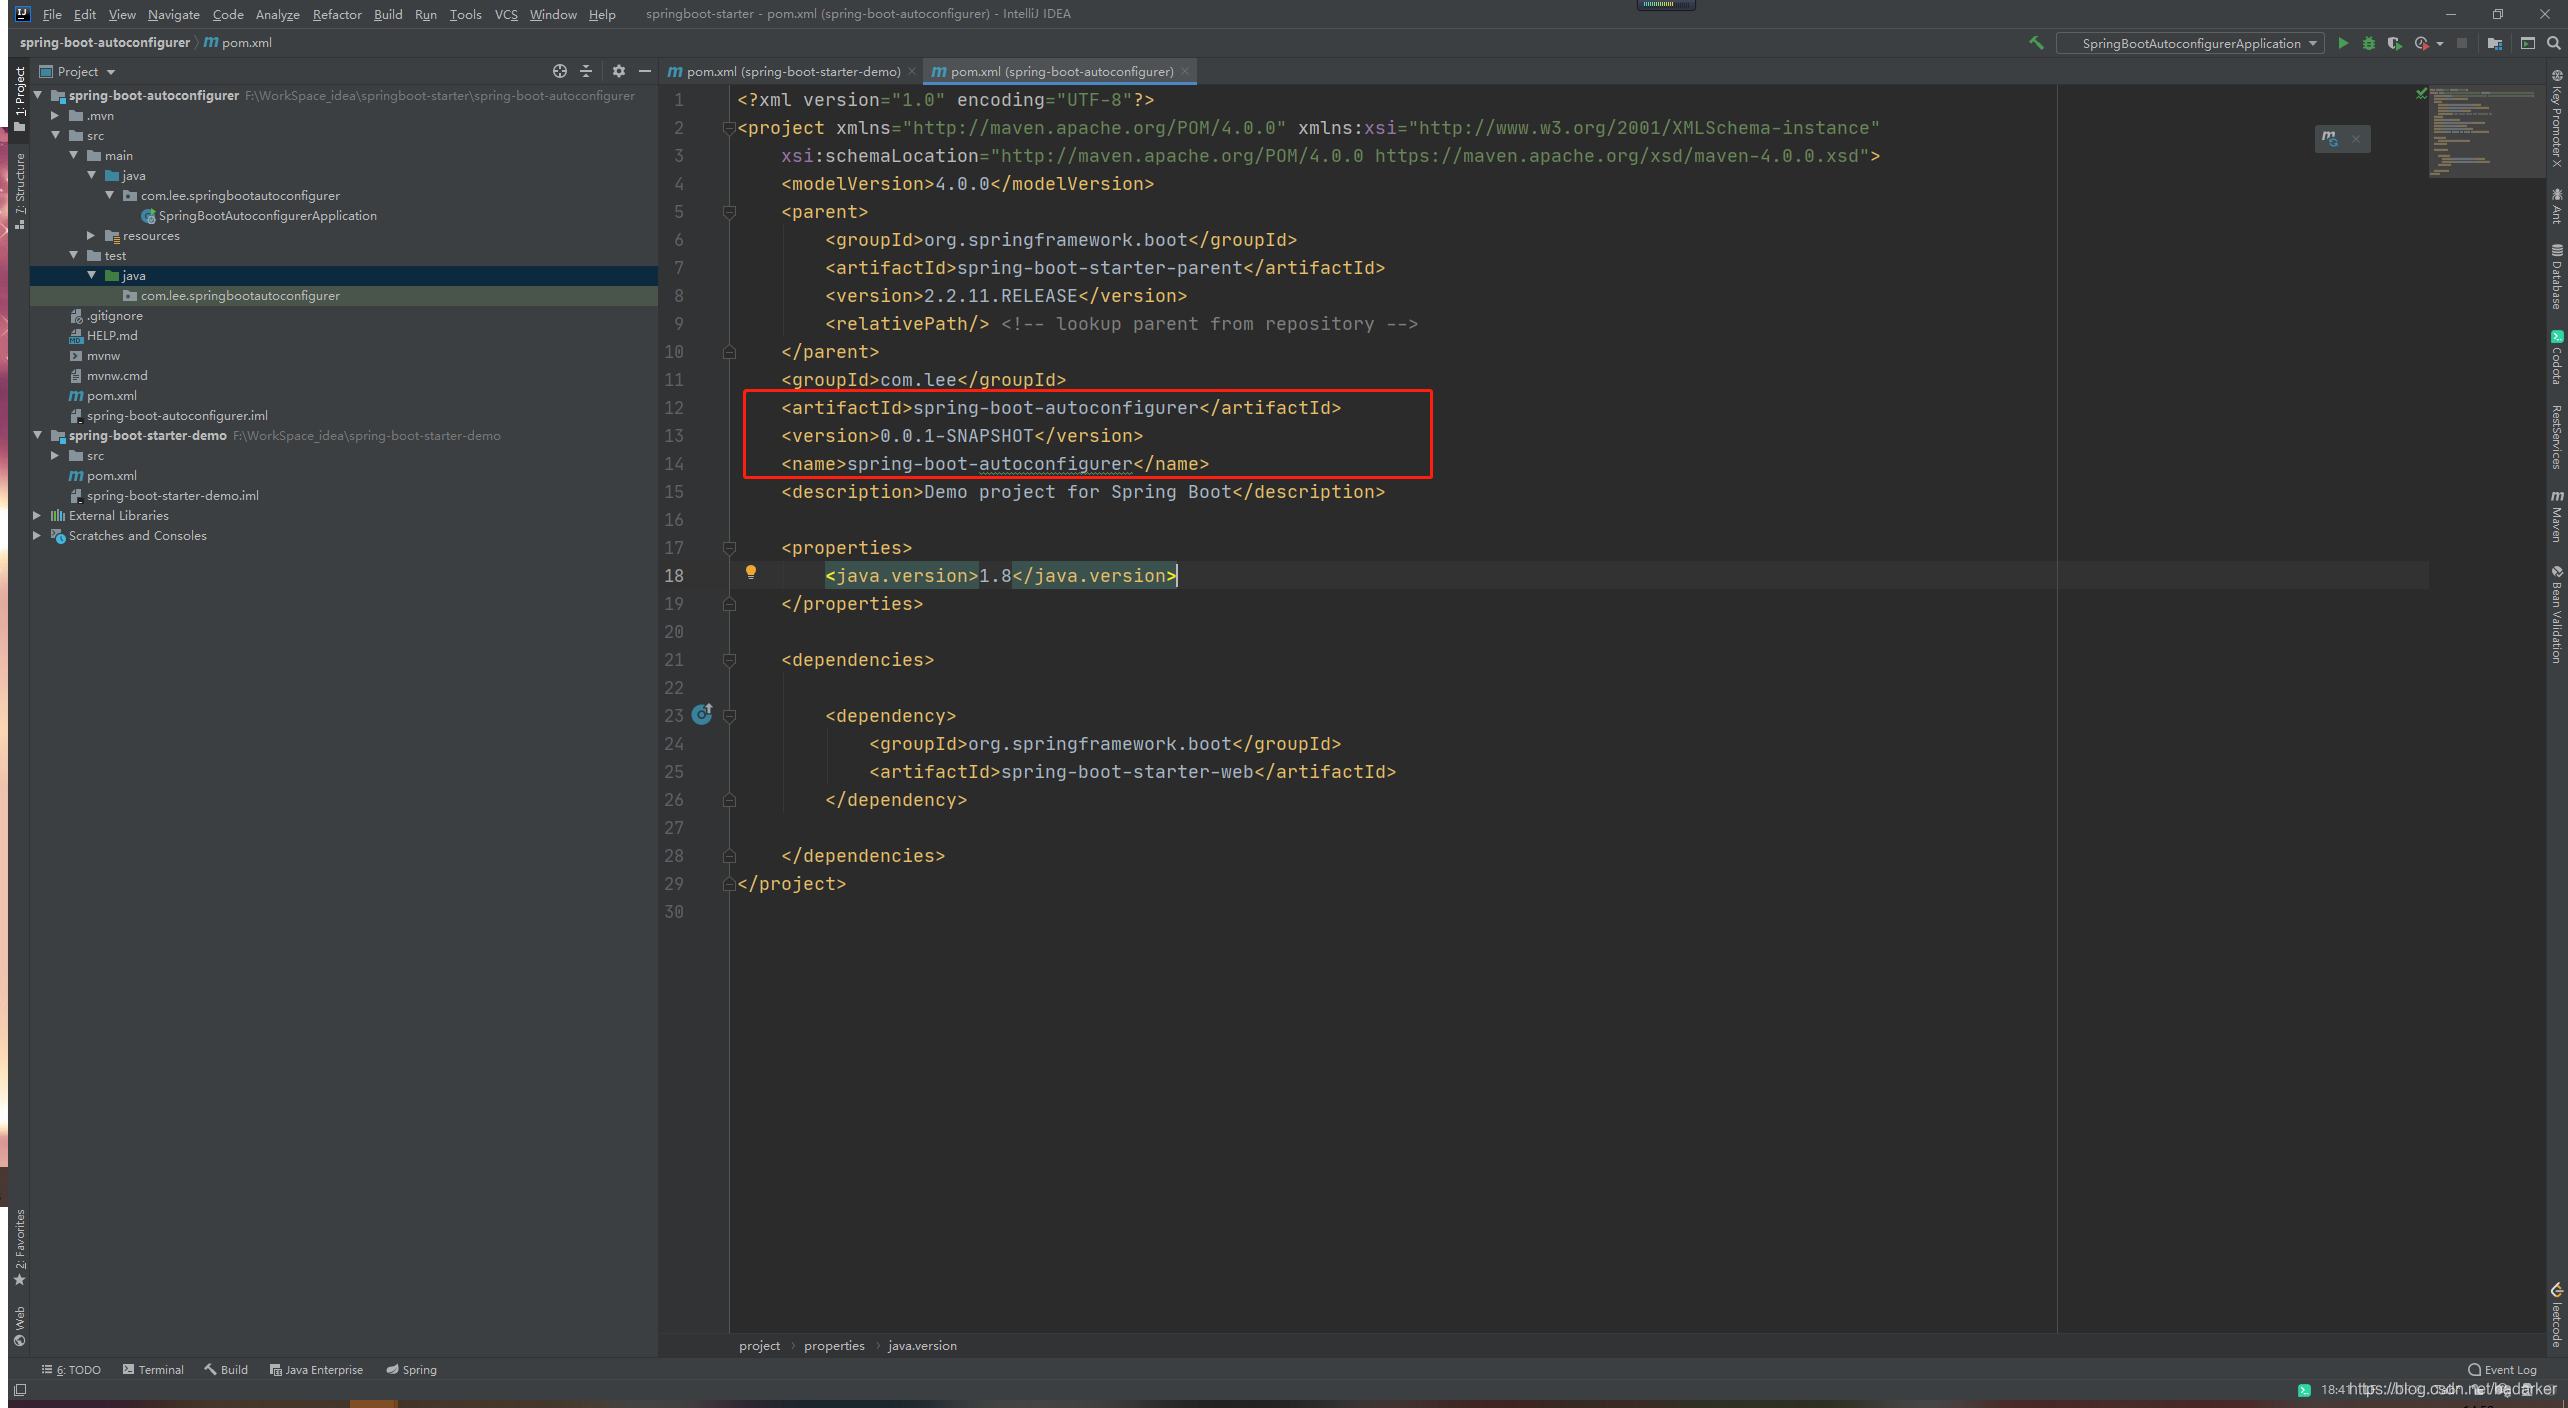
1、删除多余文件、依赖和插件
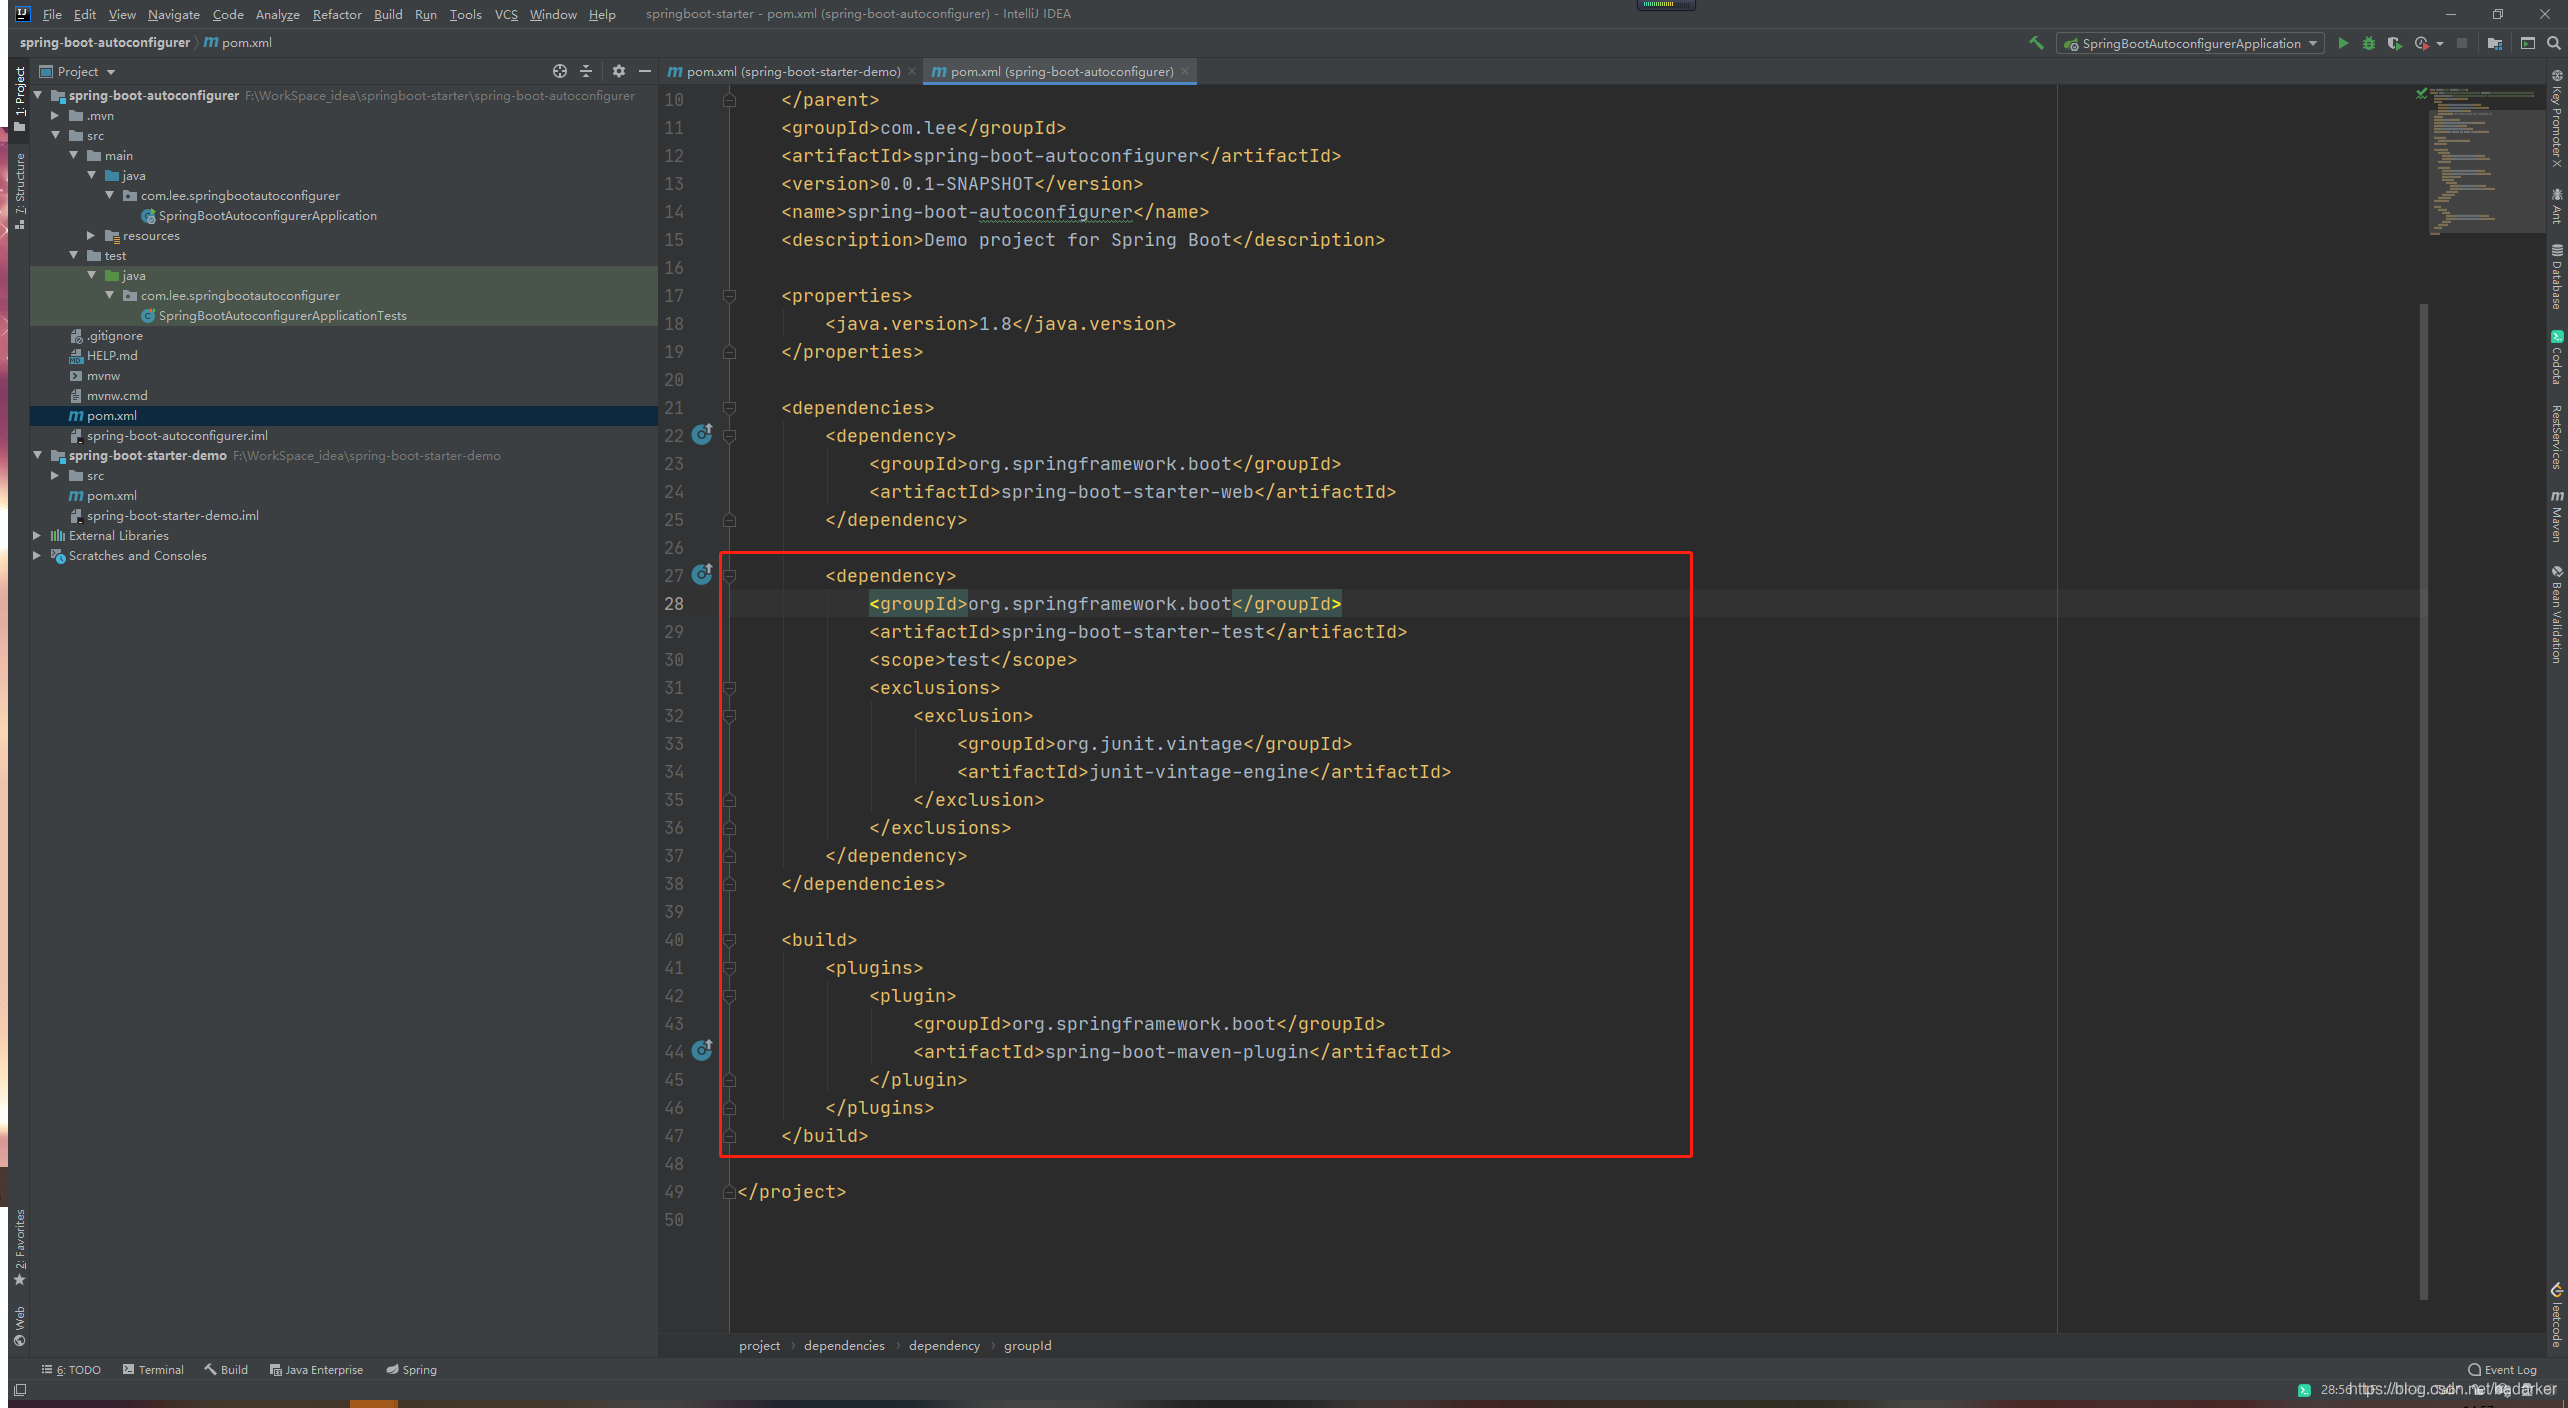
2、引入自动配置文件的依赖
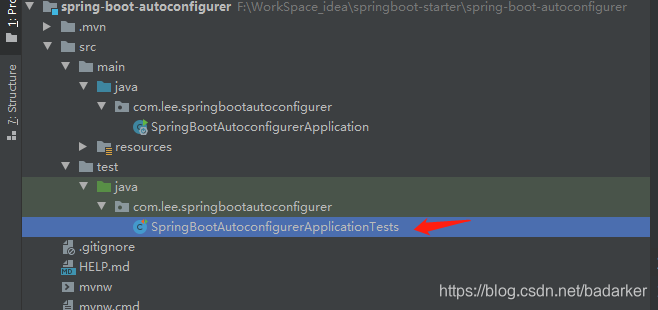
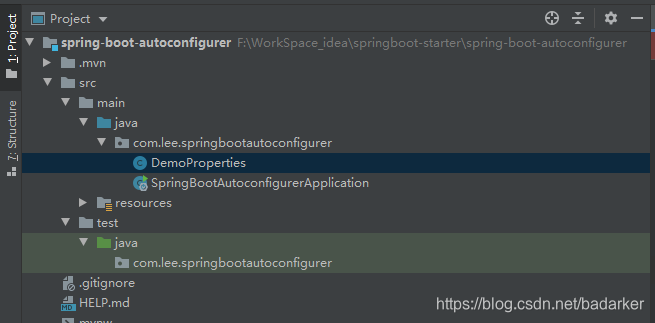
3、创建一个xxxProperties.java文件
编写代码
package com.lee.springbootautoconfigurer;

import org.springframework.boot.context.properties.ConfigurationProperties;
import org.springframework.stereotype.Component;

@Component
@ConfigurationProperties(prefix = "demo")
public class DemoProperties {

    private String prefix;
    private String suffix;

    public String getPrefix() {
        return prefix;
    }

    public void setPrefix(String prefix) {
        this.prefix = prefix;
    }

    public String getSuffix() {
        return suffix;
    }

    public void setSuffix(String suffix) {
        this.suffix = suffix;
    }
}
4、创建一个service文件
package com.lee.springbootautoconfigurer;

public class DemoService {

    DemoProperties properties;

    public String demoTest(String demoName) {
        return properties.getPrefix() + "-" + demoName + "-" + properties.getSuffix();
    }

    public DemoProperties getProperties() {
        return properties;
    }

    public void setProperties(DemoProperties properties) {
        this.properties = properties;
    }
}
5、创建一个自动配置文件
package com.lee.springbootautoconfigurer;

import org.springframework.beans.factory.annotation.Autowired;
import org.springframework.boot.autoconfigure.condition.ConditionalOnWebApplication;
import org.springframework.boot.context.properties.EnableConfigurationProperties;
import org.springframework.context.annotation.Bean;
import org.springframework.context.annotation.Configuration;

@Configuration
@ConditionalOnWebApplication
@EnableConfigurationProperties(DemoProperties.class)
public class DemoServiceAutoConfiguration {

    @Autowired
    DemoProperties properties;

    @Bean
    public DemoService demoService() {
        DemoService service = new DemoService();
        service.setProperties(properties);
        return service;
    }
}
6、自动配置类要能加载,将需要启动就加载的自动配置类,配置在META-INF/spring.factories
org.springframework.boot.autoconfigure.EnableAutoConfiguration=\
com.lee.springbootautoconfigurer.DemoServiceAutoConfiguration
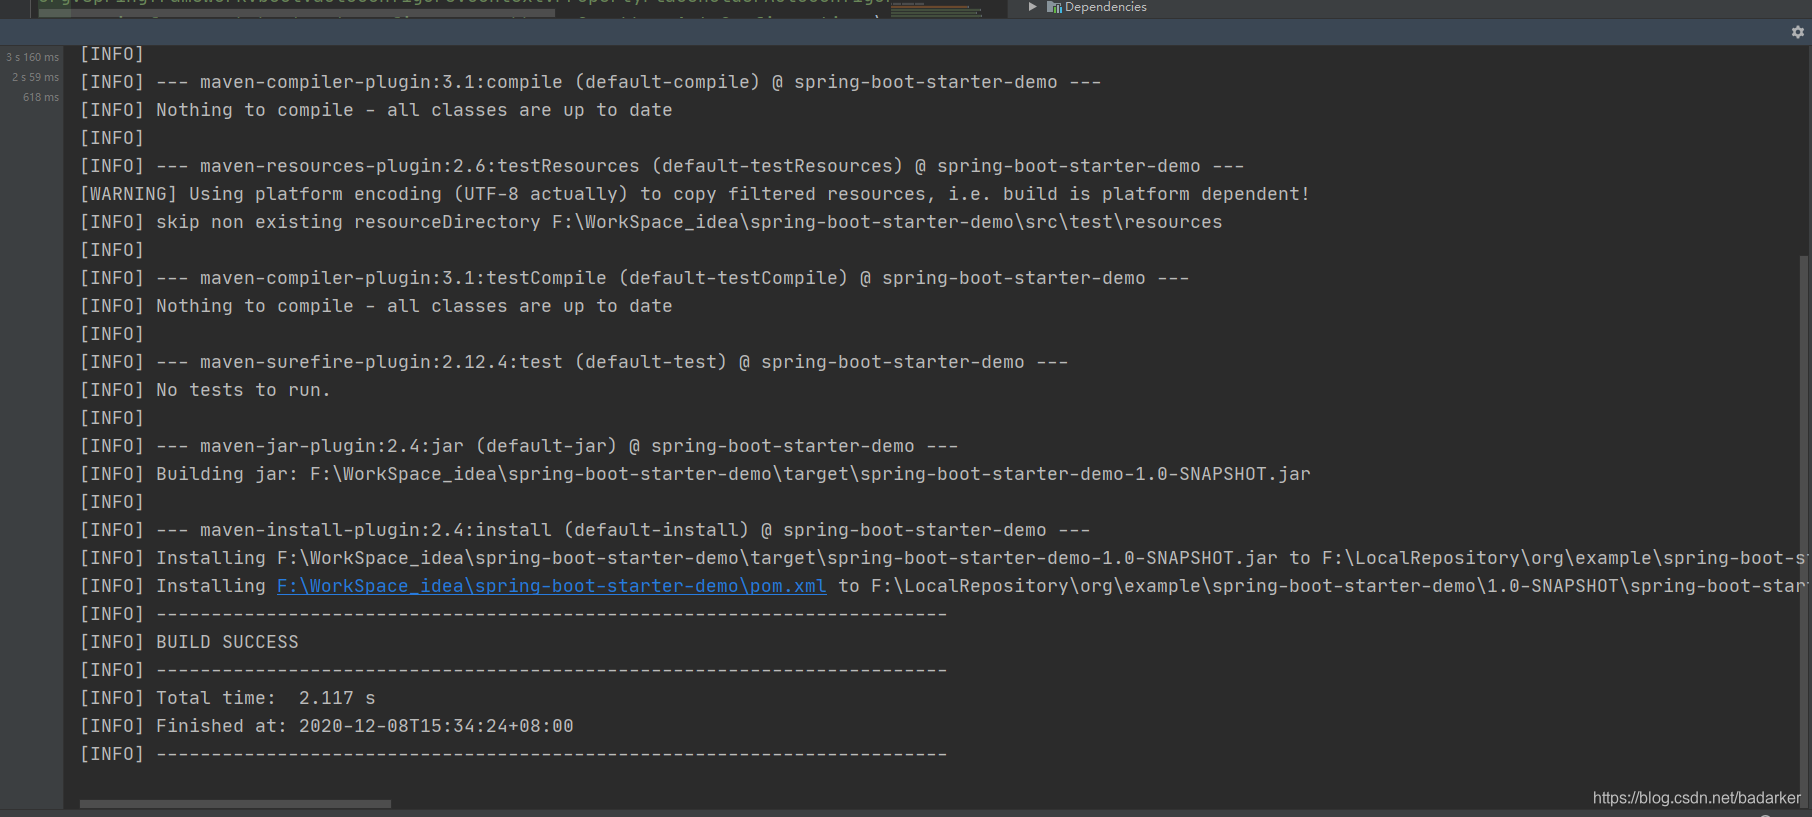
7、将两个模块install到仓库中

测试是否成功
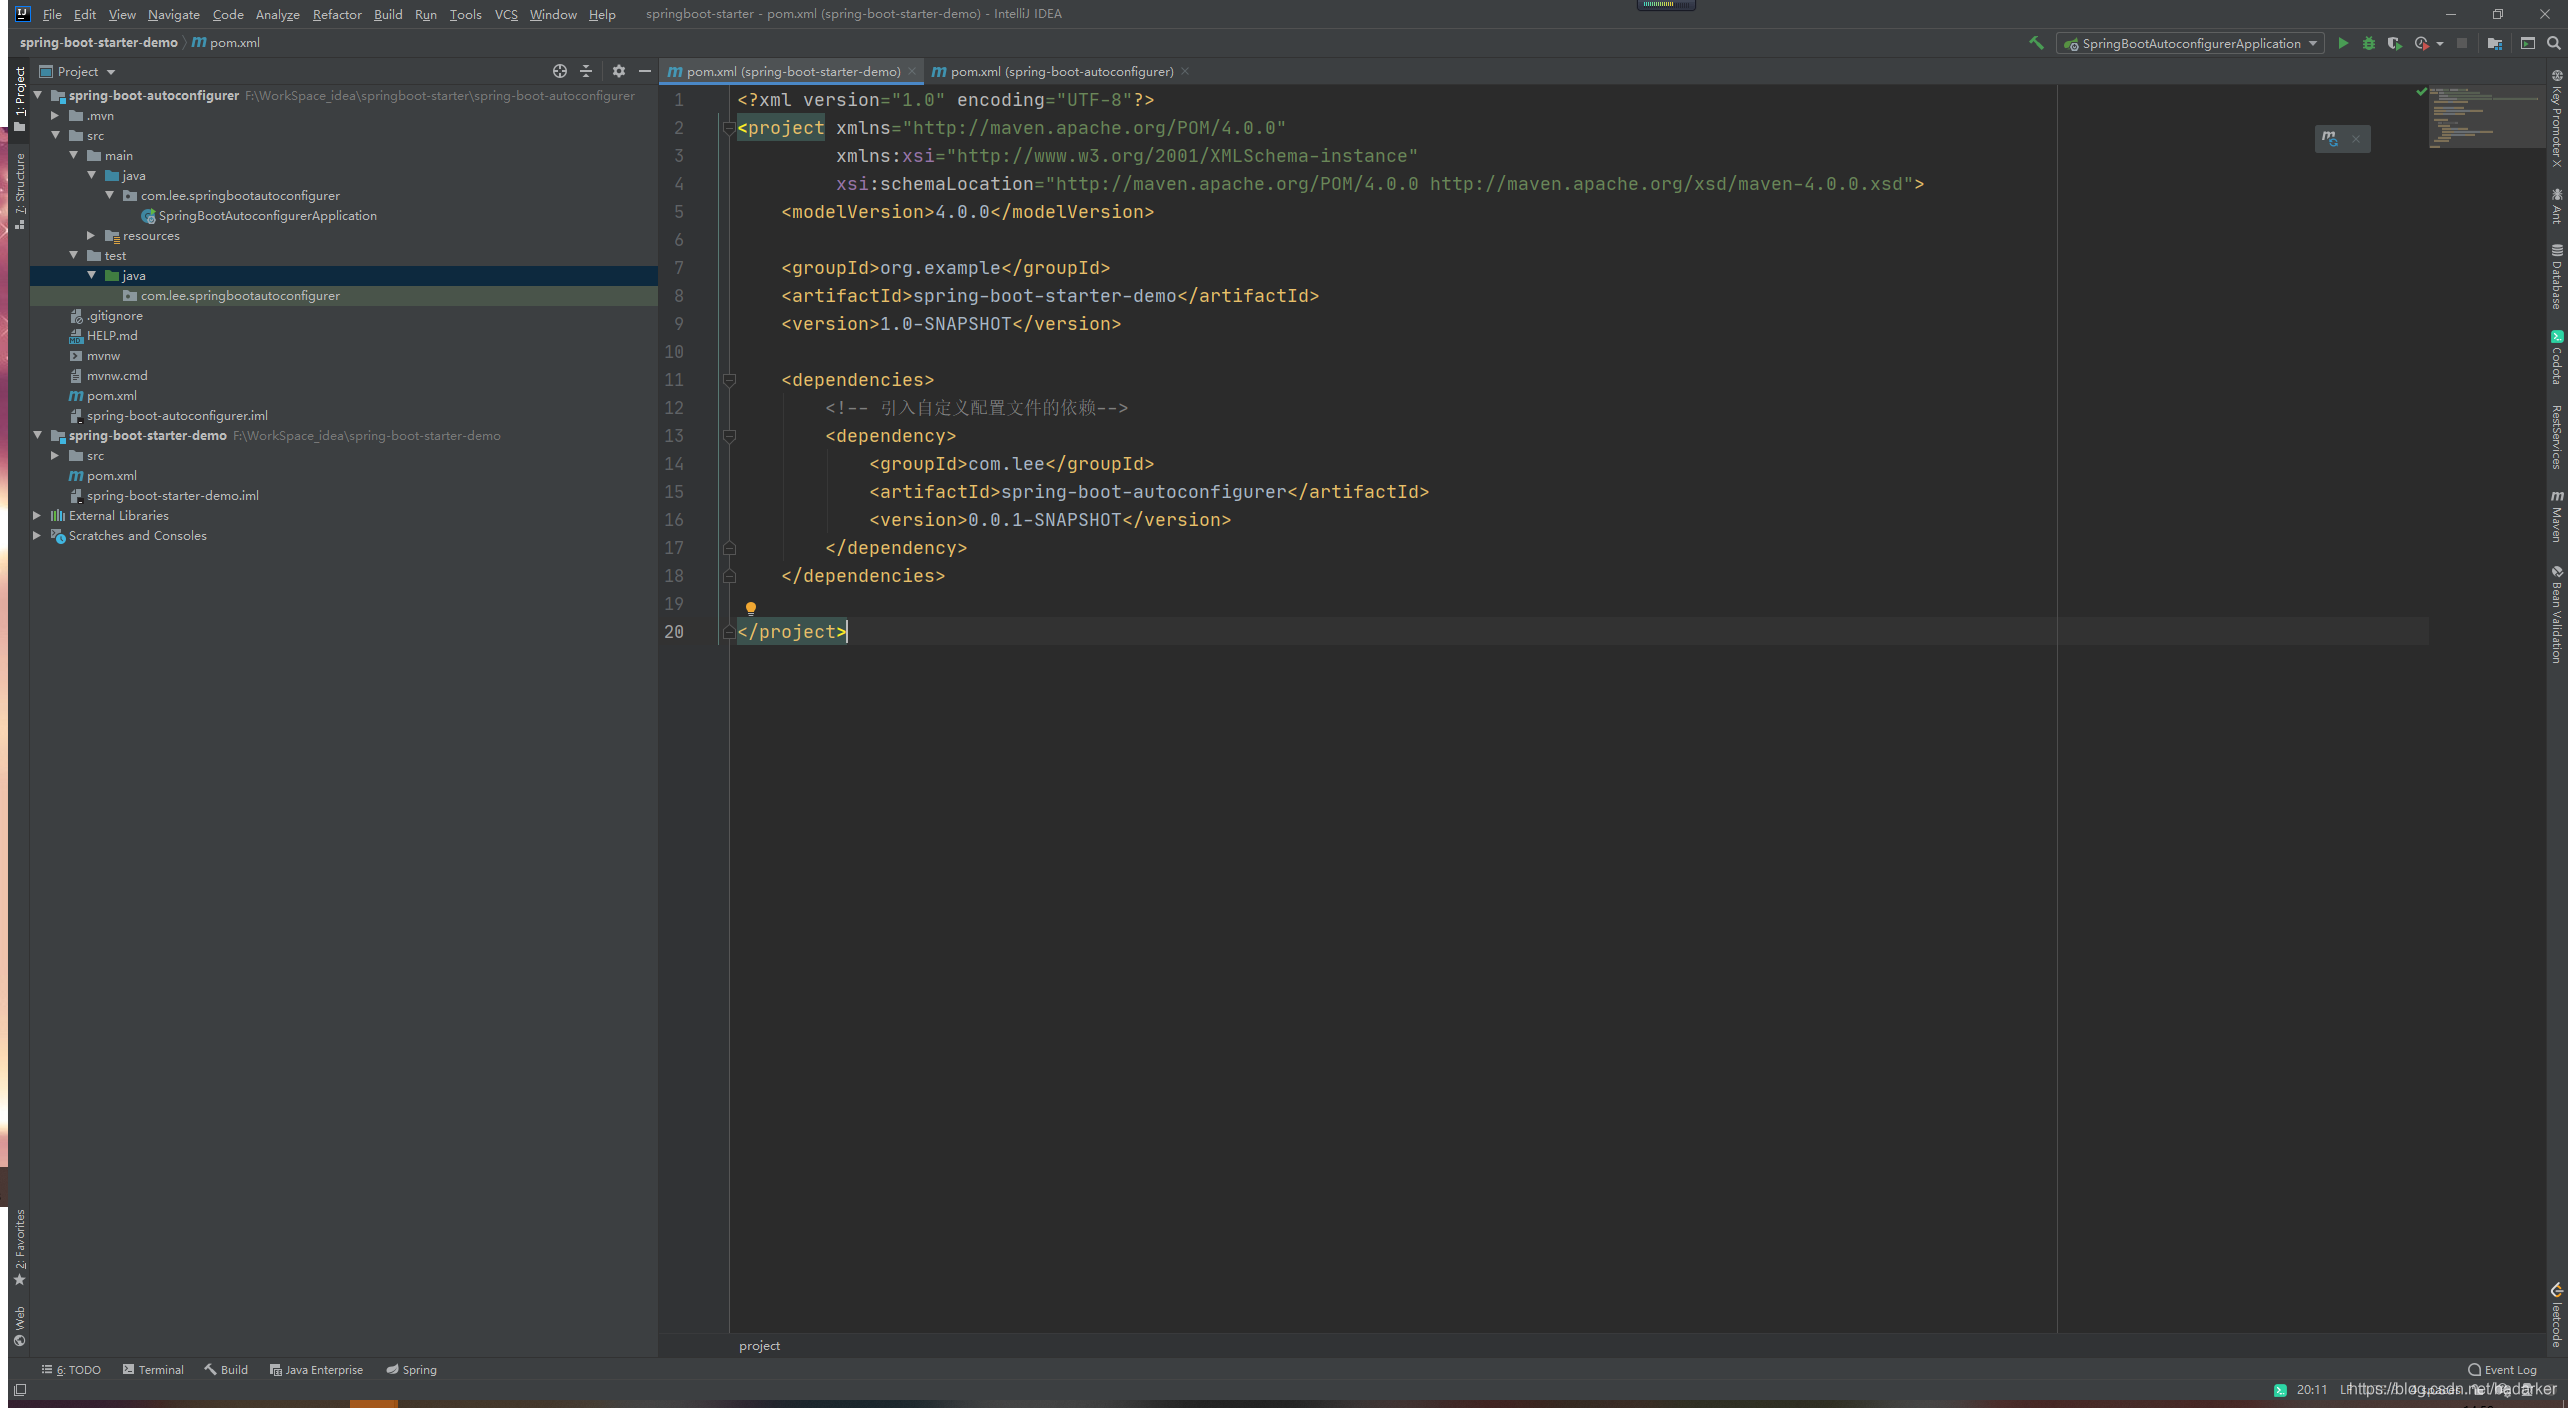
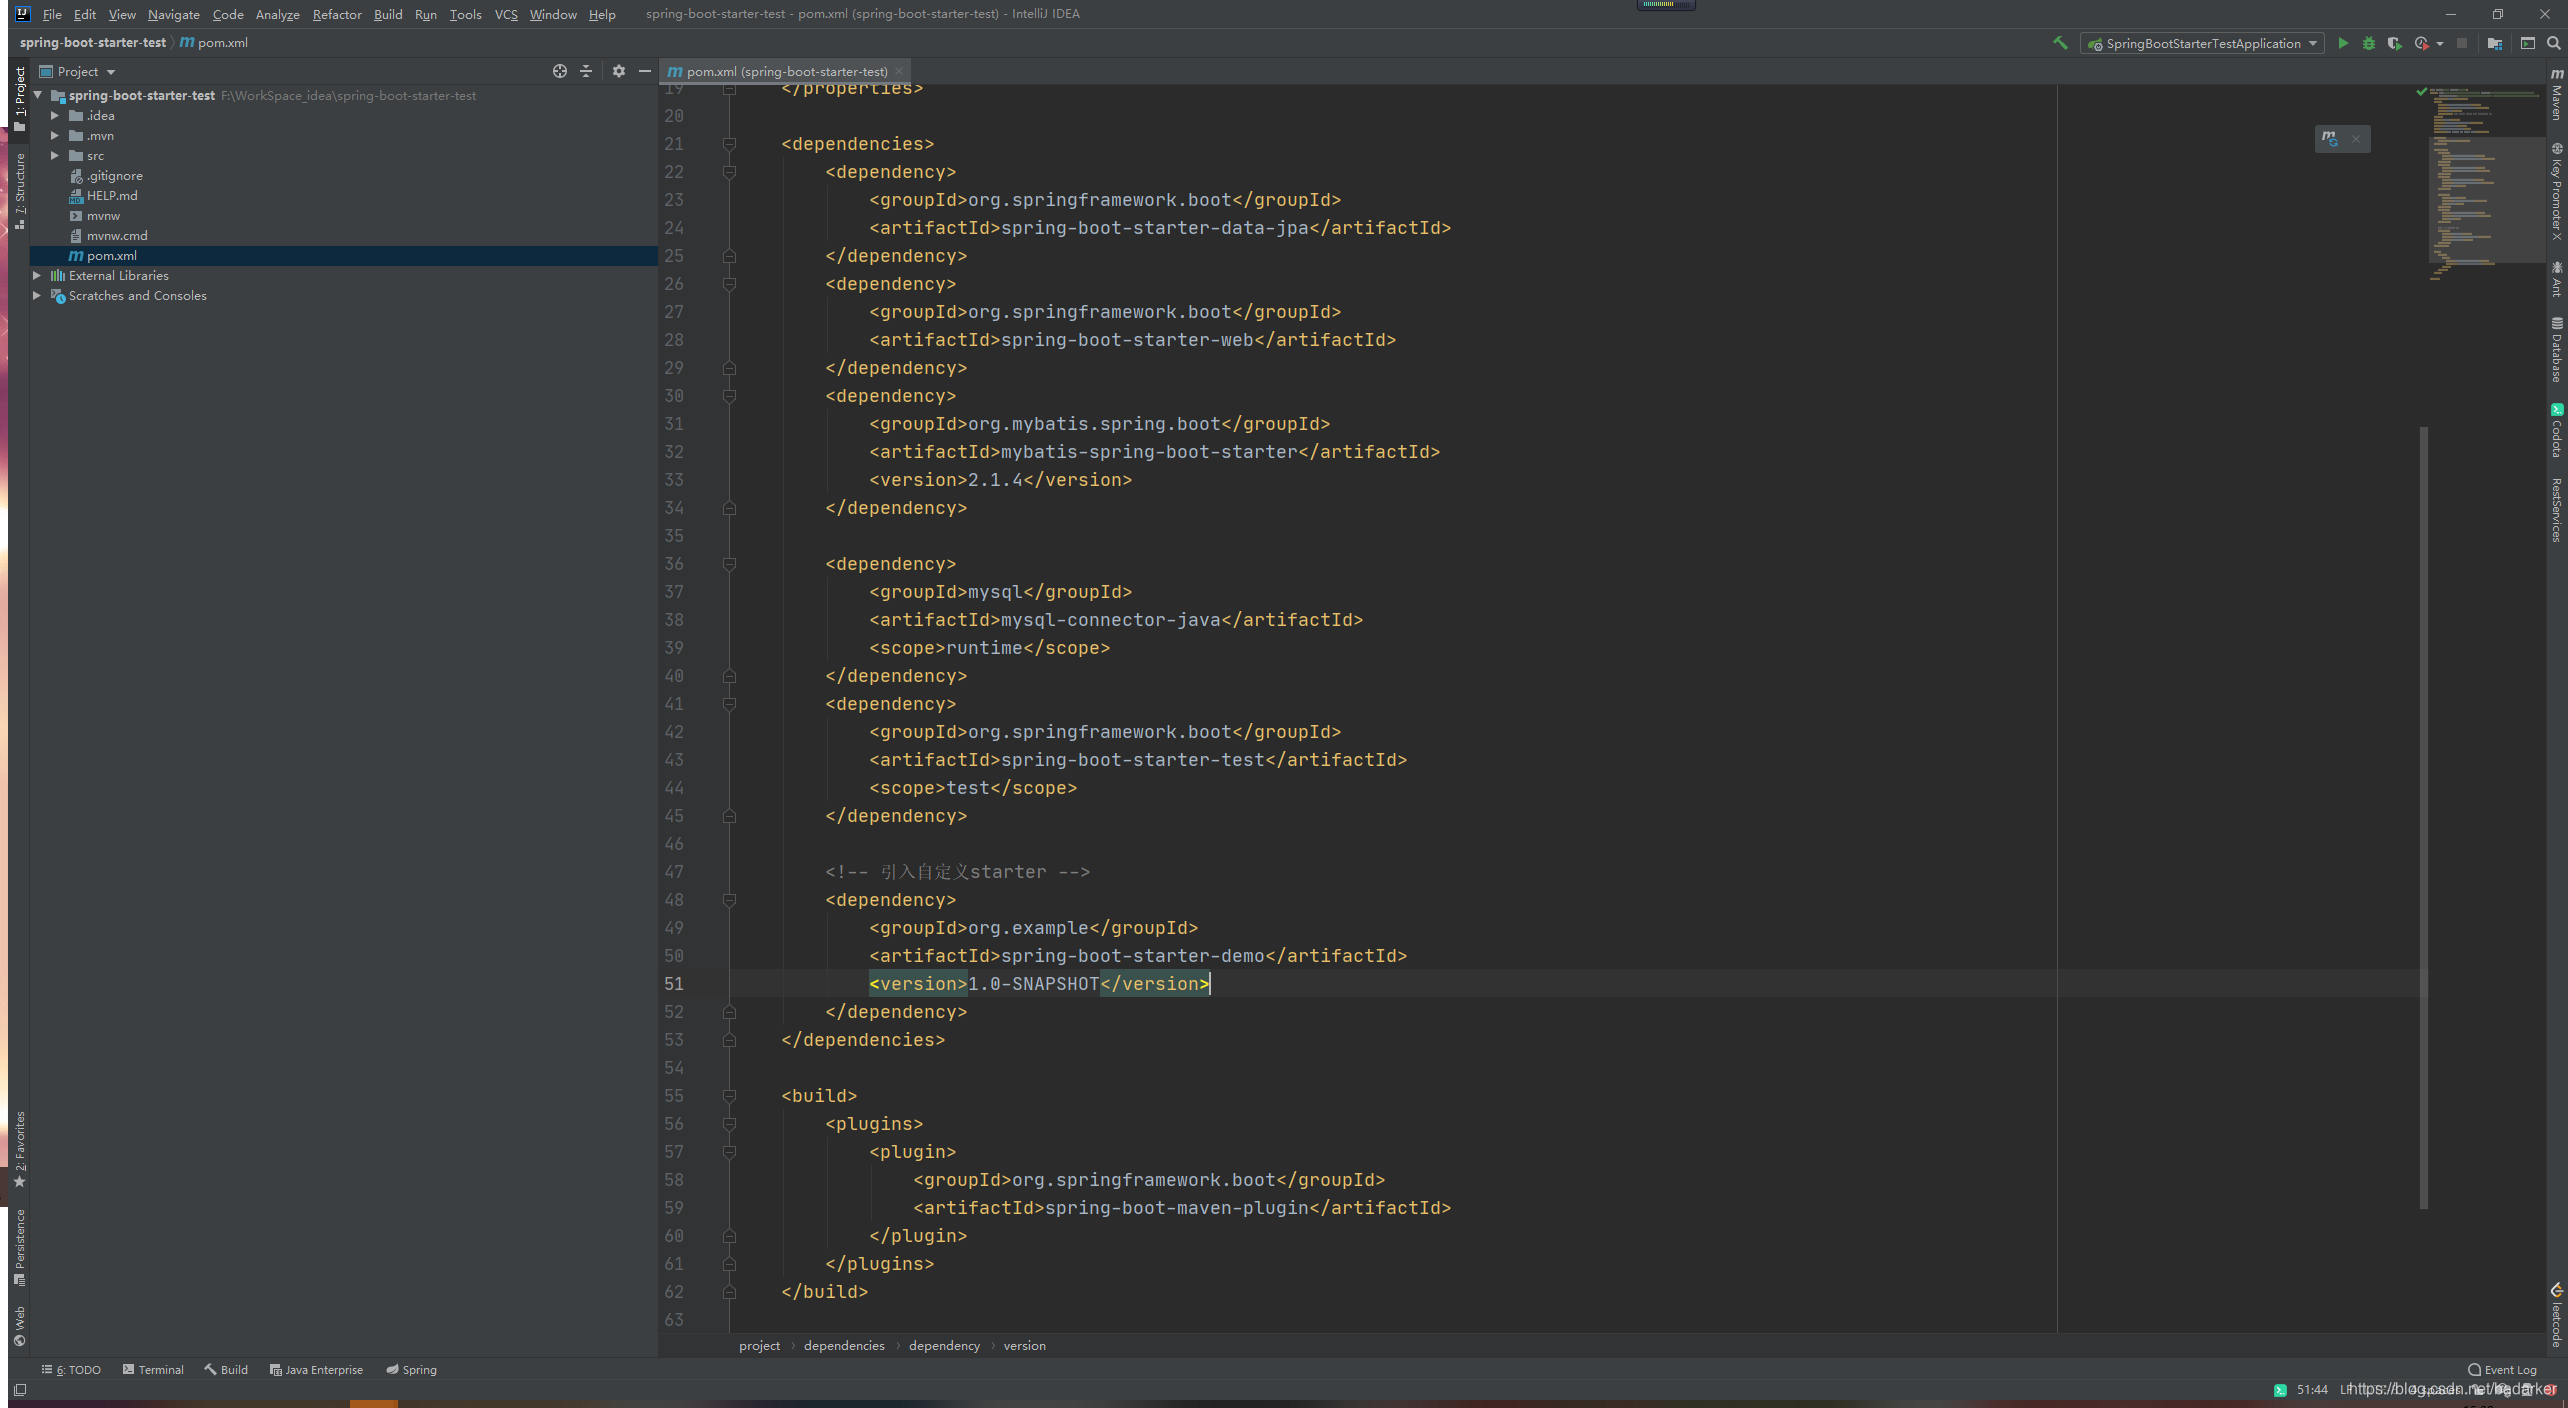
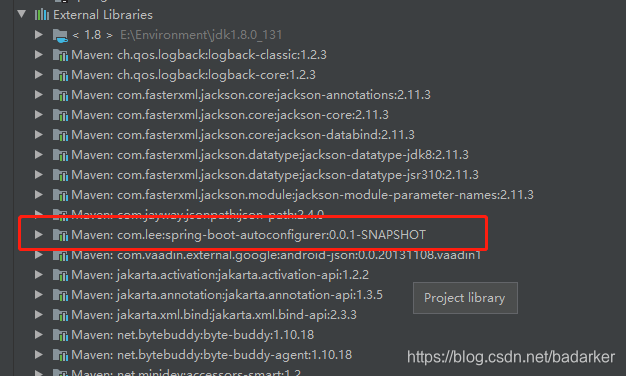
创建新工程引入自定义starter
查看是否引入成功
编写配置文件
demo.prefix=START
demo.suffix=END
写一个接口测试自定义starter是否生效
package com.lee.springbootstartertest.controller;

import com.lee.springbootautoconfigurer.DemoService;
import org.springframework.beans.factory.annotation.Autowired;
import org.springframework.web.bind.annotation.GetMapping;
import org.springframework.web.bind.annotation.RestController;

@RestController
public class DemoController {

    @Autowired
    DemoService demoService;

    @GetMapping("/demo")
    public String test() {
        return demoService.demoTest("优快云");
    }
}
启动项目并访问地址
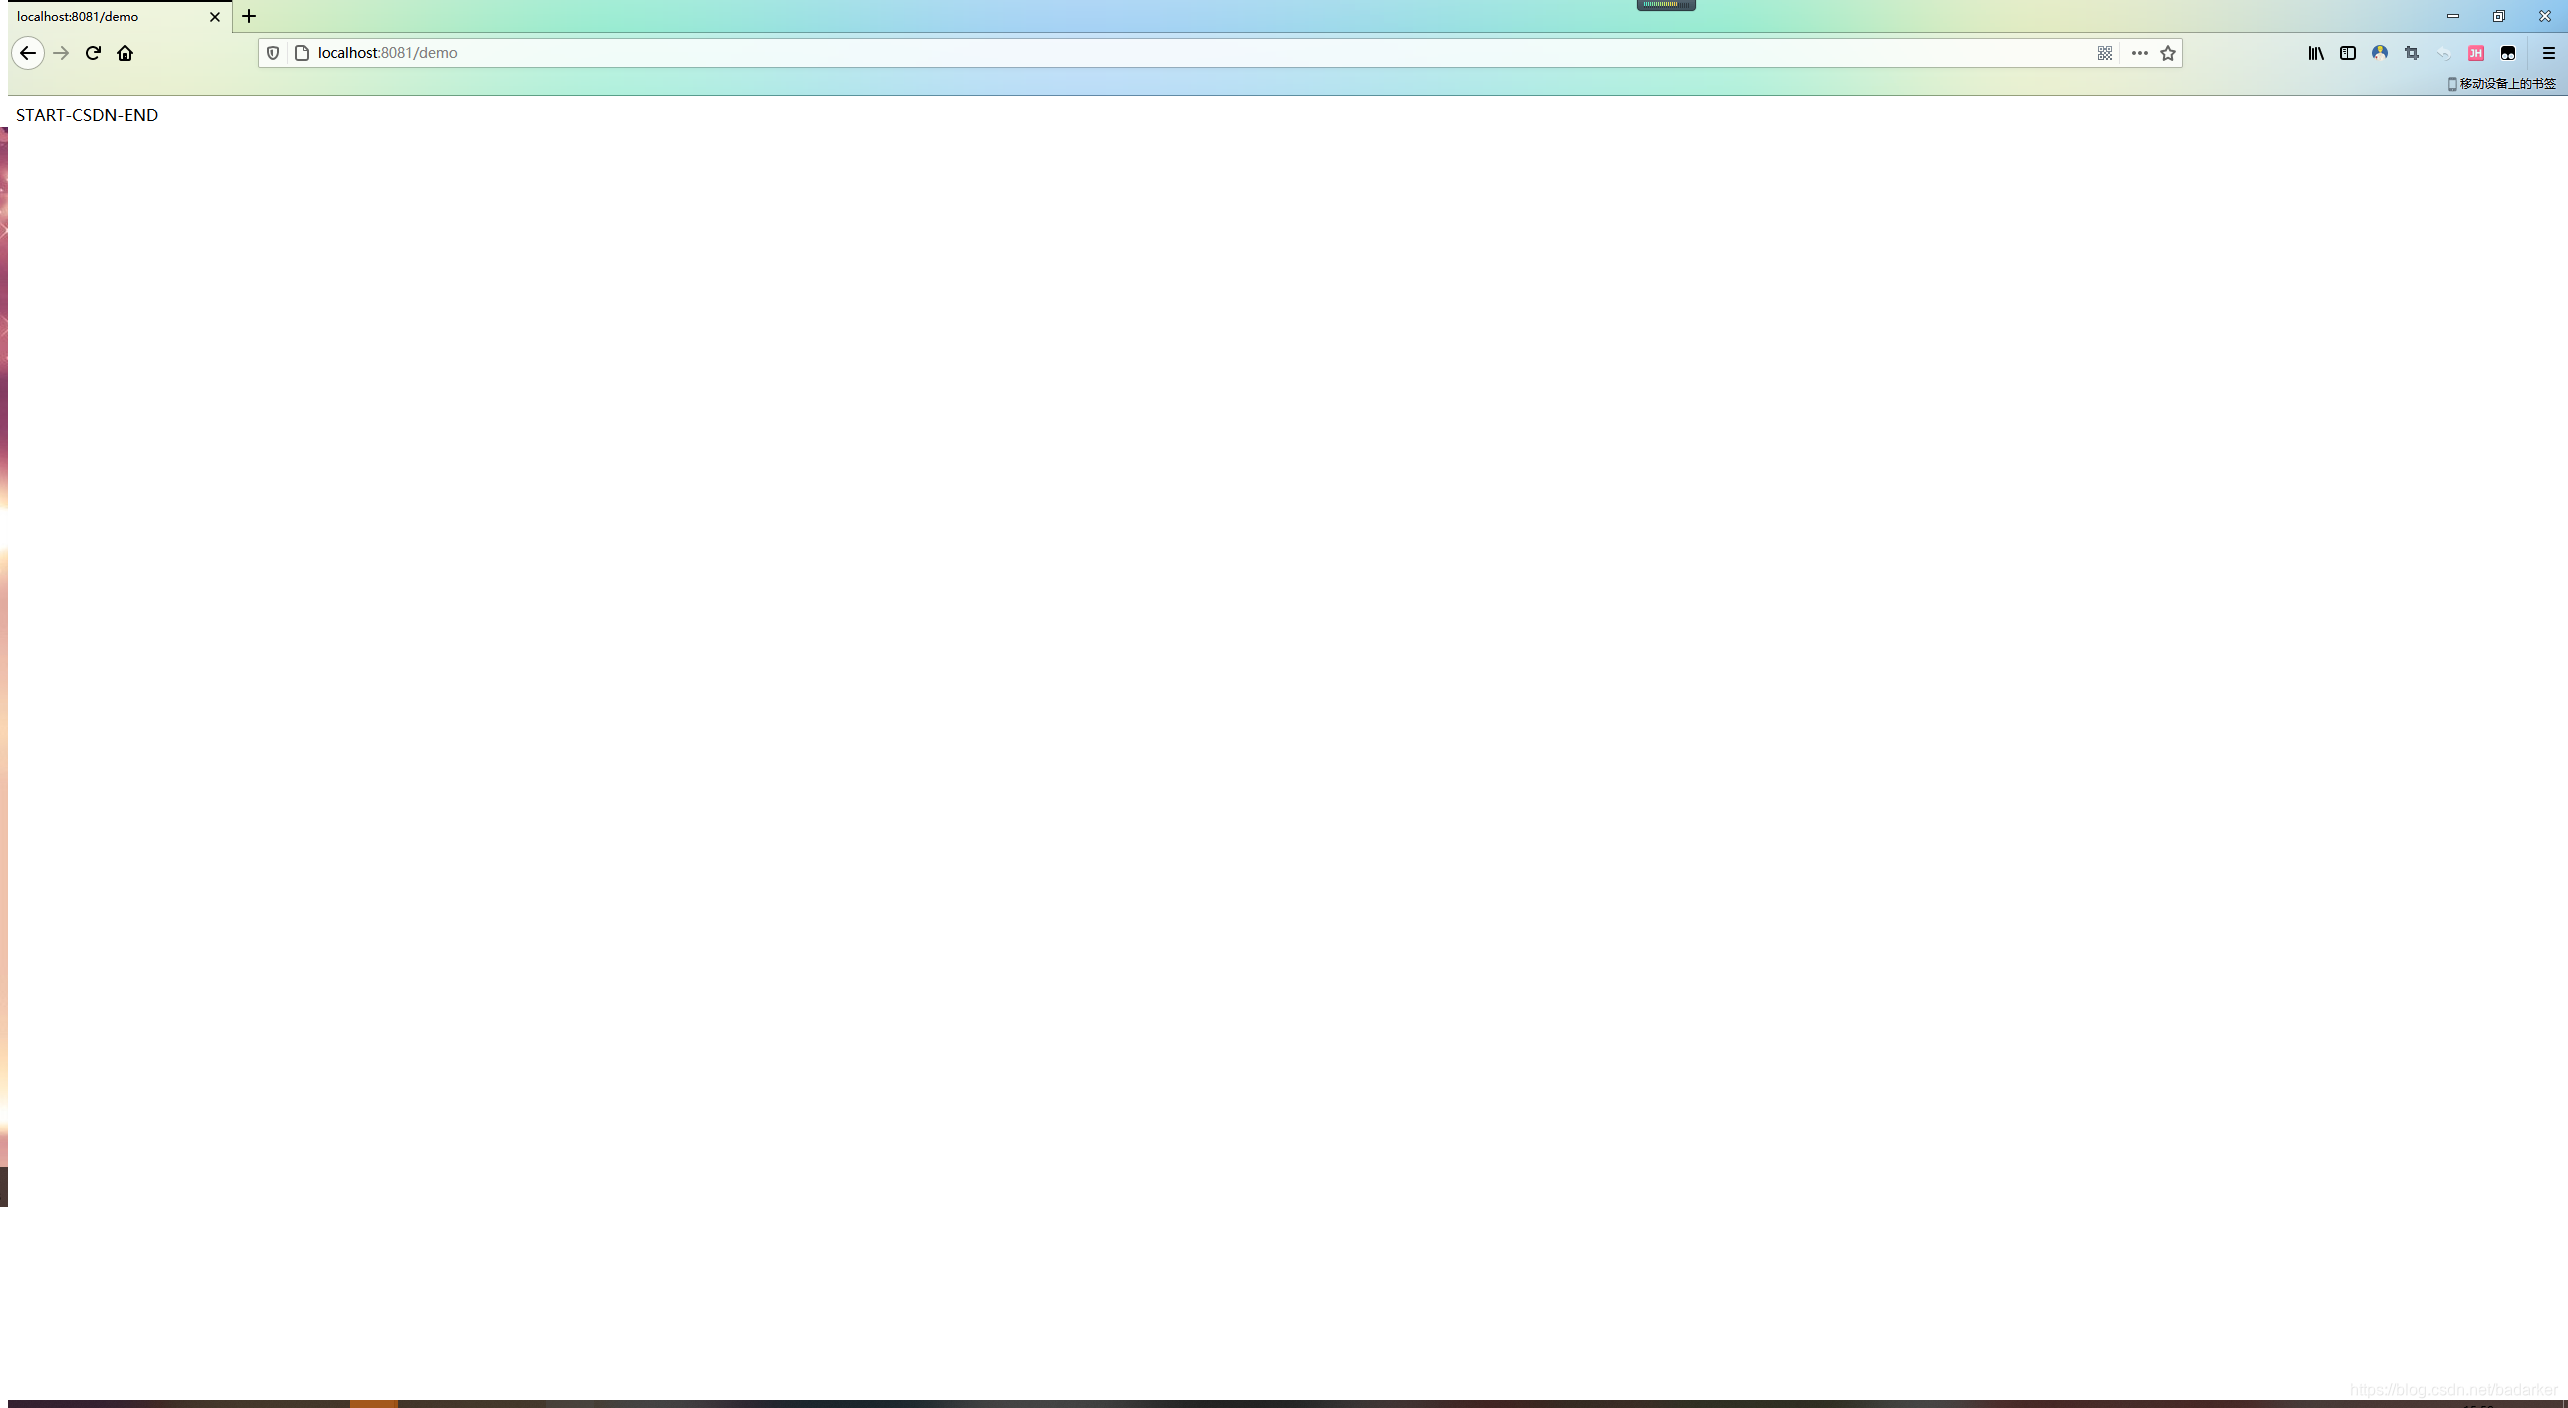


 2009
2009

 被折叠的 条评论
为什么被折叠?
被折叠的 条评论
为什么被折叠?
 到【灌水乐园】发言


