


 本文详细介绍了如何使用IntelliJ IDEA创建并配置一个基于Maven的Spring MVC项目。从创建Maven Web项目,设置项目结构,配置pom.xml文件,到编写springmvc.xml和web.xml文件,以及创建Controller和视图页面,最后进行测试。整个过程详尽且易于理解,适合初学者参考。
如何使用idea基于maven搭建springmvc项目
- 创建maven项目
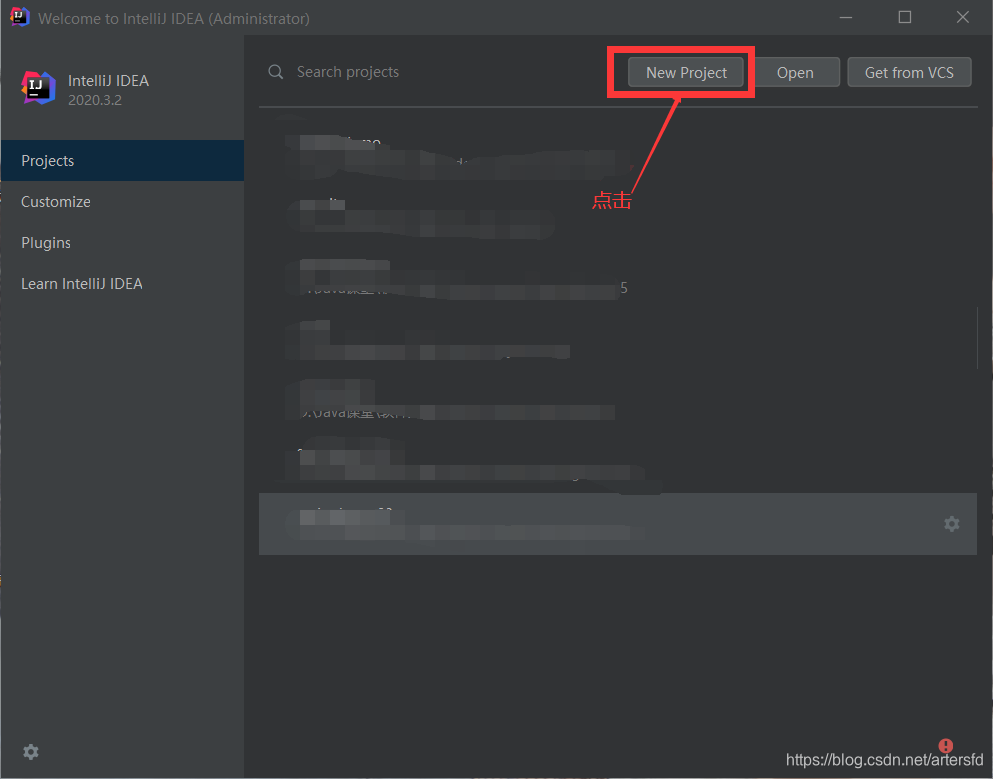
打开idea点击New Project
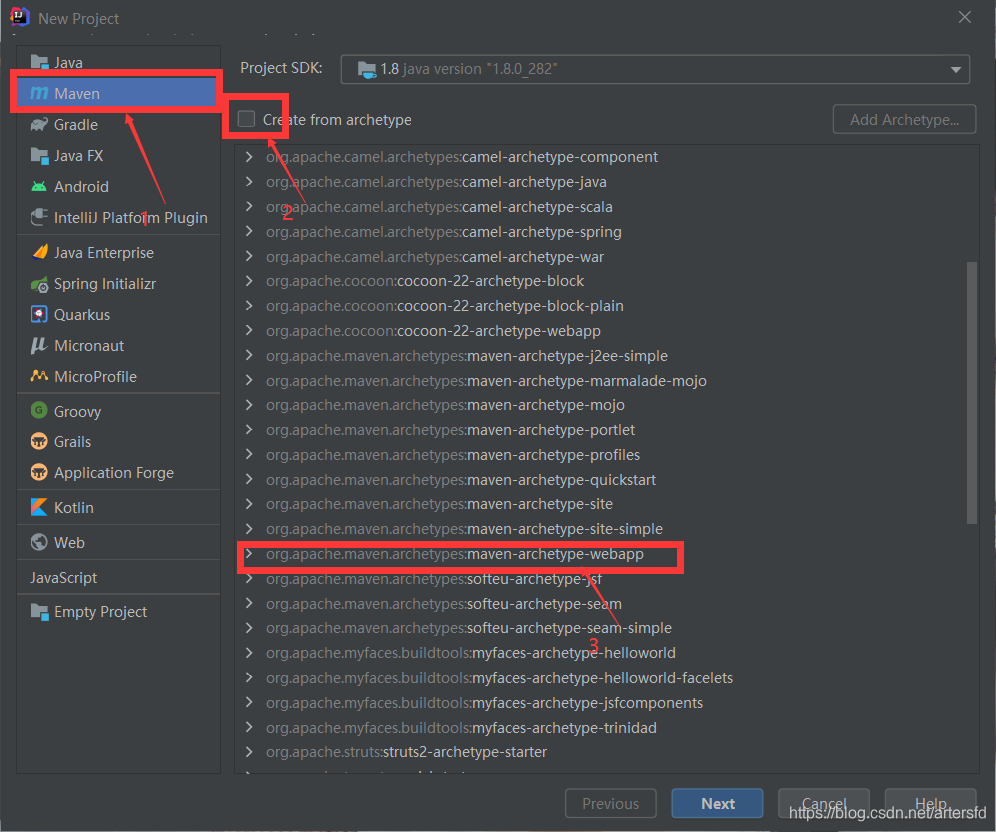
选择maven web 骨架
创建项目名及项目结构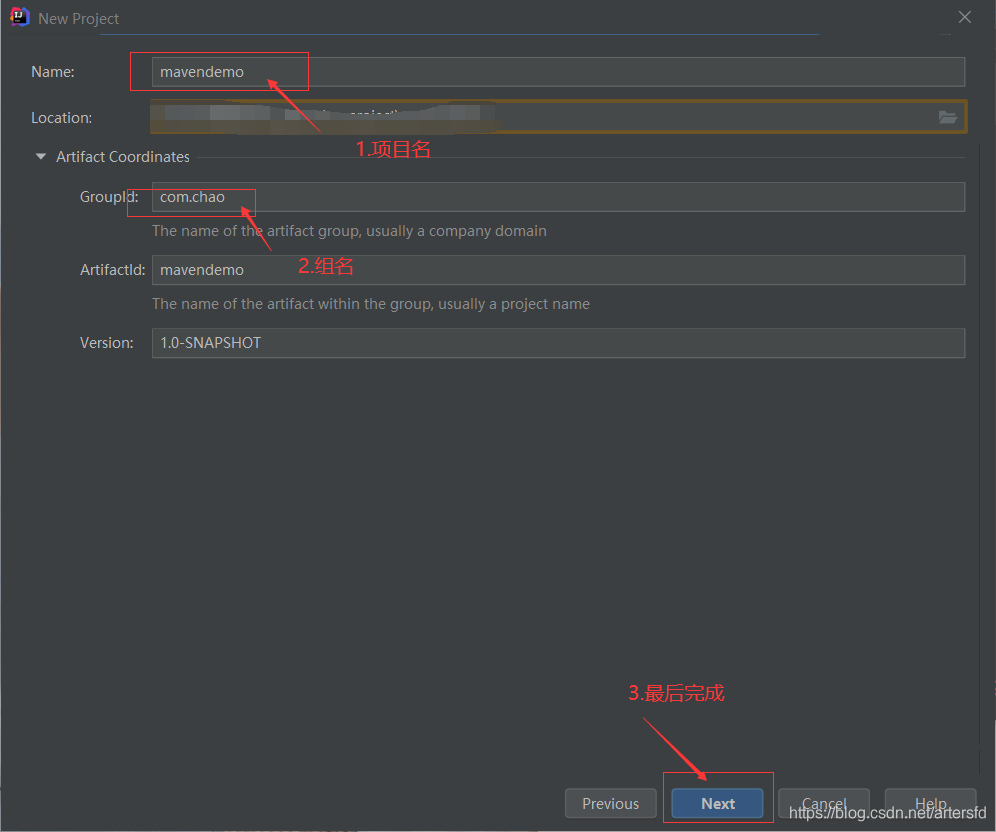
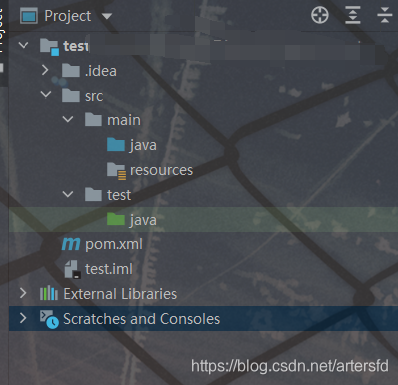
点击Finish后项目创建结束,然后项目结构如下,如果创建完成后src->main下没有java及resources需要手动添加
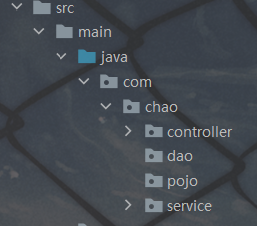
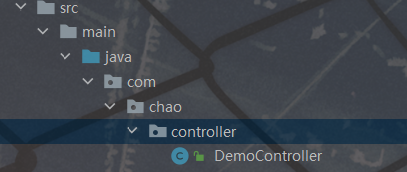
2. 创建项目包结构,例如我所创建的
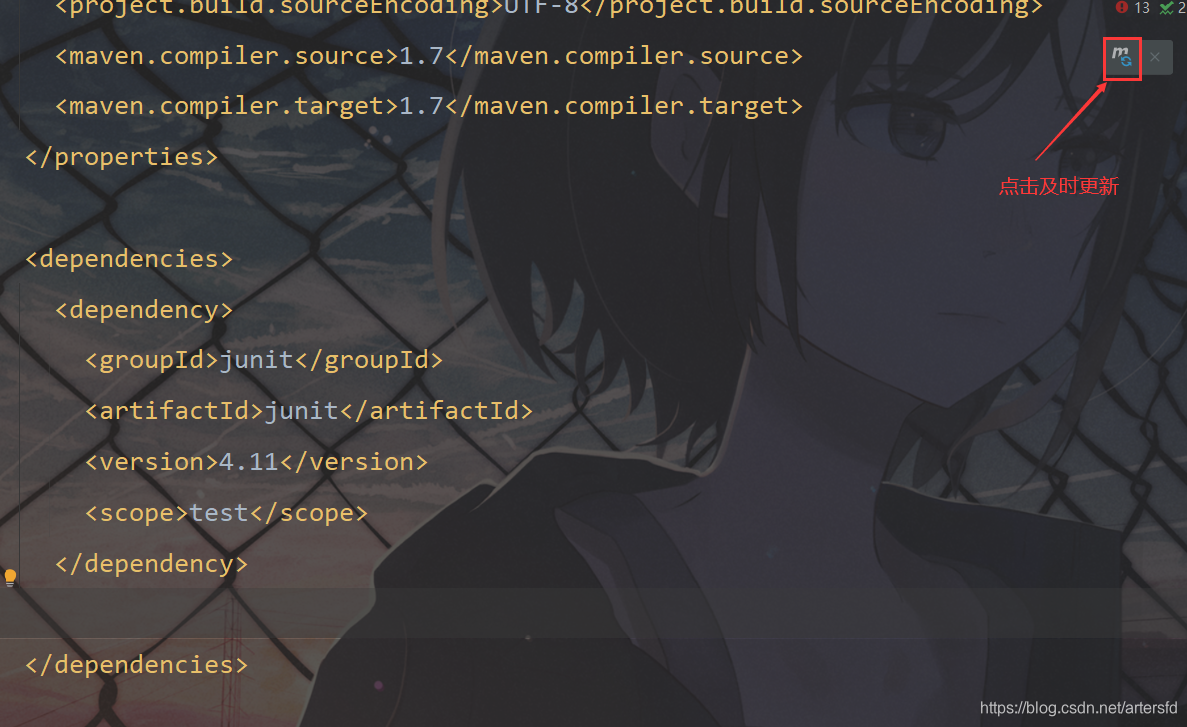
3.在pol.xml文件中添加jar,例如
<?xml version="1.0" encoding="UTF-8"?>

<project xmlns="http://maven.apache.org/POM/4.0.0" xmlns:xsi="http://www.w3.org/2001/XMLSchema-instance"
  xsi:schemaLocation="http://maven.apache.org/POM/4.0.0 http://maven.apache.org/xsd/maven-4.0.0.xsd">
  <modelVersion>4.0.0</modelVersion>

  <groupId>org.chao</groupId>
  <artifactId>mavendemo</artifactId>
  <version>1.0-SNAPSHOT</version>
  <packaging>war</packaging>

  <name>mavendemo Maven Webapp</name>
  <!-- FIXME change it to the project's website -->
  <url>http://www.example.com</url>

  <properties>
    <project.build.sourceEncoding>UTF-8</project.build.sourceEncoding>
    <maven.compiler.source>1.7</maven.compiler.source>
    <maven.compiler.target>1.7</maven.compiler.target>
  </properties>

  <dependencies>
    <dependency>
      <groupId>junit</groupId>
      <artifactId>junit</artifactId>
      <version>4.11</version>
      <scope>test</scope>
    </dependency>
    <!--引入spring webmvc的依赖-->
    <dependency>
      <groupId>org.springframework</groupId>
      <artifactId>spring-webmvc</artifactId>
      <version>5.1.12.RELEASE</version>
    </dependency>
  </dependencies>

  <build>
    <finalName>mavendemo</finalName>
    <pluginManagement><!-- lock down plugins versions to avoid using Maven defaults (may be moved to parent pom) -->
      <plugins>
        <plugin>
          <artifactId>maven-clean-plugin</artifactId>
          <version>3.1.0</version>
        </plugin>
        <!-- see http://maven.apache.org/ref/current/maven-core/default-bindings.html#Plugin_bindings_for_war_packaging -->
        <plugin>
          <artifactId>maven-resources-plugin</artifactId>
          <version>3.0.2</version>
        </plugin>
        <plugin>
          <artifactId>maven-compiler-plugin</artifactId>
          <version>3.8.0</version>
        </plugin>
        <plugin>
          <artifactId>maven-surefire-plugin</artifactId>
          <version>2.22.1</version>
        </plugin>
        <plugin>
          <artifactId>maven-war-plugin</artifactId>
          <version>3.2.2</version>
        </plugin>
        <plugin>
          <artifactId>maven-install-plugin</artifactId>
          <version>2.5.2</version>
        </plugin>
        <plugin>
          <artifactId>maven-deploy-plugin</artifactId>
          <version>2.8.2</version>
        </plugin>
      </plugins>
    </pluginManagement>
  </build>
</project>
点击如下pol.xml标记jar才开始下载
等待文件下载完成后查看是否有遗漏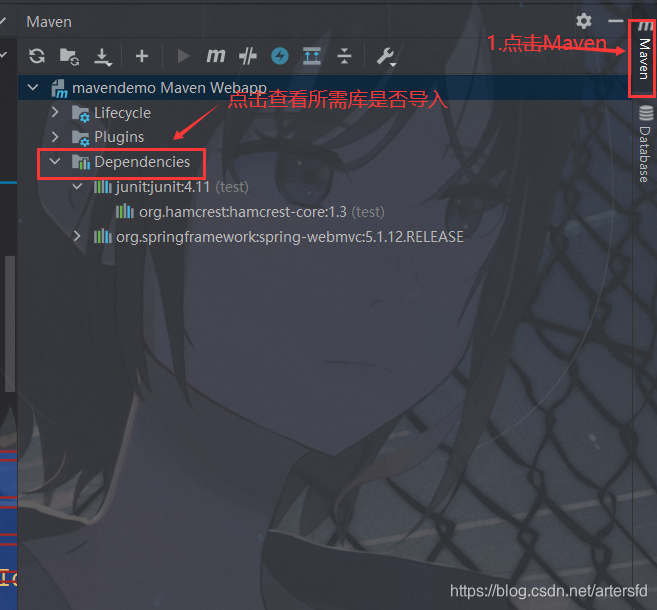
4.编写springmvc.xml文件其中需要配置配置springmvc的视图解析器
其结构为resuorces下的

其内容为
<?xml version="1.0" encoding="UTF-8"?>
<beans xmlns="http://www.springframework.org/schema/beans"
       xmlns:xsi="http://www.w3.org/2001/XMLSchema-instance"
       xmlns:context="http://www.springframework.org/schema/context"
       xmlns:mvc="http://www.springframework.org/schema/mvc"
       xsi:schemaLocation="
        http://www.springframework.org/schema/beans
        https://www.springframework.org/schema/beans/spring-beans.xsd
        http://www.springframework.org/schema/context
        https://www.springframework.org/schema/context/spring-context.xsd
        http://www.springframework.org/schema/mvc
        https://www.springframework.org/schema/mvc/spring-mvc.xsd
">


    <!--开启controller扫描-->
    <context:component-scan base-package="com.chao.controller"/>


    <!--配置springmvc的视图解析器-->
    <bean class="org.springframework.web.servlet.view.InternalResourceViewResolver">
        <property name="prefix" value="/WEB-INF/jsp/"/>
        <property name="suffix" value=".jsp"/>
    </bean>


    <!--
        自动注册最合适的处理器映射器,处理器适配器(调用handler方法)
    -->
    <mvc:annotation-driven/>


</beans>
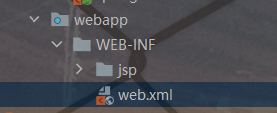
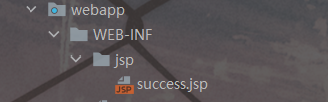
5.编写web.xml文件其中要整合springmvc.xml(该文件项目创建后自动生成)
其包结构为
其内容为
<!DOCTYPE web-app PUBLIC
        "-//Sun Microsystems, Inc.//DTD Web Application 2.3//EN"
        "http://java.sun.com/dtd/web-app_2_3.dtd" >

<web-app>
  <display-name>Archetype Created Web Application</display-name>

  <servlet>
    <servlet-name>springmvc</servlet-name>
    <servlet-class>org.springframework.web.servlet.DispatcherServlet</servlet-class>
    <init-param>
      <param-name>contextConfigLocation</param-name>
      <param-value>classpath:springmvc.xml</param-value>
    </init-param>
  </servlet>
  <servlet-mapping>
    <servlet-name>springmvc</servlet-name>
    <!--拦截匹配规则的url请求,进入springmvc框架处理-->
    <url-pattern>/</url-pattern>
  </servlet-mapping>
</web-app>
到这里配置及项目结构已完成,接下来就是测试环节了
6.测试环节
添加DemoController.java
package com.chao.controller;

import org.springframework.stereotype.Controller;
import org.springframework.web.bind.annotation.RequestMapping;
import org.springframework.web.servlet.ModelAndView;

import java.util.Date;

/**
 * @author Super
 * @Title: DemoController
 * @ProjectName springmvc-demo
 * @Description: TODO
 * @date 2021/4/24 12.10
 */
@Controller
@RequestMapping("/demo")
public class DemoController {
    /**
     * http://localhost:8080/demo/date
     */
    @RequestMapping("/date")
    public ModelAndView Date(){
        Date date=new Date();
        ModelAndView modelAndView=new ModelAndView();
        modelAndView.addObject("date",date);
        modelAndView.setViewName("success");
        return modelAndView;
    }
}
添加跳转页面
<%@ page language="java" isELIgnored="false" contentType="text/html; charset=utf-8" pageEncoding="utf-8"%>
<html lang="en">
<head>
    <meta charset="UTF-8">
    <title>Title</title>
</head>
<body>
当前时间 ${date}
</body>
</html>
7.测试结果
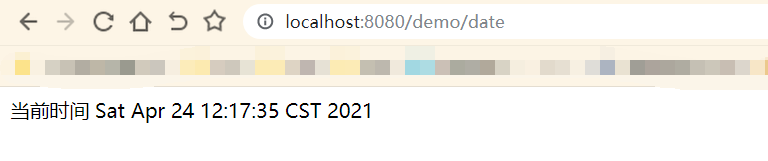
8.到这就结束了,谢谢大家的阅读,要是有什么地方说的不对的地方欢迎补充。


 593
593

 被折叠的 条评论
为什么被折叠?
被折叠的 条评论
为什么被折叠?
 到【灌水乐园】发言


