


文章的目的为了记录使用java 进行android app 开发学习的经历。本职为嵌入式软件开发,公司安排开发app,临时学习,完成app的开发。开发流程和要点有些记忆模糊,赶紧记录,防止忘记。
相关链接:
开源 java android app 开发(一)开发环境的搭建-优快云博客
开源 java android app 开发(二)工程文件结构-优快云博客
开源 java android app 开发(三)GUI界面布局和常用组件-优快云博客
开源 java android app 开发(四)GUI界面重要组件-优快云博客
开源 java android app 开发(五)文件和数据库存储-优快云博客
开源 java android app 开发(六)多媒体使用-优快云博客
开源 java android app 开发(七)通讯之Tcp和Http-优快云博客
开源 java android app 开发(八)通讯之Mqtt和Ble-优快云博客
开源 java android app 开发(九)后台之线程和服务-优快云博客
开源 java android app 开发(十)广播机制-优快云博客
开源 java android app 开发(十一)调试、发布-优快云博客
开源 java android app 开发(十二)封库.aar-优快云博客
开源 java android app 开发(十三)自定义绘图控件--游戏摇杆
开源 java android app 开发(十四)自定义绘图控件--波形图
开源 java android app 开发(十五)自定义绘图控件--仪表盘
开源 java android app 开发(十六)自定义绘图控件--圆环
推荐链接:
开源C# .net mvc 开发(一)WEB搭建_c#部署web程序-优快云博客
开源 C# .net mvc 开发(二)网站快速搭建_c#网站开发-优快云博客
开源 C# .net mvc 开发(三)WEB内外网访问(VS发布、IIS配置网站、花生壳外网穿刺访问)_c# mvc 域名下不可訪問內網,內網下可以訪問域名-优快云博客
开源 C# .net mvc 开发(四)工程结构、页面提交以及显示_c#工程结构-优快云博客
开源 C# .net mvc 开发(五)常用代码快速开发_c# mvc开发-优快云博客
本章节主要内容是GUI的重要组件tablayout、recyclerview、BottomNavigationView。
tablayout用于分页显示在一个页面上可以显示更多的组件。recyclerview的功能类似列表
显示,点击后可以触发事件。BottomNavigationView用于底部或顶部导航栏。这三个组件稍微复杂,但是经常用到。
本章内容如下:
1.重要组件tablayout
2.重要组件recyclerview
3.重要组件BottomNavigationView
一、重要组件tablayout
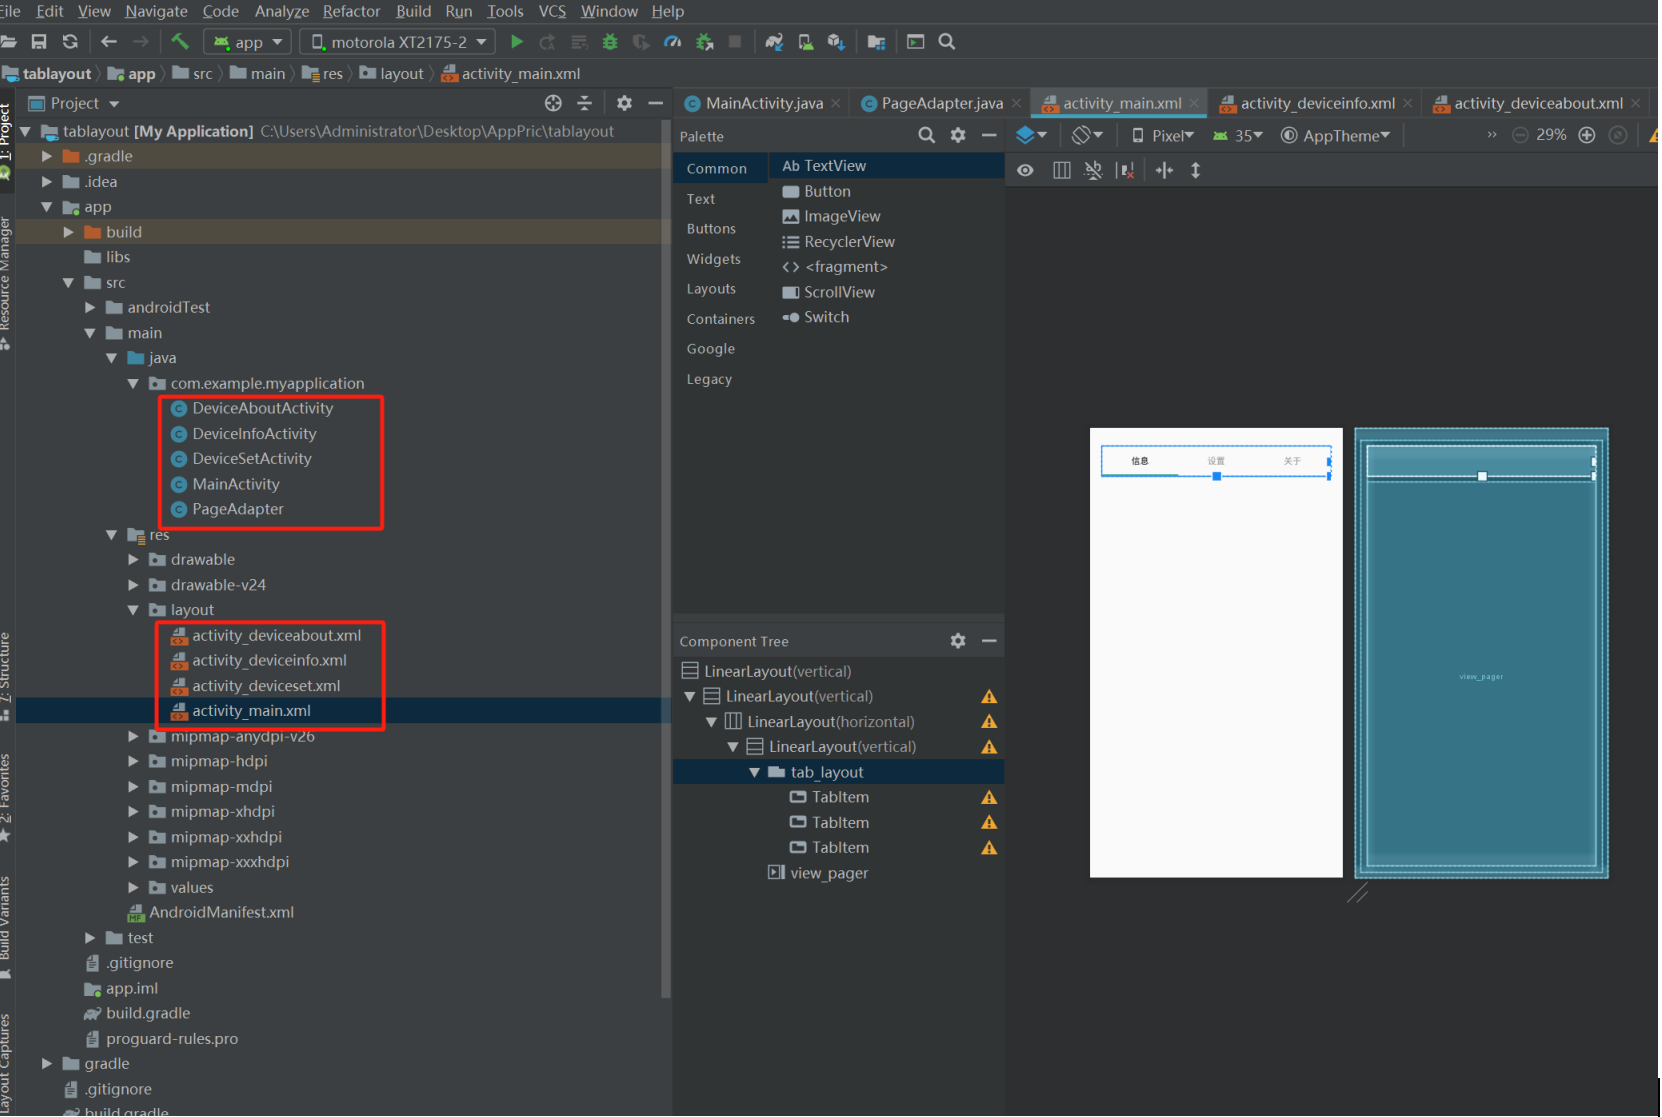
虽然显示是在一个页面,但实际是由多个活动和页面组成,如下图
1.1创建分页界面activity_deviceinfo.xml、activity_deviceset.xml、activity_deviceabout.xml
activity_deviceinfo.xml页面代码如下,其余页面参考该代码修改
<?xml version="1.0" encoding="utf-8"?>
<androidx.constraintlayout.widget.ConstraintLayout xmlns:android="http://schemas.android.com/apk/res/android"
    xmlns:app="http://schemas.android.com/apk/res-auto"
    xmlns:tools="http://schemas.android.com/tools"
    android:layout_width="match_parent"
    android:layout_height="match_parent"
    tools:context=".DeviceSetActivity">

    <TextView
        android:id="@+id/textView2"
        android:layout_width="wrap_content"
        android:layout_height="wrap_content"
        android:text="设置页面"
        app:layout_constraintBottom_toBottomOf="parent"
        app:layout_constraintEnd_toEndOf="parent"
        app:layout_constraintStart_toStartOf="parent"
        app:layout_constraintTop_toTopOf="parent" />
</androidx.constraintlayout.widget.ConstraintLayout>1.2创建活动代码DevInfoActivity.java,DevsetActivity.java,DevaboutActivity.java
DevInfoActivity.java活动代码如下,其余活动参考该代码修改
package com.example.myapplication;

import android.content.Context;
import android.os.Bundle;
import android.view.LayoutInflater;
import android.view.View;
import android.view.ViewGroup;

import androidx.annotation.Nullable;
import androidx.fragment.app.Fragment;

public class DeviceInfoActivity extends Fragment {
    Context mContext;
    View view;

    @Override
    public void onCreate(@Nullable Bundle savedInstanceState) {
        super.onCreate(savedInstanceState);
        mContext = getActivity();
    }

    public View onCreateView(LayoutInflater inflater, ViewGroup container, Bundle savedInstanceState) {
        // 使用 fragment_page.xml 布局文件来创建视图
        view = inflater.inflate(R.layout.activity_deviceinfo, container, false);

        return view;
    }
}1.3创建适配器PageAdapter.java
PageAdapter.java代码如下
package com.example.myapplication;


import android.os.Bundle;

import androidx.annotation.NonNull;
import androidx.fragment.app.Fragment;
import androidx.fragment.app.FragmentManager;
import androidx.fragment.app.FragmentPagerAdapter;


public class PageAdapter extends FragmentPagerAdapter {

    private final String[] TAB_TITLES = {"信息", "设置", "关于"};

    public PageAdapter(FragmentManager fragmentManager) {
        super(fragmentManager);
    }

    @NonNull
    @Override
    public Fragment getItem(int position) {
        switch (position) {
            case 0:
                // 使用 fragment_page.xml 布局创建第一个选项卡的内容
                return new DeviceInfoActivity();
            case 1:
                // 使用 fragment_page.xml 布局创建第二个选项卡的内容
                return new DeviceSetActivity();
            case 2:
                // 使用 fragment_page.xml 布局创建第二个选项卡的内容
                return new DeviceAboutActivity();
            default:
                return null;
        }
    }
    @Override
    public int getCount() {
        return TAB_TITLES.length;
    }
    @Override
    public CharSequence getPageTitle(int position) {
        return TAB_TITLES[position];
    }
}1.4添加主要活动代码MainActivity.java
package com.example.myapplication;

import androidx.appcompat.app.AppCompatActivity;
import androidx.viewpager.widget.ViewPager;

import android.os.Bundle;


import com.google.android.material.tabs.TabLayout;

public class MainActivity extends AppCompatActivity {

    @Override
    protected void onCreate(Bundle savedInstanceState) {
        super.onCreate(savedInstanceState);
        setContentView(R.layout.activity_main);

        //选项卡部分--------------------------------
        //获取选项卡
        TabLayout tabLayout = findViewById(R.id.tab_layout);
        ViewPager viewPager = findViewById(R.id.view_pager);


        PageAdapter adapter = new PageAdapter(getSupportFragmentManager());
        viewPager.setAdapter(adapter);


        // 设置TabLayout的ViewPager
        tabLayout.setupWithViewPager(viewPager);
    }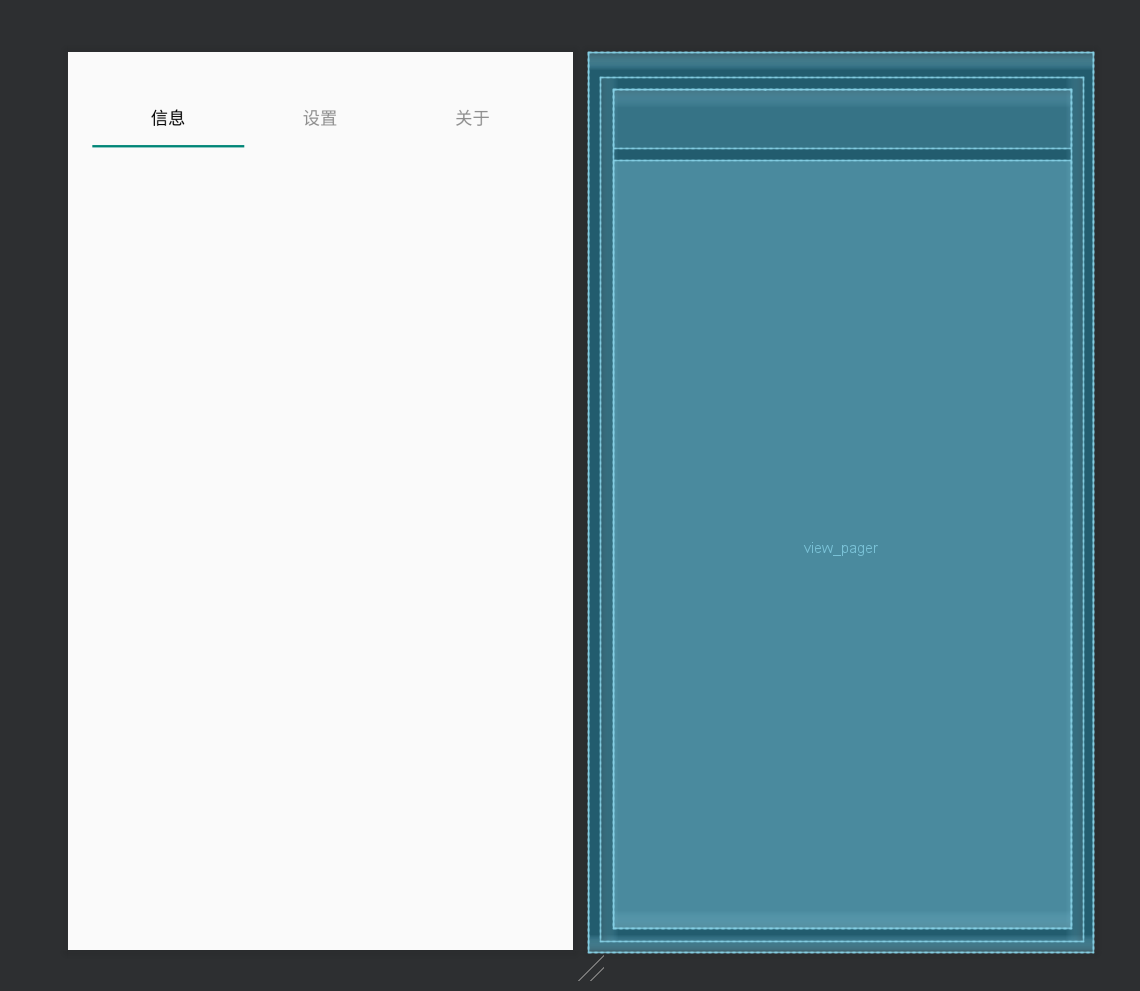
}1.5编译后在Activity_main.xml的设计界面中可以看到如下图
二、重要组件recyclerview,这个组件和list类似可以显示列表,同时可以上下滑动。
2.1创建一个数据模型类,例如 Item.java:
public class Item {
    private String title;
    private String description;

    public Item(String title, String description) {
        this.title = title;
        this.description = description;
    }

    public String getTitle() {
        return title;
    }

    public String getDescription() {
        return description;
    }
}2.2创建一个 RecyclerView 的适配器类,例如 ItemAdapter.java:
package com.example.myapplication;

import android.content.Context;
import android.content.Intent;
import android.view.LayoutInflater;
import android.view.View;
import android.view.ViewGroup;
import android.widget.TextView;
import androidx.annotation.NonNull;
import androidx.recyclerview.widget.RecyclerView;
import java.util.List;

public class ItemAdapter extends RecyclerView.Adapter<ItemAdapter.ViewHolder> {

    private List<Item> itemList;
    private Context context;

    public ItemAdapter(List<Item> itemList, Context context) {
        this.itemList = itemList;
        this.context = context;
    }

    @NonNull
    @Override
    public ViewHolder onCreateViewHolder(@NonNull ViewGroup parent, int viewType) {
        View view = LayoutInflater.from(parent.getContext()).inflate(android.R.layout.simple_expandable_list_item_1, parent, false);
        return new ViewHolder(view);
    }

    @Override
    public void onBindViewHolder(@NonNull ViewHolder holder, int position) {
        Item item = itemList.get(position);
        holder.textView.setText(item.getTitle());

        holder.itemView.setOnClickListener(v -> {
            Intent intent = new Intent(context, DetailActivity.class);
            intent.putExtra("title", item.getTitle());
            intent.putExtra("description", item.getDescription());
            context.startActivity(intent);
        });
    }

    @Override
    public int getItemCount() {
        return itemList.size();
    }

    public static class ViewHolder extends RecyclerView.ViewHolder {
        TextView textView;

        public ViewHolder(@NonNull View itemView) {
            super(itemView);
            textView = itemView.findViewById(android.R.id.text1);
        }
    }
}2.3创建一个新的 Activity,例如 DetailActivity.java,用于显示点击 item 后的详细信息:
import android.os.Bundle;
import android.widget.TextView;
import androidx.appcompat.app.AppCompatActivity;

public class DetailActivity extends AppCompatActivity {

    @Override
    protected void onCreate(Bundle savedInstanceState) {
        super.onCreate(savedInstanceState);
        setContentView(R.layout.activity_detail);

        TextView titleTextView = findViewById(R.id.titleTextView);
        TextView descriptionTextView = findViewById(R.id.descriptionTextView);

        String title = getIntent().getStringExtra("title");
        String description = getIntent().getStringExtra("description");

        titleTextView.setText(title);
        descriptionTextView.setText(description);
    }
}2.4创建 activity_detail.xml 布局文件,用于显示详细页面的内容:
<?xml version="1.0" encoding="utf-8"?>
<LinearLayout xmlns:android="http://schemas.android.com/apk/res/android"
    android:layout_width="match_parent"
    android:layout_height="match_parent"
    android:orientation="vertical"
    android:padding="16dp">

    <TextView
        android:id="@+id/titleTextView"
        android:layout_width="wrap_content"
        android:layout_height="wrap_content"
        android:textSize="24sp"
        android:textStyle="bold" />

    <TextView
        android:id="@+id/descriptionTextView"
        android:layout_width="wrap_content"
        android:layout_height="wrap_content"
        android:layout_marginTop="16dp"
        android:textSize="18sp" />
</LinearLayout>2.5在 MainActivity.java 中设置 RecyclerView 并绑定适配器:
import android.os.Bundle;
import androidx.appcompat.app.AppCompatActivity;
import androidx.recyclerview.widget.LinearLayoutManager;
import androidx.recyclerview.widget.RecyclerView;
import java.util.ArrayList;
import java.util.List;

public class MainActivity extends AppCompatActivity {

    @Override
    protected void onCreate(Bundle savedInstanceState) {
        super.onCreate(savedInstanceState);
        setContentView(R.layout.activity_main);

        RecyclerView recyclerView = findViewById(R.id.recyclerView);
        recyclerView.setLayoutManager(new LinearLayoutManager(this));

        List<Item> itemList = new ArrayList<>();
        itemList.add(new Item("Item 1", "This is the description for item 1"));
        itemList.add(new Item("Item 2", "This is the description for item 2"));
        itemList.add(new Item("Item 3", "This is the description for item 3"));

        ItemAdapter adapter = new ItemAdapter(itemList, this);
        recyclerView.setAdapter(adapter);
    }
}2.6创建 activity_main.xml 布局文件,用于显示 RecyclerView:
<?xml version="1.0" encoding="utf-8"?>
<LinearLayout xmlns:android="http://schemas.android.com/apk/res/android"
android:layout_width="match_parent"
android:layout_height="match_parent"
android:orientation="vertical">
<androidx.recyclerview.widget.RecyclerView
android:id="@+id/recyclerView"
android:layout_width="match_parent"
android:layout_height="match_parent" />
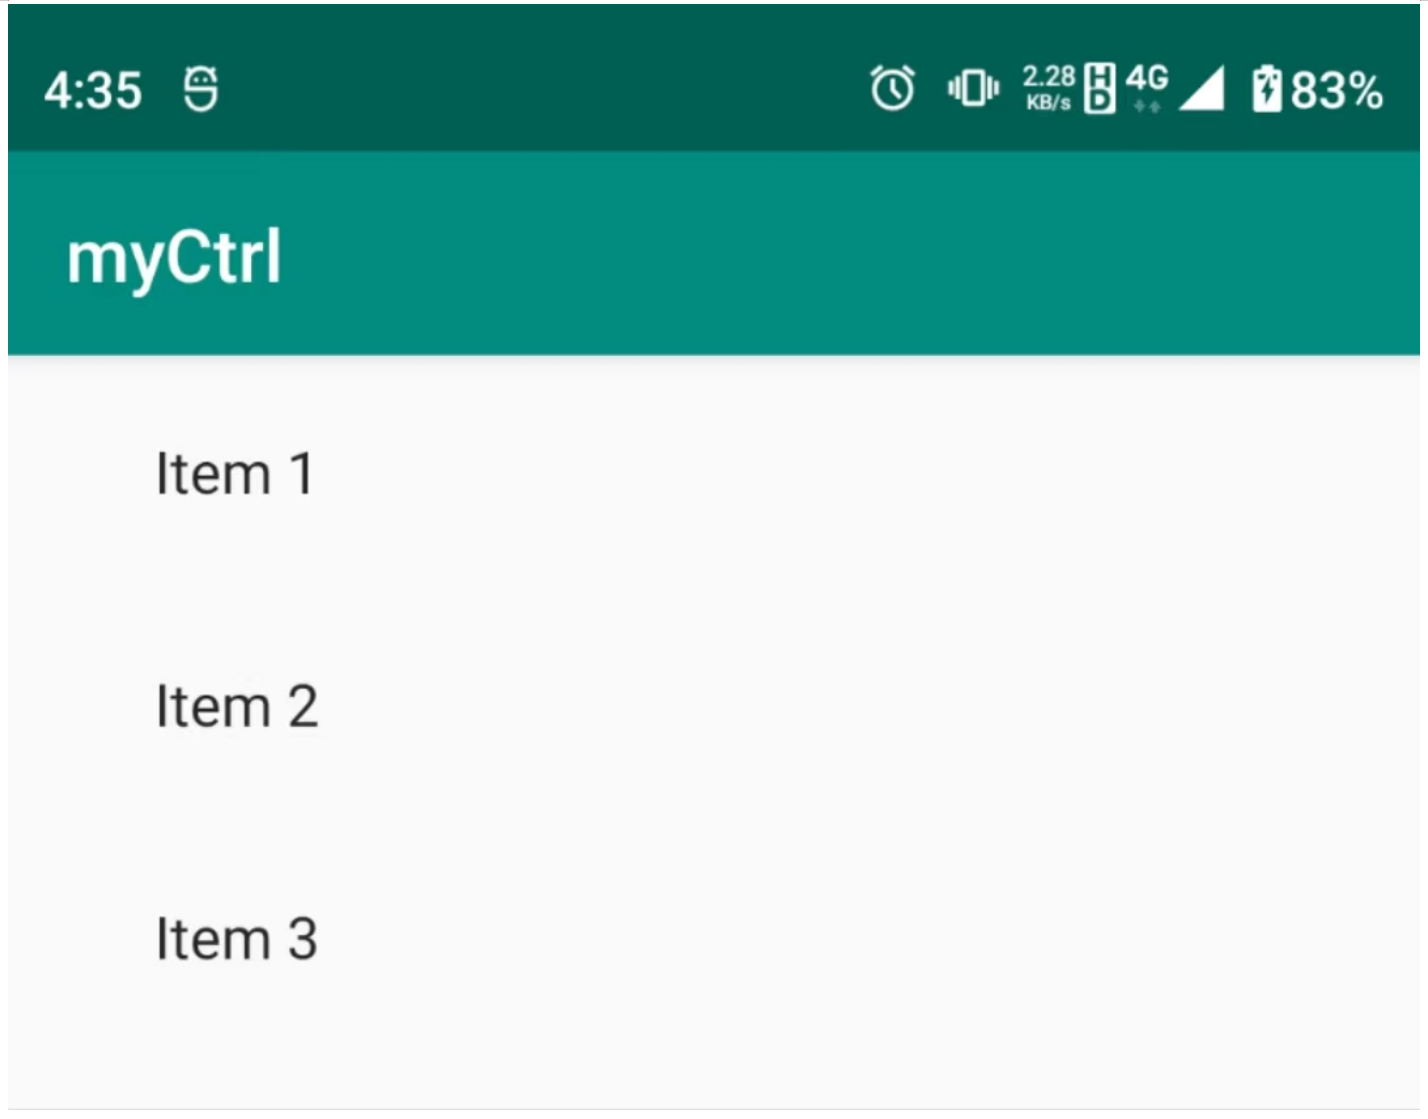
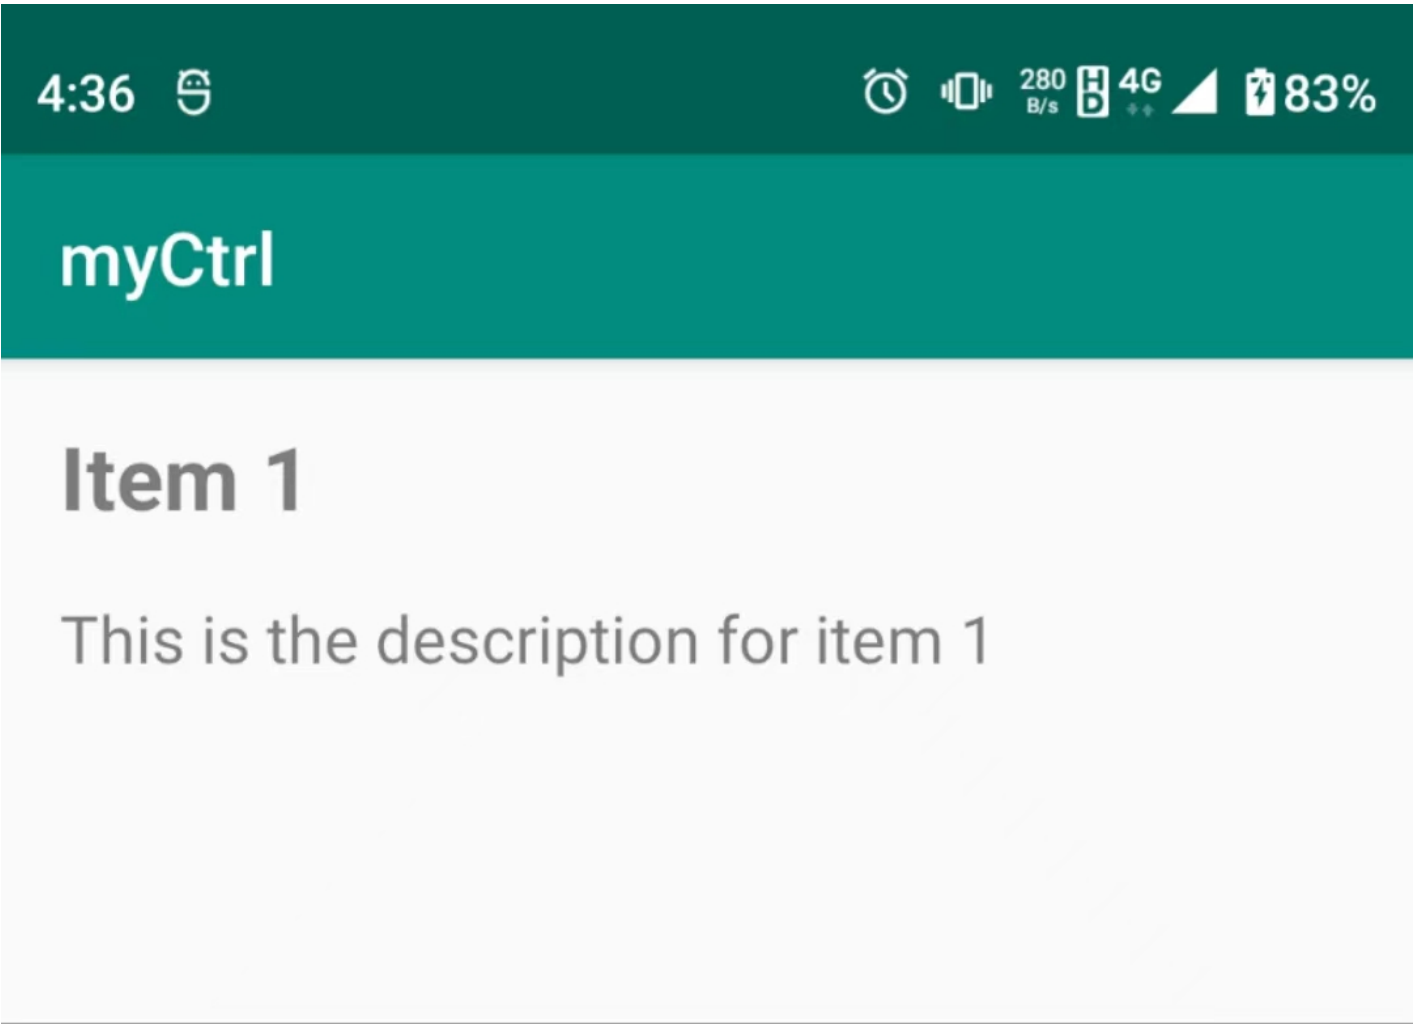
</LinearLayout>2.7效果页面和点击效果页面如下
三、重要组件BottomNavigationView
BottomNavigationView用于底部导航
3.1需要创建activity ,xml,menu如下图
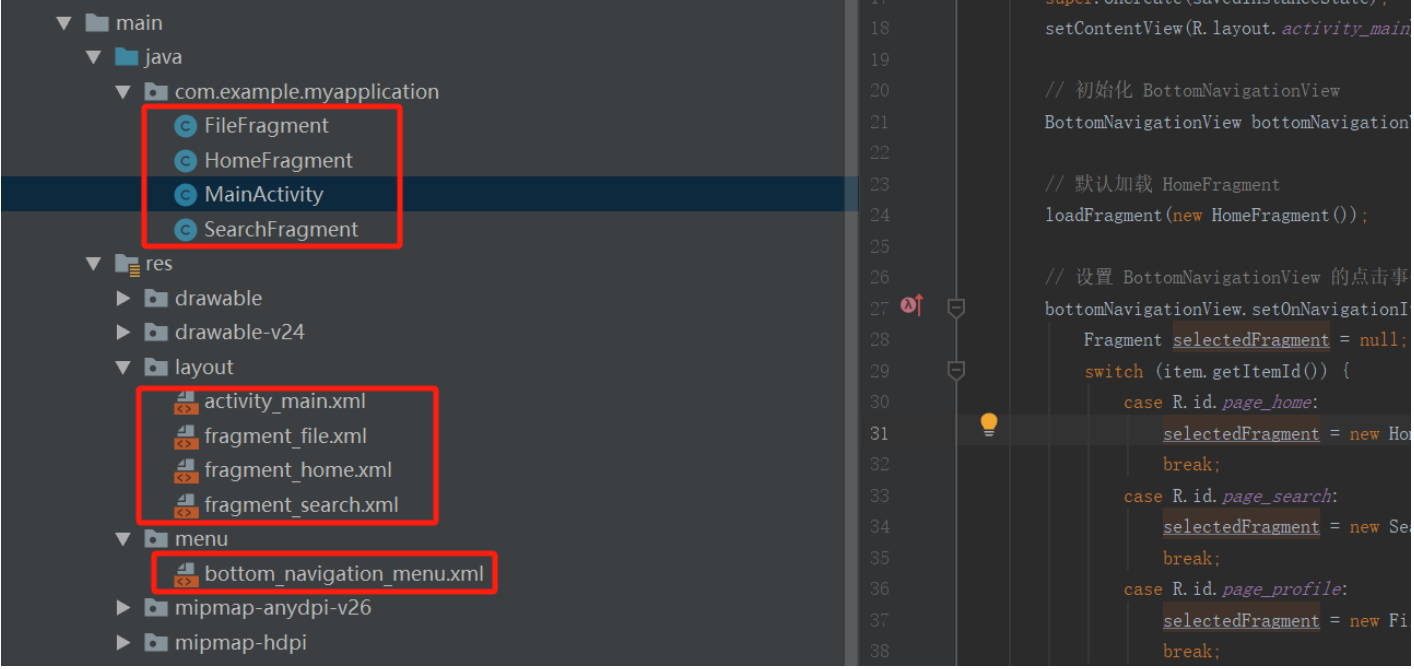
3.2创建菜单资源文件
在 res/menu 目录下创建一个 XML 文件,用于定义 BottomNavigationView 的菜单项。例如,创建一个名为 bottom_nav_menu.xml 的文件:
<?xml version="1.0" encoding="utf-8"?>
<menu xmlns:android="http://schemas.android.com/apk/res/android">
    <item
        android:id="@+id/page_home"

        android:title="Home" />
    <item
        android:id="@+id/page_search"

        android:title="Search" />
    <item
        android:id="@+id/page_profile"

        android:title="Profile" />
</menu>3.2在布局文件中添加 BottomNavigationView
在主布局文件(例如 activity_main.xml)中添加 BottomNavigationView 组件,注意android:layout_height="wrap_content",菜单显示为底部:
<FrameLayout
    android:id="@+id/fragment_container"
    android:layout_width="match_parent"
    android:layout_height="match_parent"
    android:layout_above="@id/bnv"
    app:layout_constraintLeft_toLeftOf="parent"
    app:layout_constraintRight_toRightOf="parent"
    app:layout_constraintTop_toTopOf="parent"

    />

<com.google.android.material.bottomnavigation.BottomNavigationView
    android:id="@+id/bnv"
    android:layout_width="0dp"
    android:layout_height="wrap_content"
    app:layout_constraintBottom_toBottomOf="parent"
    app:layout_constraintLeft_toLeftOf="parent"
    app:layout_constraintRight_toRightOf="parent"
    app:menu="@menu/bottom_navigation_menu"

/>3.3在 Activity 中设置 BottomNavigationView 的点击事件
在你的 MainActivity 中,设置 BottomNavigationView 的点击事件,并在点击时跳转到其他页面。你可以使用 Fragment 或者 Activity 来实现页面跳转。
public class MainActivity extends AppCompatActivity {

    @Override
    protected void onCreate(Bundle savedInstanceState) {
        super.onCreate(savedInstanceState);
        setContentView(R.layout.activity_main);

        // 初始化 BottomNavigationView
        BottomNavigationView bottomNavigationView = findViewById(R.id.bnv);

        // 默认加载 HomeFragment
        loadFragment(new HomeFragment());

        // 设置 BottomNavigationView 的点击事件
        bottomNavigationView.setOnNavigationItemSelectedListener(item -> {
            Fragment selectedFragment = null;
            switch (item.getItemId()) {
                case R.id.page_home:
                    selectedFragment = new HomeFragment();
                    break;
                case R.id.page_search:
                    selectedFragment = new SearchFragment();
                    break;
                case R.id.page_profile:
                    selectedFragment = new FileFragment();
                    break;
            }
            return loadFragment(selectedFragment);
        });
    }

    private boolean loadFragment(Fragment fragment) {
        if (fragment != null) {
            getSupportFragmentManager()
                    .beginTransaction()
                    .replace(R.id.fragment_container, fragment)
                    .commit();
            return true;
        }
        return false;


    }
}3.4创建目标 Activity
确保你已经创建了 HomeActivity、DashboardActivity 和 NotificationsActivity,并在 AndroidManifest.xml 中进行了注册。
<activity android:name=".HomeFragment" ></activity>
<activity android:name=".SearchFragment" ></activity>
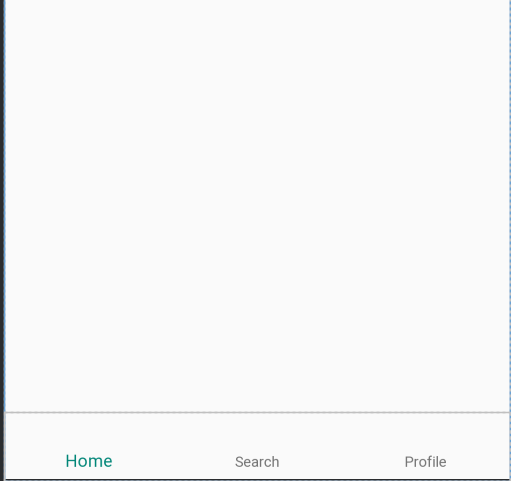
<activity android:name=".FileFragment" ></activity>3.5编译后显示主界面显示如下图


 6944
6944

 被折叠的 条评论
为什么被折叠?
被折叠的 条评论
为什么被折叠?
 到【灌水乐园】发言


