


环境准备
安装生成二维码依赖
npm i qrcodejs2
封装二维码生成组件
<template>
    <div class="qr-code-comp-container">
        <div :ref="id" class="qr-code"></div>
        <div class="text">{{ text }}</div>
    </div>
</template>

<script>
import QRCode from "qrcodejs2";
export default {
    name: "QrCodeComp",
    data() {
        return {
            qrcode: null,
        };
    },
    props: {
        id: {
            type: String,
            required: true,
        },
        text: {
            type: String,
            default: "",
        },
        width: {
            type: String,
            default: "128",
        },
        height: {
            type: String,
            default: "128",
        },
        colorDark: {
            type: String,
            default: "#000000",
        },
        colorLight: {
            type: String,
            default: "#ffffff",
        },
    },
    mounted() {
        this.createQrcode();
    },
    methods: {
        createQrcode() {
            if (this.qrcode) {
                this.qrcode.clear(); // 清除二维码方法二
            }
            this.qrcode = new QRCode(this.$refs[this.id], {
                text: this.text, //页面地址 ,如果页面需要参数传递请注意哈希模式#
                width: this.width, // 二维码宽度 (不支持100%)
                height: this.height, // 二维码高度 (不支持100%)
                colorDark: this.colorDark, // 调整二维码的背景颜色
                colorLight: this.colorLight,
                correctLevel: QRCode.CorrectLevel.H,
            });
        },
    },
};
</script>

<style scoped>
.qr-code-comp-container {
    height: 200px;
    width: 200px;
    display: flex;
    flex-direction: column;
    align-items: center;
}

.qr-code {
    width: 128px;
    height: 128px;
}

.text {
    margin-top: 10px;
    height: 30px;
    width: 100%;
    text-align: center;
    line-height: 30px;
}
</style>
父组件调用封装好的二维码组件
<template>
    <div class="code-list-container">
        <QrCodeComp v-for="item in textList" :key="item.id" :id="item.id" :text="item.text"></QrCodeComp>
    </div>
</template>

<script>
import QrCodeComp from "./QrCodeComp.vue";
export default {
    name: "CodeList", // 列表二维码测试
    data() {
        return {
            textList: [],
        };
    },
    created() {
        let tmpArr = [];
        for (let i = 0; i < 50; i++) {
            tmpArr.push({
                id: `${i}`,
                text: `测试${i}`,
            });
        }
        this.textList = tmpArr;
    },
    components: {
        QrCodeComp,
    },
};
</script>

<style>
.code-list-container {
    display: grid;
    grid-template-columns: repeat(3, 250px);
}
</style>
打印预览效果
查询dom 元素
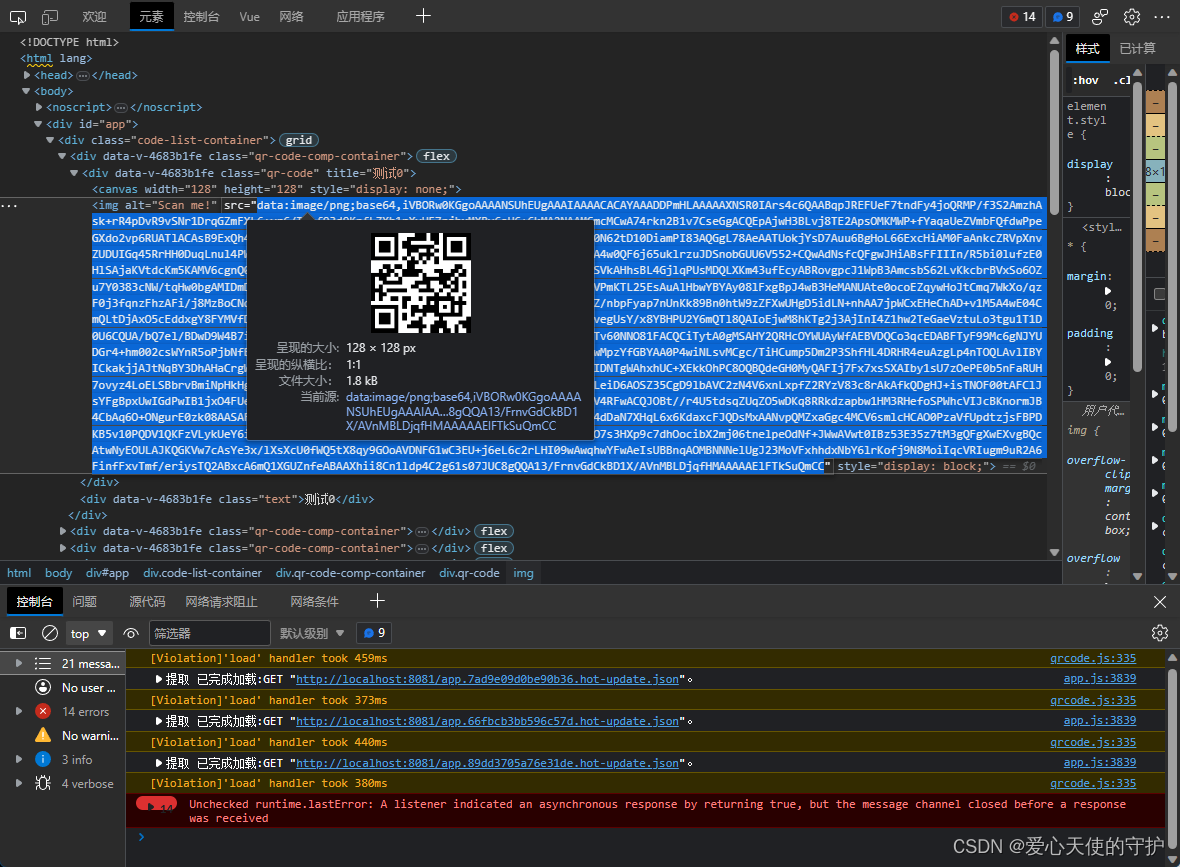
可以看到这里把二维码图片进行了 base64 编码, 在页面上进行了展示。


 2万+
2万+

 被折叠的 条评论
为什么被折叠?
被折叠的 条评论
为什么被折叠?
 到【灌水乐园】发言


