


 该博客介绍了如何在SpringMVC中使用JSON进行数据交换。通过创建一个Web工程,利用@RequestBody和@ResponseBody注解,将用户传入的JSON数据转换为POJO对象,并将处理后的对象以JSON形式返回给用户。示例中详细展示了从创建实体类、处理器到配置文件和页面的全过程。
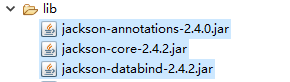
1. Json开发相关jar包
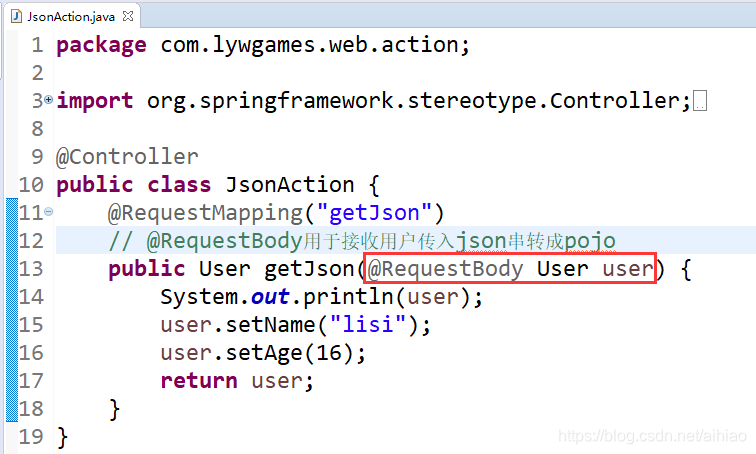
2. @RequestBody用于接收用户传入json串转成pojo
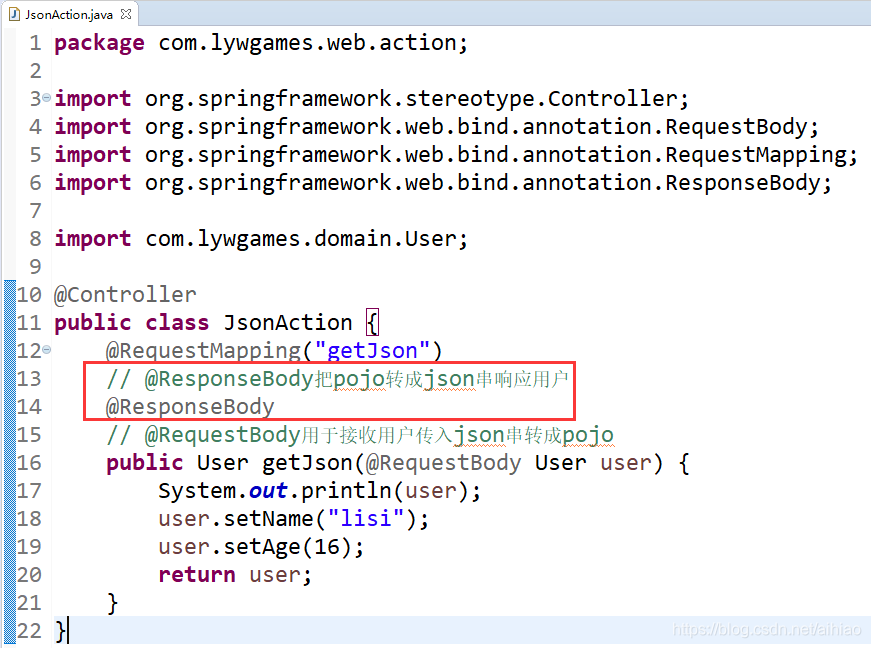
3. @ResponseBody把pojo转成json串响应用户
4. 例子
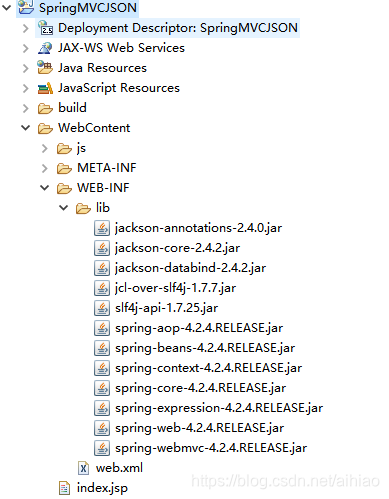
4.1. 新建一个名为SpringMVCJSON的Web工程, 拷入相关jar包, 同时加入jquery支持
4.2. 新建一个User.java的实体类
package com.lywgames.domain;

import java.io.Serializable;

public class User implements Serializable{
	private static final long serialVersionUID = 1L;

	private Integer id;
	private String name;
	private Integer age;

	public User() {	}

	public User(Integer id, String name, Integer age) {
		this.id = id;
		this.name = name;
		this.age = age;
	}

	public Integer getId() {
		return id;
	}

	public void setId(Integer id) {
		this.id = id;
	}

	public String getName() {
		return name;
	}

	public void setName(String name) {
		this.name = name;
	}

	public Integer getAge() {
		return age;
	}

	public void setAge(Integer age) {
		this.age = age;
	}

	@Override
	public String toString() {
		return "User [id=" + id + ", name=" + name + ", age=" + age + "]";
	}

}
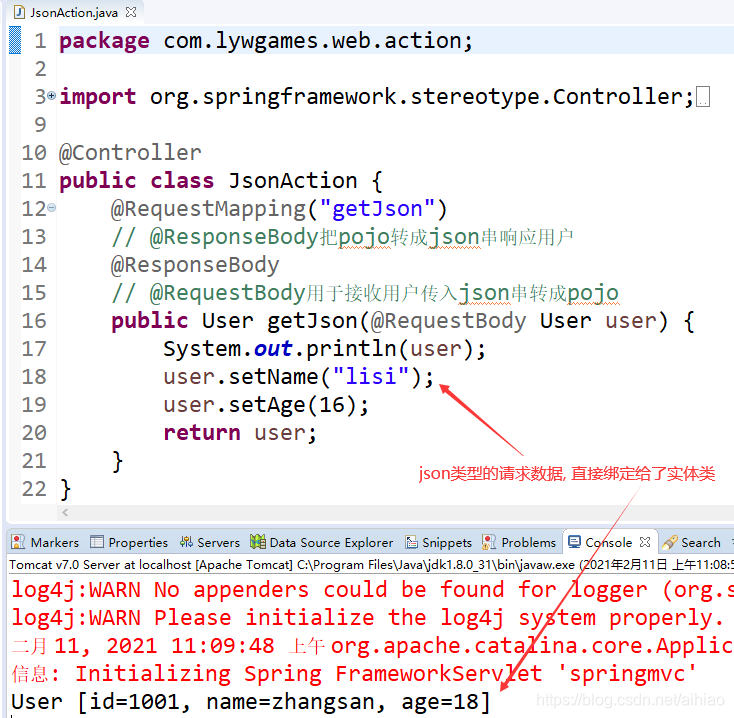
4.3. 新建一个JsonAction.java的处理器
package com.lywgames.web.action;

import org.springframework.stereotype.Controller;
import org.springframework.web.bind.annotation.RequestBody;
import org.springframework.web.bind.annotation.RequestMapping;
import org.springframework.web.bind.annotation.ResponseBody;
import com.lywgames.domain.User;

@Controller
public class JsonAction {
	@RequestMapping("getJson")
	// @ResponseBody把pojo转成json串响应用户
	@ResponseBody
	// @RequestBody用于接收用户传入json串转成pojo
	public User getJson(@RequestBody User user) {
		System.out.println(user);
		user.setName("lisi");
		user.setAge(16);
		return user;
	}
}
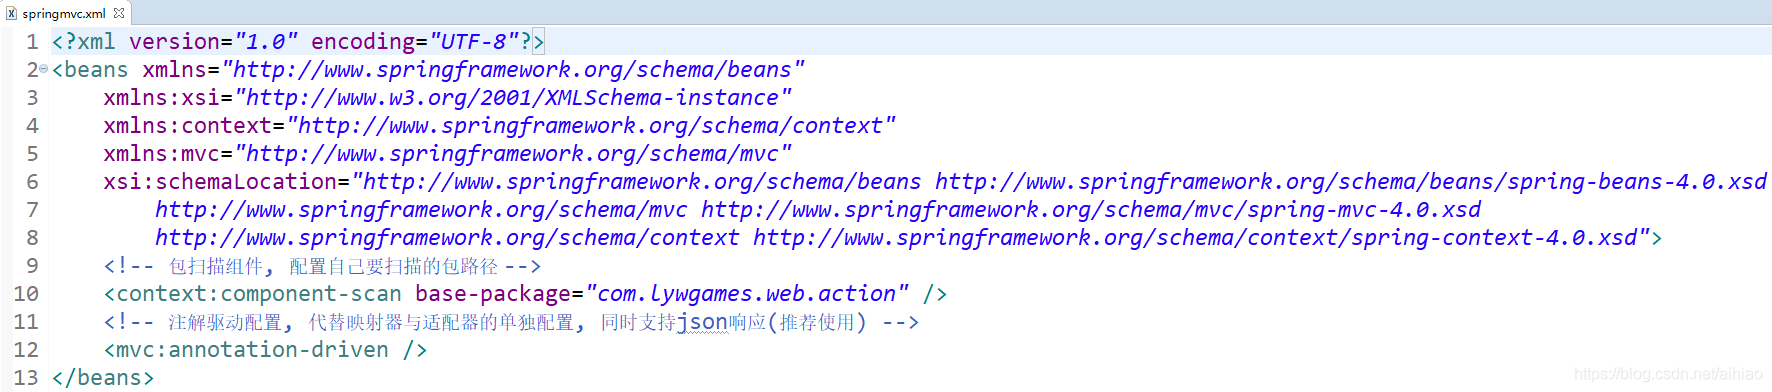
4.4. 在src目录下新建springmvc.xml配置
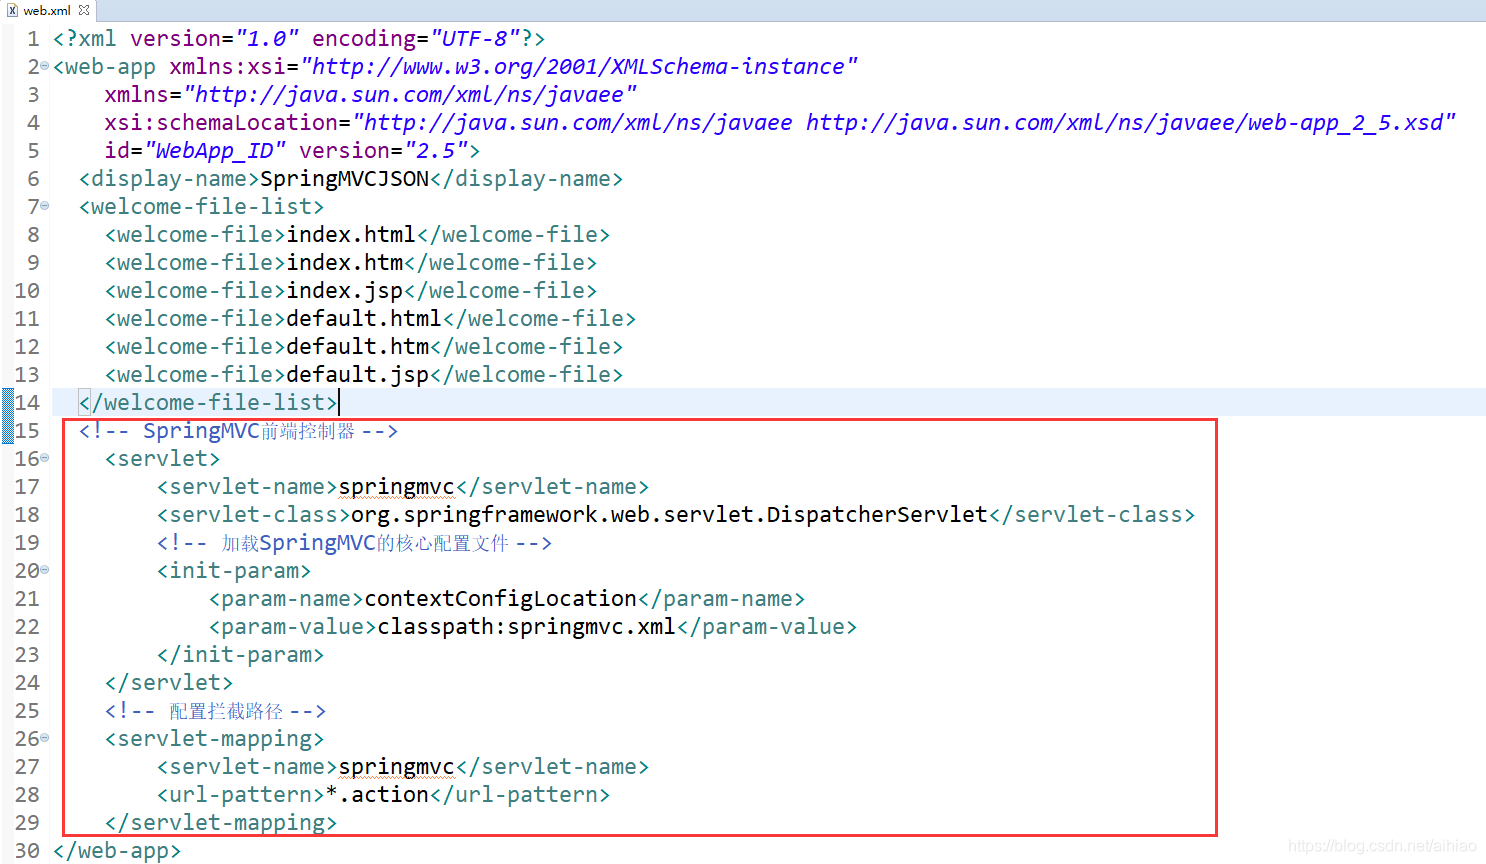
4.5. 修改web.xml
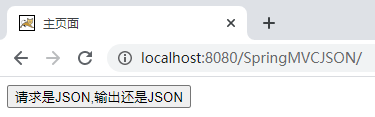
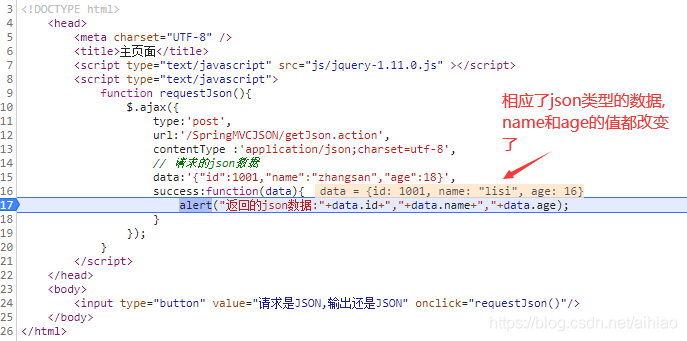
4.6. 编写index.jsp

4.7. 运行项目
4.8. 发送请求, 把json类型的请求数据直接绑定给了实体类
4.9. 响应了json类型的数据


 2475
2475

 被折叠的 条评论
为什么被折叠?
被折叠的 条评论
为什么被折叠?
 到【灌水乐园】发言


