


1. 安装
npm i node-notifier2. 在主进程文件中引入
import { release } from "node:os";

const notifier = require("node-notifier");- 查看 node-notifier 安装的版本
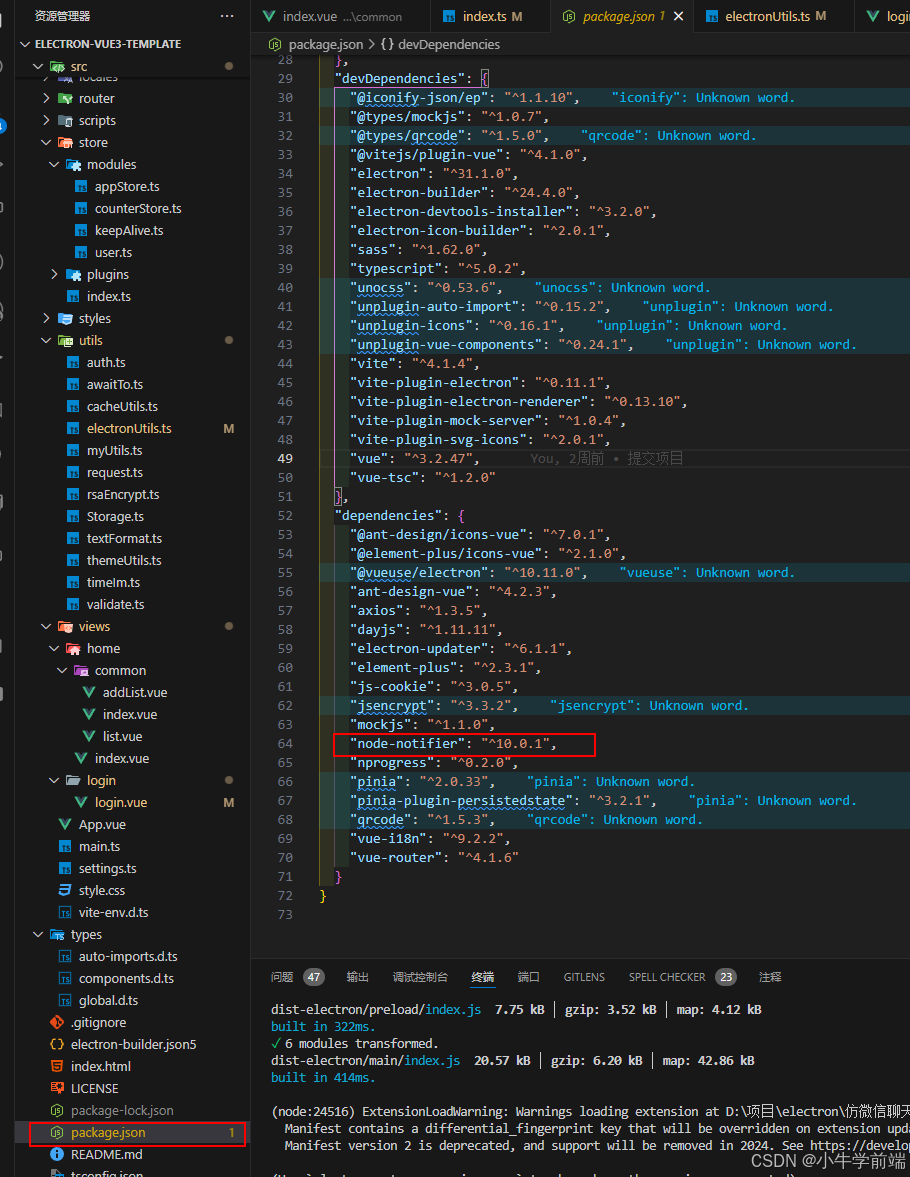
- 回到 主进程 文件
这里需要注意的是:通知的图标
在本地测试时 和 打包后 再次测试 这个图标的路径是不一样的,如果路径错误的话,该图标是不会显示出来的,所以 icon 只需要传图片的名称即可。如:32x32.png
// 发送通知
// title:通知标题   message:通知内容  time:显示多久(秒) icon:通知的图标

const notice = (title: string, message: string, time: number, icon: string) => {
	let url = "";

	if (process.env.VITE_DEV_SERVER_URL) {
		// 如果是开发环境
		url = "../../public/icons/";
	} else {
		// 如果是线上环境
		url = "../../../../images/icons/";
	}

	notifier.notify(
		{
			appID: release().indexOf("10.0.1") == 0 ? "" : "演示程序",
			title,
			message,
			sound: true, // 是否显示提示音,true显示
			wait: true,
			time: time || 30 * 1000,
			icon:
				path.join(__dirname, `${url + icon}`) ||
				path.join(__dirname, `${url}32x32.png`),
		},
		(err: any, response: any, metadata: any) => {
			// console.log(err, response, metadata);
			const mode = metadata.action;

			switch (mode) {
				case "clicked":
					console.log("点击通知事件");
					break;
				case "timedout":
					console.log("通知自动到期事件");
					break;
				default:
					break;
			}
		}
	);
};
// 显示通知
ipcMain.on("window-inform", (e: any, data: any) => {
notice(data.title, data.message, data.time, data.icon);
});
- 我这边有一个文件 是专门封装处理 主进程与渲染进程之间的通讯的
import { useIpcRenderer } from "@vueuse/electron";

const uiPcRenderer = useIpcRenderer();

/**
 * 显示通知
 */
export function allInform(title: string, message: string, time: number, icon: string) {
	uiPcRenderer.send("window-inform", { title, message, time, icon });
}- 然后 在需要的组件中 直接调用 allInform 这个方法即可
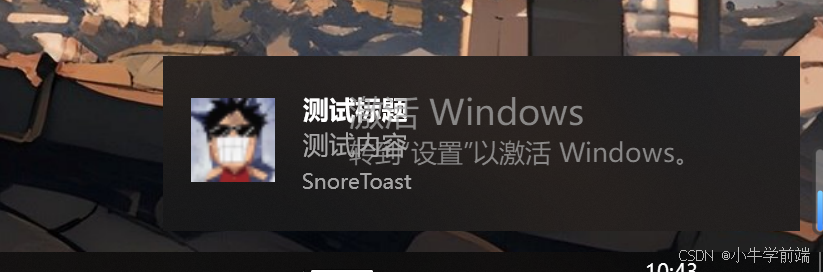
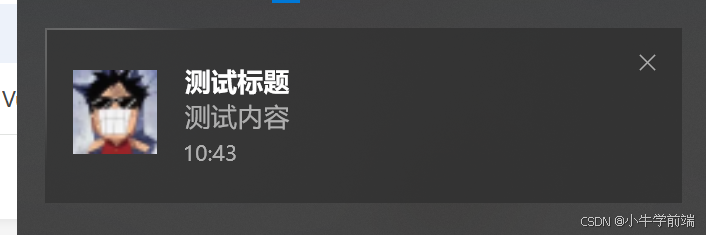
效果展示


 5692
5692

 被折叠的 条评论
为什么被折叠?
被折叠的 条评论
为什么被折叠?
 到【灌水乐园】发言


