使用ffmpeg将图片合成为mp4

本文介绍了如何在Windows的命令行中,利用ffmpeg将21张图片合成为MP4视频,详细步骤包括设置帧率、编号规则、编码格式和输出文件名。

摘要生成于 C知道 ,由 DeepSeek-R1 满血版支持, 前往体验 >

首先在在图片文件夹输入cmd

这里确保已经安装ffmpeg并配置好环境变量。
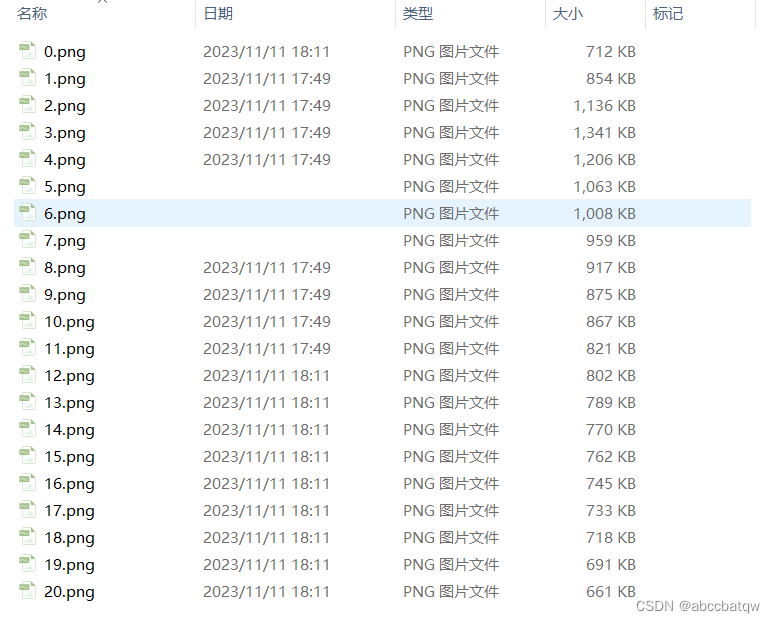
然后这是我的文件夹目录:

将21张图片合成为mp4视频

这里使用如下命令:

ffmpeg -framerate 1 -start_number 0 -i %d.png -c:v libx264 -pix_fmt yuv420p output.mp4

-framerate 1表示帧率为1、

-start_number 0表示从数字0开始编号,对应后面的%d.png,也就是从0.png开始,依次增加进行拼接。

-i %d.png 表示输入

-c:vlibx264表示编码方式

-pix_fmt yuv420p是为了适应播放器。

output.mp4是输出文件名。

### FFMPEG 使用 C 语言将图片序列合成 MP4 视频 为了实现通过 FFmpeg使用 C 语言将一系列静态图像文件合成为一个 MP4 格式的视频,可以采用如下方法。此过程涉及初始化编码器、设置参数并逐帧写入图像数据到输出流中。 下面是一个简单的例子来展示如何利用 FFmpeg 的 API 完成这项工作: ```c #include <libavcodec/avcodec.h> #include <libavformat/avformat.h> #include <libswscale/swscale.h> int main(int argc, char *argv[]) { const char* filename = "output.mp4"; AVCodec *codec; AVCodecContext *c= NULL; int i, out_size, size, x, y, ret; FILE *f; AVFrame *picture; uint8_t *outbuf, *outbuf_ptr; av_register_all(); /* find the mpeg1 video encoder */ codec = avcodec_find_encoder(AV_CODEC_ID_H264); if (!codec) { fprintf(stderr, "Codec not found\n"); exit(1); } c = avcodec_alloc_context3(codec); picture= av_frame_alloc(); /* put sample parameters */ c->bit_rate = 400000; /* resolution must be a multiple of two */ c->width = 352; c->height = 288; /* frames per second */ c->time_base.num = 1; c->time_base.den = 25; c->gop_size = 10; /* emit one intra frame every ten frames */ c->max_b_frames=1; c->pix_fmt = AV_PIX_FMT_YUV420P; /* open it */ if (avcodec_open2(c, codec, NULL) < 0) { fprintf(stderr, "Could not open codec\n"); exit(1); } f = fopen(filename, "wb"); if (!f) { fprintf(stderr, "Could not open %s\n", filename); exit(1); } /* alloc image and bind data */ out_size = av_image_get_buffer_size(c->pix_fmt, c->width, c->height, 1); outbuf = (uint8_t *)av_malloc(out_size); /* setup scaler context to convert from RGB input images to YUV for encoding */ struct SwsContext *img_convert_ctx; img_convert_ctx = sws_getContext(c->width, c->height, AV_PIX_FMT_RGB24, // source format c->width, c->height, c->pix_fmt, // destination format SWS_BILINEAR, NULL, NULL, NULL); for(i=1;i<=100;i++) { // loop over all pictures sprintf(buf,"frame%d.bmp",i); // assuming you have bmp files named as such /* read raw RGBA image */ if(av_image_fill_arrays(picture->data, picture->linesize, outbuf, c->pix_fmt, c->width, c->height, 1) < 0){ printf("Failed to fill array with image.\n"); break; } /* Convert the image into YUV format that libavcodec expects */ sws_scale(img_convert_ctx, &amp;in_data, in_linesize, 0, c->height, picture->data, picture->linesize); picture->pts = i; /* encode the image */ out_size = avcodec_encode_video2(c, &amp;pkt, picture, &amp;got_output); if (got_output) { fwrite(pkt.data, 1, pkt.size, f); av_packet_unref(&amp;pkt); } usleep(300000); // sleep 300ms between each frame } fclose(f); sws_freeContext(img_convert_ctx); av_freep(&amp;outbuf); avcodec_close(c); av_free(c); av_frame_free(&amp;picture); } ``` 上述代码展示了创建一个基于 H.264 编码的 MP4 文件的过程[^1]。需要注意的是,在实际应用中可能还需要处理更多细节,比如错误检测与恢复机制、更复杂的像素格式转换逻辑等。此外,这段程序假设输入图像是 BMP 格式,并且已经存在于当前目录下名为 `frameN.bmp` 的文件中(其中 N 是序号)。对于其他类型的源图像,则需调整读取部分以适应特定格式的要求。
评论
添加红包

请填写红包祝福语或标题

红包个数最小为10个

红包金额最低5元

当前余额3.43前往充值 >
需支付:10.00
成就一亿技术人!
领取后你会自动成为博主和红包主的粉丝 规则
hope_wisdom
发出的红包
实付
使用余额支付
点击重新获取
扫码支付
钱包余额 0

抵扣说明:

1.余额是钱包充值的虚拟货币,按照1:1的比例进行支付金额的抵扣。
2.余额无法直接购买下载,可以购买VIP、付费专栏及课程。

余额充值