


 本文详细介绍了如何在Spring Boot项目中集成Velocity模板引擎,包括使用start.spring.io创建项目、添加依赖、配置Velocity以及运行测试的过程。
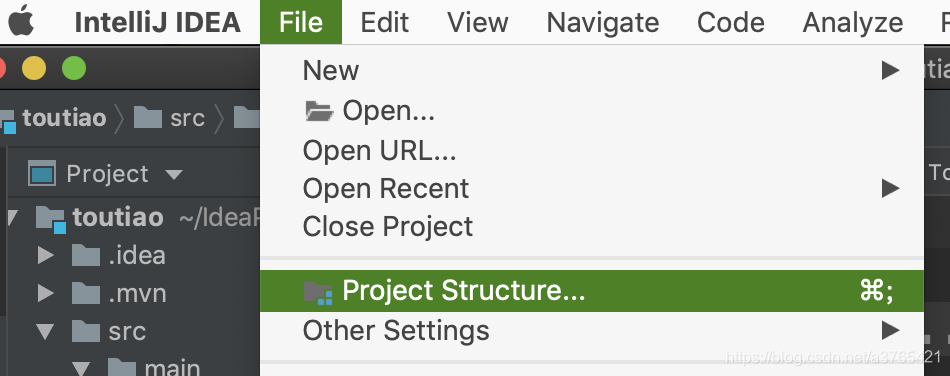
1. 打开 https://start.spring.io 好像要VPN的样子,我每次都是vpn打开的

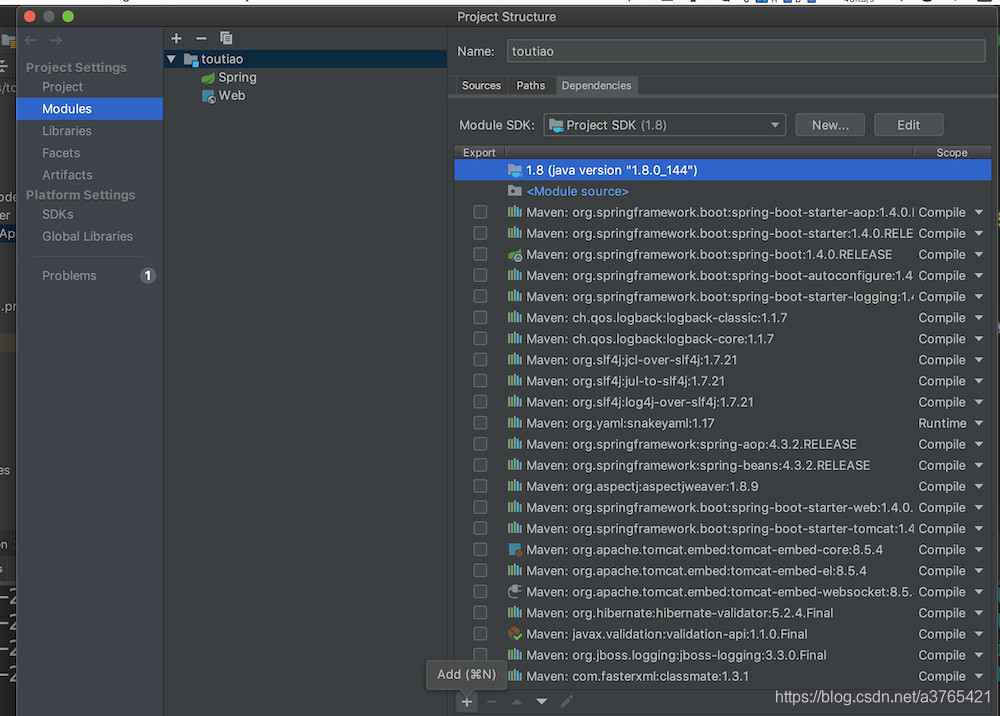
然后在 Dependencises 中 填写 web 、aop 从而得到Web 和 Aspects
然后 创建项目 并下载,在本地解压,导入。
2. 下载 jar包:velocity-engine-core-2.0.jar
3.导入jar包:
4.在pom.xml文件中加入依赖,因为一开始在创建项目的时候没有加入velocity(spring 高版本不支持了)
<dependency>
   <groupId>org.springframework.boot</groupId>
   <artifactId>spring-boot-starter-velocity</artifactId>
</dependency>

<dependency>
   <groupId>org.apache.velocity</groupId>
   <artifactId>velocity-engine-core</artifactId>
   <version>2.0</version>
</dependency>

<dependency>
   <groupId>org.apache.velocity</groupId>
   <artifactId>velocity-tools</artifactId>
   <version>2.0</version>
</dependency>
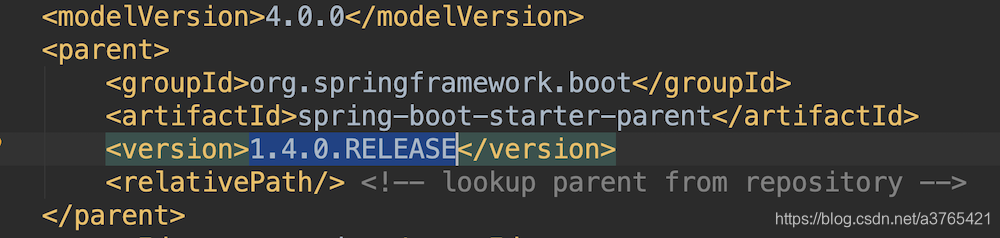
5.更改spring boot版本:
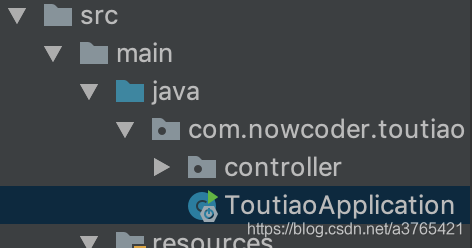
6.尝试运行程序:
7.查看是否有这个,有这个基本就算能用了:

8.去创建一个文件:然后如下:
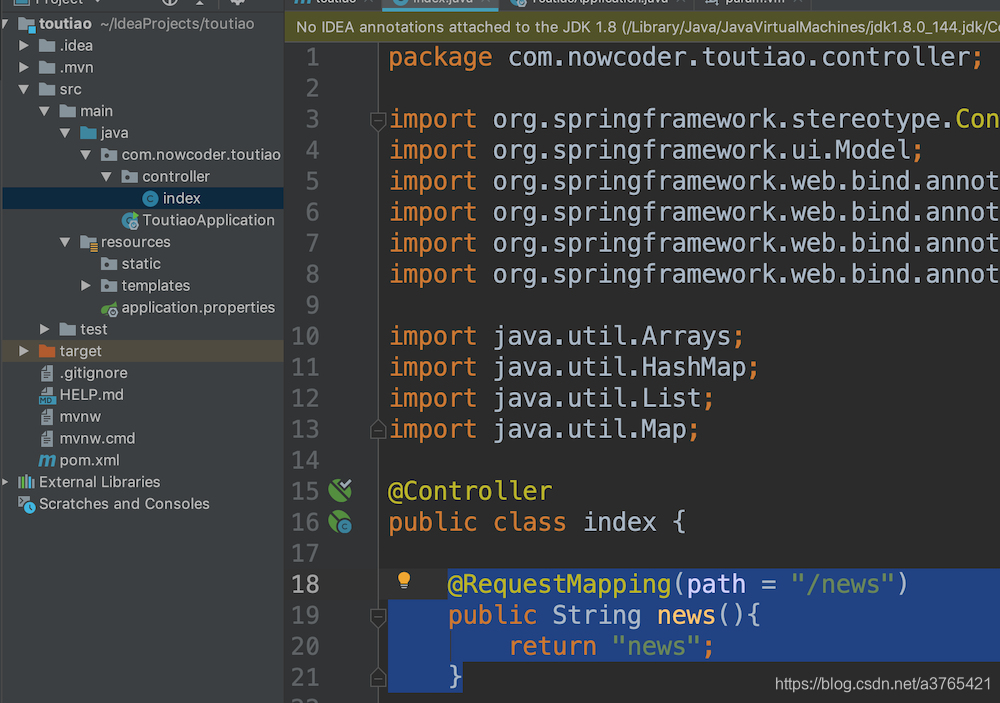
注意此时的 path 中是: "/news" , 这在我们等等浏览器中输入的路径有关
此时返回的是 “news”
我们现在在rescourse 文件夹下的template 建立一个文件 叫:”news.vm“
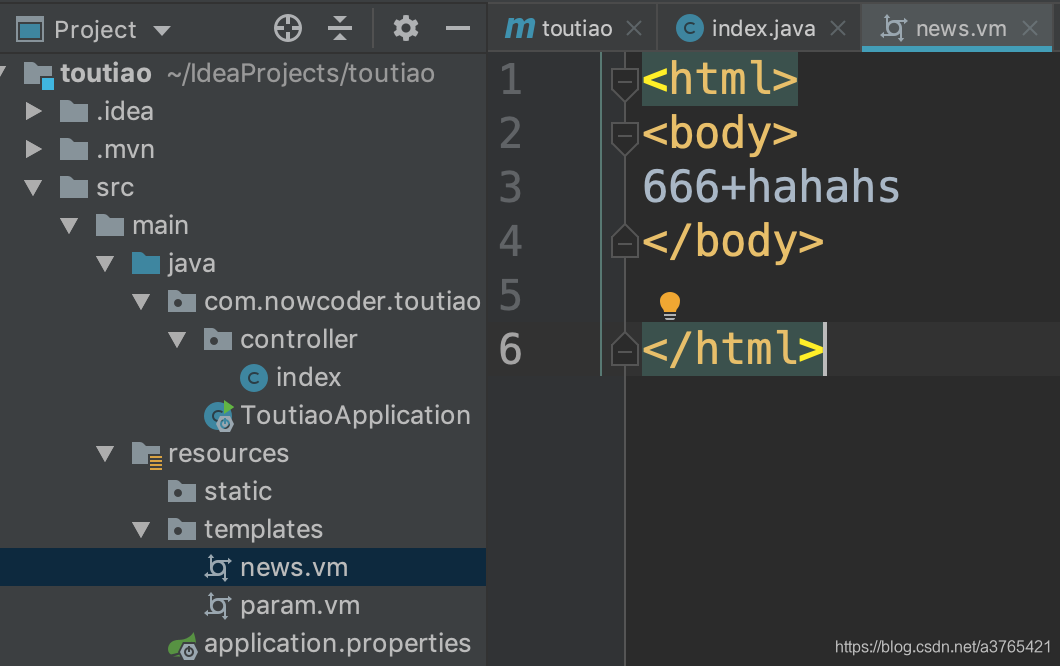
ok, 现在再去运行程序:然后在浏览器中输入:http://127.0.0.1:8080/news
9.最终结果:
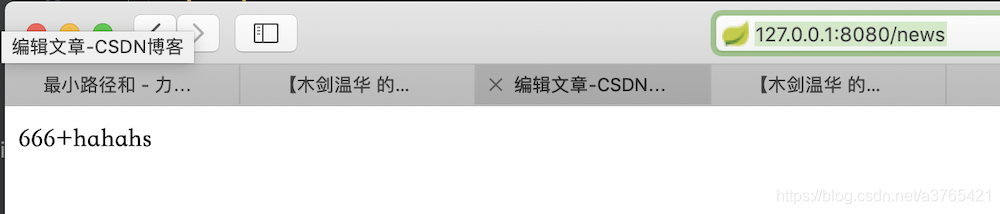
ok,很简单快速,88~


 被折叠的 条评论
为什么被折叠?
被折叠的 条评论
为什么被折叠?
 到【灌水乐园】发言


