


系统移植:
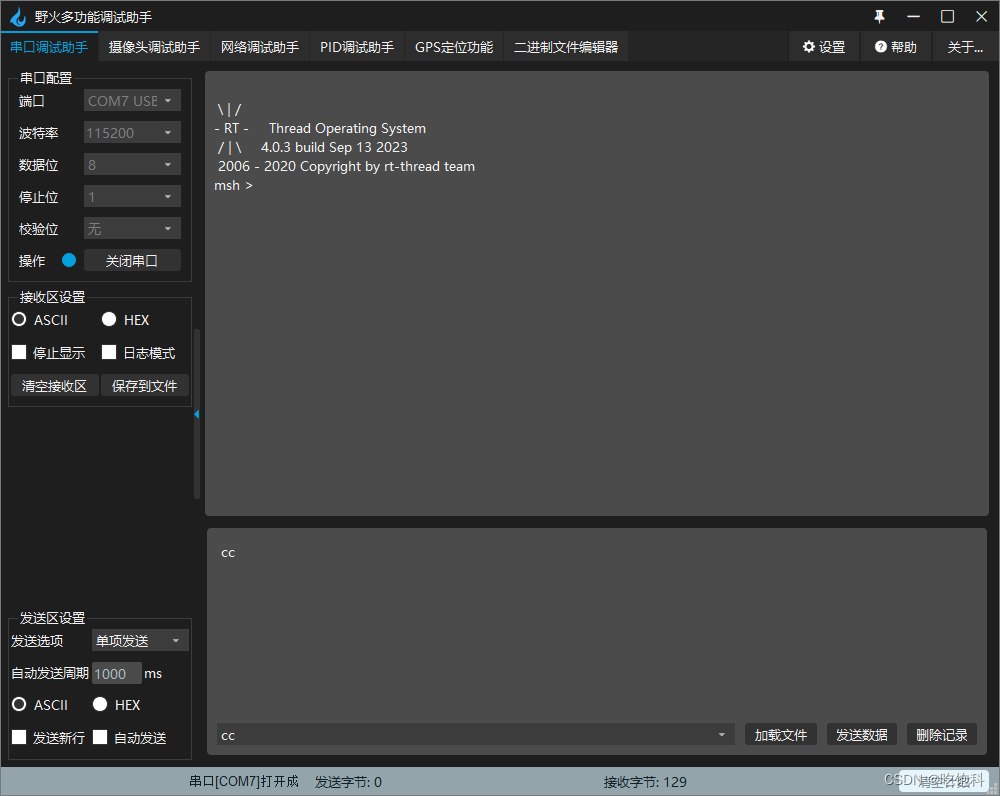
使用RT-Thread集成开发的IDE RT-Thread Studio。在选择对应芯片型号后便可以通过图形化界面下载RT-Thread到开发板中。位方便与上位机通信,移植时添加串口1作为通信接口。移植时默认已经添加了shell,可以使用串口助手检查是否移植成功。
线程创建:
RT-Thread可以通过相应接口实现多线程,单片机的动作可以分别放在不同线程里面,方便实现更多复杂功能。下方为亮灯程序实例,
#include <rtthread.h>
#include <rtdevice.h>
#include "board.h"
#define LED1_PIN   GET_PIN(A, 15)
static rt_thread_t LED1 = RT_NULL;
rt_device_t dev;
static void led1_entry(void *parameter)
{
    rt_pin_mode(LED1_PIN, PIN_MODE_OUTPUT);
    /* 设置低电平 */
    rt_pin_write(LED1_PIN, PIN_LOW);
    rt_kprintf("led1 on!");

}
void led1_init(void){
    LED1 = rt_thread_create("led1", led1_entry, RT_NULL, 512,20, 5);
    if (LED1 != RT_NULL)
            rt_thread_startup(LED1);
}
MSH_CMD_EXPORT(led1_init, thread sample);
在led1_init中先是创建了一个动态线程,定义了名称,大小,等参数,在这个线程中会运行第二个参数名字的函数,这个就是led亮灯的具体实现。在这个函数中调用了RT-Thread操作引脚的函数接口,并且打印相关提示语句到串口。最后使用登录命令将该线程登录到shell命令中,实现可以通过串口指令方式打开led
试验现象:
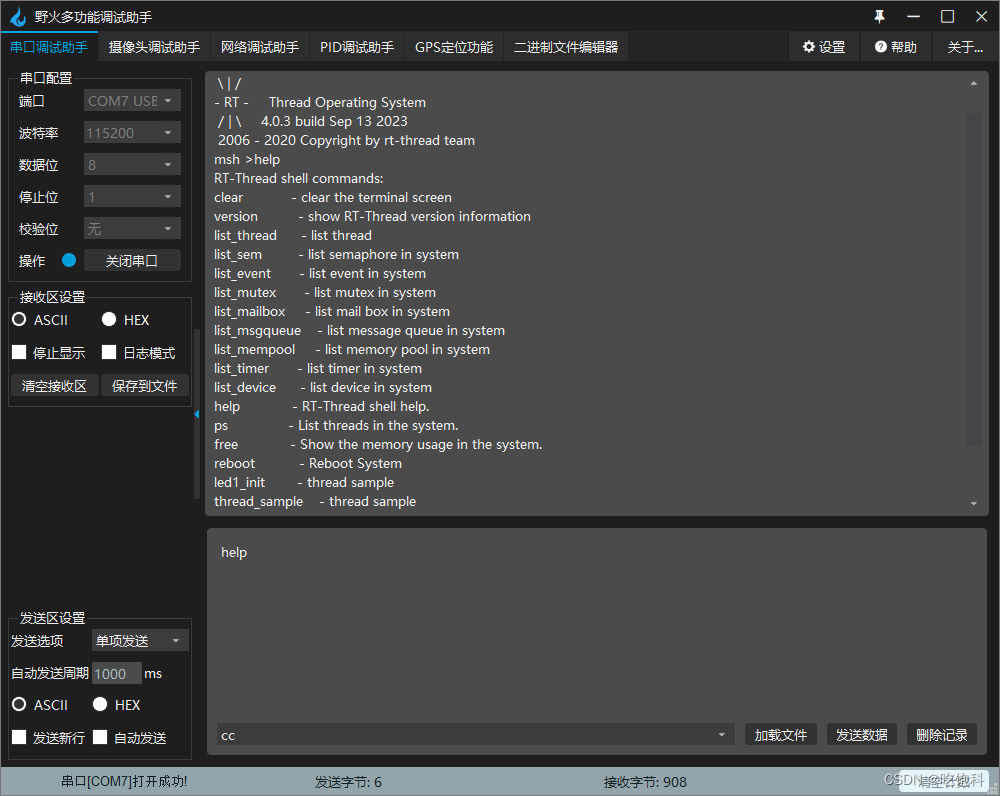
可以看见命令已经成功录入shell,输入后led确实正常发光


 被折叠的 条评论
为什么被折叠?
被折叠的 条评论
为什么被折叠?
 到【灌水乐园】发言


