


目录
先看效果【 扫码可体验具体功能 】:
原图:
处理后:
1. 如何实现?
1.1 java端代码:
imgSrc是你原图的地址,如:file:///Users/zwh/Desktop/WechatIMG903.jpeg【地址依个人而定】,若是网络图片,需要将图片下载到本地。
 public static byte[] transferAlpha2Byte(String imgSrc) {
        ByteArrayOutputStream byteArrayOutputStream = null;
        File file = new File(imgSrc);
        InputStream is = null;
        byte[] result = null;
        try {
            is = new FileInputStream(file);
            // 如果是MultipartFile类型,那么自身也有转换成流的方法:is = file.getInputStream();
            BufferedImage bi = ImageIO.read(is);
            Image image = (Image) bi;
            ImageIcon imageIcon = new ImageIcon(image);
            BufferedImage bufferedImage = new BufferedImage(imageIcon.getIconWidth(), imageIcon.getIconHeight(),
                    BufferedImage.TYPE_4BYTE_ABGR);
            Graphics2D g2D = (Graphics2D) bufferedImage.getGraphics();
            g2D.drawImage(imageIcon.getImage(), 0, 0, imageIcon.getImageObserver());
            int alpha = 0;
            for (int j1 = bufferedImage.getMinY(); j1 < bufferedImage.getHeight(); j1++) {
                for (int j2 = bufferedImage.getMinX(); j2 < bufferedImage.getWidth(); j2++) {
                    int rgb = bufferedImage.getRGB(j2, j1);

                    int R = (rgb & 0xff0000) >> 16;
                    int G = (rgb & 0xff00) >> 8;
                    int B = (rgb & 0xff);
                    if (((255 - R) < 30) && ((255 - G) < 30) && ((255 - B) < 30)) {
                        rgb = ((alpha + 1) << 24) | (rgb & 0x00ffffff);
                    }

                    bufferedImage.setRGB(j2, j1, rgb);

                }
            }

            g2D.drawImage(bufferedImage, 0, 0, imageIcon.getImageObserver());
            byteArrayOutputStream = new ByteArrayOutputStream();
            ImageIO.write(bufferedImage, "png", byteArrayOutputStream);//转换成byte数组
            result = byteArrayOutputStream.toByteArray();
        } catch (Exception e) {
            e.printStackTrace();
        } finally {
            if (is != null) {
                try {
                    is.close();
                } catch (IOException e) {
                    // TODO Auto-generated catch block
                }
            }
            if (byteArrayOutputStream != null) {
                try {
                    byteArrayOutputStream.close();
                } catch (IOException e) {
                    // TODO Auto-generated catch block
                }
            }
        }
        return result;
    }
然后将返回的byte[]转为base64给前端,我这边转是因为微信小程序展示方便。
  byte[] noBgImgBytes = ImageUtils.transferAlpha2Byte(newFile.getAbsolutePath());
  String base64 = Base64.getEncoder().encodeToString(noBgImgBytes);
1.2 微信小程序端
1.2.1 前置要求
1. 首先要实现图片上传功能。使用wx.chooseMedia api,参考:wx.chooseMedia(Object object) | 微信开放文档
2. 注意:使用该api需要开发者开通相册访问权限!!!具体指引:
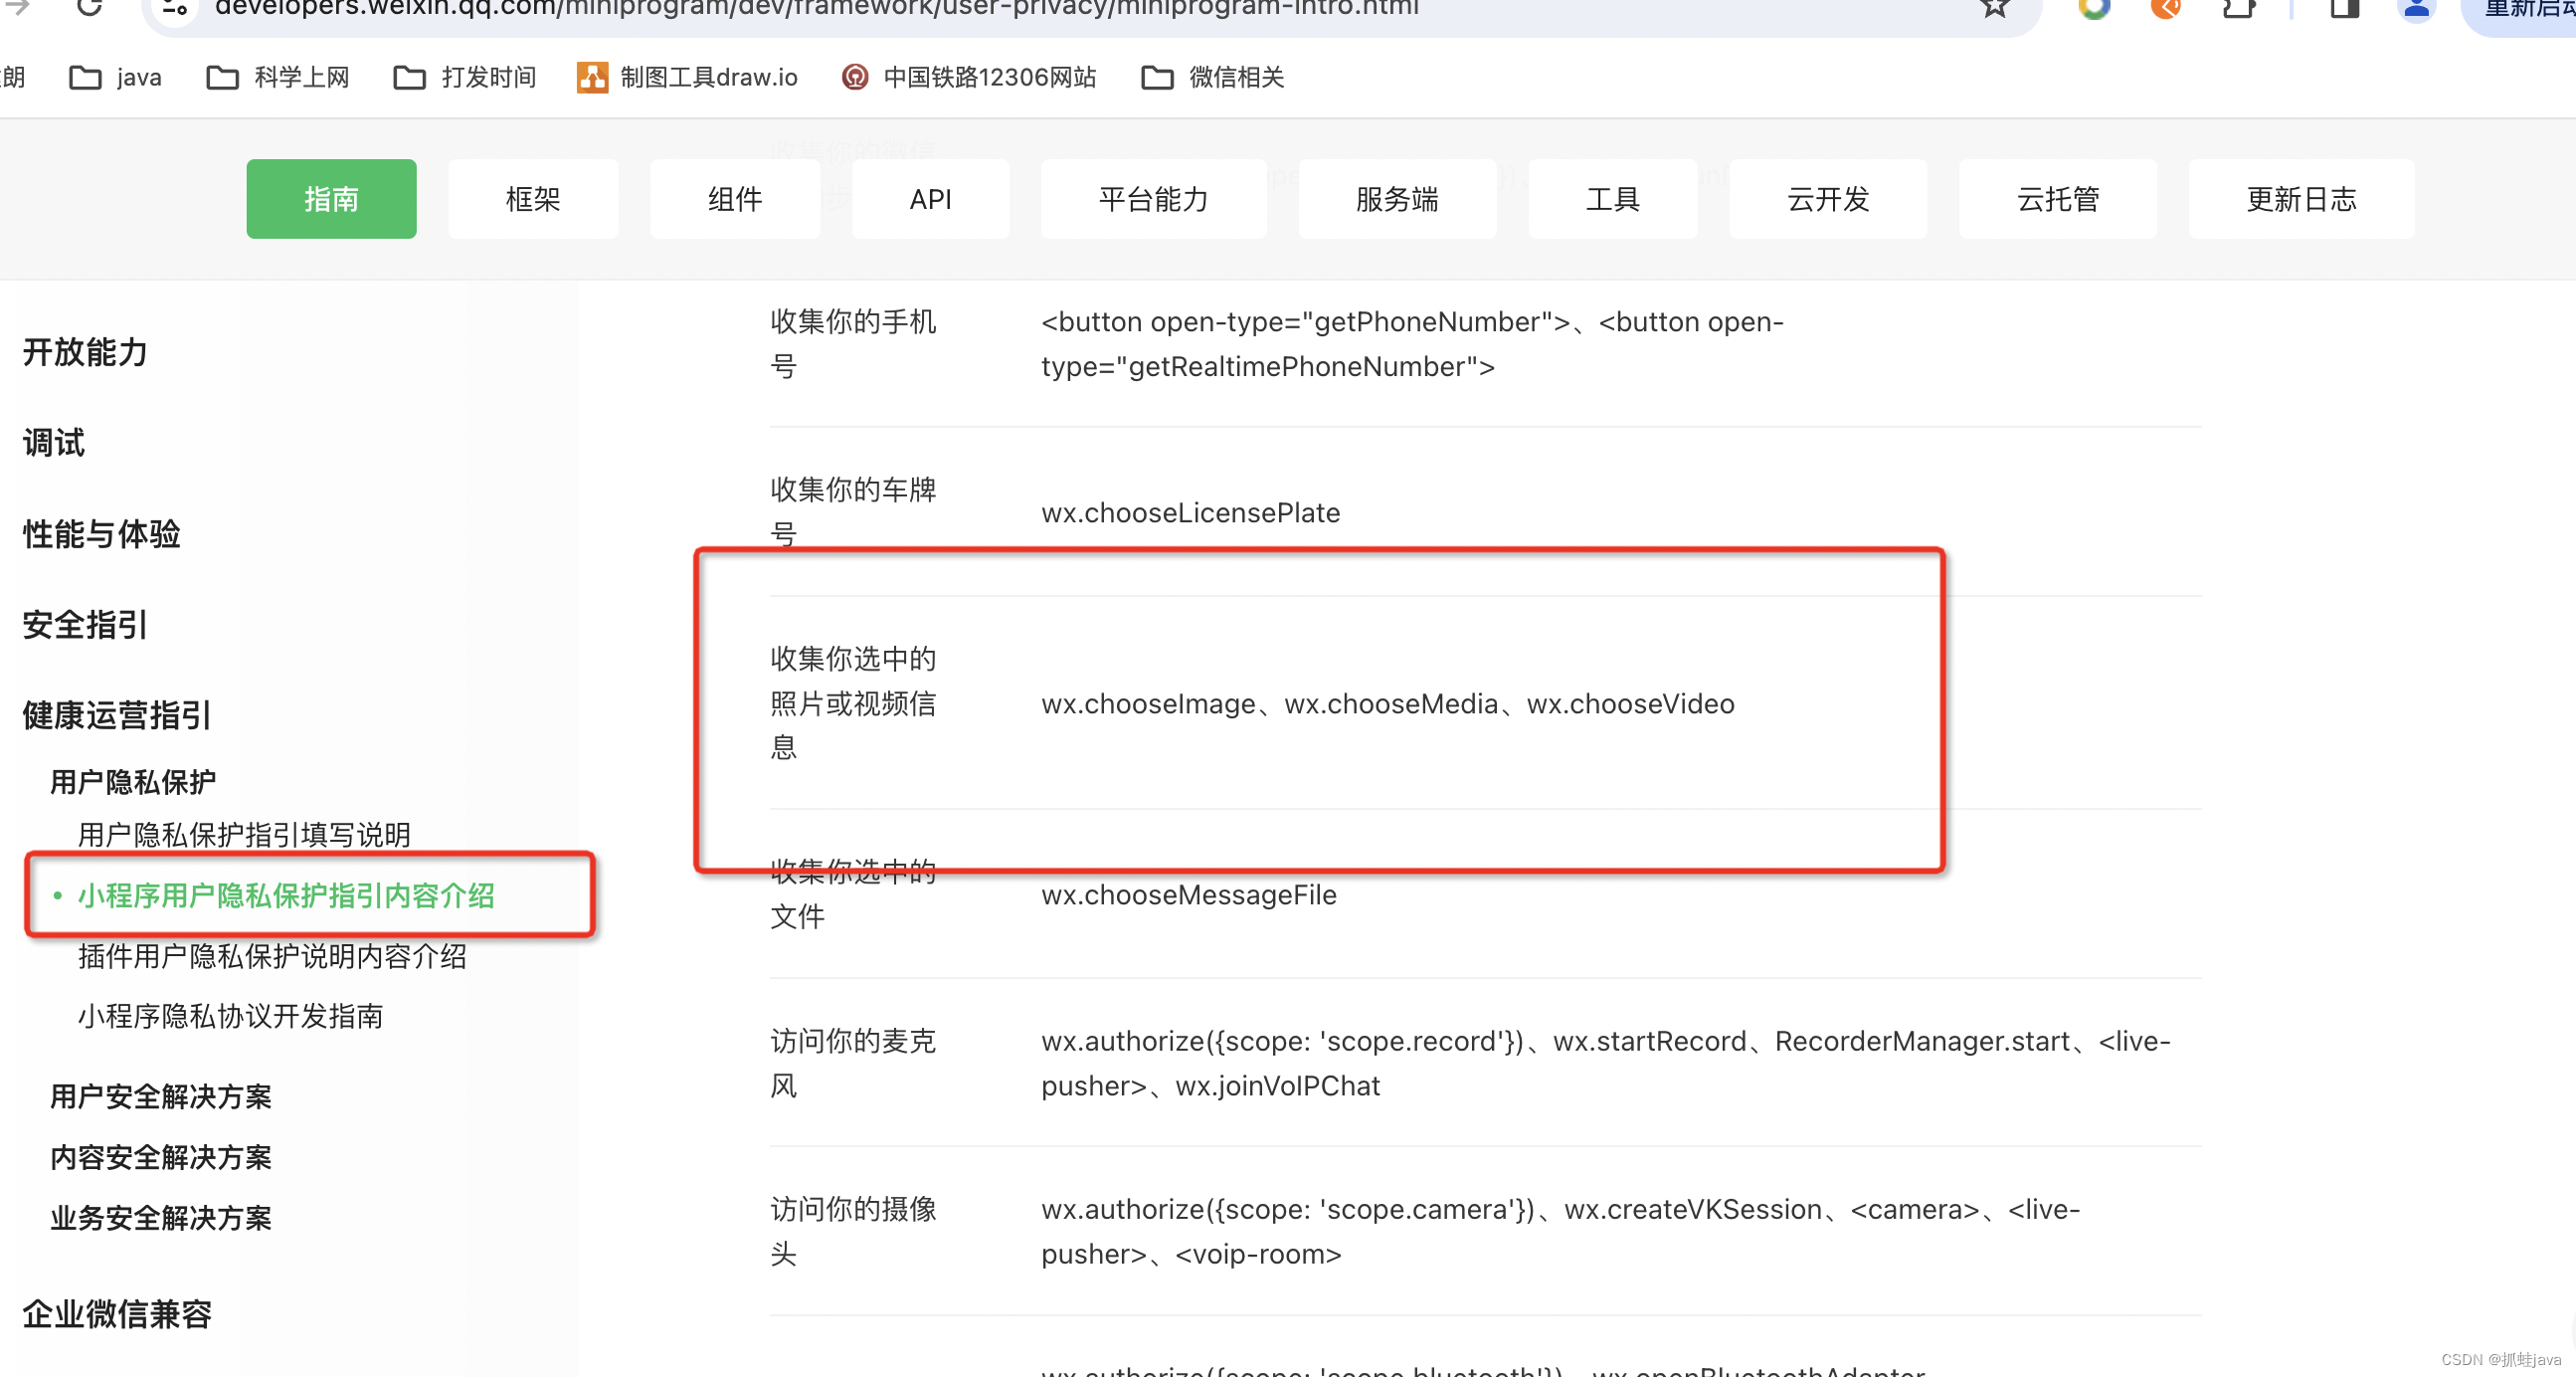
在提交代码审核时候,收集隐私需要勾选:收集选中的照片或视频信息。
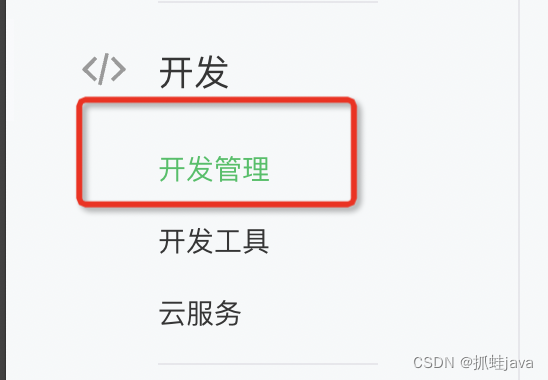
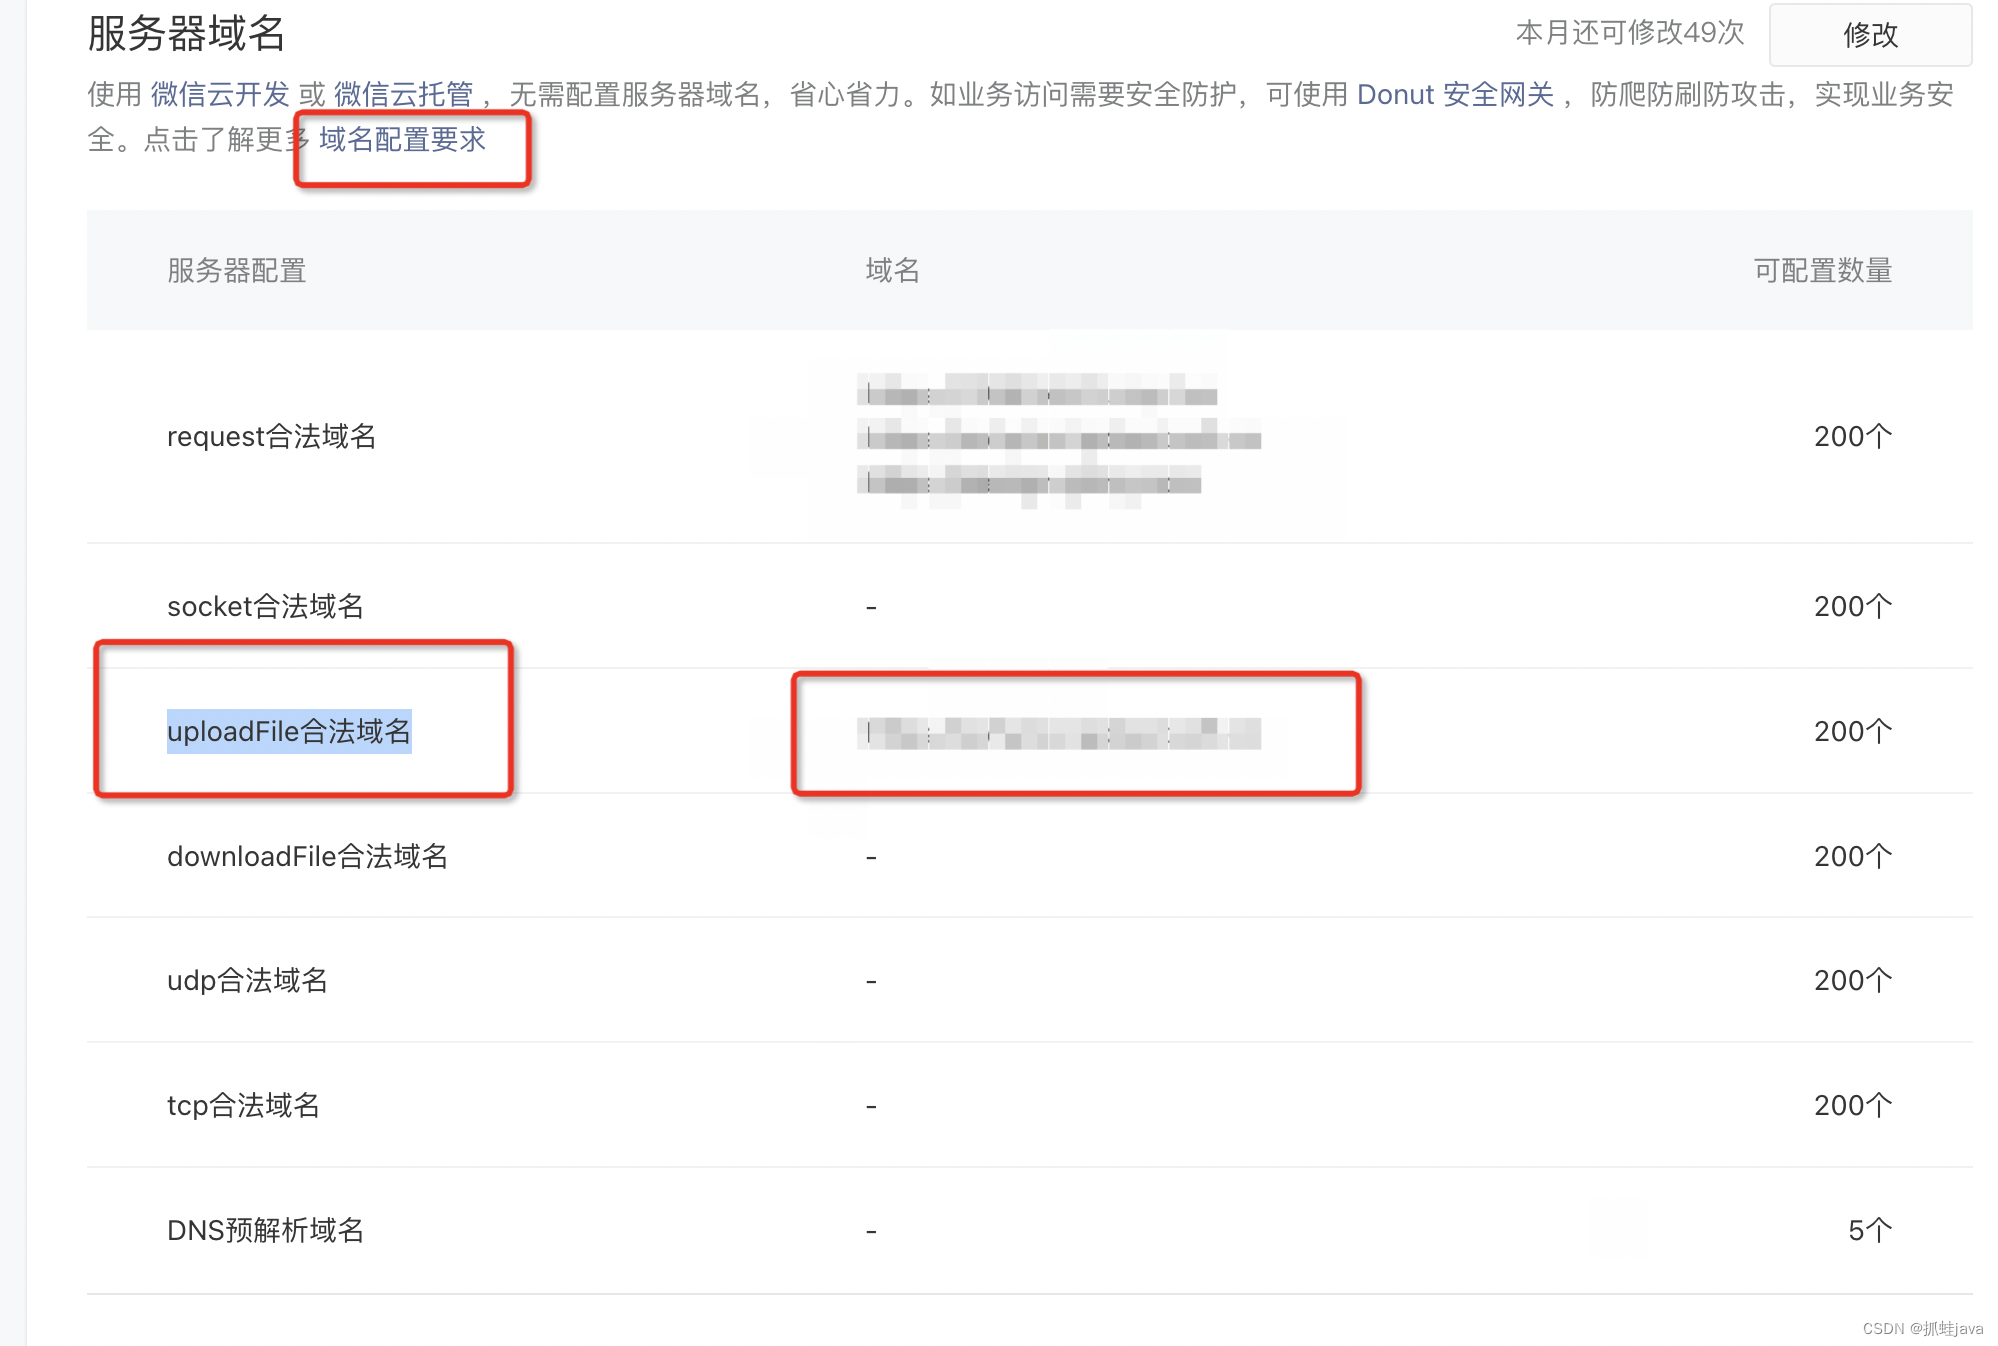
3. 登陆小程序后管平台:微信公众平台,填写您的uploadFile合法域名
1.2.2 文件选择
使用wx.chooseMedia api进行图片选择
wx.chooseMedia(Object object) | 微信开放文档
 wx.chooseMedia({
            count: 1,
            mediaType: ['image'],// 限制文件选择框中的内容,此处限制仅展示照片
            sourceType: ['album', 'camera'],// 图片来源 此处为相册和相机
            maxDuration: 30,
            camera: 'back',
            success(res) {
                // 选择图片成功后返回的结果集
            }
 })
1.2.3 文件上传
在文件选择成功后,调用文件上传 wx.uploadFile api实现文件上传功能
js中:
 var that = this;
 wx.chooseMedia({
            count: 1,//限制可选数量,此处仅选择一张
            mediaType: ['image'],// 限制文件选择框中的内容,此处限制仅展示照片
            sourceType: ['album', 'camera'],// 图片来源 此处为相册和相机
            maxDuration: 30,
            camera: 'back',
            success(res) {
                // 选择图片成功后返回的结果集
                  for(var i in res.tempFiles){
                      //解析返回的图片集合
                      wx.uploadFile({
                      filePath: res.tempFiles[i].tempFilePath,
                      name: 'file',
                      url: 'https://xxxxxx/upload', //此处替换为你的文件上传地址
                      timeout:20000,
                      header:{
                        'Content-type': 'application/json',
                      },
                      success:function(res){
                                 // 假设res.data为后端返回的图片的base64数据
                                 var base64Result = res.data
                                 that.setData({
                                       // 小程序的使用data中的img进行双向数据绑定
                                       img:'data:image/*;base64,'+base64Result,
                                  })
                            }
                      })
                  }
            }
})
1.2.4 数据双向绑定
wxml:
// show-menu-by-longpress 设置长按保存图片
<image mode="widthFix" show-menu-by-longpress src="{{img}}"></image>
js:
   /**
     * 页面的初始数据
     */
    data: {
        img:''
    },
创作不易!!点个赞吧~~~~


 1987
1987

 被折叠的 条评论
为什么被折叠?
被折叠的 条评论
为什么被折叠?
 到【灌水乐园】发言


