


 本文讲述了在Windows系统上使用mmcv进行模型训练时遇到的各种问题,如Git访问错误、mmtracking安装、依赖库报错、CUDA内存不足等,并提供了相应的解决方法。
我用的是windows系统单卡训练,所以没有用官方的bash脚本,而是直接使用train.py进行训练。主要问题集中在mmcv的安装上。
1、报错:subprocess-exited-with-error
完整报错:fatal: unable to access 'https://github.com/open-mmlab/mmtracking/': GnuTLS recv error (-110): The TLS connection was non-properly terminated.
  error: subprocess-exited-with-error

  × git reset --hard -q e79491ec8f0b8c86fda947fbaaa did not run successfully.
  │ exit code: 128
  ╰─> See above for output.

  note: This error originates from a subprocess, and is likely not a problem with pip.
error: subprocess-exited-with-error

× git reset --hard -q e79491ec8f0b8c86fda947fbaaa did not run successfully.
│ exit code: 128
╰─> See above for output.
使用pip install -r requirements.txt配置环境时,无法访问https://github.com/open-mmlab/mmtracking。
解决方法:去https://github.com/open-mmlab/mmtracking#egg=mmtrack下载源码,把下载源码解压到python安装包的目录或不会被删除的目录,进入到解压的目录,输入
pip install -e .通过源码安装mmtracking。
2、from mmcv.ops import RoIPool报错
一般是直接pip install mmcv-full或者pip install mmcv时会出现这个错误。
解决方法:
pip install mmcv-full==1.5.0 -f https://download.openmmlab.com/mmcv/dist/cu115/torch1.11.0/index.html
(上面的cu115/torch1.11.0改成你自己的版本)
3、报错:from typing import Literal, ImportError: cannot import name ‘Literal’
主要是因为只有Python 3.8 及更高版本才支持typing.Literal,我按照官方推荐的环境,用的是python 3.7,所以不支持typing.Literal。
解决办法:
在最后一行报错的vison_transformer.py中,去除from typing import 中的Literal并加入如下代码:
try:
from typing import Literal
except ImportError:
try:
from typing_extensions import Literal
except ImportError:
raise ImportError("Cannot import 'Literal' from 'typing'")
4、报错:UnicodeDecodeError: 'utf-8' codec can't decode byte 0xd3 in position 0: invalid continuation byte
解决方法:
尝试不同的编码方式,或者在最后一行报错的env.py中,
将env_info['MSVC'] = cc.decode(encoding).partition('\n')[0].strip()改为
env_info['MSVC'] = cc.decode(encoding,'ignore').partition('\n')[0].strip()
5、报错:RuntimeError: CUDA error: no kernel image is available for execution on the device
完整报错:RuntimeError: CUDA error: no kernel image is available for execution on the device
CUDA kernel errors might be asynchronously reported at some other API call,so the stacktrace below might be incorrect.
For debugging consider passing CUDA_LAUNCH_BLOCKING=1.
这个问题卡了我最久,先是重装了pytorch、torchvision和cuda,没有用。后面又卸载并改装不同cuda版本的pytorch也没用,最后卸载了mmcv,装了更高版本的mmcv,成功解决了问题。(之前报错用的是官方的mmcv==1.5.0,换成了1.6.0版本解决问题)
6、训练自己的数据集
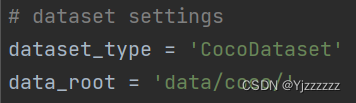
先将自己的数据集转换成coco数据集,再去对应的_base_配置中修改data_root变量为自己的coco数据集路径。(我这里是coco_detection.py)
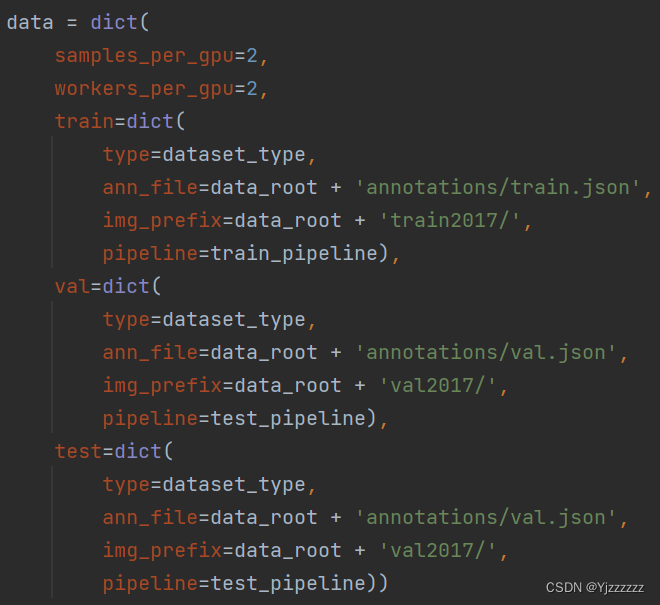
然后在该文件下分别修改train,test,val下ann_file和img_prefix的值(训练的batch_size在这里设置会被后面继承的config文件覆盖掉)。
在配置文件中将所有的num_classes修改为自己的类别数。
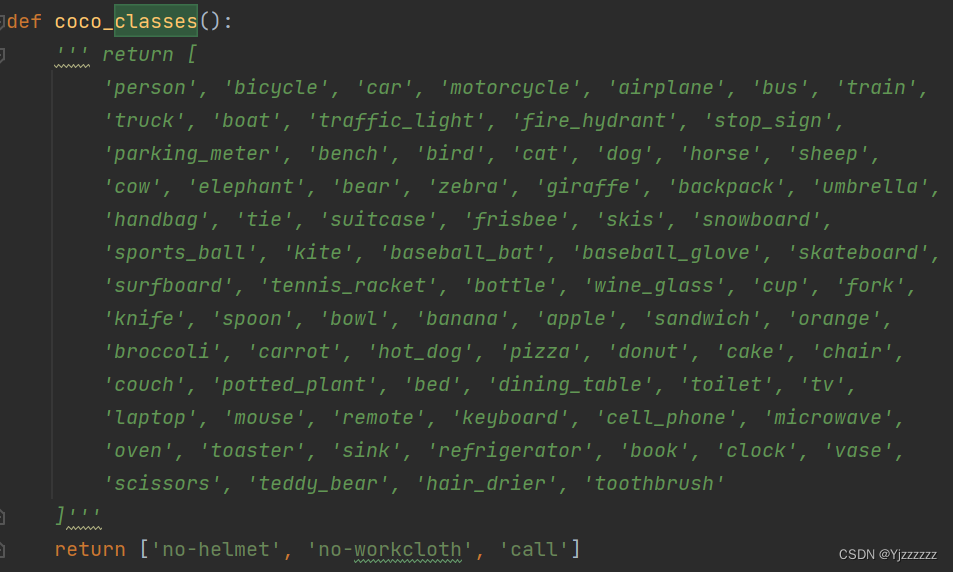
在mmdet/core/evaluation/class_names.py修改coco_classes函数:return['自己数据集的类']:
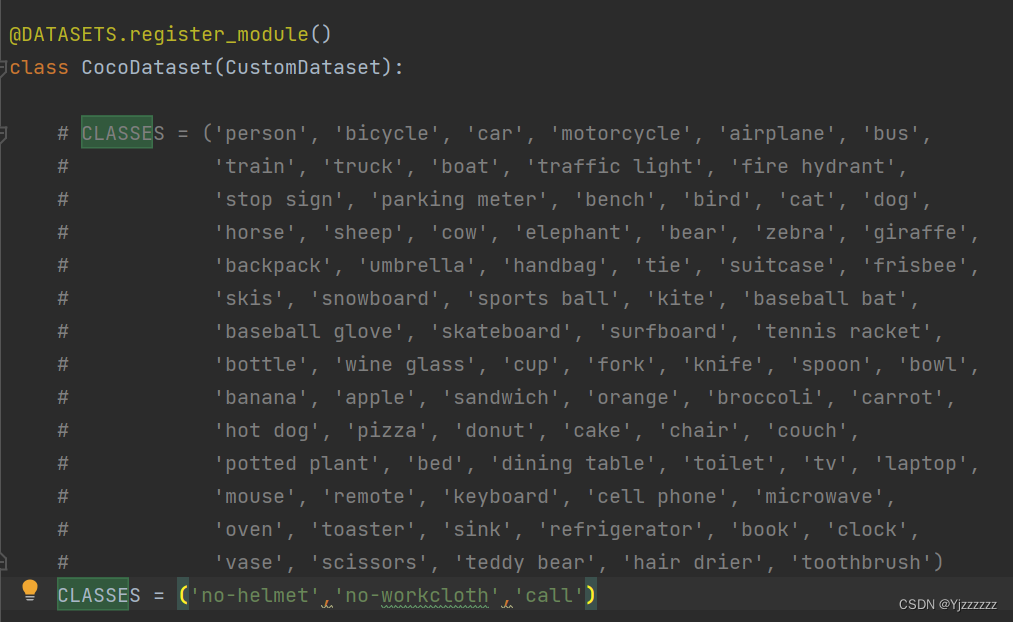
在mmdet\datasets\coco.py修改CocoDataset类中的CLASSES=('自己数据集的类')。
7、报错:RuntimeError: CUDA out of memory.
完整报错:RuntimeError: CUDA out of memory.Tried to allocate 490.00 MiB (GPU 0; 6.00 GiB total capacity; 5.82 GiB already allocated; 0 bytes free; 5.86 GiB reserved in total by PyTorch) If reserved memory is >> allocated memory try setting max_split_size_mb to avoid fragmentation. See documentation for Memory Management and PYTORCH_CUDA_ALLOC_CONF
batchsize过大,显卡显存不足。
解决方法:
需要在配置文件中将samples_per_gpu调小。(不知道为什么,我6g的显存,batchsize最大只能设为1,有知道的可以在评论区说一下)
data = dict(  ##这里samples_per_gpu/workers_per_gpu是batch_num
    samples_per_gpu=2,
    workers_per_gpu=1,
    train=dict(filter_empty_gt=False, pipeline=train_pipeline),
    val=dict(pipeline=test_pipeline),
    test=dict(pipeline=test_pipeline))
成功训练


 2045
2045

 被折叠的 条评论
为什么被折叠?
被折叠的 条评论
为什么被折叠?
 到【灌水乐园】发言


