


1.原代码地址
https://github.com/ByteDance-Seed/Depth-Anything-3
因为防止环境污染,用docker环境更好一点。
注意:我用的是cuda12.8。驱动要求>= 535.x
也可以用cuda118,参考官方网址的问题#93(用的是conda)https://github.com/ByteDance-Seed/Depth-Anything-3/issues/93
2.下载代码和模型
代码:https://github.com/ByteDance-Seed/Depth-Anything-3
模型:https://huggingface.co/collections/depth-anything/depth-anything-3
找到想用的模型,small base large等等,比如DA3NESTED-GIANT-LARGE
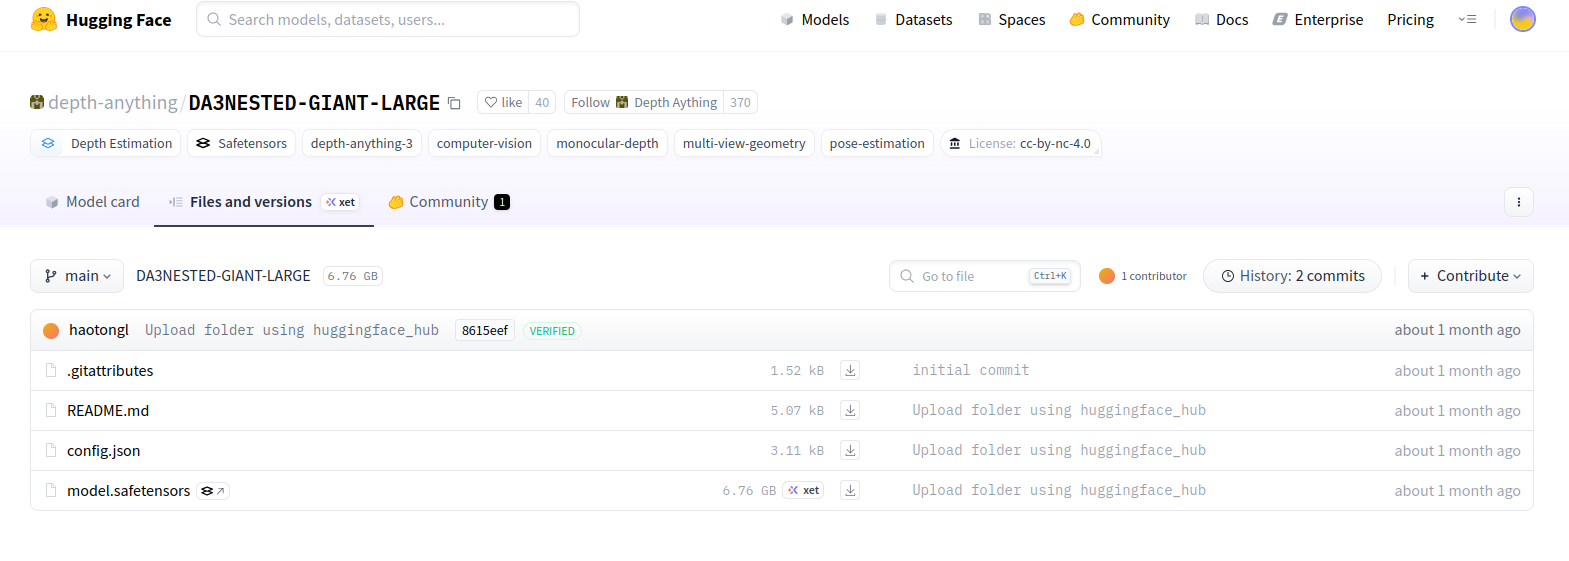
把对应的四个文件下载到Depth-Anything-3-main/models/DA3NESTED-GIANT-LARGE/文件夹下
3.构建基础镜像
(1)创建Dockerfile文件,写入
注:cuda12.8, python3.11, PyTorch 2.9.0 + torchvision 0.24.0 + torchaudio 2.9.0
# ========================================
# 基础镜像:CUDA 12.8 + Ubuntu 22.04
# Python >= 3.10 + PyTorch GPU
# ========================================

FROM nvidia/cuda:12.8.0-runtime-ubuntu22.04

# 避免交互式安装
ENV DEBIAN_FRONTEND=noninteractive

# 安装系统依赖和 Python 3.11(Ubuntu22.04 默认3.10,可升级)
RUN apt-get update && apt-get install -y --no-install-recommends \
        python3.11 \
        python3.11-dev \
        python3.11-venv \
        python3-pip \
        build-essential \
        git \
        wget \
        curl \
        ca-certificates \
        libssl-dev \
        libffi-dev \
        libbz2-dev \
        libreadline-dev \
        libsqlite3-dev \
        zlib1g-dev \
        tk-dev \
        libncurses5-dev \
        libncursesw5-dev \
    && rm -rf /var/lib/apt/lists/*
    && apt-get clean  # 清理apt缓存

# 将 python3 默认指向 python3.11
RUN update-alternatives --install /usr/bin/python3 python3 /usr/bin/python3.11 1
RUN ln -s /usr/bin/python3 /usr/bin/python

# 升级 pip
RUN python3 -m pip install --upgrade pip setuptools wheel

# 设置 CUDA 环境变量
ENV CUDA_HOME=/usr/local/cuda
ENV PATH=$CUDA_HOME/bin:$PATH
ENV LD_LIBRARY_PATH=$CUDA_HOME/lib64:$LD_LIBRARY_PATH

# 安装 PyTorch 2.9.0 + torchvision 0.24.0 + torchaudio 2.9.0 (CUDA12.8)
RUN pip install torch==2.9.0 torchvision==0.24.0 torchaudio==2.9.0 --index-url https://download.pytorch.org/whl/cu128

RUN pip cache purge  #清理pip缓存

# 默认进入 bash
CMD ["/bin/bash"]
(2)在这个文件的位置下,打开终端,构建基础镜像(名字自己设定,这里写的是da3)
docker build . -t da3镜像有点大........emm.....再说吧
基础镜像(ubuntu22.04 cuda12.8, python3.11, PyTorch 2.9.0+torchvision 0.24.0+torchaudio 2.9.0)
4.创建容器,挂载代码
第一行的 --name da3 中的da3是容器名字,可以设置成自己的
第二行的/your_location/Depth-Anything-3-main是宿主机的路径,/mnt/Depth-Anything-3-main是容器路径,可以修改
第三行的da3是第3步中设置的镜像名字,根据实际修改。/bin/bash是进入容器
docker run --gpus all -it --name da3 \
    -v /your_location/Depth-Anything-3-main:/mnt/Depth-Anything-3-main \
    da3 /bin/bash
5.安装配置文件
pip install xformers #Transformer 运算加速库
pip install -e .
pip install --no-build-isolation git+https://github.com/nerfstudio-project/gsplat.git@0b4dddf04cb687367602c01196913cde6a743d70
apt-get update && apt-get install -y libgl1  #oencv相关依赖
apt-get update && apt-get install -y ffmpeg  #ffmpeg 视频处理
6. 运行
(1)test.py-图片
文件下创建test.py,写入
import glob
import os
import torch
from depth_anything_3.api import DepthAnything3

print("🚀 开始测试 Depth-Anything-3...")

# 1. 设置设备
device = torch.device("cuda" if torch.cuda.is_available() else "cpu")
print(f"使用设备: {device}")

# 2. 加载模型
print("正在加载模型...")
model = DepthAnything3.from_pretrained("models/DA3NESTED-GIANT-LARGE")
model = model.to(device=device)
print("✅ 模型加载成功!")

# 3. 准备测试图像
example_path = "assets/examples/SOH"
if os.path.exists(example_path):
    images = sorted(glob.glob(os.path.join(example_path, "*.png")))
    print(f"找到 {len(images)} 张测试图像")

    # 4. 进行推理
    print("开始推理...")
    prediction = model.inference(images)

    # 5. 输出结果
    print("🎯 推理结果:")
    print(f"处理后的图像形状: {prediction.processed_images.shape}")    # [N, H, W, 3] uint8
    print(f"深度图形状: {prediction.depth.shape}")                    # [N, H, W] float32
    print(f"置信度图形状: {prediction.conf.shape}")                   # [N, H, W] float32
    print(f"外参矩阵形状: {prediction.extrinsics.shape}")            # [N, 3, 4] float32
    print(f"内参矩阵形状: {prediction.intrinsics.shape}")            # [N, 3, 3] float32

    print("✅ 测试完成!")
else:
    print("⚠️ 测试图像目录不存在,跳过推理测试")
跑出来的结果是这样的
🚀 开始测试 Depth-Anything-3...
使用设备: cuda
正在加载模型...
[INFO ] using SwiGLU layer as FFN
[INFO ] using MLP layer as FFN
Loading weights from local directory
✅ 模型加载成功!
找到 2 张测试图像
开始推理...
[INFO ] Processed Images Done taking 0.7610757350921631 seconds. Shape:  torch.Size([2, 3, 280, 504])
[INFO ] Model Forward Pass Done. Time: 1.3666679859161377 seconds
[INFO ] Conversion to Prediction Done. Time: 0.001508474349975586 seconds
🎯 推理结果:
处理后的图像形状: (2, 280, 504, 3)
深度图形状: (2, 280, 504)
置信度图形状: (2, 280, 504)
外参矩阵形状: (2, 3, 4)
内参矩阵形状: (2, 3, 3)
✅ 测试完成!
(2)命令行(CLI)-图片
# 1. 启动后端服务(GPU缓存)
docker exec -it da3 /bin/bash
cd mnt/Depth-Anything-3-main/
export MODEL_DIR=models/DA3NESTED-GIANT-LARGE
export GALLERY_DIR=workspace/gallery
da3 backend --model-dir ${MODEL_DIR} --gallery-dir ${GALLERY_DIR}
# 2. 自动处理模式(新终端中运行)
docker exec -it da3 /bin/bash
cd mnt/Depth-Anything-3-main/
export MODEL_DIR=models/DA3NESTED-GIANT-LARGE
export GALLERY_DIR=workspace/gallery
da3 auto assets/examples/SOH \
--export-format glb \
--export-dir ${GALLERY_DIR}/TEST_BACKEND/SOH \
--use-backend运行出来是:
root@29e1740a5b71:/mnt/Depth-Anything-3-main# da3 auto assets/examples/SOH \
>     --export-format glb \
>     --export-dir ${GALLERY_DIR}/TEST_BACKEND/SOH \
>     --use-backend
🔍 Detected input type: IMAGES
📁 Input path: assets/examples/SOH

Processing directory of images...
Found 2 images to process
Export directory 'workspace/gallery/TEST_BACKEND/SOH' already exists.
Do you want to clean it and continue? [y/N]: y
Cleaned export directory: workspace/gallery/TEST_BACKEND/SOH
Submitting inference task to backend...
Task submitted successfully!
Task ID: d0f7ae6c-6811-4098-8080-941362630c38
Results will be saved to: workspace/gallery/TEST_BACKEND/SOH
Check backend logs for progress updates with task ID: d0f7ae6c-6811-4098-8080-941362630c38

✅ Processing completed successfully!
在/Depth-Anything-3-main/workspace/gallery/TEST_BACKEND/SOH看效果。
(3)命令行(CLI)-视频
# 1. 启动后端服务(GPU缓存)
docker exec -it da3 /bin/bash
cd mnt/Depth-Anything-3-main/
export MODEL_DIR=models/DA3NESTED-GIANT-LARGE
export GALLERY_DIR=workspace/gallery
da3 backend --model-dir ${MODEL_DIR} --gallery-dir ${GALLERY_DIR}
# 3. 视频处理
docker exec -it da3 /bin/bash
cd mnt/Depth-Anything-3-main/
export MODEL_DIR=models/DA3NESTED-GIANT-LARGE
export GALLERY_DIR=workspace/gallery
da3 video assets/examples/robot_unitree.mp4 \
--fps 5 \
--use-backend \
--export-dir ${GALLERY_DIR}/TEST_BACKEND/robo \
--export-format glb-feat_vis \
--feat-vis-fps 15 \
--process-res 256 \
--process-res-method lower_bound_resize \
--export-feat "11,21,31"因为显存不够,我这里
(1)把--fps 15改成 --fps 5
(2)加入--process-res 256
在/Depth-Anything-3-main/workspace/gallery/TEST_BACKEND/robo看效果。
7.运行中的错误和警告:
1.PYTORCH_CUDA_ALLOC_CONF is deprecated
[W1219 06:07:02.719926028 AllocatorConfig.cpp:28] Warning: PYTORCH_CUDA_ALLOC_CONF is deprecated, use PYTORCH_ALLOC_CONF instead (function operator())
原因:过去 PyTorch 使用环境变量 PYTORCH_CUDA_ALLOC_CONF 来控制显存管理
现在推荐使用新的 PYTORCH_ALLOC_CONF
解决办法:执行命令前加入
export PYTORCH_ALLOC_CONF=expandable_segments:True
2.reference_view_strategy
NameError: name 'reference_view_strategy' is not defined
原因:/Depth-Anything-3-main/src/depth_anything_3/cli.py里 变量设置错误。
参考问题164https://github.com/ByteDance-Seed/Depth-Anything-3/issues/164
解决办法:
把 reference_view_strategy=reference_view_strategy 改成 ref_view_strategy=ref_view_strategy


 被折叠的 条评论
为什么被折叠?
被折叠的 条评论
为什么被折叠?
 到【灌水乐园】发言


