


目录
1.依赖注入
创建springboot⼯程,并导⼊ mybatis的起步依赖、mysql的驱动包
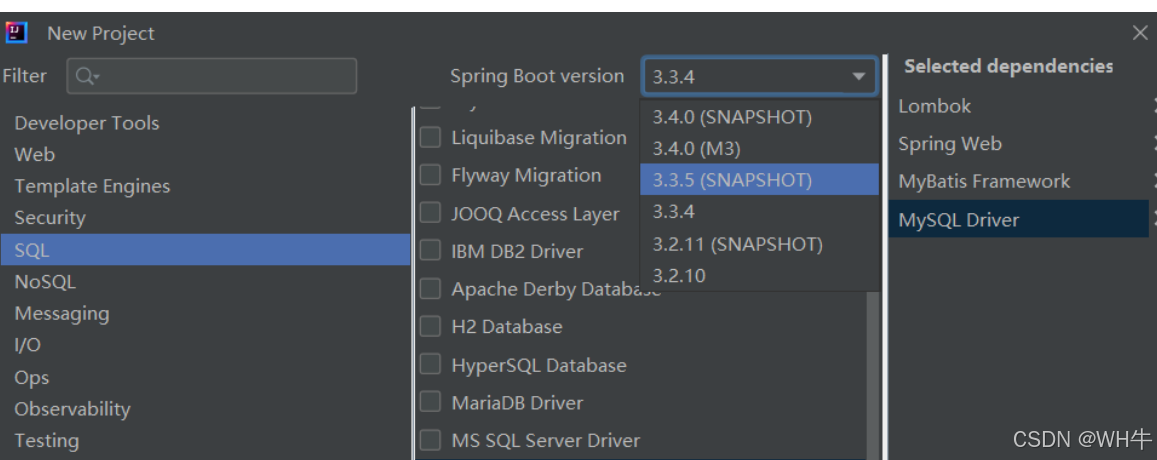
版本随意
2.application.yml
# 数据库配置
spring:
  datasource:
    url: jdbc:mysql://127.0.0.1:3306/mybatis_test?characterEncoding=utf8&useSSL=false
    username: root
    password: root
    driver-class-name: com.mysql.cj.jdbc.Driver
mybatis:
  configuration:
    log-impl: org.apache.ibatis.logging.stdout.StdOutImpl # 配置打印 MyBatis 执行的 SQL
    map-underscore-to-camel-case: true  #自动驼峰转换
注意:url,库名,username,password,driver-class-name以自身为准。
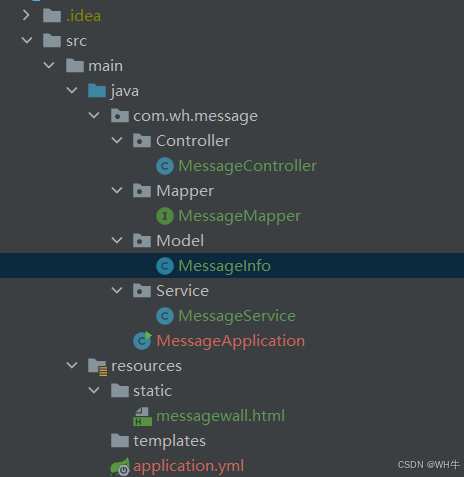
3.Controller包
MessageController类
import com.wh.message.Model.MessageInfo;
import com.wh.message.Service.MessageService;
import org.springframework.beans.factory.annotation.Autowired;
import org.springframework.util.StringUtils;
import org.springframework.web.bind.annotation.RequestMapping;
import org.springframework.web.bind.annotation.RestController;

import java.util.List;

@RestController
@RequestMapping("/message")
public class MessageController {
    @Autowired
    private MessageService messageService;

    @RequestMapping("/publish")
    public boolean publish(MessageInfo messageInfo) {
        if (!StringUtils.hasLength(messageInfo.getFrom()) ||
                !StringUtils.hasLength(messageInfo.getSay()) ||
                !StringUtils.hasLength(messageInfo.getTo())) {
            return false;
        }
        Integer result = messageService.publishMessage(messageInfo);
        if (result < 0) {
            return false;
        }
        return true;
    }

    @RequestMapping("/getList")
    public List<MessageInfo> getList() {
        return messageService.getListService();
    }
}
4.Model包
MessageInfo类
import lombok.Data;

import java.util.Date;

@Data
public class MessageInfo {
    private Integer id;
    private String from;
    private String to;
    private String say;
    private Integer deleteFlag;
    private Date createTime;
    private Date updateTime;
}
5.Service
MessageService类
import com.wh.message.Mapper.MessageMapper;
import com.wh.message.Model.MessageInfo;
import org.springframework.beans.factory.annotation.Autowired;
import org.springframework.stereotype.Service;

import java.util.List;

@Service
public class MessageService {
    @Autowired
    private MessageMapper messageMapper;

    public Integer publishMessage(MessageInfo messageInfo) {
        return messageMapper.insertMessage(messageInfo);
    }

    public List<MessageInfo> getListService() {
        return messageMapper.selectAllList();
    }
}
6.Mapper包
MessageMapper接口
import com.wh.message.Model.MessageInfo;
import org.apache.ibatis.annotations.Insert;
import org.apache.ibatis.annotations.Mapper;
import org.apache.ibatis.annotations.Select;

import java.util.List;

@Mapper
public interface MessageMapper {
    @Insert("insert into message_info (`from`, `to`, `say`) values (#{from},#{to},#{say})")
    public Integer insertMessage(MessageInfo messageInfo);

    @Select("select * from message_info where delete_flag = 0")
    public List<MessageInfo> selectAllList();
}
7.前端代码
messagewall.html
<!DOCTYPE html>
<html lang="en">

<head>
    <meta charset="UTF-8">
    <meta name="viewport" content="width=device-width, initial-scale=1.0">
    <title>留言板</title>
    <style>
        .container {
            width: 350px;
            height: 300px;
            margin: 0 auto;
            /* border: 1px black solid; */
            text-align: center;
        }

        .grey {
            color: grey;
        }

        .container .row {
            width: 350px;
            height: 40px;

            display: flex;
            justify-content: space-between;
            align-items: center;
        }

        .container .row input {
            width: 260px;
            height: 30px;
        }

        #submit {
            width: 350px;
            height: 40px;
            background-color: orange;
            color: white;
            border: none;
            margin: 10px;
            border-radius: 5px;
            font-size: 20px;
        }
    </style>
</head>

<body>
    <div class="container">
        <h1>留言板</h1>
        <p class="grey">输入后点击提交, 会将信息显示下方空白处</p>
        <div class="row">
            <span>谁:</span> <input type="text" name="" id="from">
        </div>
        <div class="row">
            <span>对谁:</span> <input type="text" name="" id="to">
        </div>
        <div class="row">
            <span>说什么:</span> <input type="text" name="" id="say">
        </div>
        <input type="button" value="提交" id="submit" onclick="submit()">
        <!-- <div>A 对 B 说: hello</div> -->
    </div>

    <script src="https://cdn.bootcdn.net/ajax/libs/jquery/3.6.4/jquery.min.js"></script>
    <script>
        $.ajax({
            url: "/message/getList",
            type: "get",
            success: function (messages) {
                var finalHtml = '';
                for (var message of messages) {
                    finalHtml += '<div>' + message.from + '对' + message.to + '说:' + message.say + '</div>';
                }
                $(".container").append(finalHtml);
            }
        });
        function submit() {
            //1. 获取留言的内容
            var from = $('#from').val();
            var to = $('#to').val();
            var say = $('#say').val();
            if (from == '' || to == '' || say == '') {
                return;
            }
            $.ajax({
                url: "/message/publish",
                type: "post",
                data: {
                    from: $('#from').val(),
                    to: $('#to').val(),
                    say: $('#say').val()
                },
                success: function (result) {
                    if (result) {
                        //2. 构造节点
                        var divE = "<div>" + from + "对" + to + "说:" + say + "</div>";
                        //3. 把节点添加到页面上
                        $(".container").append(divE);

                        //4. 清空输入框的值
                        $('#from').val("");
                        $('#to').val("");
                        $('#say').val("");
                    } else {
                        alert("输入不合法");
                    }

                }
            });


        }

    </script>
</body>

</html>
最终:
以上为我个人的小分享,如有问题,欢迎讨论!!!
都看到这了,不如关注一下,给个免费的赞 ![]()


 3753
3753

 被折叠的 条评论
为什么被折叠?
被折叠的 条评论
为什么被折叠?
 到【灌水乐园】发言


