


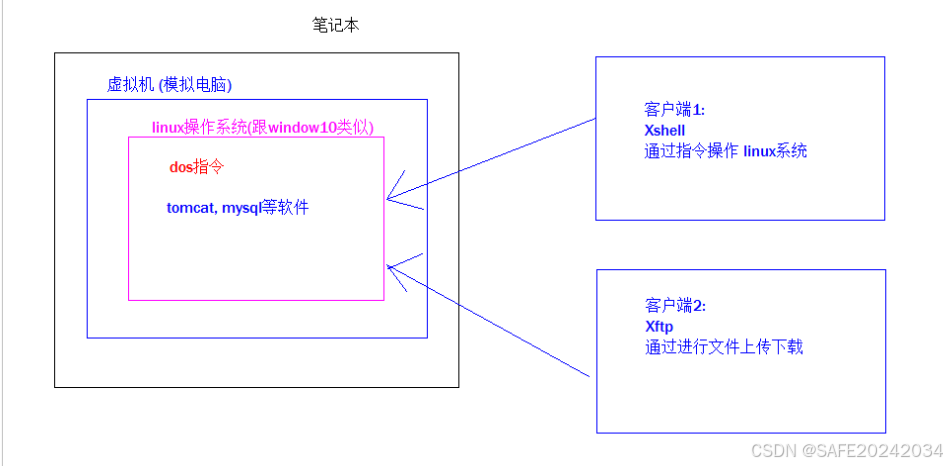
VM创建虚拟机,centOS7镜像搭建环境
一 首先得准备好相关组件 。
(1)、下载和安装VMware-Workstation-Pro.exe软件
(2)、下载centOS7镜像,可以在阿里云下载。
(3)、直接下xmanager5
二 虚拟机的几种网络模式
(1)桥接模式,就像一个在路由器"民政局"那里"上过户口"的成年人,有自己单独的居住地址,虽然和主机住在同一个大院里,但好歹是有户口的人,可以大摇大摆地直接和外面通信。
(2)NAT模式,纯粹就是一个没上过户口的黑户,路由器"民政局"根本不知道有这么个人,自然也不会主动和它通信。即使虚拟机偶尔要向外面发送点的信件,都得交给主机以主机的名义转发出去,主机还专门请了一位叫做NAT的老大爷来专门负责这些虚拟机的发信、收信事宜。
(3)仅主机模式,纯粹是一个彻彻底底的黑奴,不仅没有户口、路由器"民政局"不知道这么号人,还被主机关在小黑屋里,连信件也不准往外发。
仅主机模式能够保障我们在拔掉网线的情况下继续连接我们的虚拟机,不依靠公网连接,而是依靠物理机和虚拟机的关系连接。在断网的情况下,利用这个模式,我们可以继续连接虚拟机,实现我们的操作。
三 虚拟机、centos、Xshell的安装
3.1 给虚拟机装centos
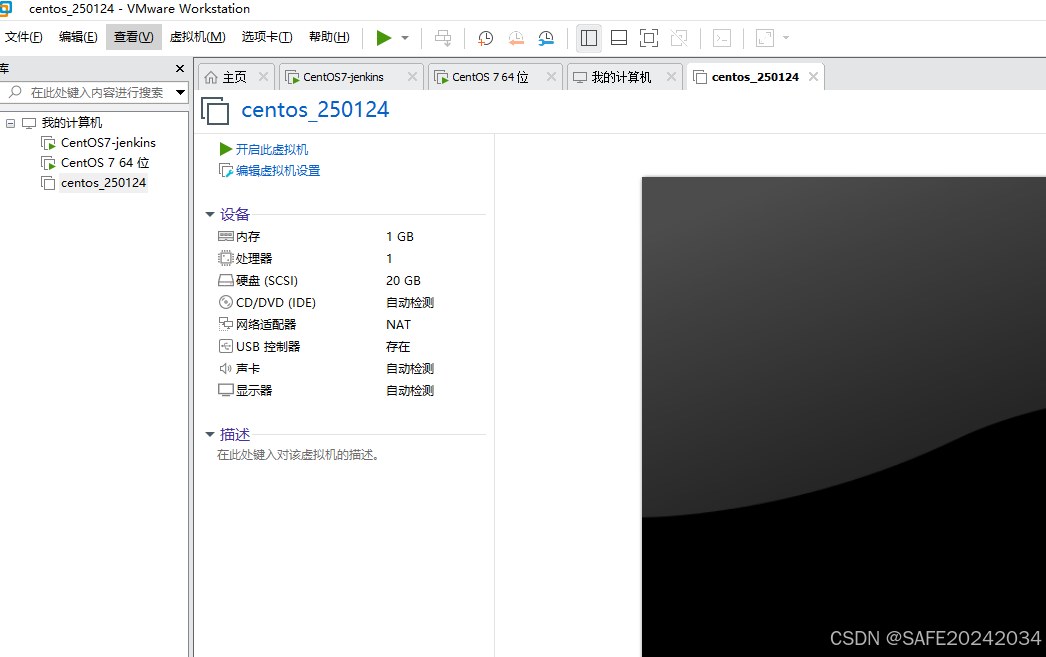
3.1.1 给虚拟机命名

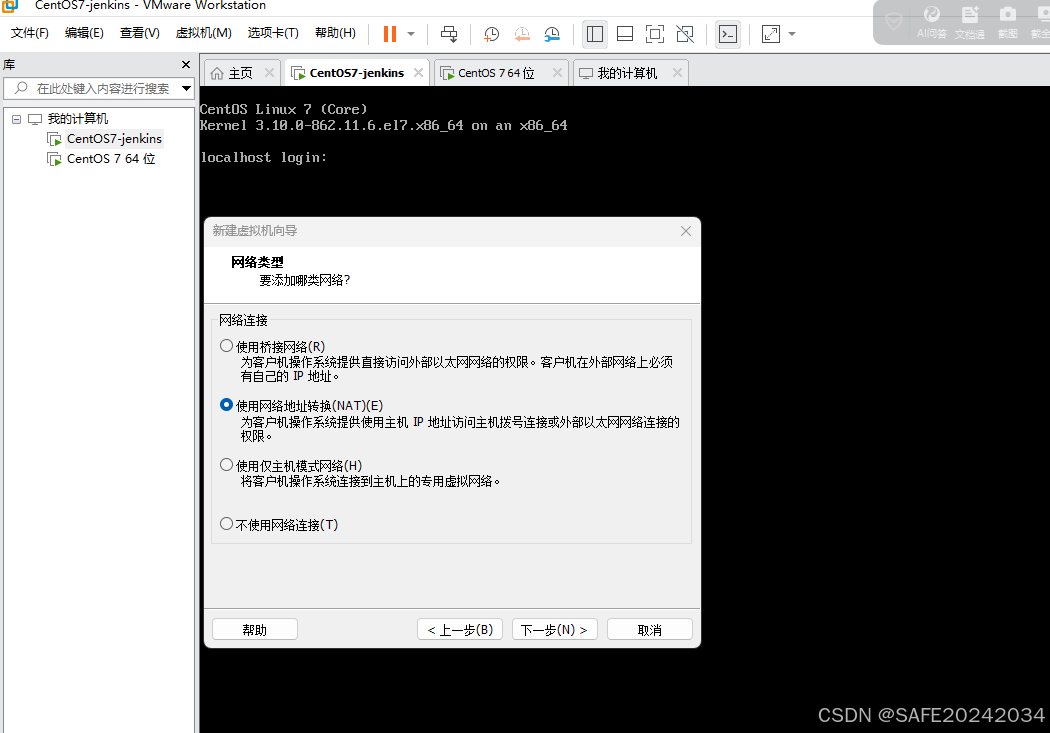
3.1.2 添加网络类型
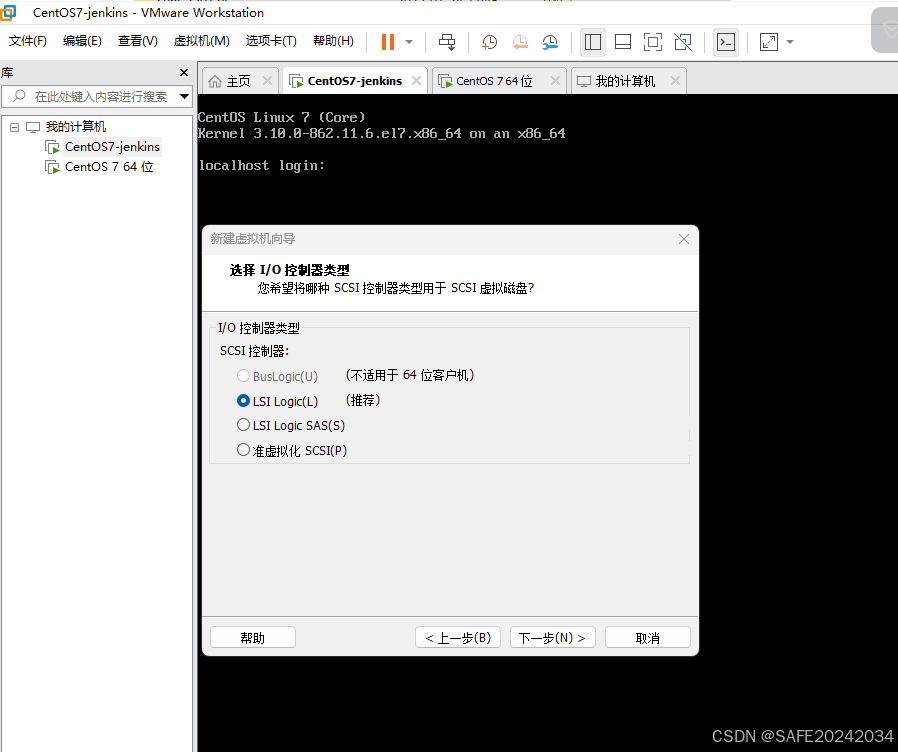
3.1.3 添加IO类型
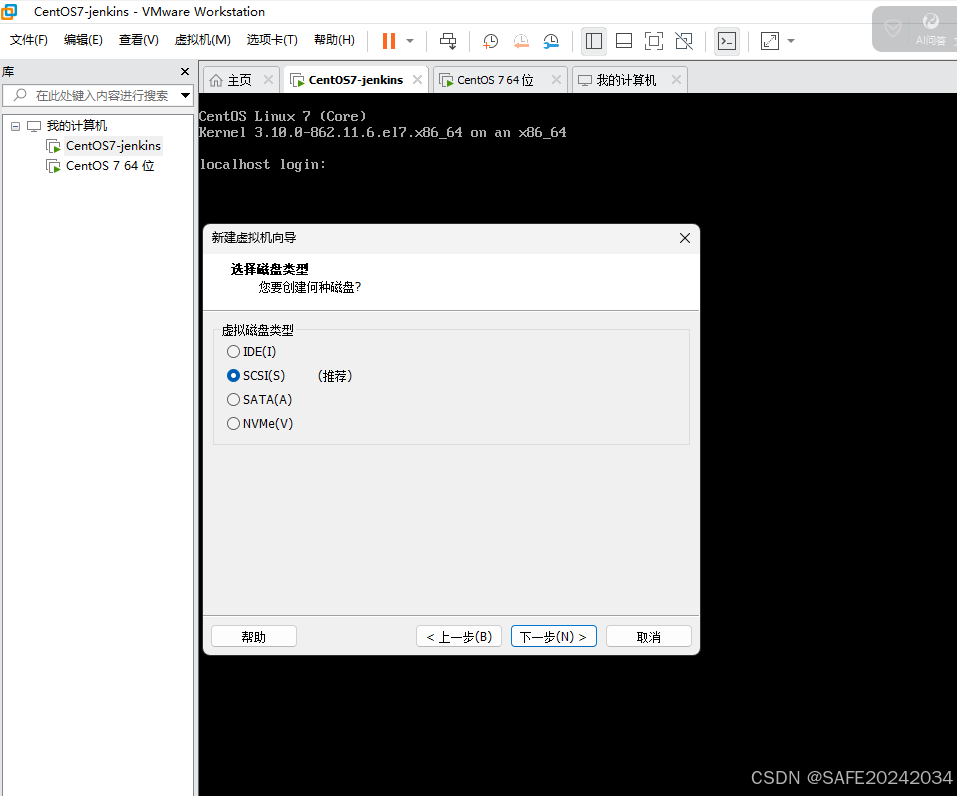
3.1.4 添加磁盘类型
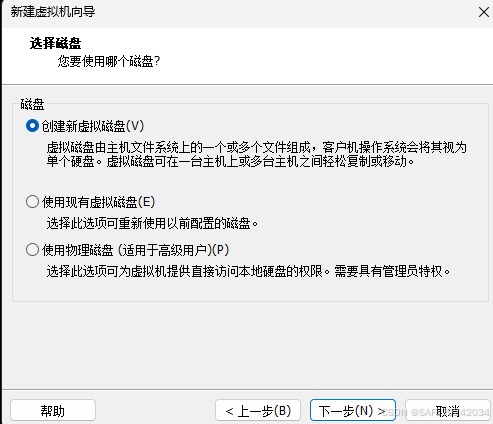
3.1.5 选择磁盘
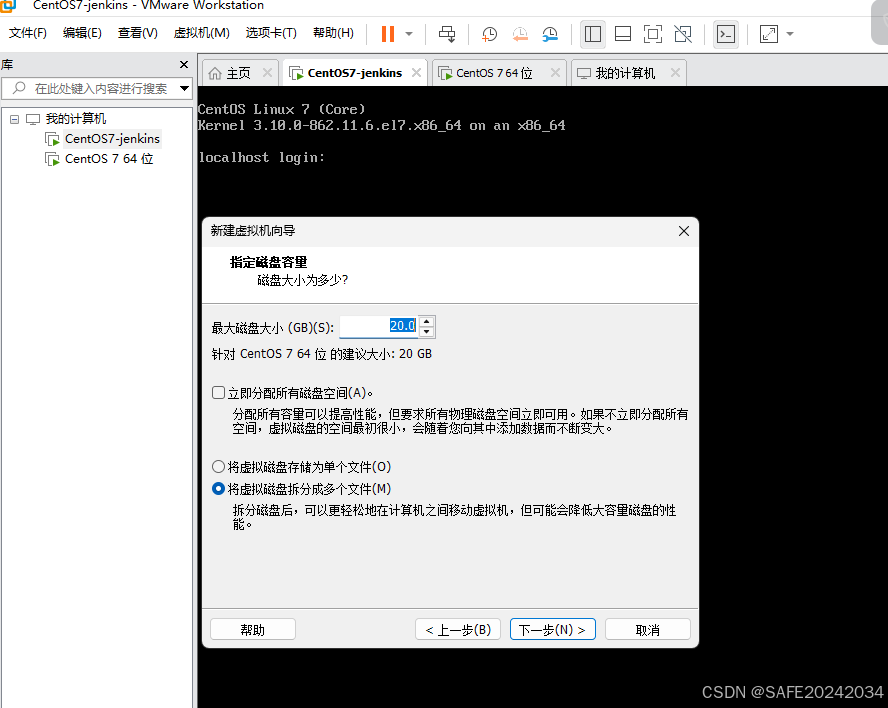
3.1.6 指定磁盘容量
3.1.7 指定磁盘文件

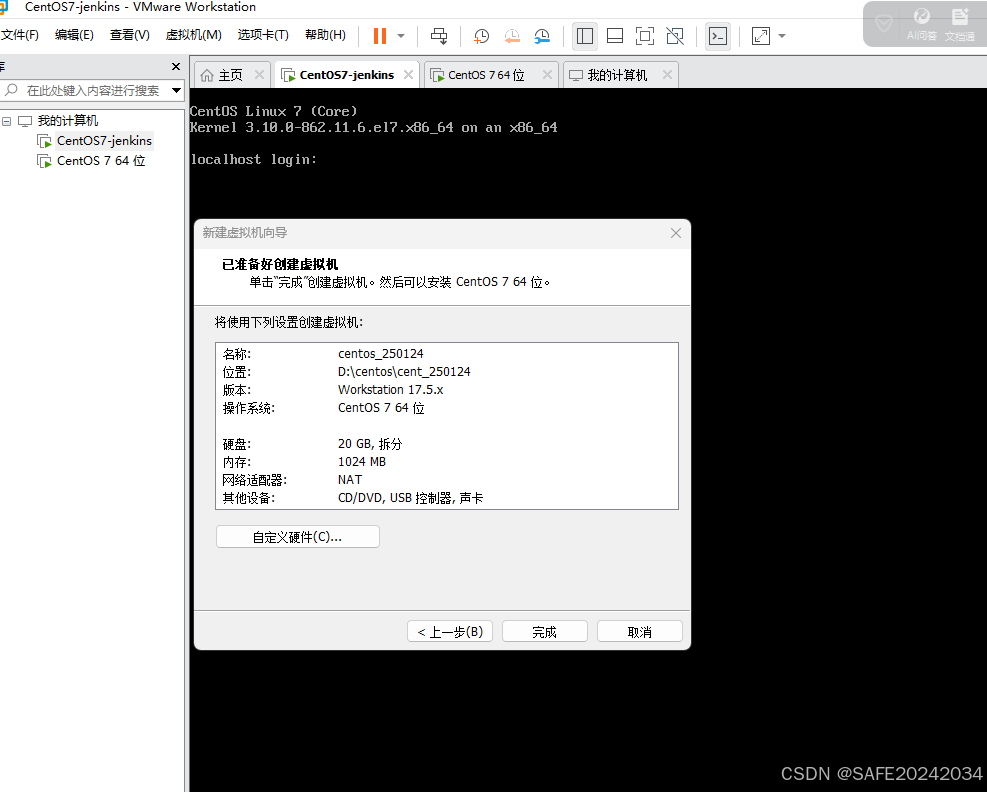
3.1.8 硬件定义完成
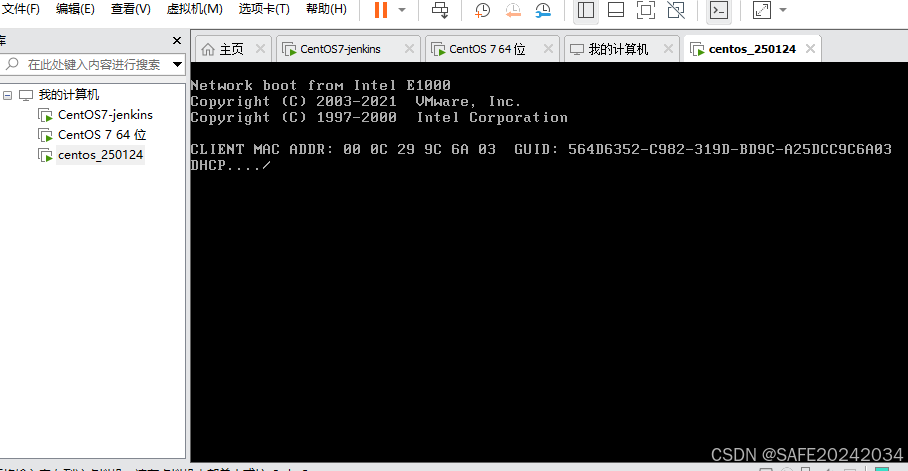
3.2 centOS的安装
3.2.1 硬件配置完成来到软件的环节
3.2.2 虚拟机配置时报错问题的解决
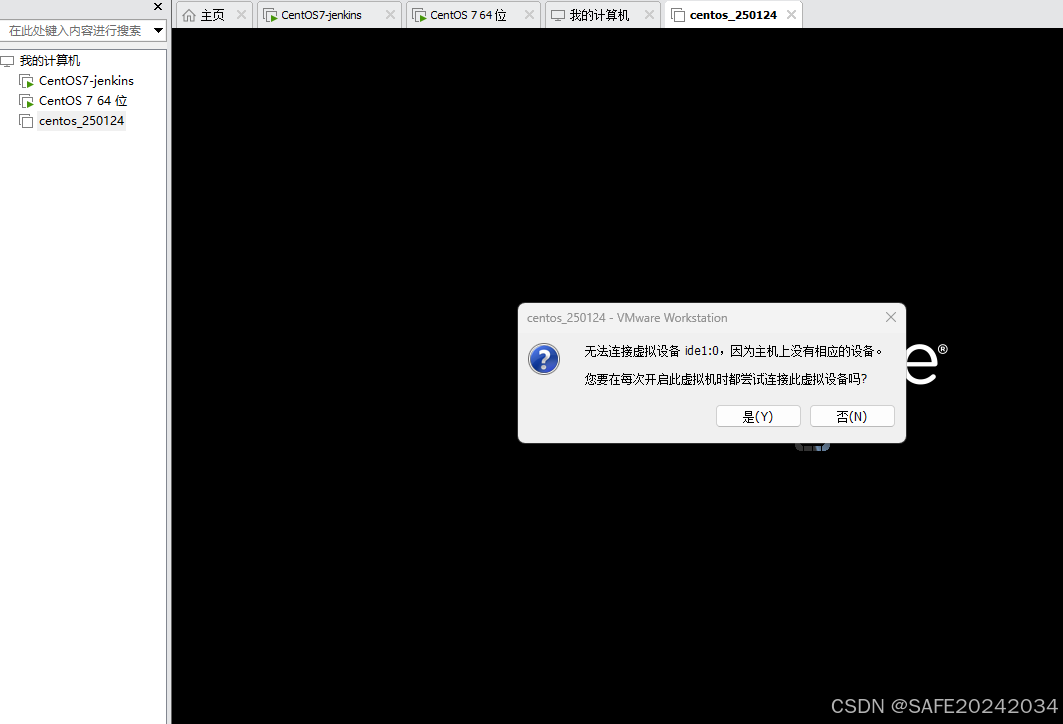
无法连接虚拟设备 ide1:0,因为主机上没有相应的设备。您要在每次开启此虚拟机时都尝试连接此虚拟设
解决思路:
安装虚拟机时出现提示:无法连接虚拟设备 ide1:0,因为主机上没有相应的设备。您要在每次开启此虚拟机时都尝试连接此虚拟设备吗?
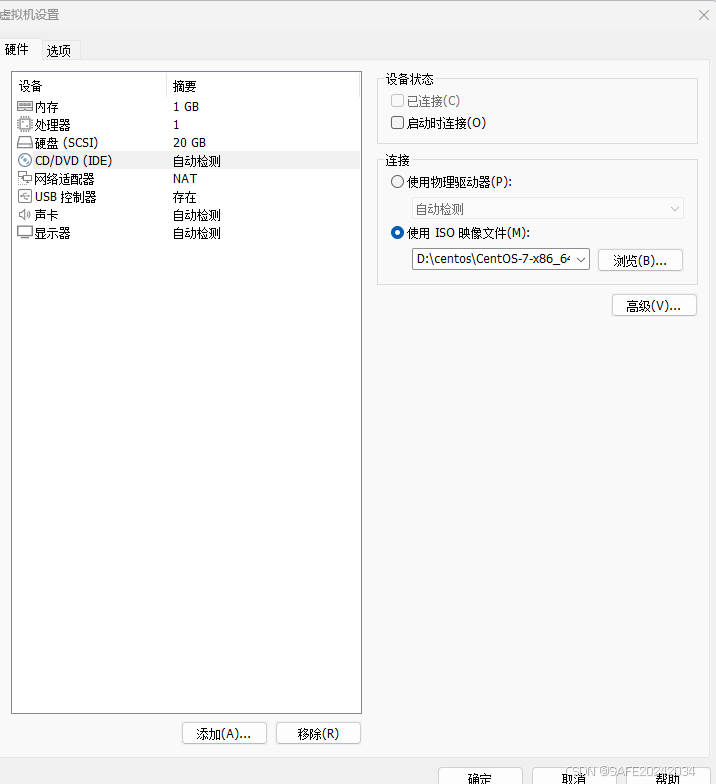
ide1:0一般是虚拟机的光驱,配置选项是“使用物理驱动器”,而宿主机可能没有光驱,改为“使用ISO映像文件”即可
这个地方改成ISO镜像文件
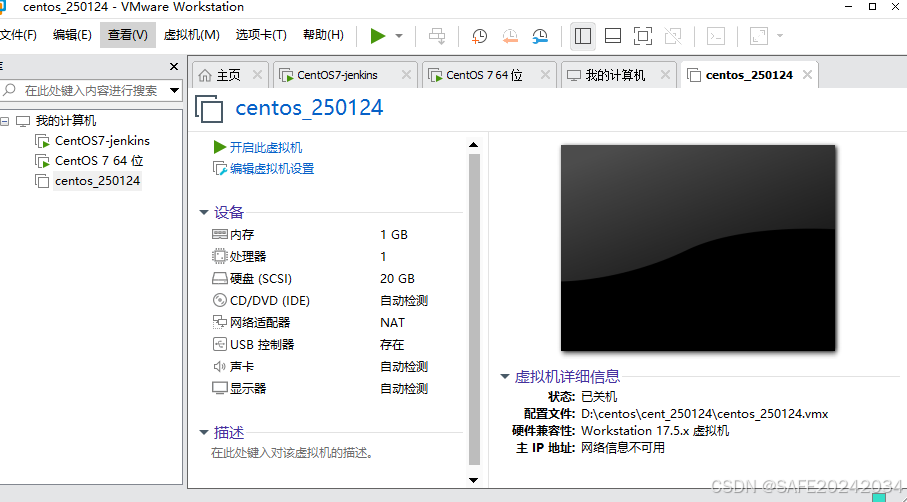
现在再开启,发现问题还是没有解决
启动不成功
3.2.3 解决这个软件安装的问题
选择硬盘启动更是提示没有发现硬盘!
虚拟机安装不是有一个选项嘛,咱就不选高级自定义了,直接 来个自定义
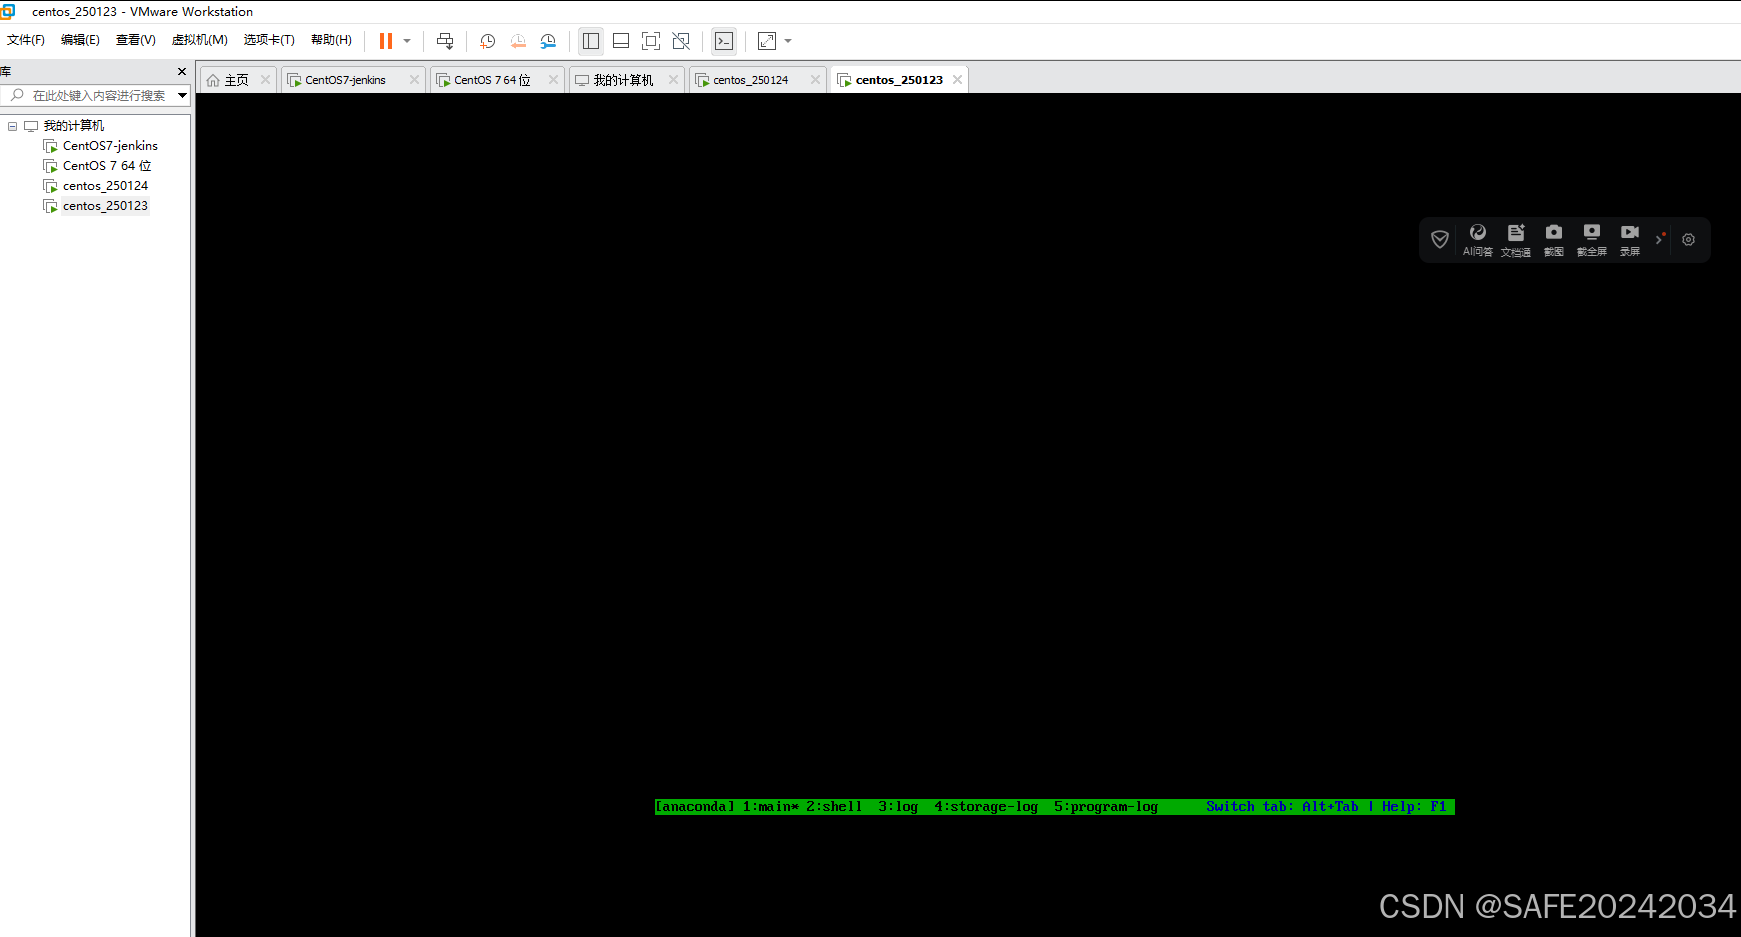
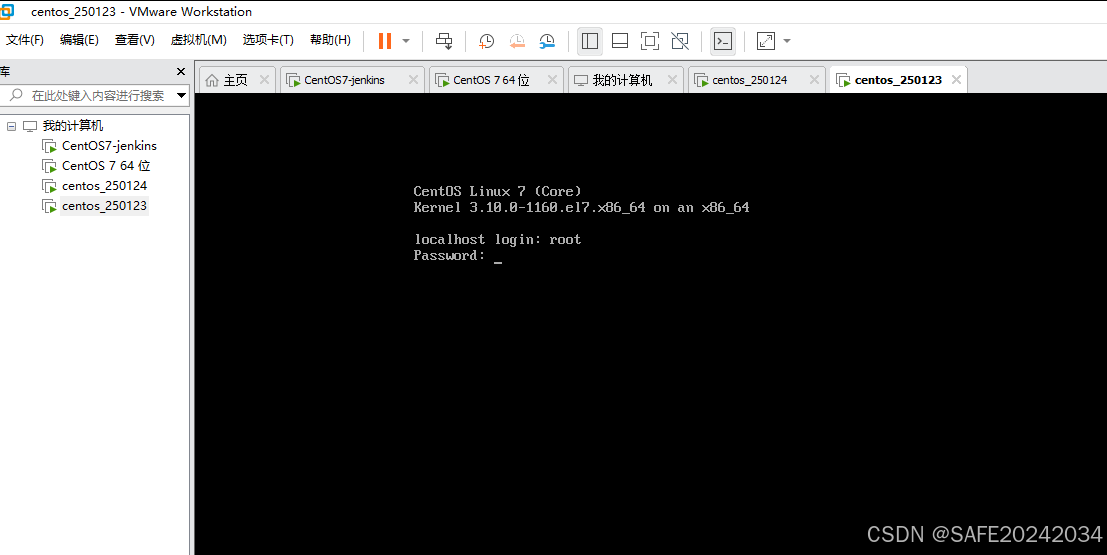
顺利安装成功
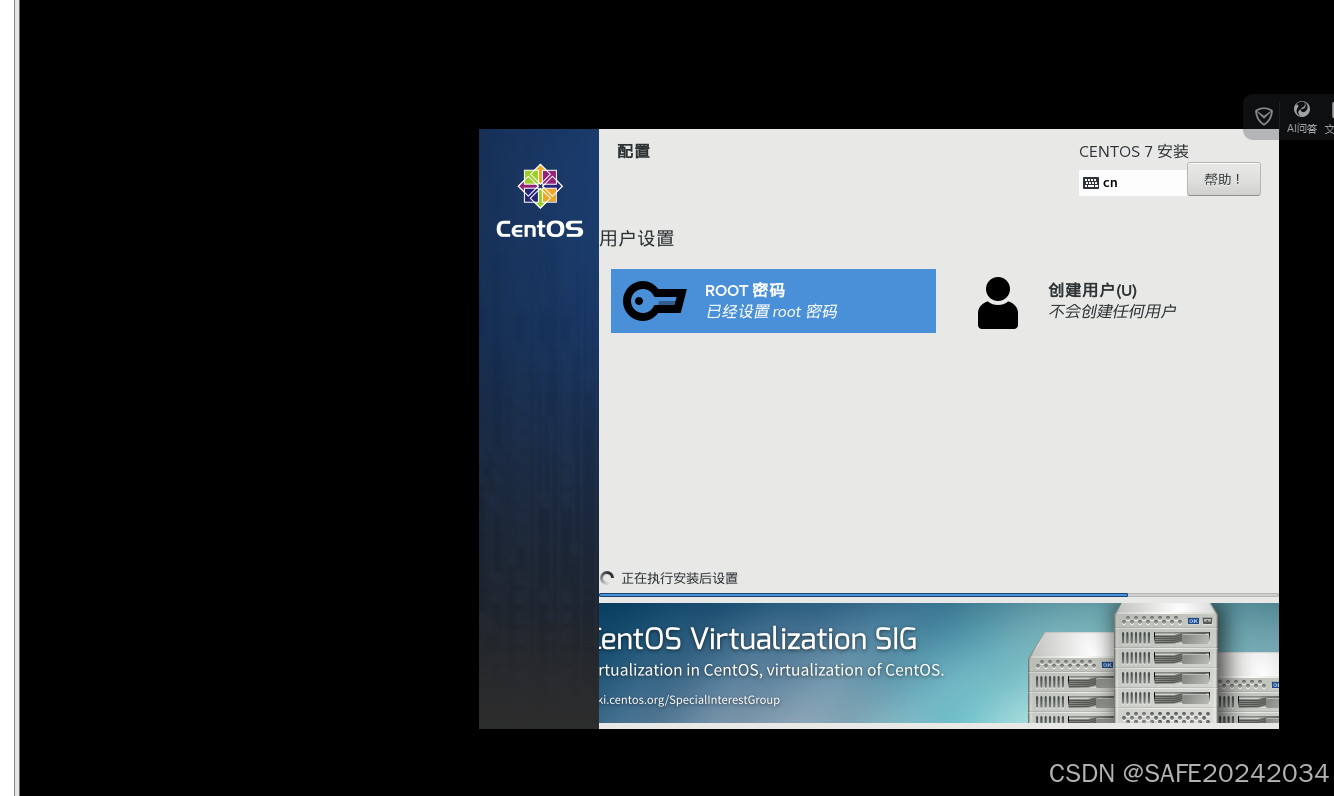
这个时候root权限安装上去
3.3 XSHELL 安装
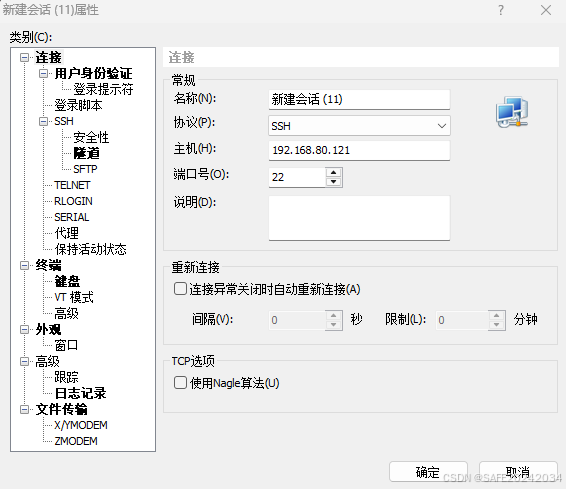
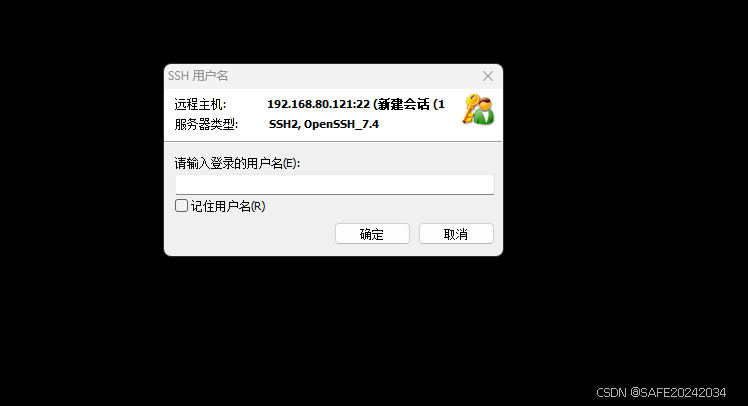
链接linux
输入用户名,密码
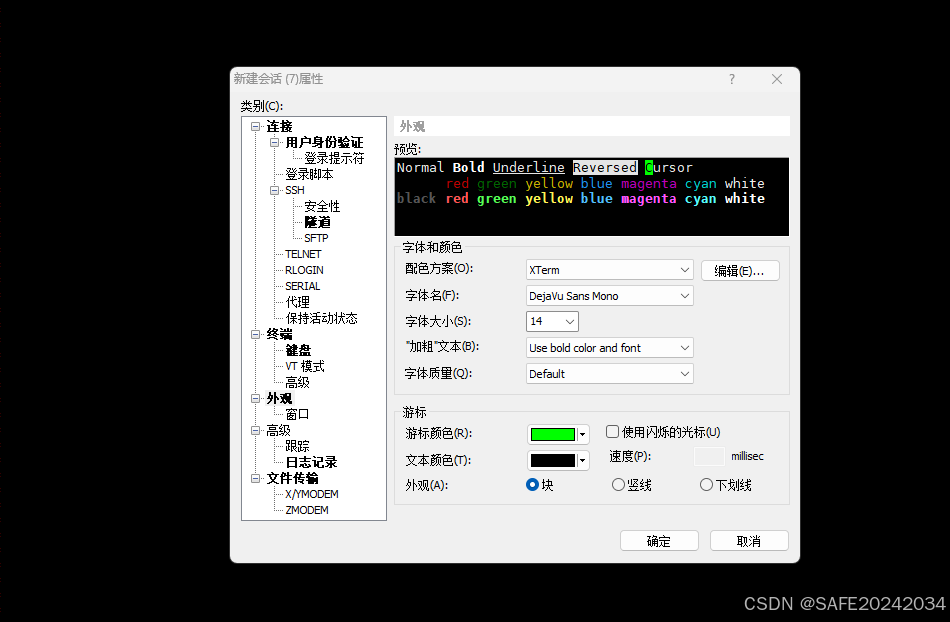
调字体大小
调节字体
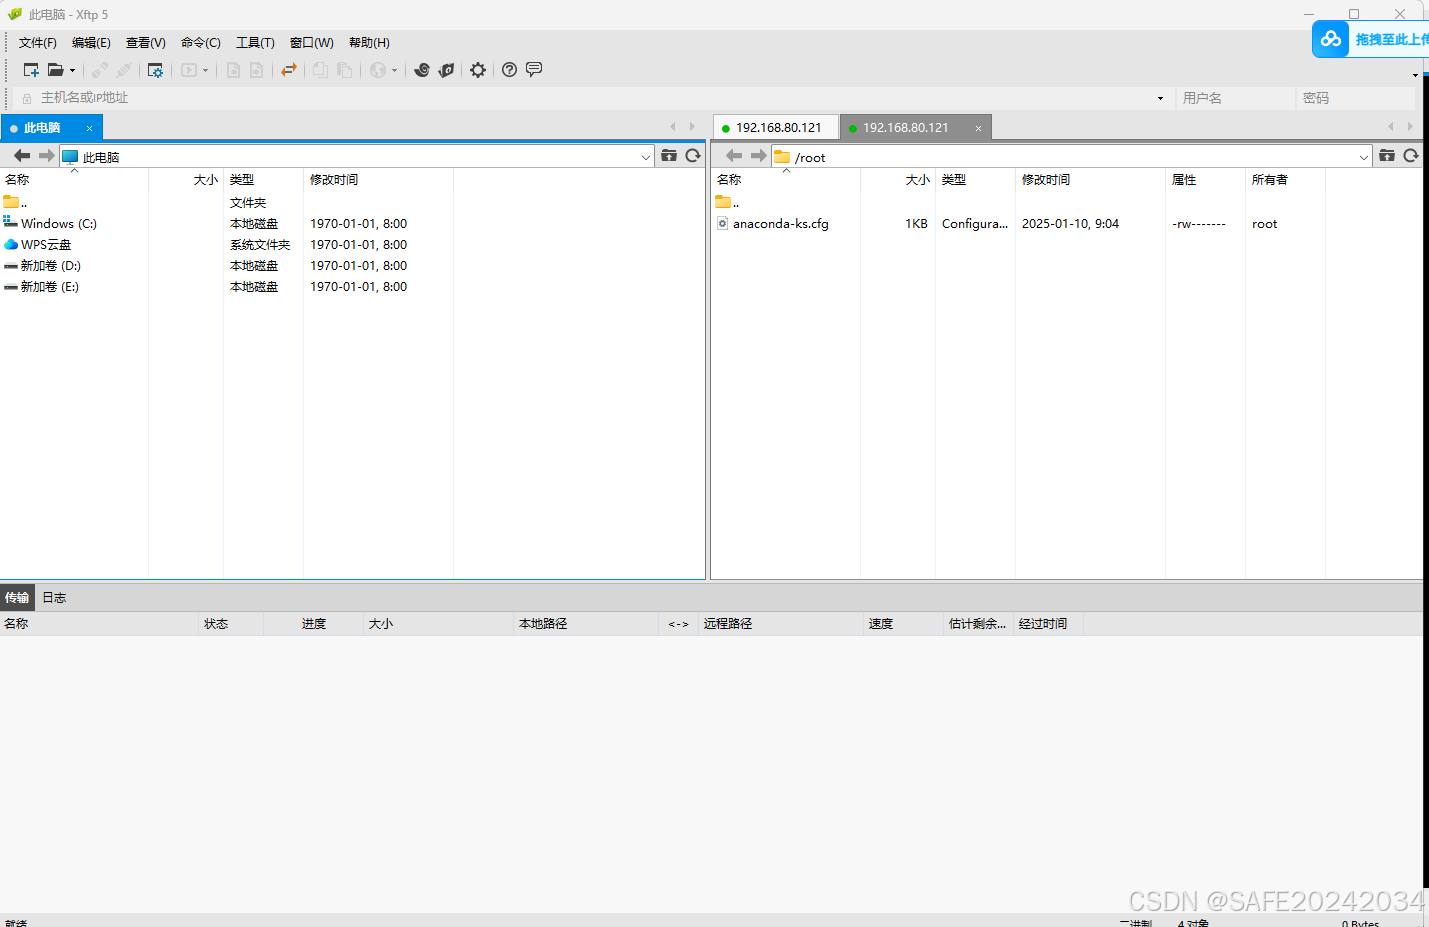
xftp类似于里面的一个分支
四 虚拟机,linux,windows宿主机网络的配置
4.1 整体配置流程图
4.2 配置静态IP
配置网络的目的主要是为了固定虚拟机的内网IP,方便我们在真实的操作系统中使用Linux连接工具软件进行远程连接。
1.关闭虚拟机
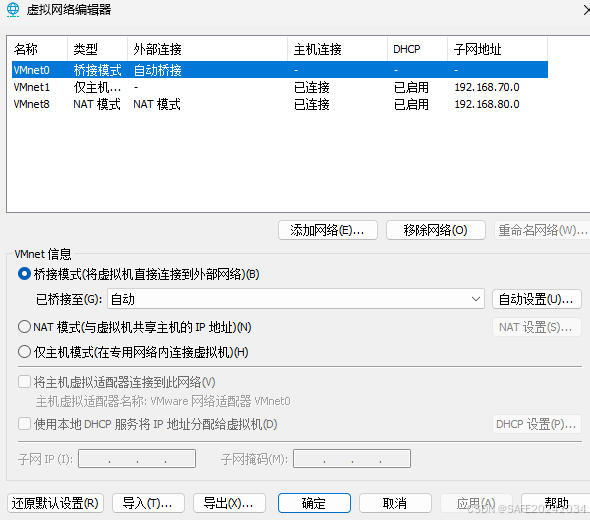
2.点击编辑,选择倒数第二个选项“虚拟网络编辑器器”,出现下面的“虚拟网络编辑器器”窗口。
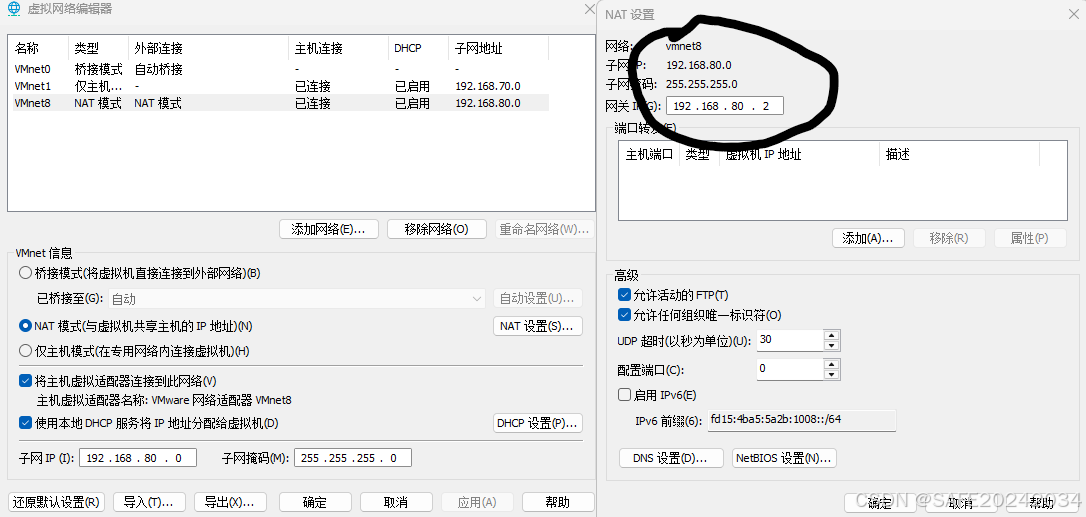
选择NAT模式, 注意子网IP前三位与NAT设置的网关IP、DHCP网段一致。
4.2.1 进入编辑选项里,点击虚拟网络编辑器

4.2.2 设置NAT
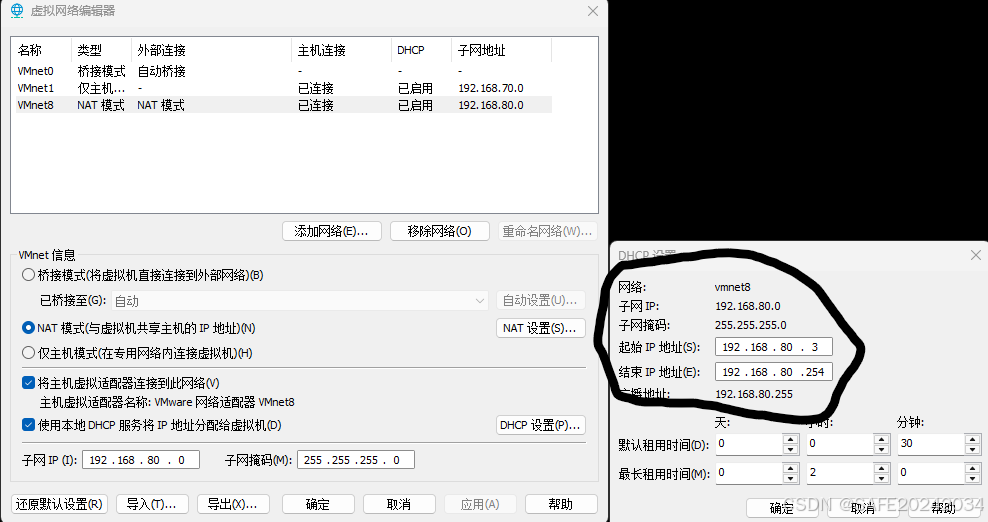
4.2.3 DHCP设置
4.3 进入操作系统配置网卡
配置网络的目的主要是为了固定虚拟机的内网IP,方便我们在真实的操作系统中使用Linux连接工具软件进行远程连接。
1.关闭虚拟机
2.点击编辑,选择倒数第二个选项“虚拟网络编辑器器”,出现下面的“虚拟网络编辑器器”窗口。
选择NAT模式, 注意子网IP前三位与NAT设置的网关IP、DHCP网段一致。
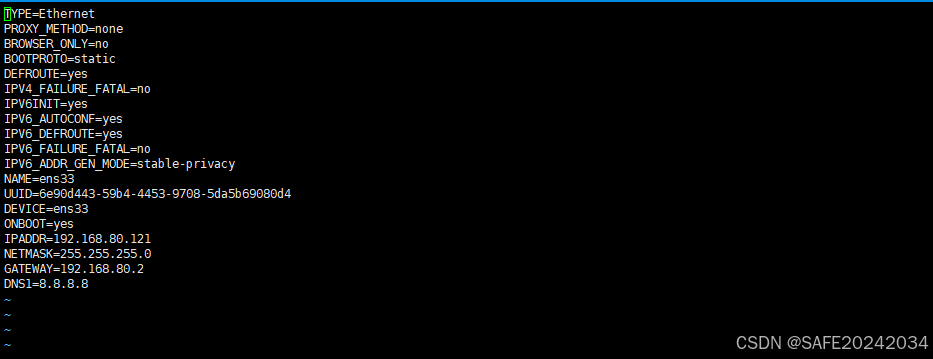
4.3.1 配置ens33网卡
vi /etc/sysconfig/network-scripts/ifcfg-ens33
esc退出
:wq 保存退出
4.3.2 重启执行命令重启网卡服务
配置网络的目的主要是为了固定虚拟机的内网IP,方便我们在真实的操作系统中使用Linux连接工具软件进行远程连接。
systemctl restart network
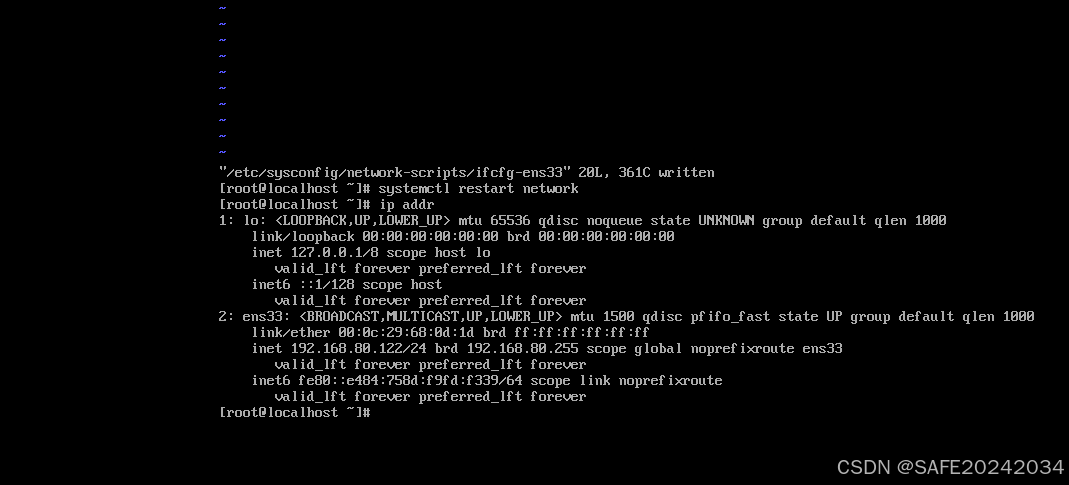
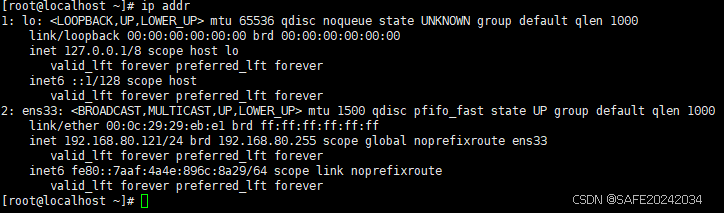
4.3.3 检查IP是否变更
配置网络的目的主要是为了固定虚拟机的内网IP,方便我们在真实的操作系统中使用Linux连接工具软件进行远程连接。
ip addr
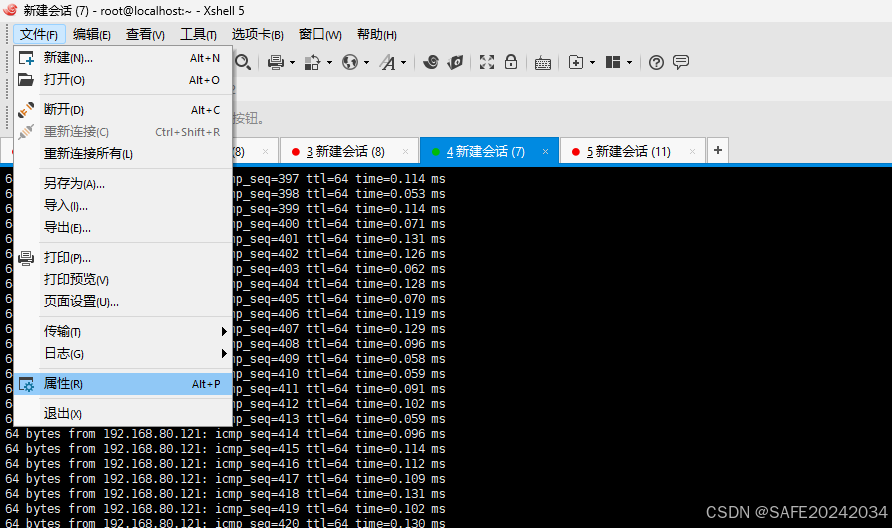
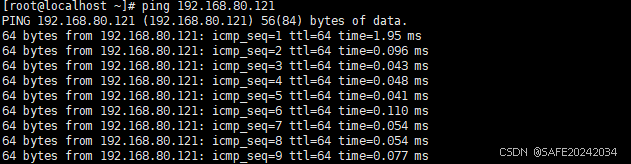
4.3.4 检查网络ping
配置网络的目的主要是为了固定虚拟机的内网IP,方便我们在真实的操作系统中使用Linux连接工具软件进行远程连接。
ip addr
4.3 yum安装依赖失败
[root@localhost ~]# yum install -y gcc tcl
已加载插件:fastestmirror
Determining fastest mirrors
Could not retrieve mirrorlist http://mirrorlist.centos.org/?release=7&arch=x86_64&repo=os&infra=stock error was
14: curl#6 - "Could not resolve host: mirrorlist.centos.org; 未知的错误"


 One of the configured repositories failed (未知),
 and yum doesn't have enough cached data to continue. At this point the only
 safe thing yum can do is fail. There are a few ways to work "fix" this:

     1. Contact the upstream for the repository and get them to fix the problem.

     2. Reconfigure the baseurl/etc. for the repository, to point to a working
        upstream. This is most often useful if you are using a newer
        distribution release than is supported by the repository (and the
        packages for the previous distribution release still work).

     3. Run the command with the repository temporarily disabled
            yum --disablerepo=<repoid> ...

     4. Disable the repository permanently, so yum won't use it by default. Yum
        will then just ignore the repository until you permanently enable it
        again or use --enablerepo for temporary usage:

            yum-config-manager --disable <repoid>
        or
            subscription-manager repos --disable=<repoid>

     5. Configure the failing repository to be skipped, if it is unavailable.
        Note that yum will try to contact the repo. when it runs most commands,
        so will have to try and fail each time (and thus. yum will be be much
        slower). If it is a very temporary problem though, this is often a nice
        compromise:

            yum-config-manager --save --setopt=<repoid>.skip_if_unavailable=true

Cannot find a valid baseurl for repo: base/7/x86_64
4.3.1解决
1. sed -i "s|enabled=1|enabled=0|g" /etc/yum/pluginconf.d/fastestmirror.conf
2. mv /etc/yum.repos.d/CentOS-Base.repo /etc/yum.repos.d/CentOS-Base.repo.backup
3. curl -o /etc/yum.repos.d/CentOS-Base.repo https://www.xmpan.com/Centos-6-Vault-Aliyun.repo
4. yum clean all
5. yum makecache
这个思路不好用,然后ping了一下,发现失败了
ping: www.baidu.com: 未知的名称或服务
4.3.2 这个主要就是把DNS1改成8.8.8.8,
这样可以ping通百度了
4.3.3 配置仓库
[root@localhost ~]# curl -o /etc/yum.repos.d/CentOS-Base.repo http://mirrors.aliyun.com/repo/Centos-6.repo
  % Total    % Received % Xferd  Average Speed   Time    Time     Time  Current
                                 Dload  Upload   Total   Spent    Left  Speed
100  2523  100  2523    0     0  10175      0 --:--:-- --:--:-- --:--:-- 10214
[root@localhost ~]# ^C


 1074
1074

 被折叠的 条评论
为什么被折叠?
被折叠的 条评论
为什么被折叠?
 到【灌水乐园】发言


