


 本文详细介绍了如何在Eclipse中从零开始搭建JSP项目,包括项目配置、编码设置及常见问题解决。深入解析了JSP文件的编码方式、浏览器读取编码的设置方法,并分享了统一项目编码格式的技巧。
目录
一、新建项目
1.1 配置(本文无)
网上教程较多,不多说了
1.2 新建
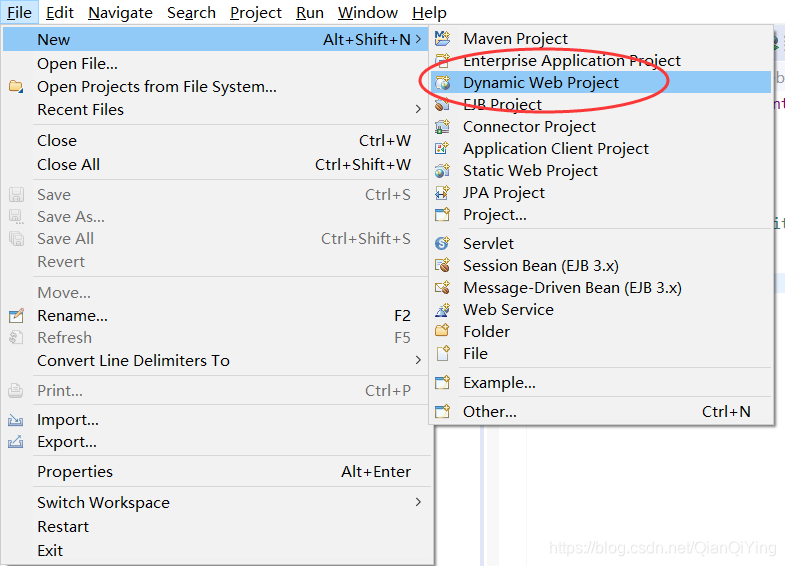
1. File -> New -> Dynamic Web Project
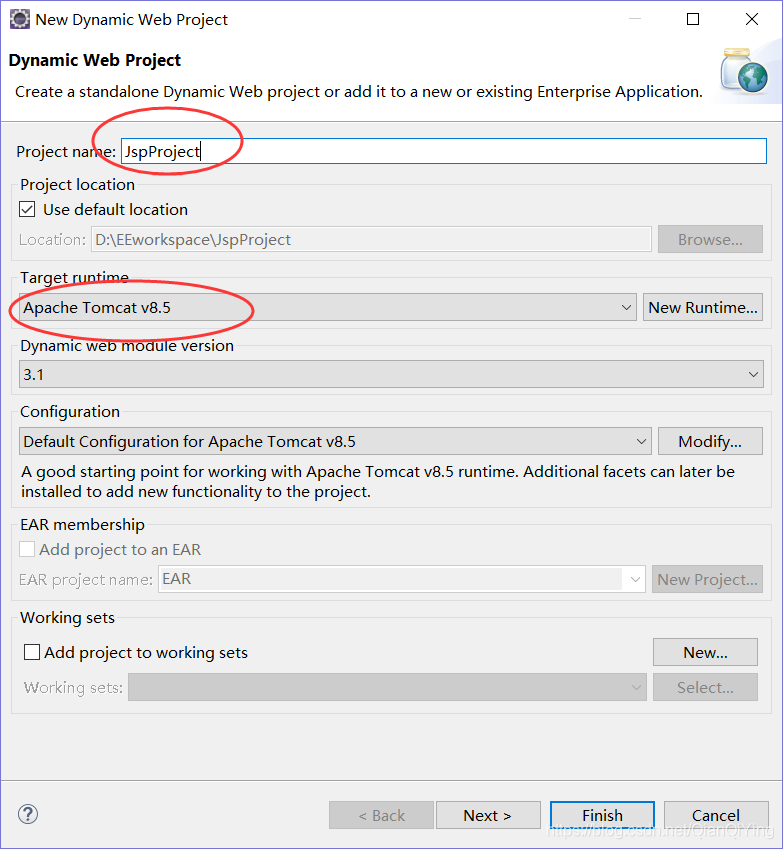
2. 填写项目名称,选择自己的tomcat版本
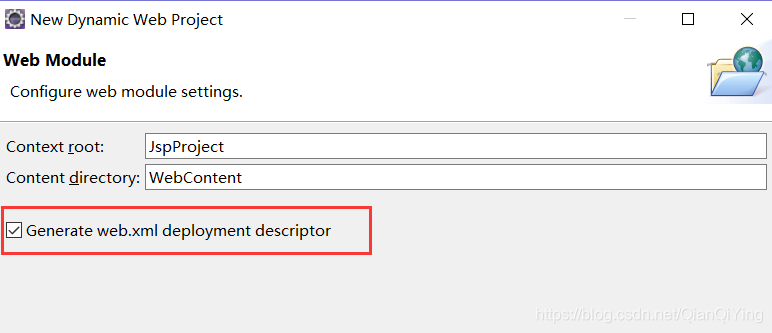
3.next然后next,到这个页面勾选Generate web.xml deployment descriptor,然后finish
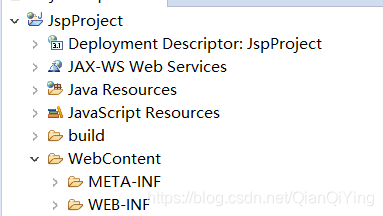
4. 项目创建成功,目录结构如下:
5. 在WebContent和WEB-INF目录下新建jsp文件分别为index1.jsp和index2.jsp,如图
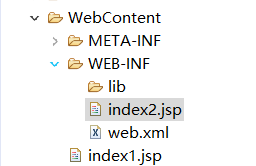
index1.jsp和index2.jsp的内容分别为:
index1.jsp:
<%@ page language="java" contentType="text/html; charset=ISO-8859-1"
    pageEncoding="ISO-8859-1"%>
<!DOCTYPE html>
<html>
<head>
<meta charset="ISO-8859-1">
<title>Insert title here</title>
</head>
<body>
	hello index1
</body>
</html>
index2.jsp:
<%@ page language="java" contentType="text/html; charset=ISO-8859-1"
pageEncoding="ISO-8859-1"%>
<!DOCTYPE html>
<html>
<head>
<meta charset="ISO-8859-1">
<title>Insert title here</title>
</head>
<body>
hello index2
</body>
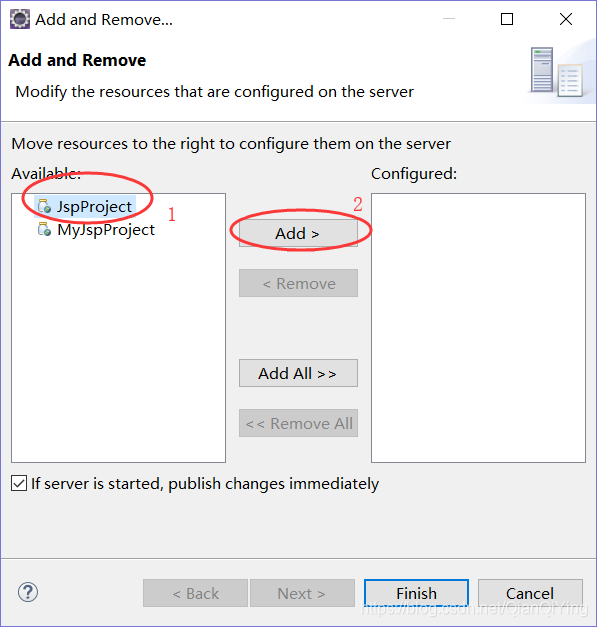
</html>6. 右键,点击Add and Remove

7. 将项目添加进去
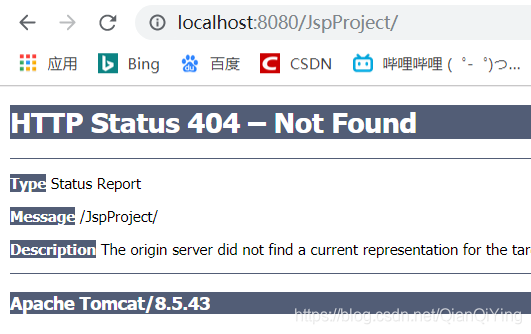
8. 右键,restart,启动tomcat,访问localhost:8080/JspProject 出现404
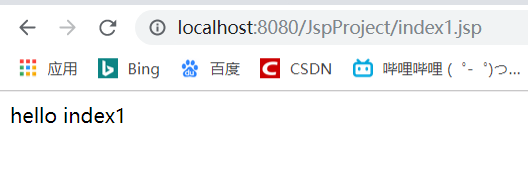
访问localhost:8080/JspProject/index1.jsp出现正确页面
访问localhost:8080/JspProject/index2.jsp 出现404:
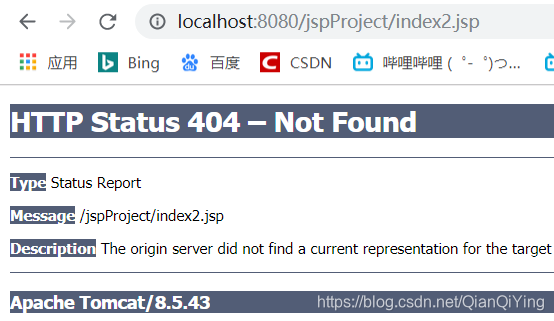
为什么可以直接在localhost:8080后加上"/JspProject/index1.jsp"进行访问呢?原因在于eclipse的WebContent已经帮我们映射了虚拟路径。而之所以Index1.jsp可以访问而index2.jsp不能访问,是因为WEB-INF是一个权限较高的目录,不能够直接访问,只能通过跳转中的请求转发来访问(重定向也无法访问)。
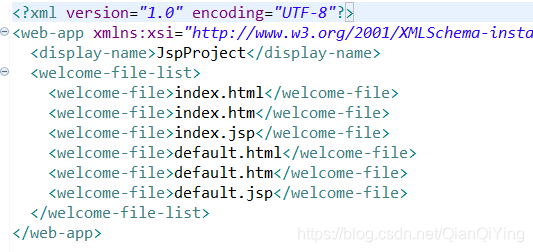
9. 设置web.xml使得tomcat默认访问Index1.jsp。打开web.xml,更改下面index.jsp为index1.jsp
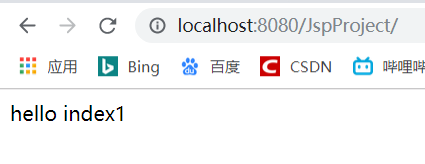
10. restart tomcat,访问localhost:8080/JspProject,可以出现正确的页面。
11. 修改index1.jsp,在<body>中上中文的"你好",保存,弹出提示框:
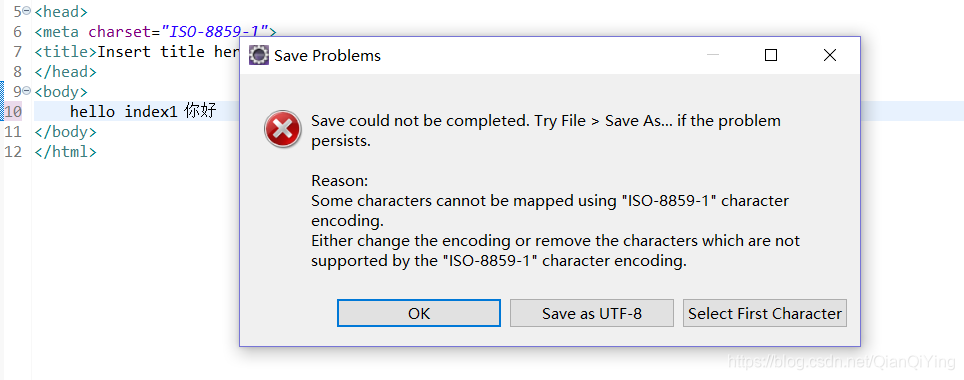
这是编码不支持的原因。将页面上的编码通通改为UTF-8就可以了:

二、关于编码
2.1 编码分类
1. 设置jsp文件的编码 ==> 通过jsp文件中的pageEncoding进行设置
2. 设置浏览器读取jsp文件的编码 ==> 通过jsp文件中的content进行设置
一般来说,二者需统一,推荐使用国际编码:UTF-8
2.2 文本编码
jsp本身作为一个文件,也有编码,也可以对项目中的文件本身设置编码格式
1. 统一设置:将整个eclipse中的文件进行统一设置,设置之后新建的文件将按照设置的编码格式保存。
window -> perference -> jspFile -> Encoding:UTF-8
2. 设置某个项目:右键项目 -> properties
3. 设置单独的文件:右键文件 -> properties
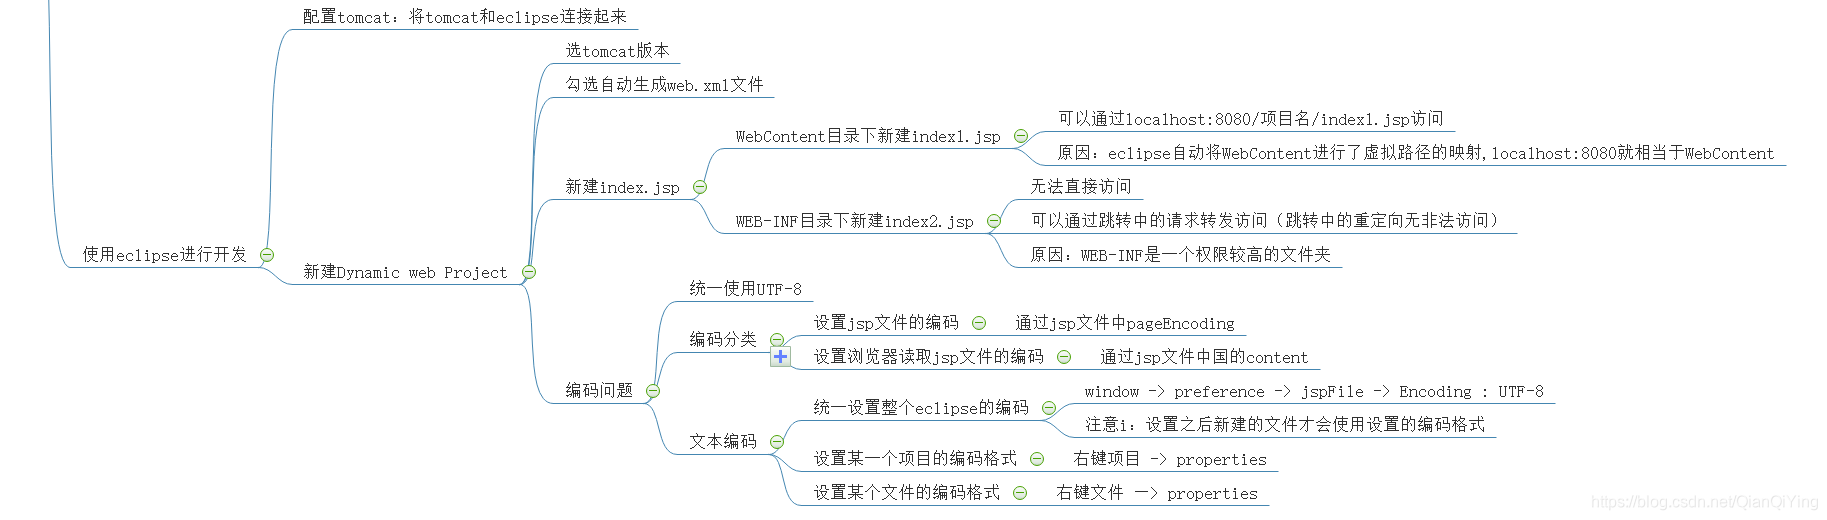
三、思维导图


 672
672

 被折叠的 条评论
为什么被折叠?
被折叠的 条评论
为什么被折叠?
 到【灌水乐园】发言


