


一、配置环境
1. 安装 unsloth
pip install unsloth -i https://pypi.tuna.tsinghua.edu.cn/simple
2. 查看 GPU 信息
import torch
def print_cuda_info():
try:
print("-" * 40)
print("PyTorch CUDA Environment Information:")
print("-" * 40)
if torch.cuda.is_available():
device_count = torch.cuda.device_count()
print(f"Number of CUDA devices: {device_count}")
if device_count > 0:
device_name = torch.cuda.get_device_name(0)
print(f"0th CUDA Device Name: {device_name}")
total_memory = torch.cuda.get_device_properties(0).total_memory
allocated_memory = torch.cuda.memory_allocated(0)
free_memory = total_memory - allocated_memory
print(f"Total Memory: {total_memory / (1024 ** 3):.2f} GB")
print(f"Allocated Memory: {allocated_memory / (1024 ** 3):.2f} GB")
print(f"Free Memory: {free_memory / (1024 ** 3):.2f} GB")
else:
print("No CUDA devices found.")
else:
print("CUDA is not available.")
print("-" * 40)
except Exception as e:
print("-" * 40)
print(f"An error occurred: {e}")
print("-" * 40)
if __name__ == "__main__":
print_cuda_info()
3. 安装 ollama
curl -fsSL https://ollama.com/install.sh | sh
4. 启动 ollama 服务
ollama serve &
5. 下载 Qwen3-4B 镜像
ollama pull qwen3:4B
(下载完成后需结束当前运行进程)
二、构建数据集
1. 加载模型和数据集(验证可用性)
from unsloth import FastLanguageModel
from datasets import load_dataset
import torch
# 配置
max_seq_length = 2048
load_in_4bit = True  # 4bit量化
# 从 Hugging Face Hub 加载模型和分词器
model, tokenizer = FastLanguageModel.from_pretrained(
"Qwen/Qwen3-4B-Instruct-2507",  # 模型名称
max_seq_length=max_seq_length,
load_in_4bit=load_in_4bit,
trust_remote_code=True  # Qwen模型需此参数
)
# 配置 LoRA 适配器
model = FastLanguageModel.get_peft_model(
model,
r=16,
target_modules=["q_proj","k_proj","v_proj","o_proj",
"gate_proj","up_proj","down_proj",],
lora_alpha=16,
lora_dropout=0,
bias="none",
use_gradient_checkpointing="unsloth",
random_state=3407,
use_rslora=False,
loftq_config=None,
)
EOS_TOKEN = tokenizer.eos_token
# 加载数据集(需修改为你的数据集路径)
dataset = load_dataset("json", data_files="/content/noli.json", split="train")
# 查看数据集信息
print("数据集样例:", dataset[0])
print("数据集大小:", len(dataset))
三、模型微调
1. 完整微调代码
# 导入必要的库
from unsloth import FastLanguageModel
from datasets import load_dataset, Dataset
from trl import SFTTrainer
from transformers import TrainingArguments
from unsloth import is_bfloat16_supported
import torch
# --- 1. 模型和分词器加载 ---
print("正在加载模型和分词器...")
model, tokenizer = FastLanguageModel.from_pretrained(
model_name="Qwen/Qwen3-4B-Instruct-2507",
max_seq_length=2048,
load_in_4bit=True,
trust_remote_code=True  # Qwen 模型需要此参数
)
print("模型和分词器加载完成。")
# --- 2. LoRA 配置 ---
print("正在配置LoRA适配器...")
model = FastLanguageModel.get_peft_model(
model,
r=16,
target_modules=["q_proj", "k_proj", "v_proj", "o_proj",
"gate_proj", "up_proj", "down_proj"],
lora_alpha=16,
lora_dropout=0,
bias="none",
use_gradient_checkpointing="unsloth",
random_state=3407,
use_rslora=False,
loftq_config=None,
)
print("LoRA适配器配置完成。")
# --- 3. 数据集加载 ---
print("正在加载数据集...")
raw_dataset = load_dataset("json", data_files="/content/NOLI.json", split="train")  # 修改为你的数据集路径
print(f"原始数据集加载完成。数据集大小: {len(raw_dataset)}")
print("原始数据集样例:", raw_dataset[0])
# --- 4. 预处理数据集:添加 'text' 列 ---
def create_text_column(example):
"""将单个样本格式化为模型训练所需的文本格式。"""
# 安全地获取字段,确保是字符串
instruction = str(example.get("instruction", "")).strip()
input_text = str(example.get("input", "")).strip()
output_text = str(example.get("output", "")).strip()
# 构建用户部分
if input_text:
user_content = f"{instruction}\n{input_text}"
else:
user_content = instruction
# 构建完整的提示(符合Qwen3对话格式)
full_prompt = (
f"<|im_start|>user\n{user_content}<|im_end|>\n"
f"<|im_start|>assistant\n{output_text}<|im_end|>"
)
return {"text": full_prompt}
print("正在预处理数据集,添加 'text' 列...")
# 使用 map 函数为数据集中的每个样本添加 'text' 列
dataset = raw_dataset.map(create_text_column)
print("数据集预处理完成。")
print("处理后数据集样例:", dataset[0])
# --- 5. 配置并创建 SFTTrainer ---
print("正在配置SFTTrainer...")
trainer = SFTTrainer(
model=model,
tokenizer=tokenizer,
train_dataset=dataset,  # 使用预处理后的数据集
dataset_text_field="text",  # 指定使用 'text' 列
max_seq_length=2048,
dataset_num_proc=2,
packing=False,  # 此格式下禁用packing
args=TrainingArguments(
per_device_train_batch_size=2,
gradient_accumulation_steps=4,
warmup_steps=5,
max_steps=100,  # 可根据需求调整训练步数
learning_rate=2e-4,
fp16=not is_bfloat16_supported(),
bf16=is_bfloat16_supported(),
logging_steps=5,
optim="adamw_8bit",
output_dir="./qwen_finetune_output_v2",
overwrite_output_dir=True,
report_to="none",  # 禁用外部日志记录
seed=3407,
),
)
print("SFTTrainer配置完成。")
# --- 6. 开始训练 ---
print("开始训练...")
trainer.train()
print("训练完成。")
# --- 7. 保存 LoRA 权重 ---
print("正在保存LoRA适配器权重...")
model.save_pretrained("./lora_adapters_v2")
tokenizer.save_pretrained("./lora_adapters_v2")  # 同时保存分词器配置
print("LoRA适配器已保存到 './lora_adapters_v2' 目录。")
2. 合并 LoRA 权重(保存为 32 位和 16 位模型)
# 导入必要的库
from unsloth import FastLanguageModel
import torch
from peft import PeftModel  # 用于加载和合并LoRA权重
# --- 1. 加载基础模型(非4bit量化,用于完整权重合并)---
print("正在加载基础模型...")
model, tokenizer = FastLanguageModel.from_pretrained(
model_name="Qwen/Qwen3-4B-Instruct-2507",
max_seq_length=2048,
load_in_4bit=False,  # 加载完整精度模型
trust_remote_code=True
)
print("基础模型加载完成。")
# --- 2. 加载 LoRA 适配器 ---
print("正在加载LoRA适配器...")
model = PeftModel.from_pretrained(
model=model,
model_id="/content/lora_adapters_v2"  # LoRA权重保存路径
)
print("LoRA适配器加载完成。")
# --- 3. 合并 LoRA 权重到基础模型 ---
print("正在合并LoRA权重到基础模型...")
model = model.merge_and_unload()  # 执行权重合并
print("权重合并完成。")
# --- 4. 保存完整模型(32位和16位)---
print("正在保存完整模型...")
# 保存为32位完整模型(高精度,体积较大)
model.save_pretrained("./qwen_merged_full_model")
tokenizer.save_pretrained("./qwen_merged_full_model")
# 保存为16位模型(平衡精度与体积)
model.save_pretrained("./qwen_merged_full_model_16bit", torch_dtype=torch.float16)
tokenizer.save_pretrained("./qwen_merged_full_model_16bit")
print("完整模型保存完成!")
print("32位模型保存路径:./qwen_merged_full_model")
print("16位模型保存路径:./qwen_merged_full_model_16bit")
四、使用微调后的 16 位模型
from transformers import AutoModelForCausalLM, AutoTokenizer, TextStreamer
import torch
from typing import List, Tuple
from threading import Thread
# --- 1. 加载模型和分词器 ---
model_path = "./qwen_merged_full_model_16bit"  # 16位模型路径
print(f"正在加载模型: {model_path}...")
tokenizer = AutoTokenizer.from_pretrained(
model_path,
trust_remote_code=True,
padding_side="left"
)
# 确保pad_token存在(使用eos_token作为pad_token)
if tokenizer.pad_token is None:
tokenizer.pad_token = tokenizer.eos_token
model = AutoModelForCausalLM.from_pretrained(
model_path,
torch_dtype=torch.float16,
device_map="auto",  # 自动分配设备(优先GPU)
trust_remote_code=True
)
model.eval()  # 推理模式
print("模型加载完成,可开始对话。")
# --- 2. 自定义流式输出器(仅打印新生成内容)---
class CurrentResponseStreamer(TextStreamer):
def __init__(self, tokenizer, input_prompt_length: int, skip_prompt: bool = True, **decode_kwargs):
super().__init__(tokenizer, skip_prompt=skip_prompt, **decode_kwargs)
self.input_prompt_length = input_prompt_length
self.first_token = True
def on_finalized_text(self, text: str, stream_end: bool = False):
if self.first_token:
print("Noli: ", end="", flush=True)
self.first_token = False
print(text, end="", flush=True)
if stream_end:
print()  # 结束时换行
# --- 3. 流式生成函数 ---
def generate_response_streaming(conversation_history: List[Tuple[str, str]]):
"""根据对话历史生成流式响应,并返回完整响应文本"""
# 构建完整对话prompt
prompt = ""
for role, content in conversation_history:
if role == "user":
prompt += f"<|im_start|>user\n{content}<|im_end|>\n"
else:
prompt += f"<|im_start|>assistant\n{content}<|im_end|>\n"
prompt += f"<|im_start|>assistant\n"  # 启动助手回复生成
# 计算输入prompt的token长度
input_ids = tokenizer(prompt, return_tensors="pt")["input_ids"]
input_prompt_length = input_ids.shape[1]
# 移动输入到模型设备
inputs = {
"input_ids": input_ids.to(model.device),
"attention_mask": tokenizer(prompt, return_tensors="pt")["attention_mask"].to(model.device),
}
# 初始化流式输出器
streamer = CurrentResponseStreamer(
tokenizer,
input_prompt_length=input_prompt_length,
skip_special_tokens=True
)
# 启动流式生成(独立线程)
generation_kwargs = dict(
**inputs,
max_new_tokens=512,
temperature=0.7,
top_p=0.9,
repetition_penalty=1.1,
eos_token_id=tokenizer.eos_token_id,
pad_token_id=tokenizer.pad_token_id,
do_sample=True,
streamer=streamer
)
thread = Thread(target=model.generate, kwargs=generation_kwargs)
thread.start()
thread.join()  # 等待生成完成
# 生成完整响应文本(用于更新对话历史)
with torch.no_grad():
outputs = model.generate(
**inputs,
max_new_tokens=512,
temperature=0.7,
top_p=0.9,
repetition_penalty=1.1,
eos_token_id=tokenizer.eos_token_id,
pad_token_id=tokenizer.pad_token_id,
do_sample=True
)
# 仅解码新生成的部分
generated_ids = outputs[:, inputs['input_ids'].shape[1]:]
full_response = tokenizer.decode(generated_ids[0], skip_special_tokens=True)
return full_response
# --- 4. 对话主程序 ---
if __name__ == "__main__":
conversation_history: List[Tuple[str, str]] = []
print("你好!我是诺丽,一个AI助手。输入'退出'即可结束对话。")
while True:
try:
user_input = input("\n你: ").strip()
if not user_input:
continue
if user_input.lower() in ["退出", "quit", "exit"]:
print("Noli: 再见!很高兴与你交谈。")
break
# 更新对话历史
conversation_history.append(("user", user_input))
# 流式生成响应
current_response = generate_response_streaming(conversation_history)
# 保存完整响应到历史
conversation_history.append(("assistant", current_response))
except KeyboardInterrupt:
print("\n\nNoli: 看起来你中断了对话。再见!")
break
except Exception as e:
print(f"\nNoli: 抱歉,处理你的请求时出现了错误: {e}")
五、常见问题解决
1. GPU 显存占满、资源无法释放
解决办法:重启 Colab 会话(菜单栏 -> Runtime -> Restart session)
六、扩展:保存 LoRA 权重到谷歌云盘
from google.colab import drive
import os
import shutil
# 1. 挂载 Google 云盘
print("正在挂载 Google 云盘...")
if not os.path.ismount('/content/drive'):
drive.mount('/content/drive')
print("Google 云盘已挂载。")
else:
print("Google 云盘已挂载。")
# 2. 定义路径(可修改目标路径)
source_dir_path = '/content/lora_adapters_v2'  # LoRA权重源路径
destination_folder_path = '/content/drive/MyDrive/lora'  # 云盘目标文件夹
destination_dir_path = os.path.join(destination_folder_path, os.path.basename(source_dir_path))
# 配置:是否覆盖已存在的目标目录
OVERWRITE_EXISTING = True
# 3. 创建目标文件夹(若不存在)
os.makedirs(destination_folder_path, exist_ok=True)
print(f"目标备份文件夹: {destination_folder_path}")
# 4. 检查源目录有效性
if not os.path.exists(source_dir_path) or not os.path.isdir(source_dir_path):
print(f"❌ 错误:源目录不存在或不是目录 - {source_dir_path}")
else:
try:
# 计算源目录大小
source_size_mb = sum(
os.path.getsize(os.path.join(dirpath, filename))
for dirpath, dirnames, filenames in os.walk(source_dir_path)
for filename in filenames
) / (1024 * 1024)
print(f"✅ 找到源目录: {source_dir_path} (估算大小: {source_size_mb:.2f} MB)")
# 处理目标目录已存在的情况
if os.path.exists(destination_dir_path):
dest_size_mb = sum(
os.path.getsize(os.path.join(dirpath, filename))
for dirpath, dirnames, filenames in os.walk(destination_dir_path)
for filename in filenames
) / (1024 * 1024)
print(f"⚠️  警告:目标目录已存在 - {destination_dir_path} (估算大小: {dest_size_mb:.2f} MB)")
if OVERWRITE_EXISTING:
print("正在删除旧目录以覆盖...")
shutil.rmtree(destination_dir_path)
print("旧目录已删除。")
else:
print("OVERWRITE_EXISTING=False,跳过复制。")
print("如需覆盖,请将 OVERWRITE_EXISTING 设为 True。")
# 复制目录到云盘
if OVERWRITE_EXISTING or not os.path.exists(destination_dir_path):
print(f"正在复制目录到云盘...")
print(f"  源: {source_dir_path}")
print(f"  目标: {destination_dir_path}")
shutil.copytree(source_dir_path, destination_dir_path)
print(f"✅ 目录已备份到云盘: {destination_dir_path}")
else:
print("操作已取消或跳过。")
except Exception as e:
print(f"❌ 复制错误: {e}")
如何学习大模型 AI ?
我国在AI大模型领域面临人才短缺,数量与质量均落后于发达国家。2023年,人才缺口已超百万,凸显培养不足。随着Al技术飞速发展,预计到2025年,这一缺口将急剧扩大至400万,严重制约我国Al产业的创新步伐。加强人才培养,优化教育体系,国际合作并进,是破解困局、推动AI发展的关键。
但是具体到个人,只能说是:
“最先掌握AI的人,将会比较晚掌握AI的人有竞争优势”。
这句话,放在计算机、互联网、移动互联网的开局时期,都是一样的道理。
我在一线互联网企业工作十余年里,指导过不少同行后辈。帮助很多人得到了学习和成长。
我意识到有很多经验和知识值得分享给大家,也可以通过我们的能力和经验解答大家在人工智能学习中的很多困惑,所以在工作繁忙的情况下还是坚持各种整理和分享。但苦于知识传播途径有限,很多互联网行业朋友无法获得正确的资料得到学习提升,故此将重要的AI大模型资料包括AI大模型入门学习思维导图、精品AI大模型学习书籍手册、视频教程、实战学习等录播视频免费分享出来。

2025最新大模型学习路线
明确的学习路线至关重要。它能指引新人起点、规划学习顺序、明确核心知识点。大模型领域涉及的知识点非常广泛,没有明确的学习路线可能会导致新人感到迷茫,不知道应该专注于哪些内容。
对于从来没有接触过AI大模型的同学,我帮大家准备了从零基础到精通学习成长路线图以及学习规划。可以说是最科学最系统的学习路线。

针对以上大模型的学习路线我们也整理了对应的学习视频教程,和配套的学习资料。
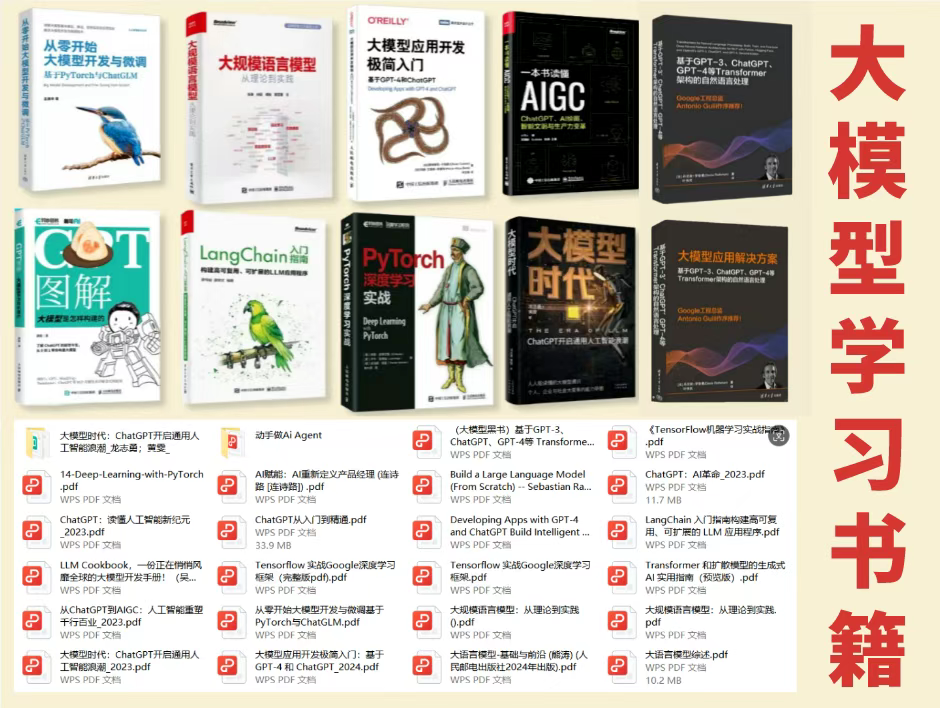
大模型经典PDF书籍
新手必备的大模型学习PDF书单来了!全是硬核知识,帮你少走弯路!
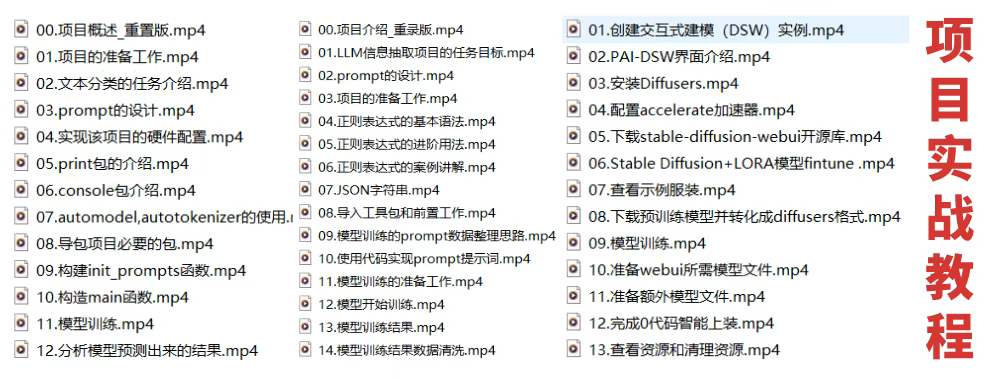
配套大模型项目实战
所有视频教程所涉及的实战项目和项目源码等
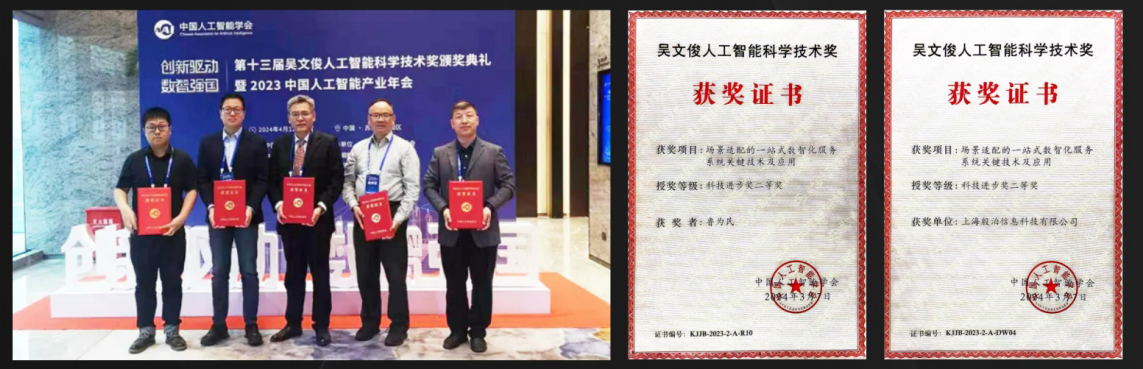
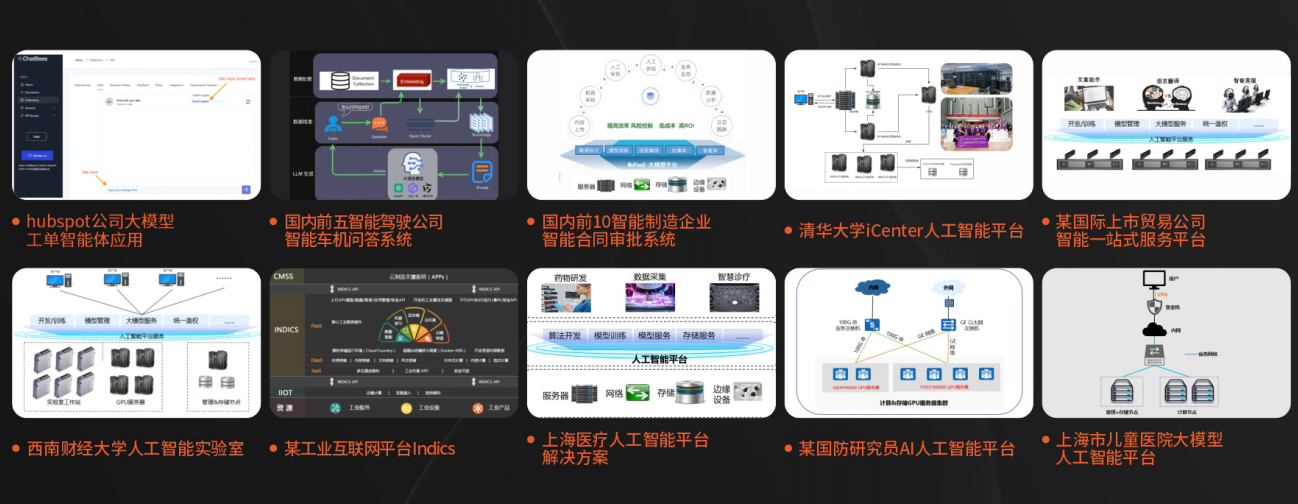
博主介绍+AI项目案例集锦
MoPaaS专注于Al技术能力建设与应用场景开发,与智学优课联合孵化,培养适合未来发展需求的技术性人才和应用型领袖。
这份完整版的大模型 AI 学习资料已经上传优快云,朋友们如果需要可以微信扫描下方优快云官方认证二维码免费领取【保证100%免费】

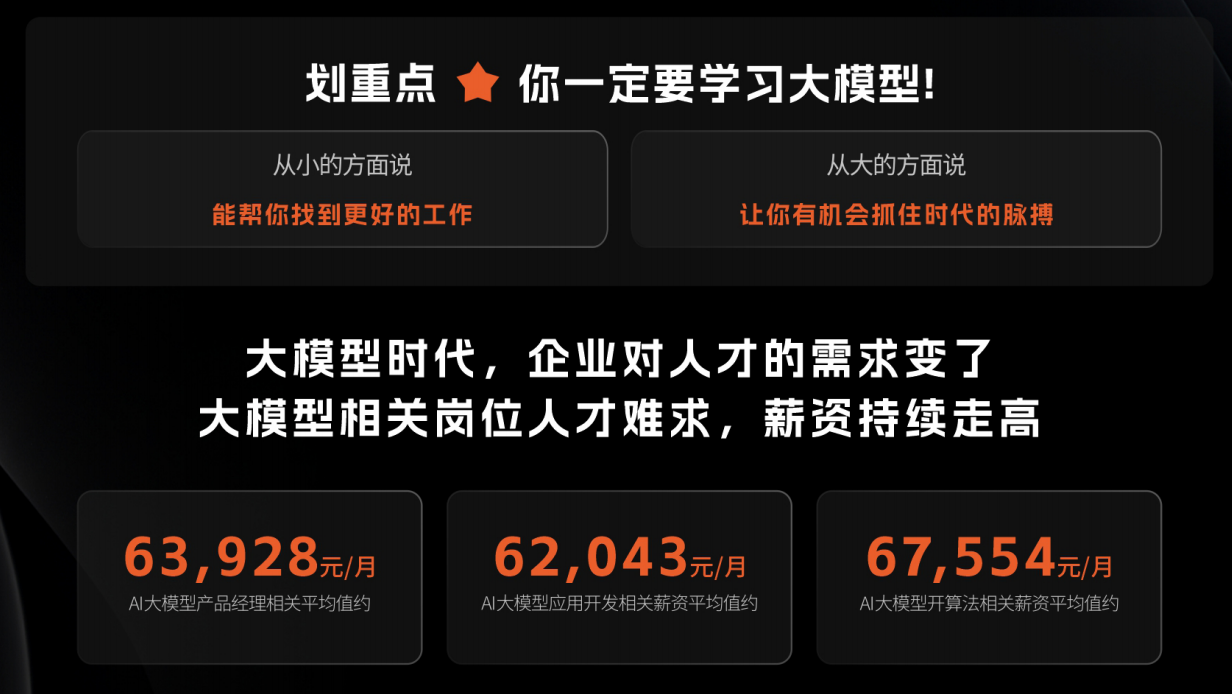
为什么要学习大模型?
2025人工智能大模型的技术岗位与能力培养随着人工智能技术的迅速发展和应用 , 大模型作为其中的重要组成部分 , 正逐渐成为推动人工智能发展的重要引擎 。大模型以其强大的数据处理和模式识别能力, 广泛应用于自然语言处理 、计算机视觉 、 智能推荐等领域 ,为各行各业带来了革命性的改变和机遇 。
适合人群
- 在校学生:包括专科、本科、硕士和博士研究生。学生应具备扎实的编程基础和一定的数学基础,有志于深入AGI大模型行业,希望开展相关的研究和开发工作。
- IT行业从业人员:包括在职或失业者,涵盖开发、测试、运维、产品经理等职务。拥有一定的IT从业经验,至少1年以上的编程工作经验,对大模型技术感兴趣或有业务需求,希望通过课程提升自身在IT领域的竞争力。
- IT管理及技术研究领域人员:包括技术经理、技术负责人、CTO、架构师、研究员等角色。这些人员需要跟随技术发展趋势,主导技术创新,推动大模型技术在企业业务中的应用与改造。
- 传统AI从业人员:包括算法工程师、机器视觉工程师、深度学习工程师等。这些AI技术人才原先从事机器视觉、自然语言处理、推荐系统等领域工作,现需要快速补充大模型技术能力,获得大模型训练微调的实操技能,以适应新的技术发展趋势。

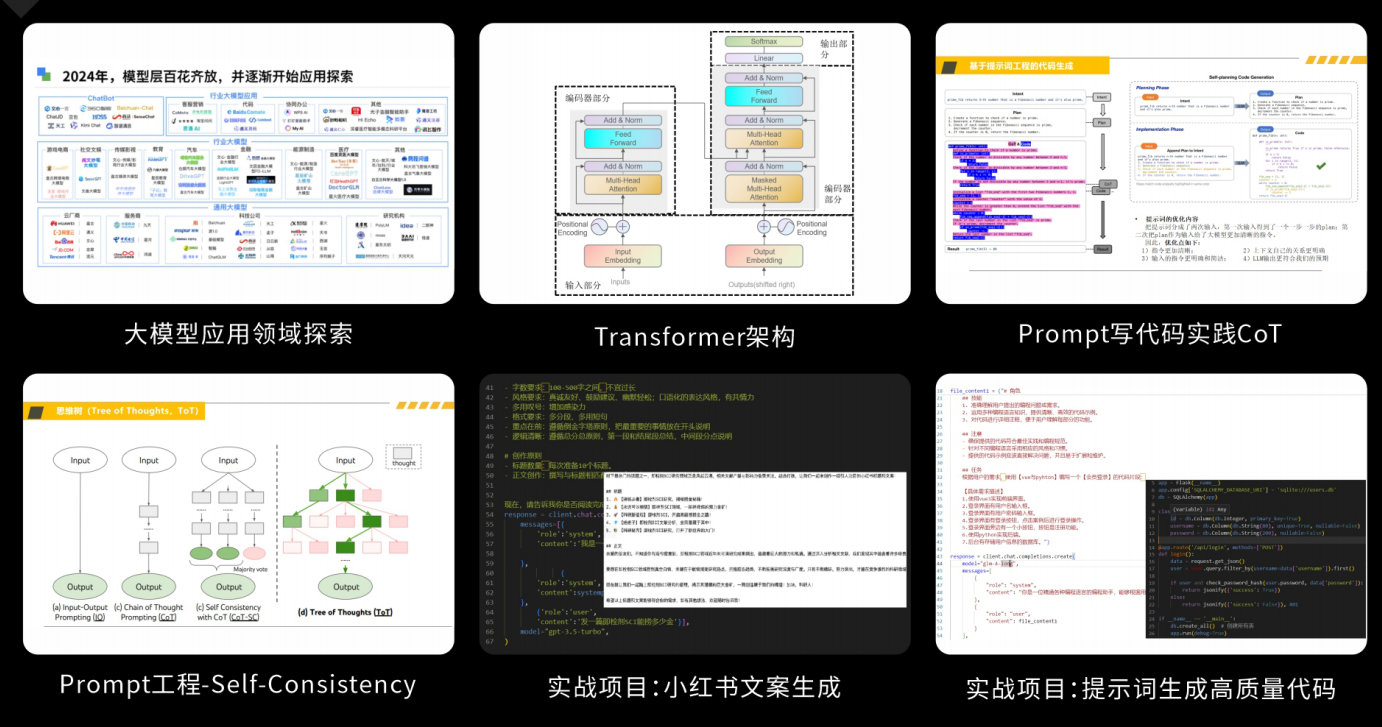
课程精彩瞬间
大模型核心原理与Prompt:掌握大语言模型的核心知识,了解行业应用与趋势;熟练Python编程,提升提示工程技能,为Al应用开发打下坚实基础。
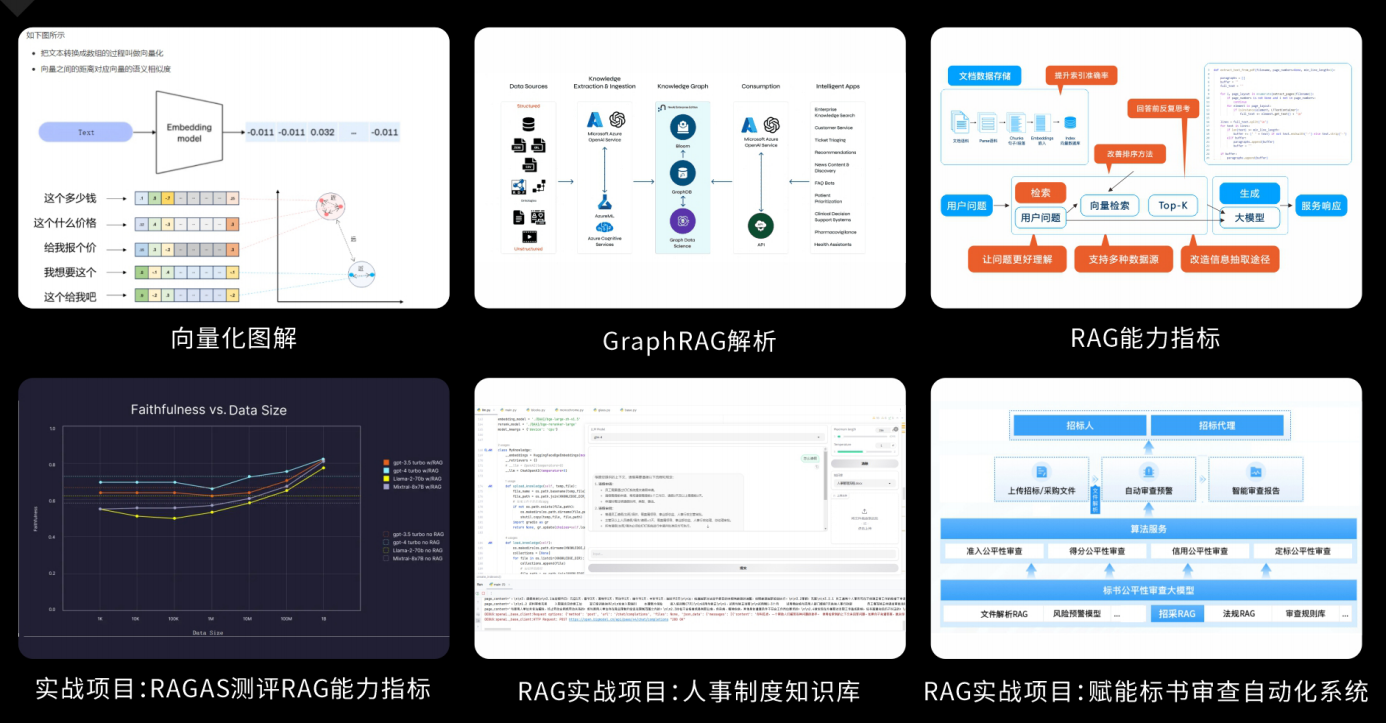
RAG应用开发工程:掌握RAG应用开发全流程,理解前沿技术,提升商业化分析与优化能力,通过实战项目加深理解与应用。
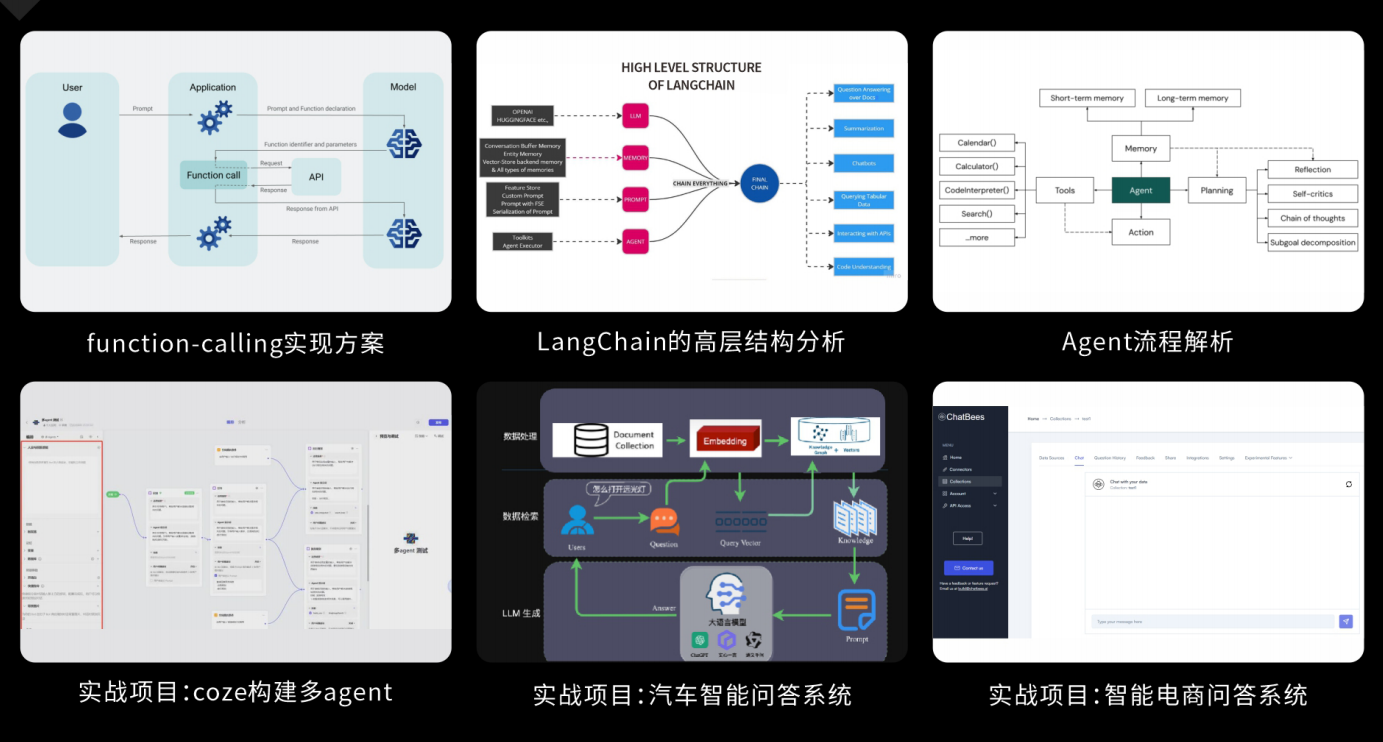
Agent应用架构进阶实践:掌握大模型Agent技术的核心原理与实践应用,能够独立完成Agent系统的设计与开发,提升多智能体协同与复杂任务处理的能力,为AI产品的创新与优化提供有力支持。
模型微调与私有化大模型:掌握大模型微调与私有化部署技能,提升模型优化与部署能力,为大模型项目落地打下坚实基础。
顶尖师资,深耕AI大模型前沿技术
实战专家亲授,让你少走弯路
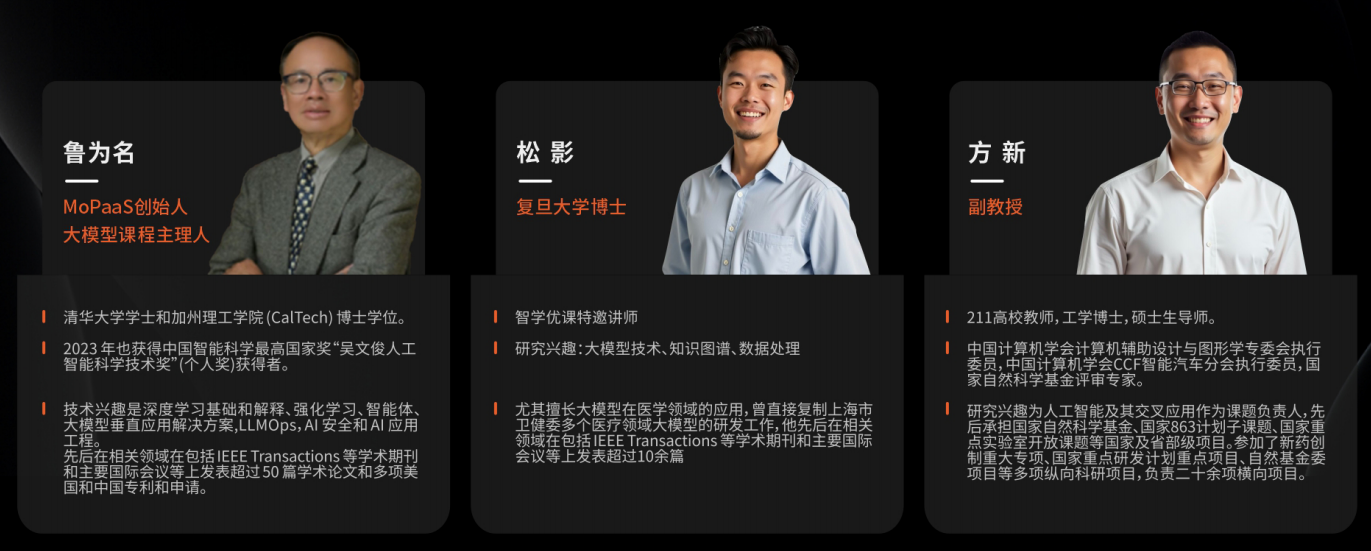
一对一学习规划,职业生涯指导
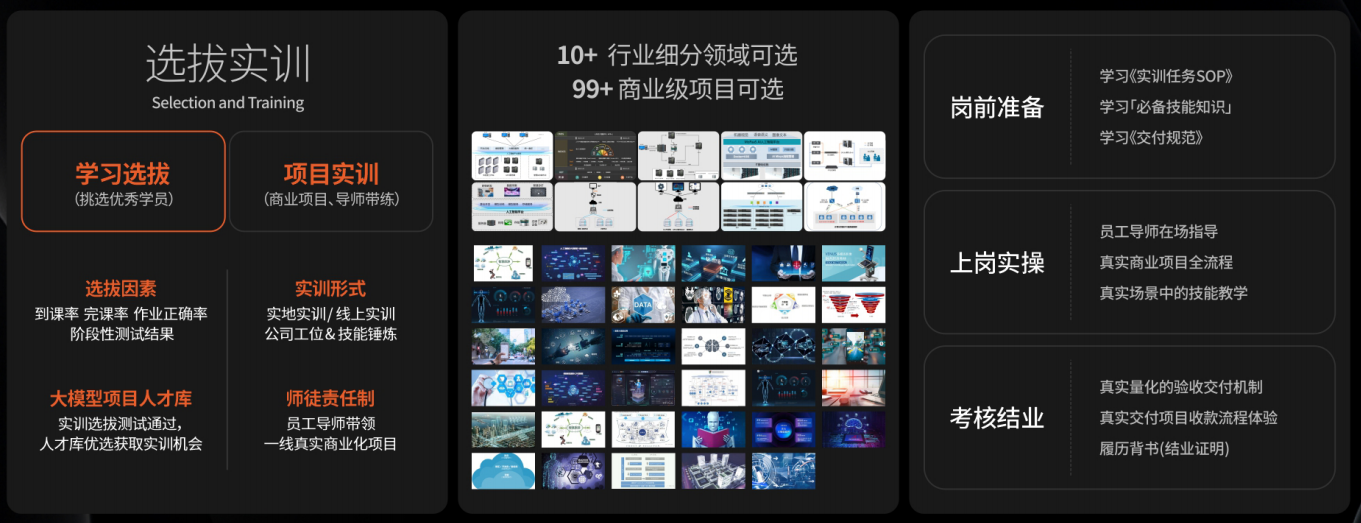
- 真实商业项目实训
- 大厂绿色直通车
人才库优秀学员参与真实商业项目实训
以商业交付标准作为学习标准,具备真实大模型项目实践操作经验可写入简历,支持项目背调
大厂绿色直通车,冲击行业高薪岗位
文中涉及到的完整版的大模型 AI 学习资料已经上传优快云,朋友们如果需要可以微信扫描下方优快云官方认证二维码免费领取【保证100%免费】


 960
960

 被折叠的 条评论
为什么被折叠?
被折叠的 条评论
为什么被折叠?
 到【灌水乐园】发言


