


 本文详细介绍了如何安装GitLab社区版,包括使用清华大学镜像站加速,以及配置和启动GitLab服务。此外,还涵盖了GitLab的常用命令,如关闭、重启服务以及检查各个服务的日志。最后,讨论了GitLab的备份与恢复流程,包括备份存储位置和恢复步骤。
gitlab社区版安装
安装gitlab至少需要4G内存,否则安装过程中会出现各种问题, 而且在使用过程中也经常会出现500错误;官网:https://about.gitlab.com/,可以根据官网的步骤安装,但速度很慢;也可以使用清华大学镜像站的yum源安装
创建repo文件:
[root@linux ~]# vim /etc/yum.repos.d/gitlab.repo
文件内容:
[gitlab-ce]
name=Gitlab CE Repository
baseurl=https://mirrors.tuna.tsinghua.edu.cn/gitlab-ce/yum/el$releasever/
gpgcheck=0
enabled=1
安装gitlab:
[root@linux ~]# yum -y install gitlab-ce
载入配置服务:
[root@linux ~]# gitlab-ctl reconfigure
#此步骤会自动配置、启动gitlab以及相关所需服务(nginx等),耗时较长
执行完后查看监听端口:
[root@linux ~]# netstat -lntp
Active Internet connections (only servers)
Proto Recv-Q Send-Q Local Address           Foreign Address         State       PID/Program name
tcp        0      0 127.0.0.1:9093          0.0.0.0:*               LISTEN      3297/alertmanager
tcp        0      0 127.0.0.1:9100          0.0.0.0:*               LISTEN      3221/node_exporter
tcp        0      0 127.0.0.1:9229          0.0.0.0:*               LISTEN      3213/gitlab-workhor
tcp        0      0 127.0.0.1:9168          0.0.0.0:*               LISTEN      3246/puma 4.3.1.git
tcp        0      0 127.0.0.1:8080          0.0.0.0:*               LISTEN      2204/unicorn master
tcp        0      0 0.0.0.0:80              0.0.0.0:*               LISTEN      2298/nginx: master
tcp        0      0 127.0.0.1:8082          0.0.0.0:*               LISTEN      2233/sidekiq 5.2.7
tcp        0      0 127.0.0.1:9236          0.0.0.0:*               LISTEN      3228/gitaly
tcp        0      0 0.0.0.0:22              0.0.0.0:*               LISTEN      3454/sshd
tcp        0      0 127.0.0.1:3000          0.0.0.0:*               LISTEN      3314/grafana-server
tcp        0      0 0.0.0.0:8060            0.0.0.0:*               LISTEN      2298/nginx: master
tcp        0      0 127.0.0.1:9121          0.0.0.0:*               LISTEN      3256/redis_exporter
tcp        0      0 127.0.0.1:9090          0.0.0.0:*               LISTEN      3268/prometheus
tcp        0      0 127.0.0.1:9187          0.0.0.0:*               LISTEN      3307/postgres_expor
tcp6       0      0 :::9094                 :::*                    LISTEN      3297/alertmanager
tcp6       0      0 ::1:9168                :::*                    LISTEN      3246/puma 4.3.1.git
#以上全部是gitlab所需服务及端口,通过ps aux|grep gitlab也可以看到很多gitlab需要的服务
在浏览器输入IP即可访问gitlab设置密码:
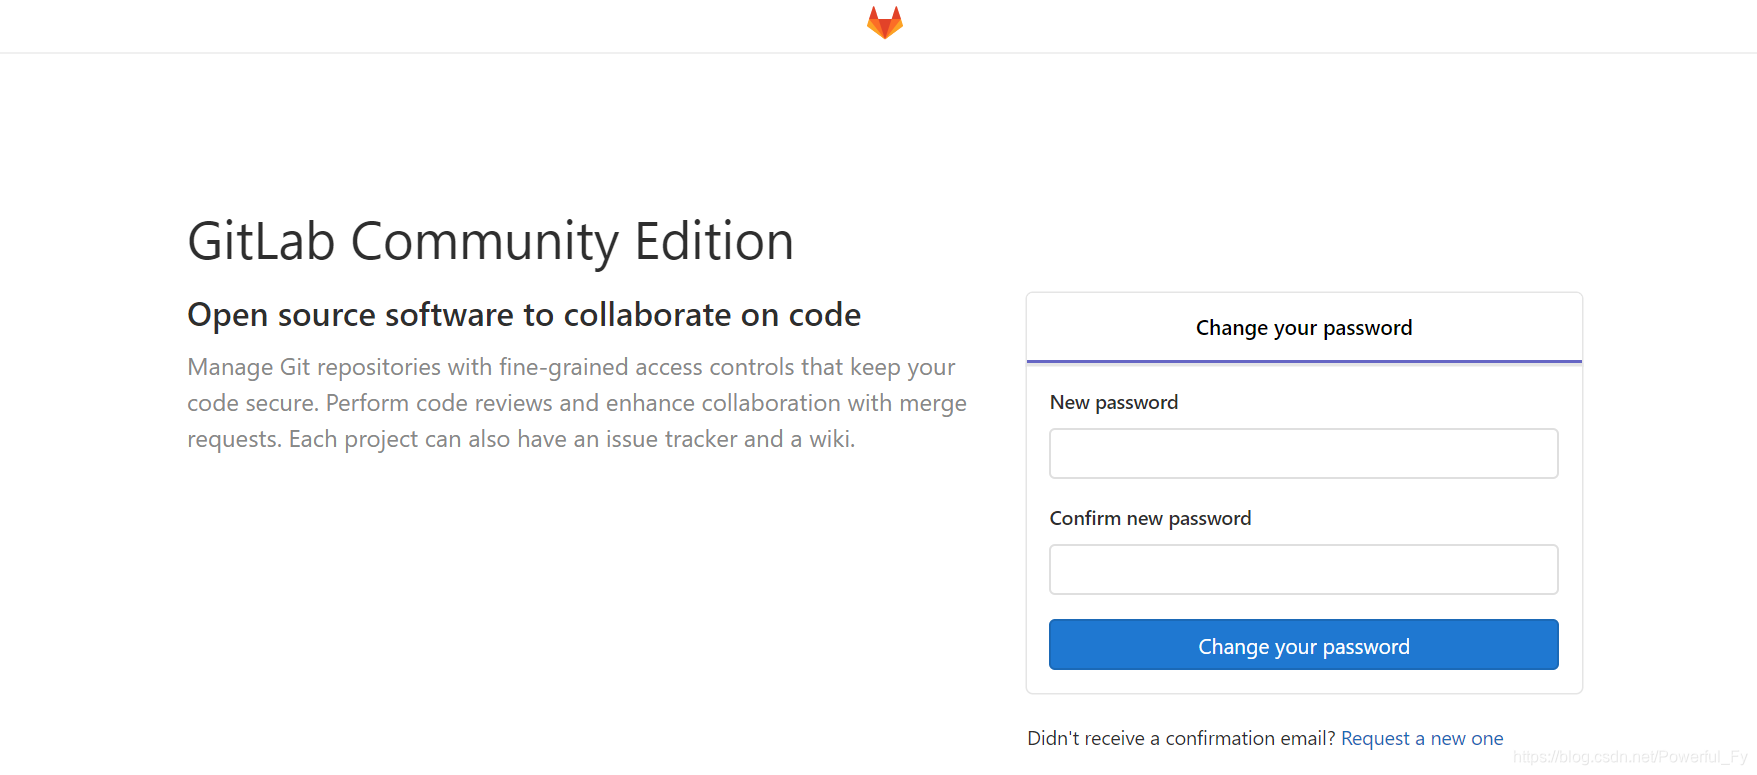
设置完密码后即可通过管理员账号root登录:
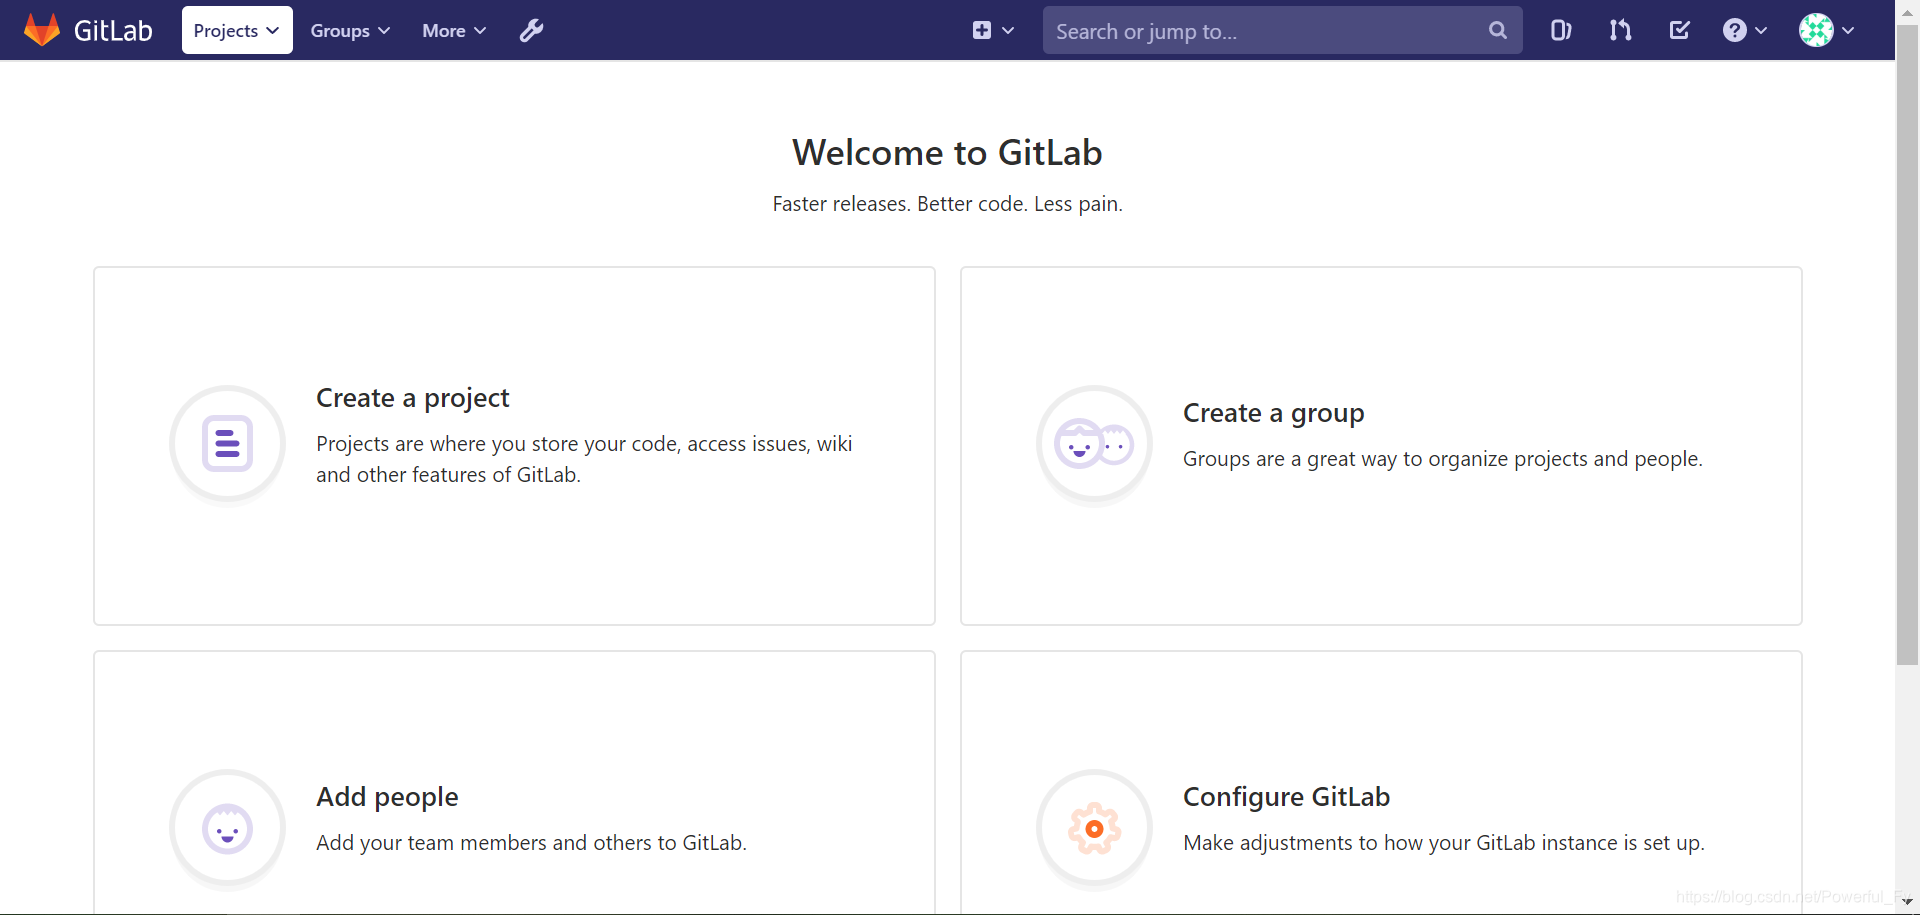
#可以创建组以及组中的项目,使用方法几乎与GitHub相似
gitlab常用命名
gitlab关闭、重启、启动、查看状态:gitlab-ctl stop/restart/start/status
载入配置服务:gitlab-ctl reconfigure
#初始化和修改/etc/gitlab/gitlab.rb 后需要重新载入
检查redis日志:gitlab-ctl tail redis
检查postgresql日志:gitlab-ctl tail postgresql
检查gitlab-workhorse的日志:gitlab-ctl tail gitlab-workhorse
检查logrotate的日志:gitlab-ctl tail logrotate
检查nginx的日志:gitlab-ctl tail nginx
检查unicorn的日志:gitlab-ctl tail unicorn
检查sidekiq的日志:gitlab-ctl tail sidekiq
gitlab备份和恢复
备份:
[root@linux ~]# gitlab-rake gitlab:backup:create
备份文件存放目录:
[root@linux ~]# ls /var/opt/gitlab/backups/
1577272892_2019_12_25_12.6.0-ee_gitlab_backup.tar
恢复之前需要先停掉2个服务:
[root@linux ~]# gitlab-ctl stop unicorn ; gitlab-ctl stop sidekiq
#避免有数据持续写入
恢复:
[root@linux ~]# gitlab-rake gitlab:backup:restore BACKUP=1577272892_2019_12_25_12.6.0-ee
#指定备份文件的前缀
恢复后再次启动这两个服务:
[root@linux ~]# gitlab-ctl start unicorn
ok: run: unicorn: (pid 9630) 70s
[root@linux ~]# gitlab-ctl start sidekiq
ok: run: sidekiq: (pid 9620) 84s
补充:如果gitlab服务器有防火墙限制,只需开启80和22端口即可,用于登录gitlab或拉取、推送文件到仓库


 2531
2531


 到【灌水乐园】发言


