


 本文详细介绍了Android中的Intent使用,包括组件名称、动作(Action)、数据(Data)、种类(Category)和额外(Extras)等核心概念。Intent是Android组件间通信的重要桥梁,用于启动Activity、发送广播等。通过设置不同的Action、Data和Category,可以精确控制Intent的目标组件。同时,Extras用于传递额外信息。此外,还讲解了Intent的显式和隐式调用及其过滤器的配置。
Intent(一简介)
一个安卓程序由多个组件组成,各个组件之间可以使用Intent进行交流。Intent对象包含了组件名称、动作、数据、种类、额外、标记等内容。
组件名称:
组件名称的类是指:ComponentName
作用:可以跳转到不同的Activity
设置方法:Intent可以使用setComponent()、setClass()、setClassName()设置需要跳转到的Activity
最常用的跳转代码:
 Intent intent1 = new Intent(MainActivity.this,Main2Activity.class);
 startActivity(intent1);
另一种写法(1):
 ComponentName componentName = new ComponentName(MainActivity.this,Main2Activity.class);
 Intent intent = new Intent();
 //setComponent()
 intent.setComponent(componentName);
 startActivity(intent);
另一种写法(2):
  Intent intent = new Intent();
  //setClass()
  intent.setClass(MainActivity.this,Main2Activity.class);
  startActivity(intent);
另一种写法(3):
Intent intent = new Intent();
//setClassName()
intent.setClassName(MainActivity.this,"com.example.newland.f20190814.Main2Activity");
startActivity(intent);
另一种写法(4):
Intent intent = new Intent();
//参数基本都可以写成包名,完全限定类名
intent.setClassName("com.example.newland.f20190814","com.example.newland.f20190814.Main2Activity");
startActivity(intent);
以上写法效果都相同,最常用的还是用Intent跳转。
动作(Action):
Action,是一个字符串,用来表示将要执行的动作。在Intent中定义了一系列动作的常量,他们包括标准的Activity与标准广播。
标准Action:
一下列举最常用的两个,更多的还要参考Android 的官方API。
其用来 启动Activity 的标准动作
| 常量 | 描述 |
|---|---|
| ACTION_MAIN | 作为初始的Activity启动,没有数据的输入/输出 |
| ACTION_EDIT | 将数据显示给用户编辑 |
使用他们经常调用Intent的startActivity()方法跳转。
可以使用Intent的setAction()来设置动作,或者直接在Inteng的默认构造中写入参数来设置Action,参数都为String类型。
参数格式要发生转换
例如:ACTION_MAIN要写写成android.intent.action.MAIN。
标准广播:
其用于 接收广播 的标准动作
一下列举两个例子,更多的还要参考Android 的官方API。
| 常量 | 描述 |
|---|---|
| ACTION_SHUTDOWN | 通知设备已经关闭 |
| ACTION_PACKAGE_ADDED | 通知新应用的程序包已经安装到设备上 |
应用时同样要发生参数格式的转换
ACTION_SHUTDOWN要写成android.intent.action.SHUTDOWN
除此之外,用户也可以自定义动作字符来启动应用组件,自定义的字符要包含你的包名。Action很大程度上决定了Intent的其他部分,特别是数据(Data)、额外(Extras)。
数据(Data)
Data表示操作数据的URI和MIME(媒体类型)的类型。不同的动作与不同类型的数据相匹配
Intent显示设置数据类型的方法:
setData();指定数据类型为URI
setType();指定数据类型为MIME
setDataAndType();指定数据类型即为URI又为MIME
getData();读取数据类型URI
getType();读取数据类型
种类(Category)
Category是一个字符串,其包含类Intent的组件类型的附加信息。可以增加任意个Category进行描述。
| 常量 | 描述 |
|---|---|
| CATEGORY_HOME | 如果是Home Activuty ,则进行设置 |
| CATEGORY_TEST | 如果用于测试,则进行设置 |
更多种类请参考官方API,以上仅为两个例子
使用时同样需要进行参数格式的转换,与之前的不同:
例如CATEGORY_HOME要写成android.intent.category.HOME
使用addCategory()可以增加种类
使用removeCategory()可以移除上次增加的种类
使用getCategory()可以查看当前Intent中所有的中种类
额外(Extras)
其是一组键值,包含了传递的信息,用于Activity之间的信息传递等,用法请看之前的文章:
Android四大组件Activity
标记(Flags)
标记用来表示不同来源的Flags。多数用于指示Android 系统如何启动Activity,以及启动之后如果操作等,所有标记都在Intent中,所有的标记都是整数
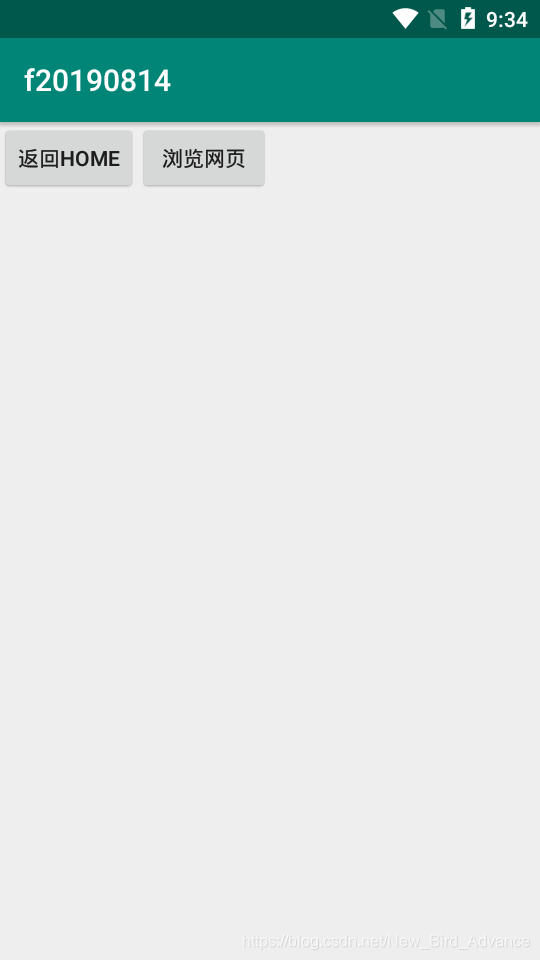
一个案例:一个按钮返回Home界面,一个按钮打开百度的页面(别忘了打开网络的权限):
主布局文件:
<?xml version="1.0" encoding="utf-8"?>
<LinearLayout
    xmlns:android="http://schemas.android.com/apk/res/android"
    xmlns:tools="http://schemas.android.com/tools"
    android:layout_width="match_parent"
    android:layout_height="match_parent"
    tools:context=".MainActivity">

   <Button
       android:id="@+id/btn1"
       android:layout_width="wrap_content"
       android:layout_height="wrap_content"
       android:text="返回Home"
       />
   <Button
       android:id="@+id/btn2"
       android:layout_width="wrap_content"
       android:layout_height="wrap_content"
       android:text="浏览网页"
       />

</LinearLayout>
主活动文件:
package com.example.newland.f20190814;

import android.content.ComponentName;
import android.content.Intent;
import android.drm.DrmStore;
import android.net.Uri;
import android.support.v4.view.KeyEventDispatcher;
import android.support.v7.app.AppCompatActivity;
import android.os.Bundle;
import android.view.View;
import android.widget.Button;

public class MainActivity extends AppCompatActivity {

    @Override
    protected void onCreate(Bundle savedInstanceState) {
        super.onCreate(savedInstanceState);
        setContentView(R.layout.activity_main);

        Button button1 = findViewById(R.id.btn1);
        button1.setOnClickListener(new View.OnClickListener() {
            @Override
            public void onClick(View view) {
                Intent intent = new Intent();
                intent.setAction("android.intent.action.MAIN");
                intent.addCategory("android.intent.category.HOME");
                startActivity(intent);
            }
        });

        Button button2 = findViewById(R.id.btn2);
        button2.setOnClickListener(new View.OnClickListener() {
            @Override
            public void onClick(View view) {
                Intent intent = new Intent();
                intent.setAction("android.intent.action.VIEW");
                intent.setData(Uri.parse("http://www.baidu.com"));
                startActivity(intent);
            }
        });
    }
}
Intent(二使用)
intent分为显示与隐示
显示:
通过指定组件名称来指定目标组件
隐示:
不指定具体的组件名称,用于激活其他应用程序中的组件
以上可以通过intent过滤器来区分,没有任何过滤器的仅能用显示实现,有过滤器的既能用显示,又可以用隐示。
Intent过滤器中仅与三方面有关,分别是Action、Category、Data,而Extras与Flags决定组件的接收,在这里无作用。
仅当过滤器中的三方面与java中设置的Intent完全吻合是才能跳转到指定的页面,
否则会面临页面的选择或者,失败等情况
四大组件中Activity、Service、Broadcast Receiver能够定义多个Intent过滤器来通知系统他们可以通过哪些隐示的Intent。
过滤器是IntentFilter类的实例,其通常不在Java代码里实现,而是在配置文件中使用<intent-filter>标签实现。因为程序在启动时,系统必须了解每个组件的能力。
这里特别提示:
如果过滤器中包含Category 则必须添加一个默认的种类:
<category android:name="android.intent.category.DEFAULT"/>
如果过滤器中包含Data,则必须注意数据的填写格式:
scheme://host:port/path
等价于,(AndroidManifest.xml中直接写,在Java文件中才加入“ : // : / ”这些符号)
content://com.example.project:200/folder
上下一一对应
例子:
AndroidManifest.xml
<?xml version="1.0" encoding="utf-8"?>
<manifest xmlns:android="http://schemas.android.com/apk/res/android"
    package="com.example.newland.f20190814">
    <uses-permission android:name="android.permission.INTERNET"></uses-permission>
    <application
        android:allowBackup="true"
        android:icon="@mipmap/ic_launcher"
        android:label="@string/app_name"
        android:roundIcon="@mipmap/ic_launcher_round"
        android:supportsRtl="true"
        android:theme="@style/AppTheme">
        <activity android:name=".MainActivity">
            <intent-filter>
                <action android:name="android.intent.action.MAIN" />

                <category android:name="android.intent.category.LAUNCHER" />
            </intent-filter>
        </activity>
        <activity android:name=".Main2Activity">
            <intent-filter>
                <action android:name="QQ"/>
                <category android:name="android.intent.category.DEFAULT"/>
                <category android:name="MM"/>
                <data android:scheme="http" android:host="www.baidu.com" android:port="200"/>
            </intent-filter>
        </activity>
    </application>

</manifest>
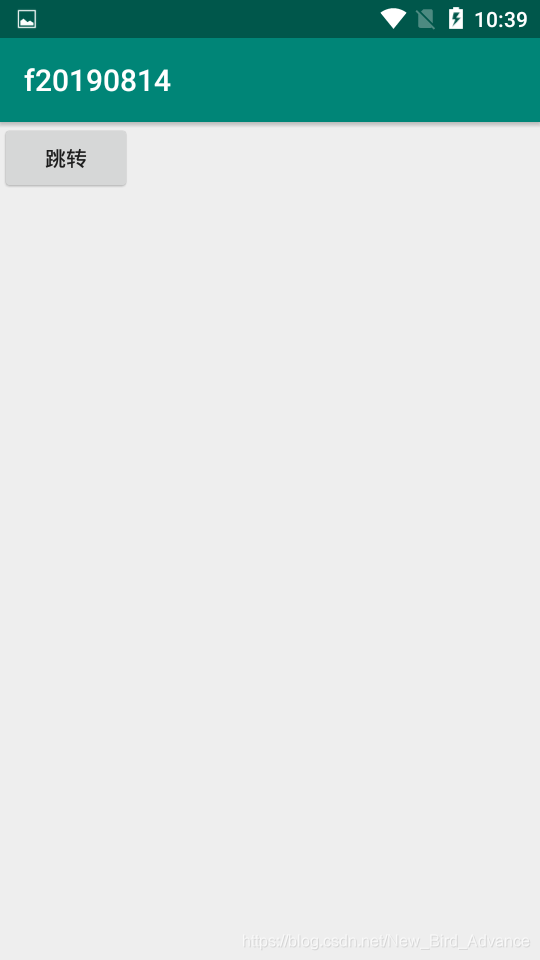
主布局
<?xml version="1.0" encoding="utf-8"?>
<LinearLayout
    xmlns:android="http://schemas.android.com/apk/res/android"
    xmlns:tools="http://schemas.android.com/tools"
    android:layout_width="match_parent"
    android:layout_height="match_parent"
    tools:context=".MainActivity">

   <Button
       android:id="@+id/btn1"
       android:layout_width="wrap_content"
       android:layout_height="wrap_content"
       android:text="跳转"
       />


</LinearLayout>
主活动
package com.example.newland.f20190814;

import android.content.ComponentName;
import android.content.Intent;
import android.drm.DrmStore;
import android.net.Uri;
import android.support.v4.view.KeyEventDispatcher;
import android.support.v7.app.AppCompatActivity;
import android.os.Bundle;
import android.view.View;
import android.widget.Button;

public class MainActivity extends AppCompatActivity {

    @Override
    protected void onCreate(Bundle savedInstanceState) {
        super.onCreate(savedInstanceState);
        setContentView(R.layout.activity_main);

        Button button1 = findViewById(R.id.btn1);
        button1.setOnClickListener(new View.OnClickListener() {
            @Override
            public void onClick(View view) {
                Intent intent = new Intent();
                intent.setAction("QQ");
                intent.addCategory("MM");
                intent.setData(Uri.parse("http://www.baidu.com:200"));
                startActivity(intent);
            }
        });
    }
}
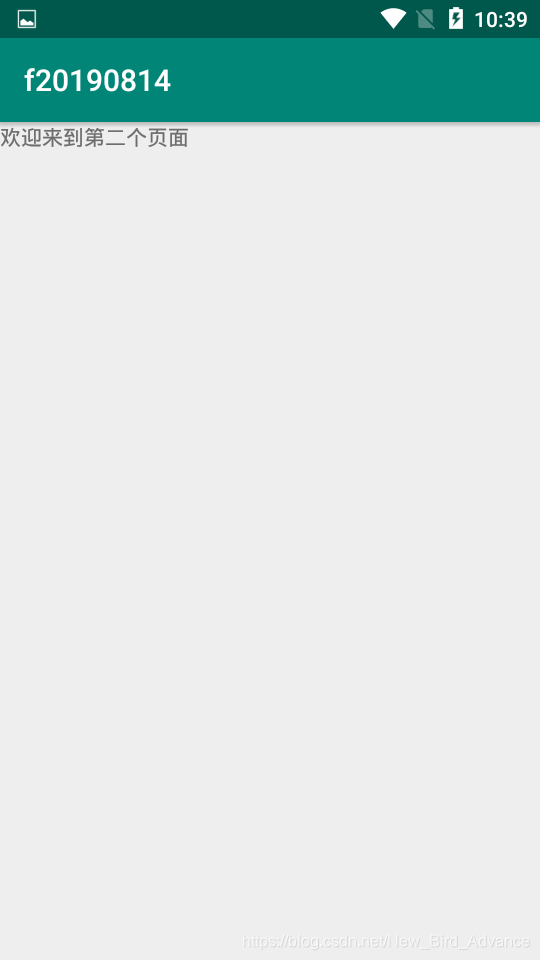
待跳转的布局:
<?xml version="1.0" encoding="utf-8"?>
<LinearLayout
    xmlns:android="http://schemas.android.com/apk/res/android"
    xmlns:tools="http://schemas.android.com/tools"
    android:layout_width="match_parent"
    android:layout_height="match_parent"
    tools:context=".Main2Activity">
    <TextView
        android:text="欢迎来到第二个页面"
        android:layout_width="wrap_content"
        android:layout_height="wrap_content" />
</LinearLayout>
待跳转的活动:
package com.example.newland.f20190814;

import android.support.v7.app.AppCompatActivity;
import android.os.Bundle;

public class Main2Activity extends AppCompatActivity {

    @Override
    protected void onCreate(Bundle savedInstanceState) {
        super.onCreate(savedInstanceState);
        setContentView(R.layout.activity_main2);
    }
}


 785
785

 被折叠的 条评论
为什么被折叠?
被折叠的 条评论
为什么被折叠?
 到【灌水乐园】发言


