


目录
1、解除pom.xml当中springSecurity依赖注释
一、准备工作
1、新建springBoot项目
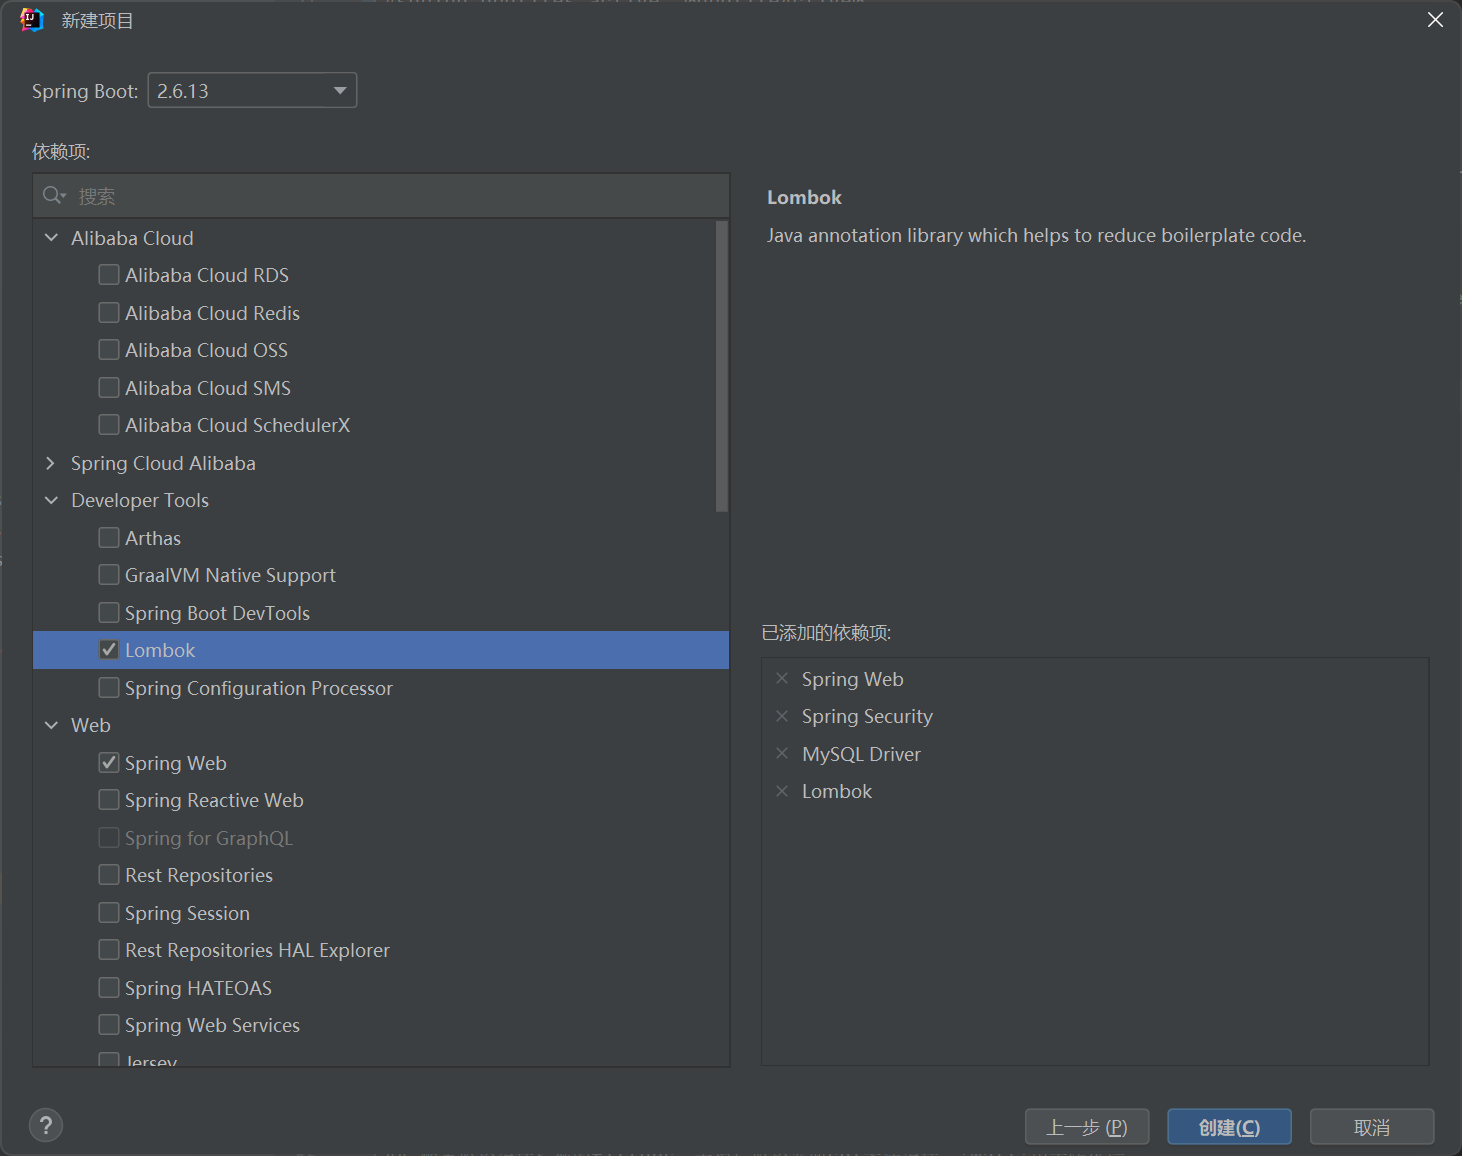
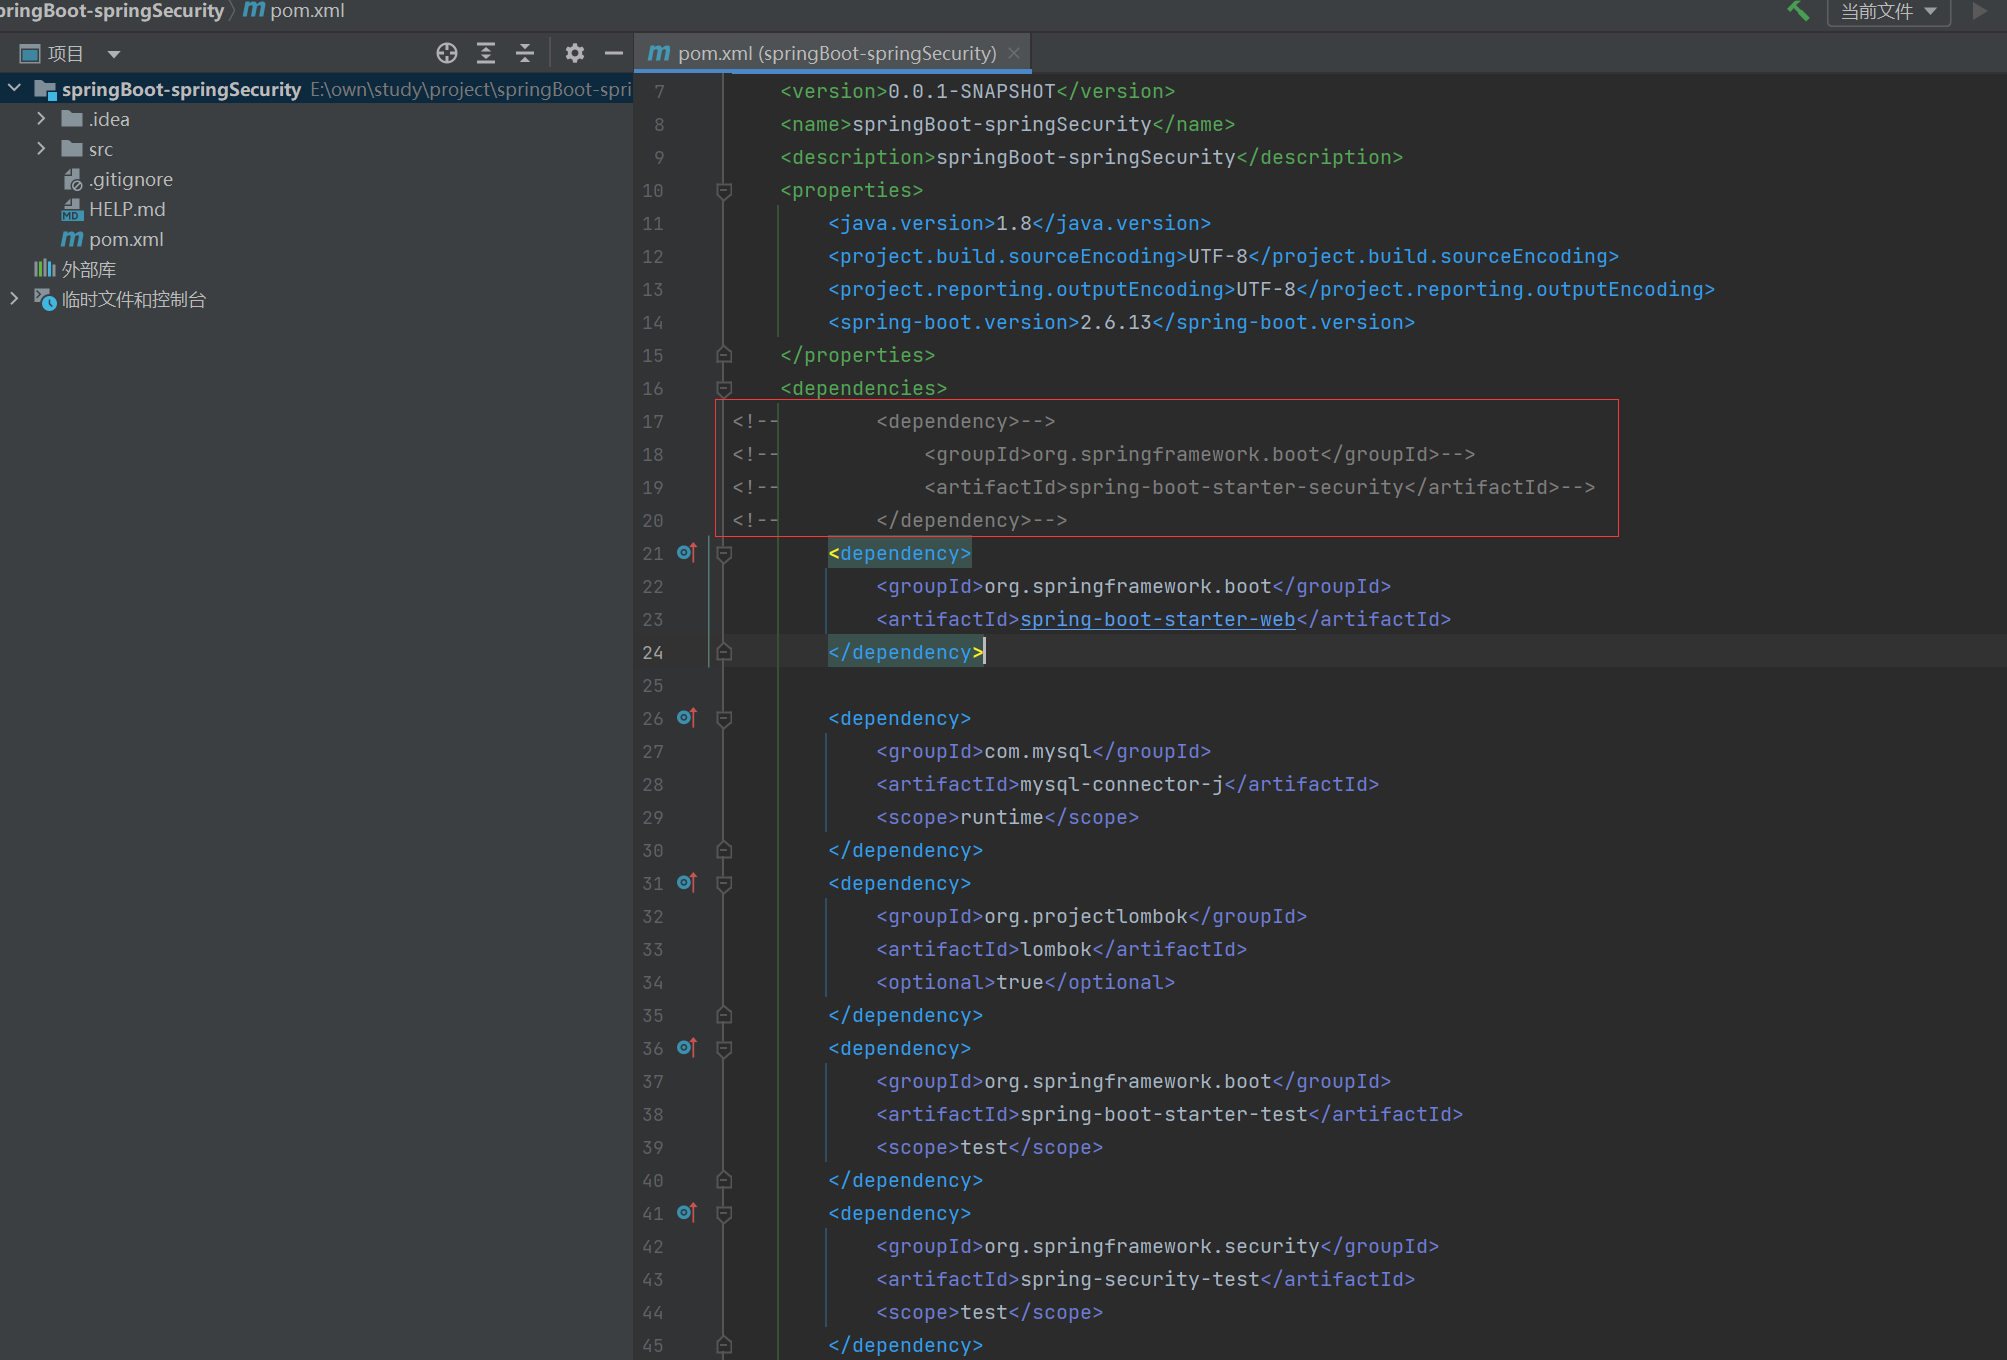
注意:上面图片添加了springSecurity依赖包,如果要项目正常访问,需要注释掉springSecurity依赖。不然项目访问的时候会被springSecurity接管。
2、添加需要的依赖
这里用了mybatis-plus操作数据,用于简化代码。
<dependency>
<groupId>com.baomidou</groupId>
<artifactId>mybatis-plus-boot-starter</artifactId>
<version>3.5.5</version>
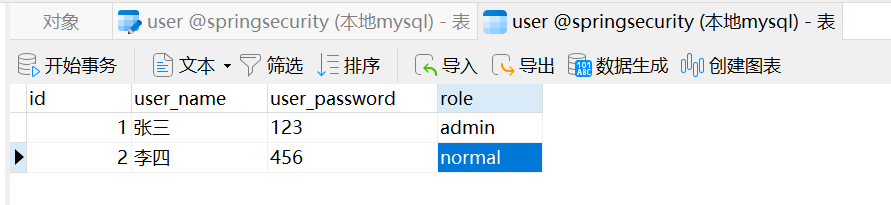
</dependency>3、创建需要的表
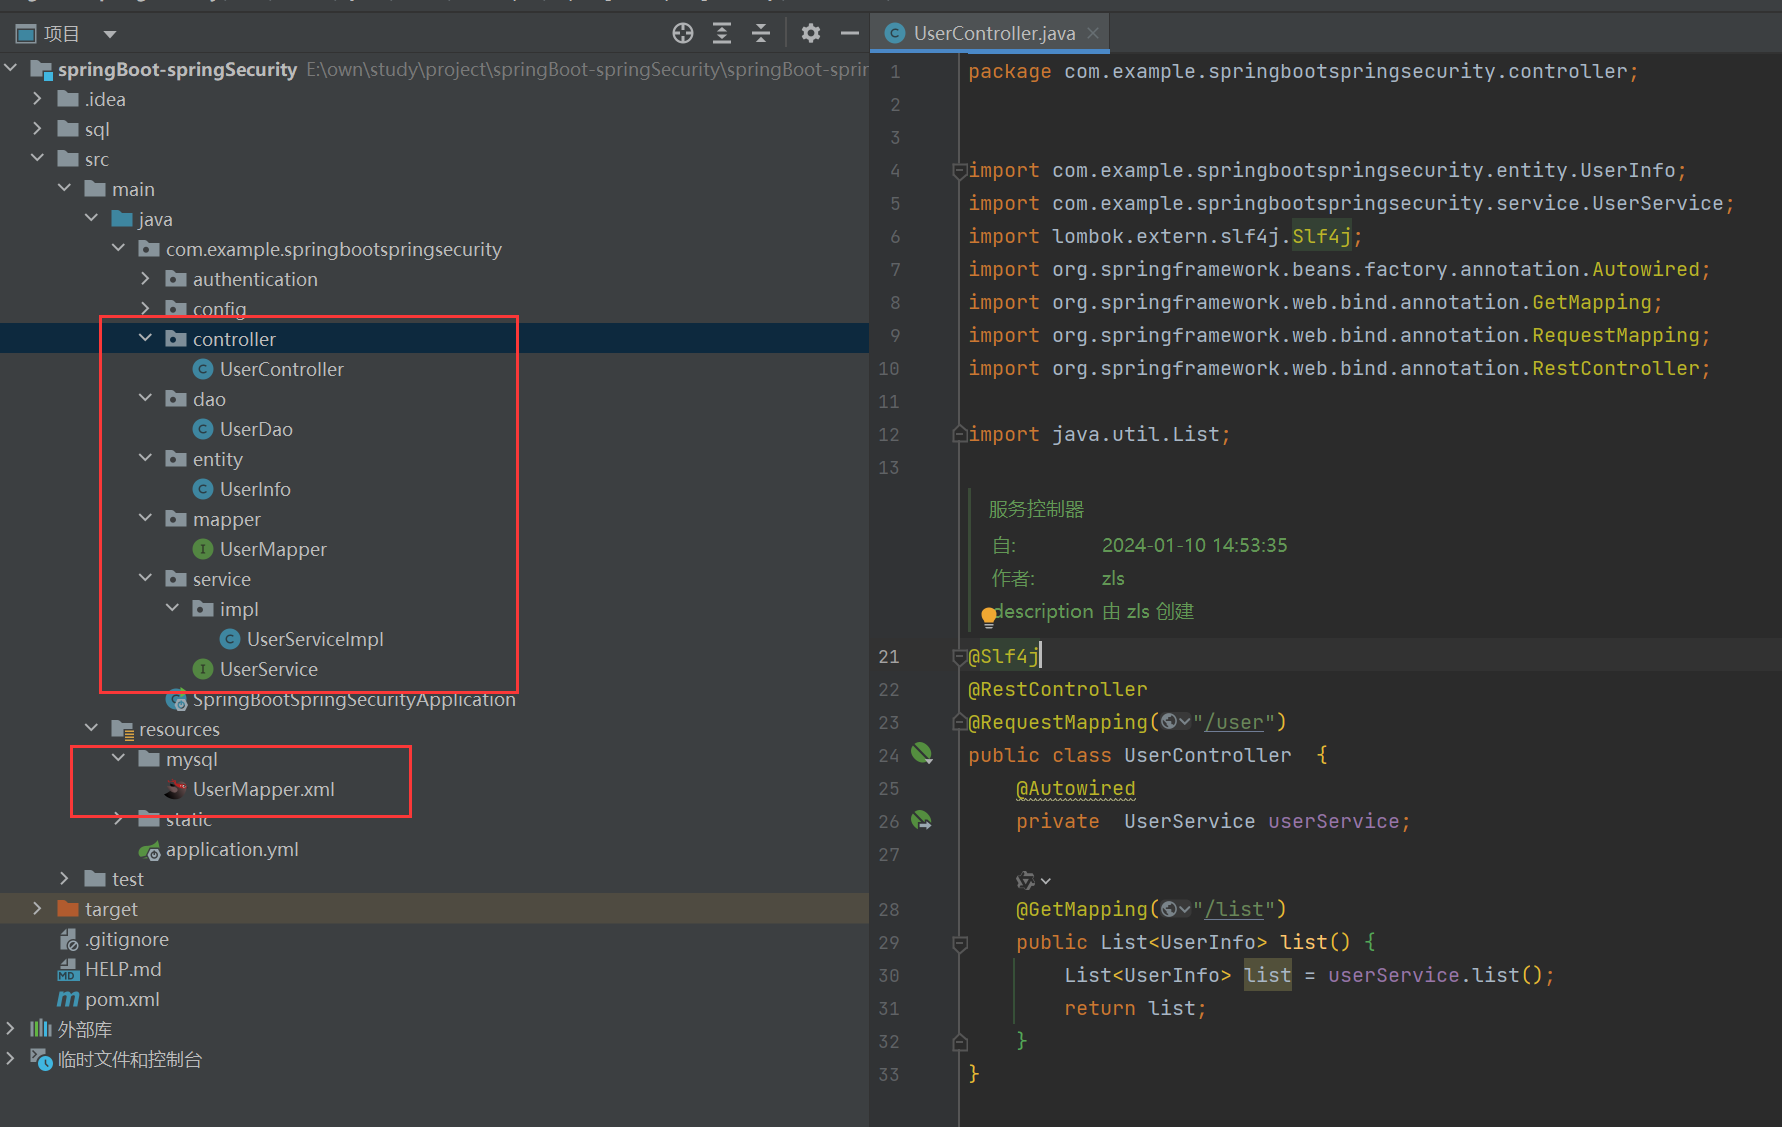
4、添加实体类、mapper、controller等
5、编写appliction.yml配置文件
server:
  port: 8888   #  配置启动端口号

spring: #springboot的配置
  datasource: #定义数据源
    url: jdbc:mysql://127.0.0.1:3306/springSecurity?serverTimezone=GMT%2B8&useSSL=FALSE
    username: root  #数据库用户名,root为管理员
    password: mysql123 #该数据库用户的密码

# mybatis-plus相关配置
mybatis-plus:
  # xml扫描,多个目录用逗号或者分号分隔(告诉 Mapper 所对应的 XML 文件位置)
  mapper-locations: classpath:mapper/*.xml
  # 以下配置均有默认值,可以不设置
  global-config:
    db-config:
      #主键类型 AUTO:"数据库ID自增" INPUT:"用户输入ID",ID_WORKER:"全局唯一ID (数字类型唯一ID)", UUID:"全局唯一ID UUID";
      id-type: auto
      #字段策略 IGNORED:"忽略判断"  NOT_NULL:"非 NULL 判断")  NOT_EMPTY:"非空判断"
      field-strategy: NOT_EMPTY
      #数据库类型
      db-type: MYSQL
  configuration:
    # 是否开启自动驼峰命名规则映射:从数据库列名到Java属性驼峰命名的类似映射
    map-underscore-to-camel-case: true
    # 如果查询结果中包含空值的列,则 MyBatis 在映射的时候,不会映射这个字段
    call-setters-on-nulls: true
    # 这个配置会将执行的sql打印出来,在开发或测试的时候可以用
log-impl: org.apache.ibatis.logging.stdout.StdOutImpl注意:上面sql创建语句及其相关生成的实体类,都能在上传的资源项目中找到。
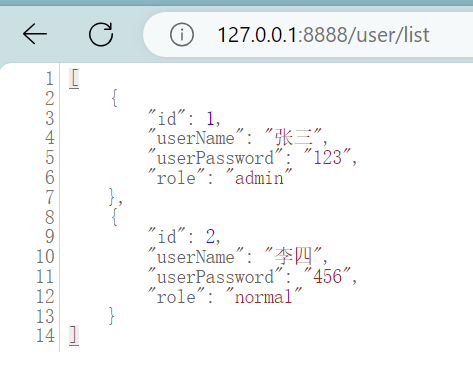
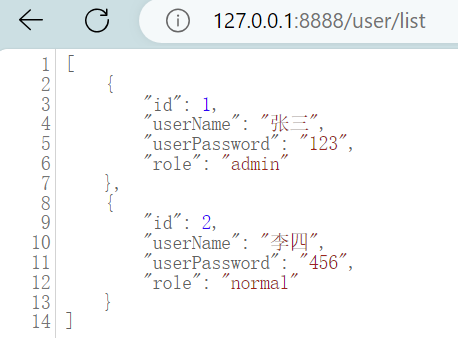
6、启动项目
可以正常访问。
二、整合springSecurity
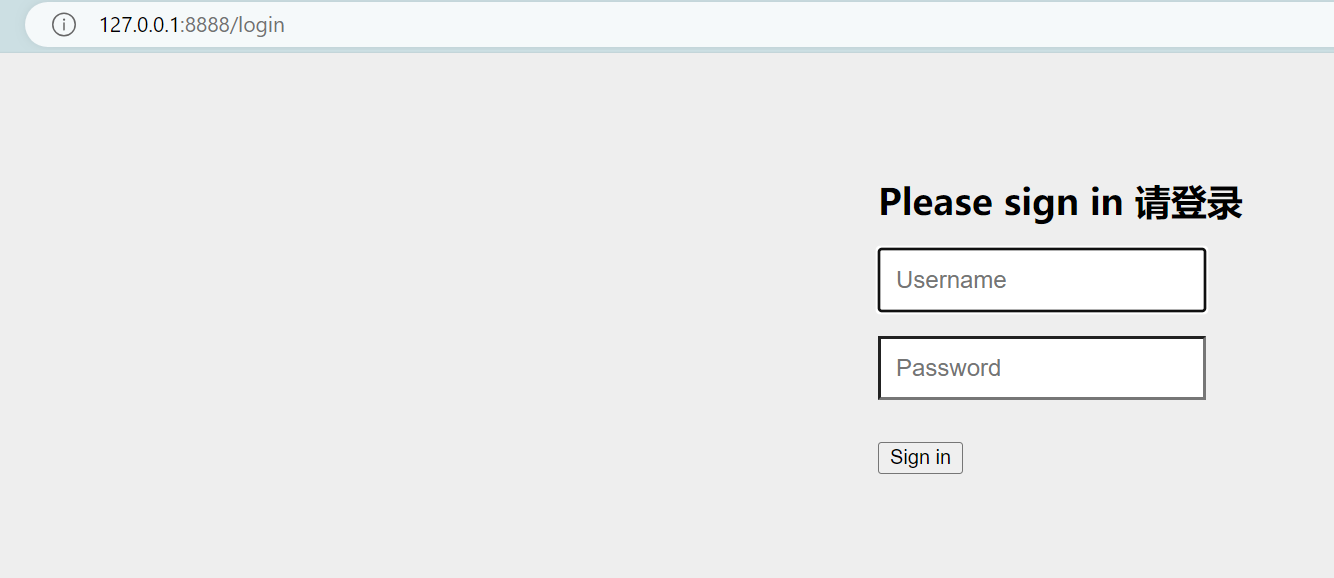
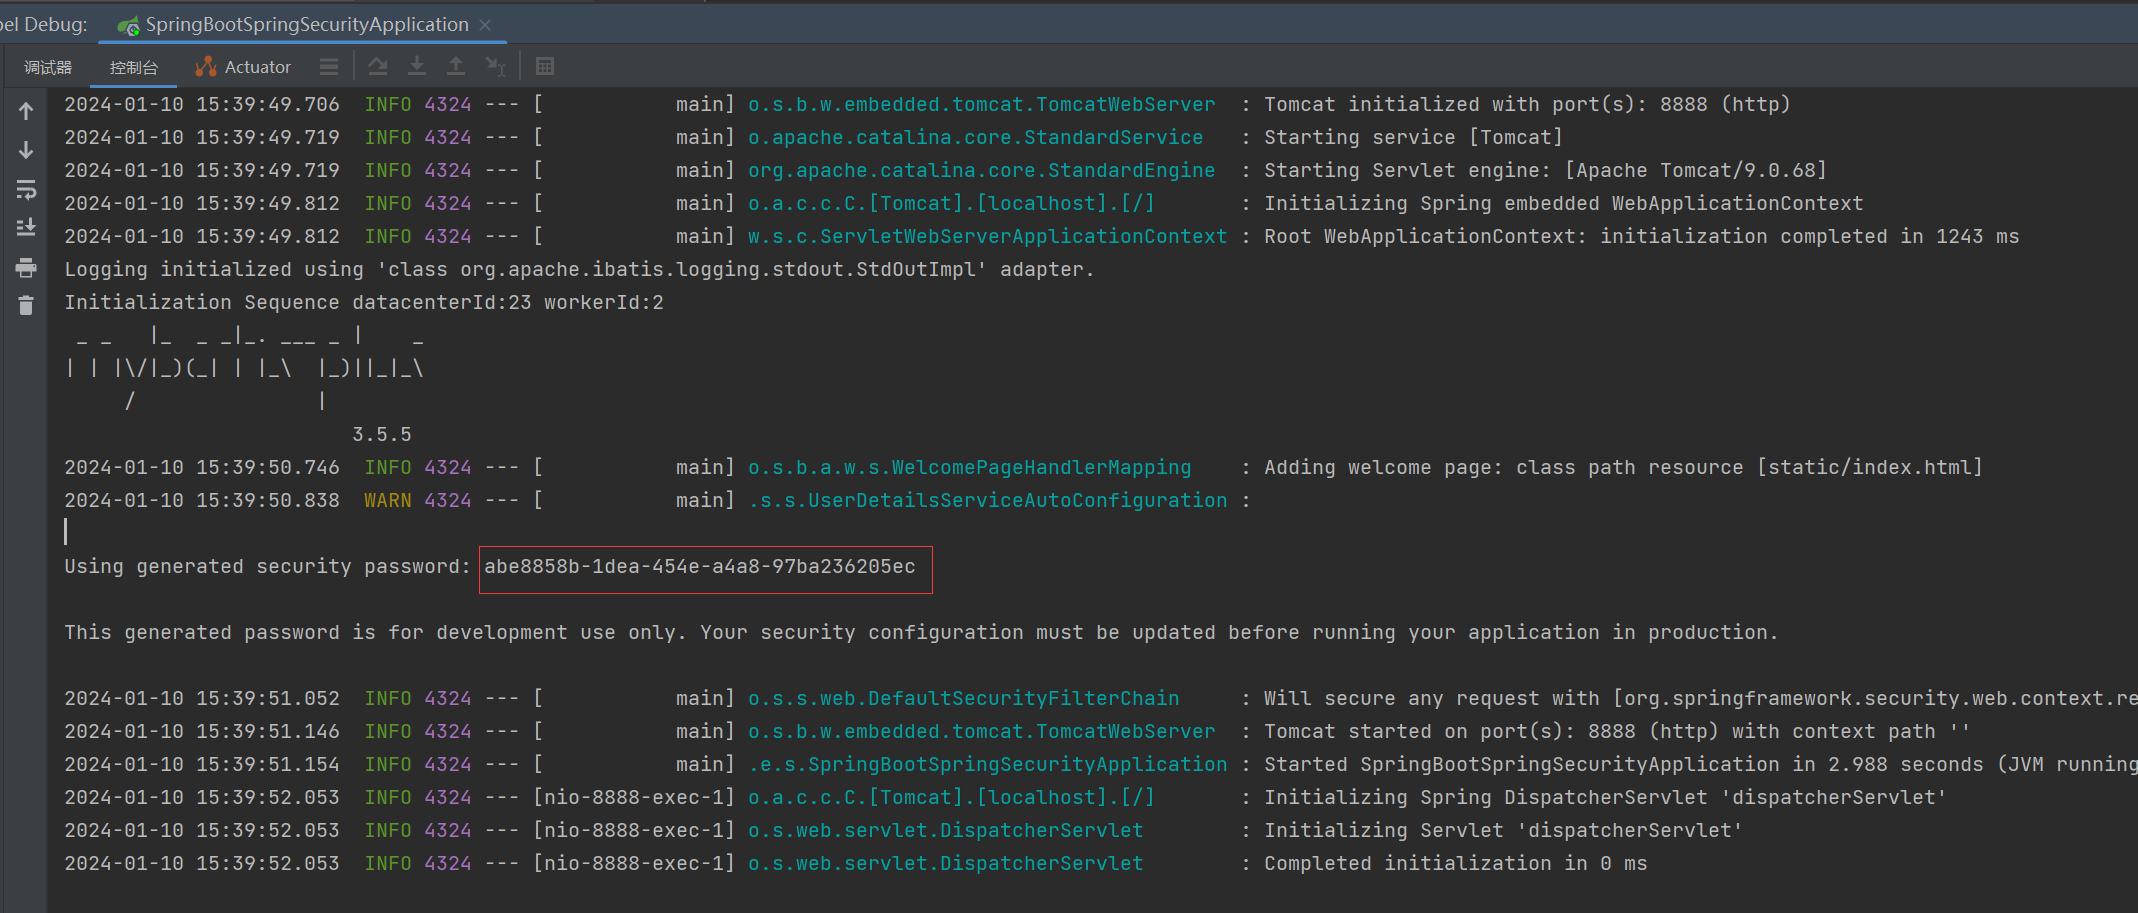
1、解除pom.xml当中springSecurity依赖注释
启动项目重新访问http://127.0.0.1:8888/user/list时,不出意外会被springSecurity进行拦截,让其登录。默认账号:user 密码:打印在控制台。
2、springSecurity认证
2.1 编写springSecurity配置类
继承WebSecurityConfigurerAdapter,并重写configure(auth)方法,配置自定义认证接口;配置加密方式。
package com.example.springbootspringsecurity.config;

import com.example.springbootspringsecurity.authentication.LoginUserDetailsService;
import org.springframework.beans.factory.annotation.Autowired;
import org.springframework.context.annotation.Bean;
import org.springframework.context.annotation.Configuration;
import org.springframework.security.config.annotation.authentication.builders.AuthenticationManagerBuilder;
import org.springframework.security.config.annotation.web.configuration.WebSecurityConfigurerAdapter;
import org.springframework.security.crypto.bcrypt.BCryptPasswordEncoder;
import org.springframework.security.crypto.password.PasswordEncoder;

@Configuration
public class SecurityConfig extends WebSecurityConfigurerAdapter {
    @Autowired
    private LoginUserDetailsService loginUserDetailsService;

    /**
     * 设置加密方式
     * @return
     */
    @Bean
    public PasswordEncoder passwordEncoder(){
        // 使用BCrypt加密密码
        return new BCryptPasswordEncoder();
    }

    /**
     * 自定义身份认证接口
     * @param auth
     * @throws Exception
     */
    @Override
    protected void configure(AuthenticationManagerBuilder auth) throws Exception {
        auth.userDetailsService(loginUserDetailsService)// 设置自定义的userDetailsService
                .passwordEncoder(passwordEncoder());
    }
}
2.2 编写自定义认证接口
新建类LoginUserDetailsService实现UserDetailService接口重写loadUserByUsername方法。用于从数据库查询用户密码及其用户相关联角色。然后进行认证,该用户是否认证通过。
package com.example.springbootspringsecurity.authentication;
import com.baomidou.mybatisplus.core.conditions.query.LambdaQueryWrapper;
import com.baomidou.mybatisplus.core.toolkit.StringUtils;
import com.example.springbootspringsecurity.entity.UserInfo;
import com.example.springbootspringsecurity.entity.UserInfo;
import com.example.springbootspringsecurity.service.UserService;
import org.springframework.beans.factory.annotation.Autowired;
import org.springframework.security.core.GrantedAuthority;
import org.springframework.security.core.authority.SimpleGrantedAuthority;
import org.springframework.security.core.userdetails.UserDetails;
import org.springframework.security.core.userdetails.UserDetailsService;
import org.springframework.security.core.userdetails.UsernameNotFoundException;
import org.springframework.security.crypto.bcrypt.BCryptPasswordEncoder;
import org.springframework.security.crypto.password.PasswordEncoder;
import org.springframework.stereotype.Service;
import java.util.ArrayList;
import java.util.List;
@Service
public class LoginUserDetailsService implements UserDetailsService {
@Autowired
private UserService UserServiceImpl;
@Override
public UserDetails loadUserByUsername(String username) throws UsernameNotFoundException {
LambdaQueryWrapper<UserInfo> queryWrapper = new LambdaQueryWrapper<>();
queryWrapper.eq(UserInfo::getUserName, username);
UserInfo userInfo = UserServiceImpl.getOne(queryWrapper);
if (userInfo == null){
throw new UsernameNotFoundException("用户不存在");
}
//获取用户角色
String role = userInfo.getRole();
//定义权限列表.
List<GrantedAuthority> authorities = new ArrayList<>();
// 用户可以访问的资源名称(或者说用户所拥有的权限) 注意:必须"ROLE_"开头
if (StringUtils.isNotEmpty(role)){
// 角色必须以`ROLE_`开头,数据库中没有,则在这里加
//如果用户有多个角色的话,就在这里循环添加进权限列表authorities中。此处只是测试一个用户一个角色。
authorities.add(new SimpleGrantedAuthority("ROLE_" + role));
}
return new org.springframework.security.core.userdetails.User(
userInfo.getUserName(),
// 因为数据库是明文,所以这里需加密密码
// 如果数据库密码是加密了的,这里就不需要再加密了,直接userInfo.getUserPassword()就行了
new BCryptPasswordEncoder().encode(userInfo.getUserPassword()),
authorities
);
}
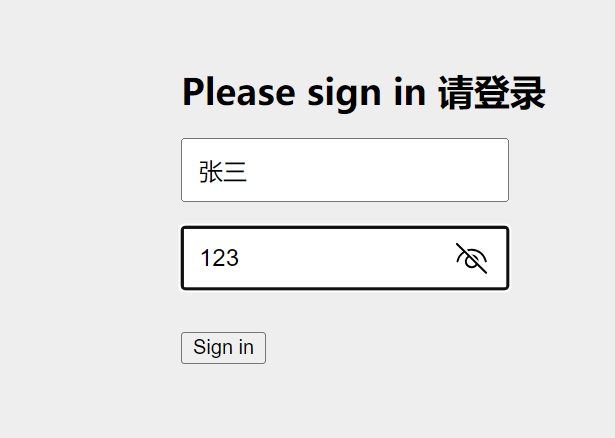
}2.3 测试认证
编写完成后,重启项目。访问接口http://127.0.0.1:8888/user/list,会跳至springSecurity登录页面,此时就可以用数据库的用户账号和密码进行登录访问了。至此,认证完成。
3、springSecurity授权
3.1 加上方法级权限控制注解
@EnableWebSecurity
@EnableGlobalMethodSecurity(prePostEnabled = true) // 开启方法级安全验证,加了此prePostEnabled = true就可以在方法上使用@PreAuthorize注解进行角色访问方法权限控制
public class SecurityConfig extends WebSecurityConfigurerAdapter {
..........
}
3.2 修改controller中方法,加上权限控制
注意:除了这种方式还可以在springSecurity配置文件中进行权限的统一配置,一般采用在配置文件中进行权限统一配置。相关配置跳转至本文第5点(5、springSecurity配置类其它相关配置)。
@Slf4j
@RestController
@RequestMapping("/user")
public class UserController  {
    @Autowired
    private  UserService userService;

    @GetMapping("/list")
    public List<UserInfo> list() {
        List<UserInfo> list = userService.list();
        return list;
    }

    @GetMapping("/admin")
    @PreAuthorize("hasAnyRole('admin')") // 只能admin角色才能访问该方法
    public String adminList() {
        return "admin角色访问";
    }

    @GetMapping("/normal")
    @PreAuthorize("hasAnyRole('normal')") // 只能normal角色才能访问该方法
    public String userList() {
        return "normal角色访问";
    }
}
3.3 重启项目访问
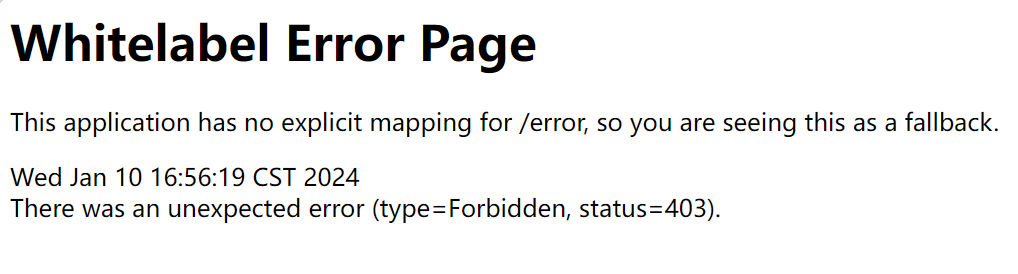
1、张三用户登录,角色为admin。可以访问127.0.0.1:8888/user/admin不能访问127.0.0.1:8888/user/normal,访问会报403,无权限。
2、李四用户登录,角色为normal。可以访问127.0.0.1:8888/user/normal,不能访问127.0.0.1:8888/user/normal127.0.0.1:8888/user/admin,访问会报403,无权限。
4、查询用户登录信息
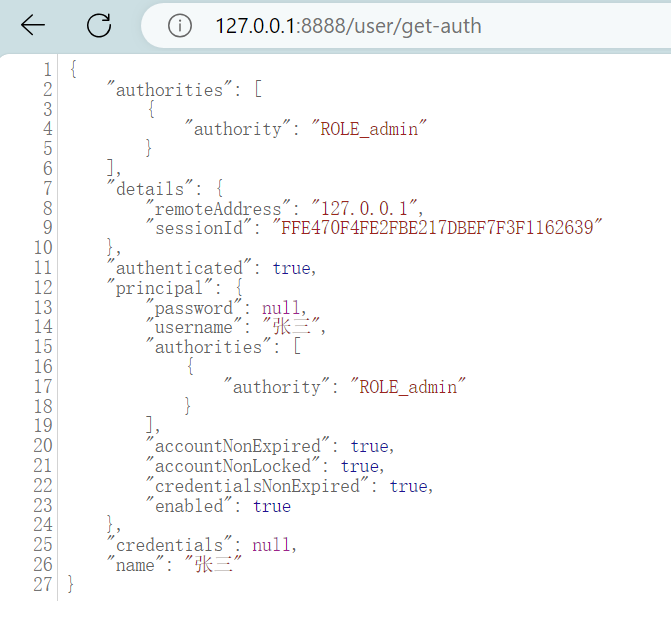
可以通过 SecurityContextHolder.getContext().getAuthentication() 获取当前用户登录信息。
修改controller,添加用户登录信息接口,访问127.0.0.1:8888/user/get-auth测试。
   /**
     * 查看登录用户信息
     */
    @GetMapping("/get-auth")
    public Authentication getAuth(){
        return SecurityContextHolder.getContext().getAuthentication();
    }
5、springSecurity配置类其它相关配置
下面就是在SecurityConfig类中举的权限认证配置例子,更加详细的配置及说明,请自行百度。
    /**
     * anyRequest          |   匹配所有请求路径
     * access              |   SpringEl表达式结果为true时可以访问
     * anonymous           |   匿名可以访问
     * denyAll             |   用户不能访问
     * fullyAuthenticated  |   用户完全认证可以访问(非remember-me下自动登录)
     * hasAnyAuthority     |   如果有参数,参数表示权限,则其中任何一个权限可以访问
     * hasAnyRole          |   如果有参数,参数表示角色,则其中任何一个角色可以访问
     * hasAuthority        |   如果有参数,参数表示权限,则其权限可以访问
     * hasIpAddress        |   如果有参数,参数表示IP地址,如果用户IP和参数匹配,则可以访问
     * hasRole             |   如果有参数,参数表示角色,则其角色可以访问
     * permitAll           |   用户可以任意访问
     * rememberMe          |   允许通过remember-me登录的用户访问
     * authenticated       |   用户登录后可访问
     */
    @Override
    protected void configure(HttpSecurity httpSecurity) throws Exception
    {
        httpSecurity
                // CSRF禁用,因为不使用session
                .csrf().disable()
                // 认证失败处理类
                .exceptionHandling().authenticationEntryPoint(unauthorizedHandler).and()
                // 基于token,所以不需要session
                .sessionManagement().sessionCreationPolicy(SessionCreationPolicy.IF_REQUIRED).and()
                // 过滤请求
                .authorizeRequests()
                // 对于登录login 验证码captchaImage 允许匿名访问
                .antMatchers("/login", "/captchaImage","/loginExternal").permitAll()
                .antMatchers(
                        HttpMethod.GET,
                        "/*.html",
                        "/**/*.html",
                        "/**/*.css",
                        "/**/*.js",
                        "/**/*.jpg",
                        "/**/*.png",
                        "/**/*.ico"
                ).permitAll()
                .antMatchers("/druid/index.html").hasRole("admin")
                .antMatchers("/profile/**").anonymous()
                .antMatchers("/common/download**").permitAll()
                .antMatchers("/common/pdfView**").permitAll()
                .antMatchers("/common/download/resource**").anonymous()
                .antMatchers("/swagger-ui.html").permitAll()
                .antMatchers("/doc.html").permitAll()
                .antMatchers("/elastic/**").permitAll()
                .antMatchers("/v2/api-docs").permitAll()
                .antMatchers("/v2/api-docs-ext").permitAll()
                .antMatchers("/swagger-resources/**").permitAll()
                .antMatchers("/webjars/**").anonymous()
                .antMatchers("/*/api-docs").permitAll()
                .antMatchers("/system/dept/zList").permitAll()
                .antMatchers("/dev-api/**").permitAll()
                .antMatchers("/dev-api-jh/**").permitAll()
                .antMatchers("/common/fileView/**").permitAll()
                .antMatchers("/common/imgBase64View/**").permitAll()
                .antMatchers("/common/fileDownLoad/**").permitAll()
                .antMatchers("/sqzd/psp/**").permitAll()
                .antMatchers("/preService/service/**").permitAll()
                .antMatchers("/onething/**").permitAll()
                .antMatchers("/label/warehouse/**").permitAll()
                .antMatchers("/sqzd/policy/policyInfoList").permitAll()
                .antMatchers("/baseLabel/baseLabel/**").permitAll()
                // 除上面外的所有请求全部需要鉴权认证
                .anyRequest().authenticated()
                .and()
                .headers().frameOptions().disable();
        httpSecurity.logout().logoutUrl("/logout").logoutSuccessHandler(logoutSuccessHandler);
        // 添加JWT filter
        httpSecurity.addFilterBefore(authenticationTokenFilter, UsernamePasswordAuthenticationFilter.class);
        // 添加CORS filter
        httpSecurity.addFilterBefore(corsFilter, JwtAuthenticationTokenFilter.class);
        httpSecurity.addFilterBefore(corsFilter, LogoutFilter.class);
    }


 1168
1168

 被折叠的 条评论
为什么被折叠?
被折叠的 条评论
为什么被折叠?
 到【灌水乐园】发言


