


 本文详细介绍了Spring框架的基本组成及如何在Eclipse中搭建Spring开发环境,包括必要的jar包下载、配置文件创建、实体类与测试类的编写,以及使用Spring管理bean的实例。
Spring框架jar下载地址
下载jar包 spring-framework-4.3.9.RELEASE
开发 Spring 至少需要使用的 jar (5个 + 1个)
spring-aop.jar 开发AOP特性时需要的JAR
spring-beans.jar 处理Bean的jar
spring-context.jar 处理spring上下文的jar
spring-core.jar spring核心jar
spring-expression.jar spring表达式 EL/ jtsl
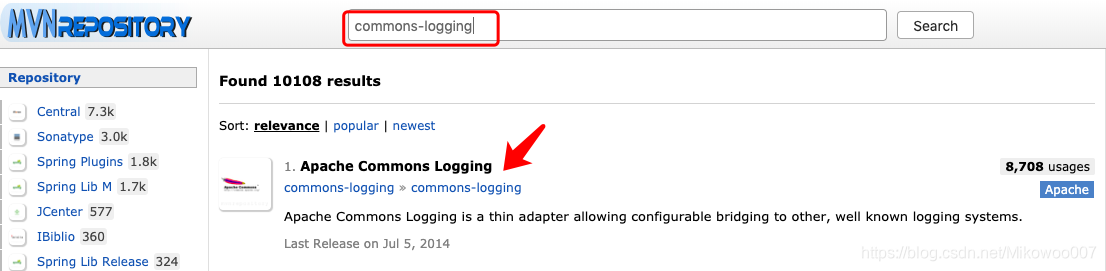
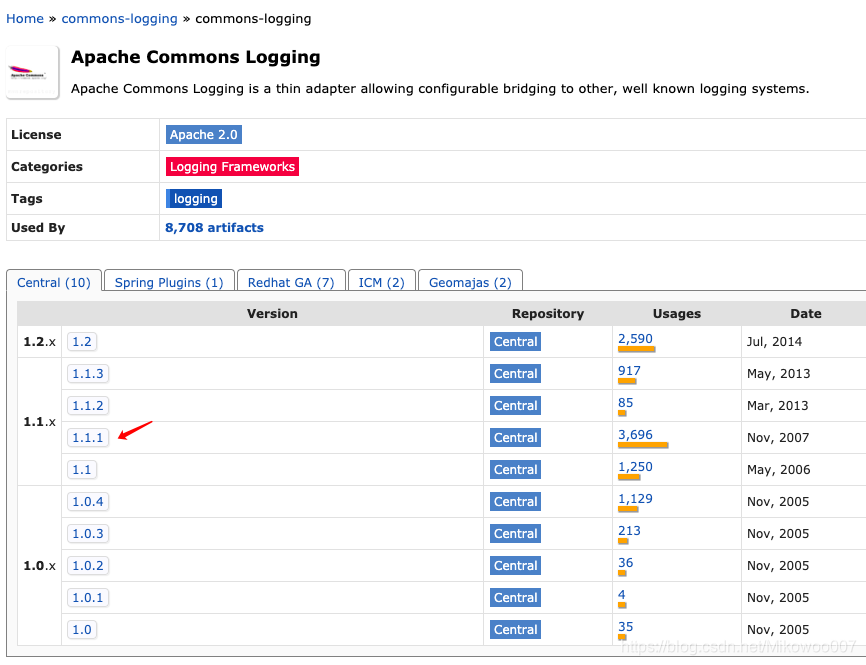
第三方提供的日志jar
commons-logging.jar
日志jar 包的下载 下载地址

Eclipse 搭建Spring环境
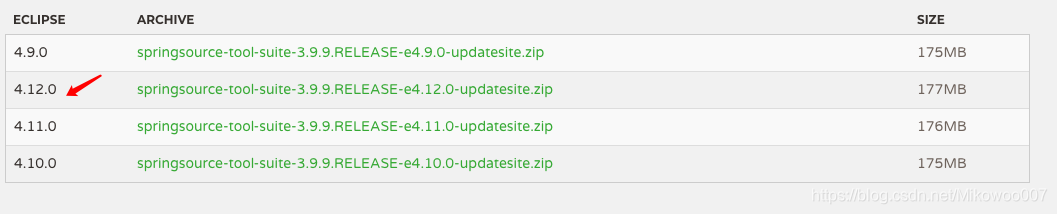
Eclipse 版本

spring插件官网地址
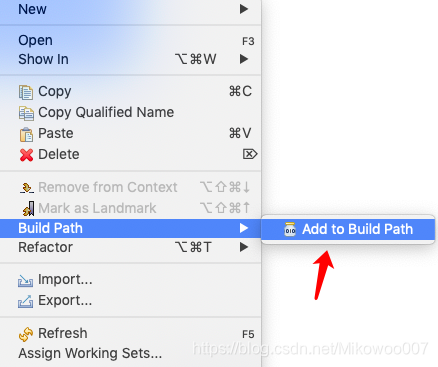
Eclipse 安装第三方插件
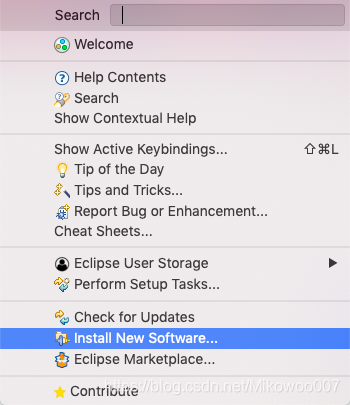
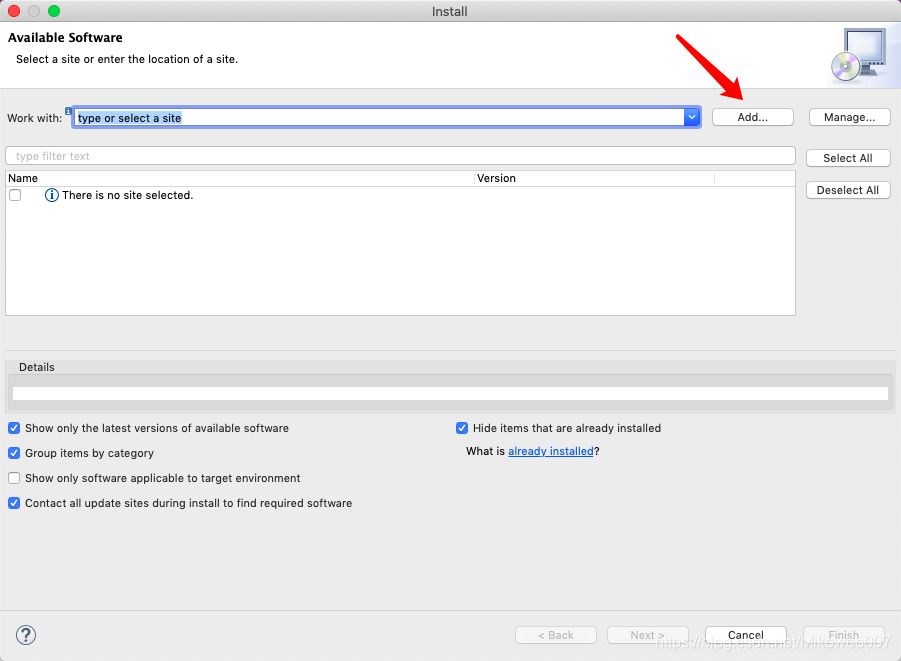
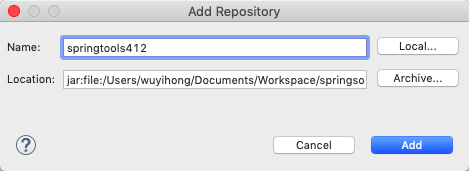
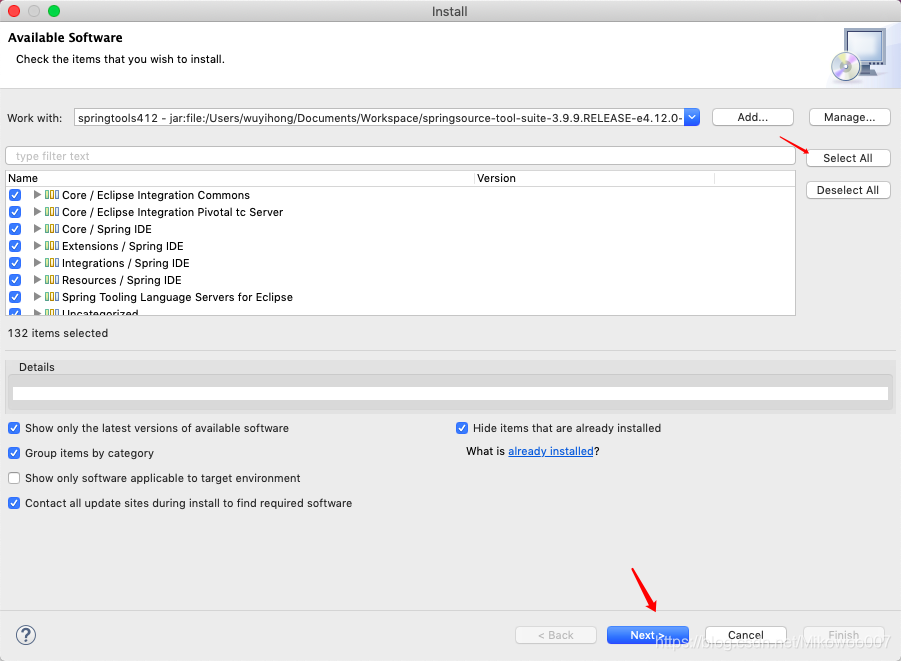
安装时抱过错误,我的解决办法是
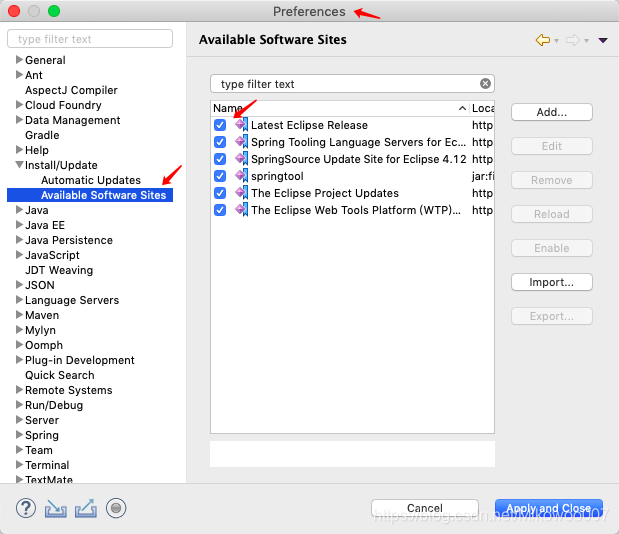
上述步骤重新安装,即可成功
创建一个简单的项目


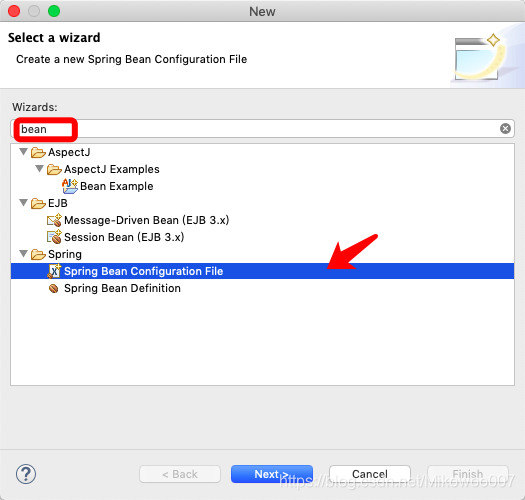
创建配置文件

新建 实体类 org.iris.entity.Student.java
package org.iris.entity;

public class Student {
	private int stuNo;
	private String stuName;
	private int stuAge;
	public int getStuNo() {
		return stuNo;
	}
	public void setStuNo(int stuNo) {
		this.stuNo = stuNo;
	}
	public String getStuName() {
		return stuName;
	}
	public void setStuName(String stuName) {
		this.stuName = stuName;
	}
	public int getStuAge() {
		return stuAge;
	}
	public void setStuAge(int stuAge) {
		this.stuAge = stuAge;
	}
	@Override
	public String toString() {
		return this.stuNo + "," + this.stuName + "," + this.stuAge;
	}
}
新建 测试类 org.iris.test.Test.java
package org.iris.test;

import org.iris.entity.Student;

public class Test {
	public static void main(String[] args) {
		Student stu = new Student();
		stu.setStuName("zs");
		stu.setStuAge(23);
		stu.setStuNo(10);
		System.out.println(stu);
	}
}

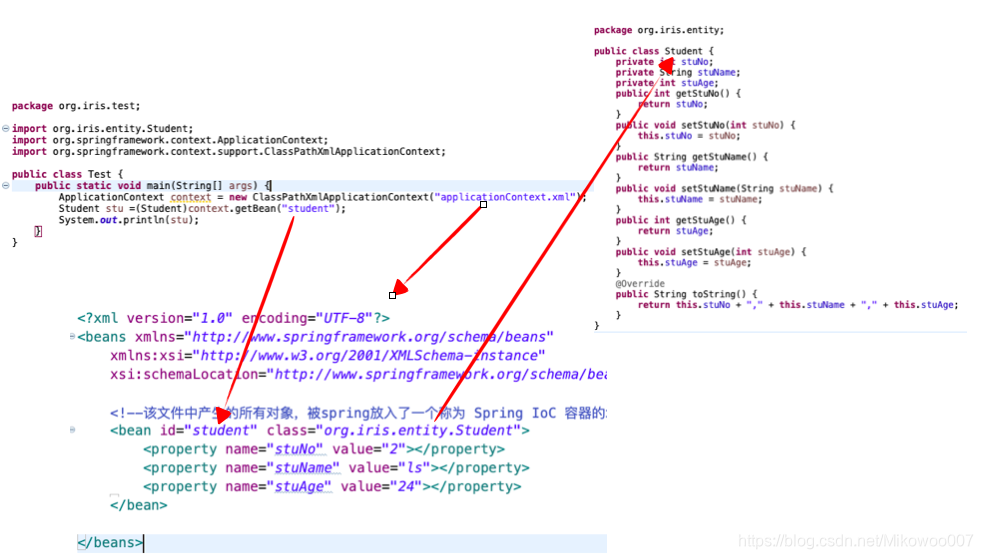
applicationContext.xml
<?xml version="1.0" encoding="UTF-8"?>
<beans xmlns="http://www.springframework.org/schema/beans"
xmlns:xsi="http://www.w3.org/2001/XMLSchema-instance"
xsi:schemaLocation="http://www.springframework.org/schema/beans http://www.springframework.org/schema/beans/spring-beans.xsd">
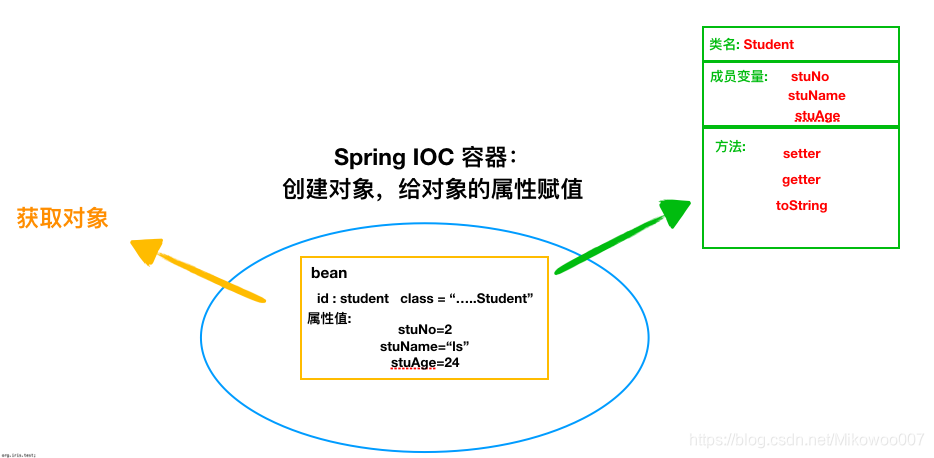
<bean id="student" class="org.iris.entity.Student">
<property name="stuNo" value="2"></property>
<property name="stuName" value="ls"></property>
<property name="stuAge" value="24"></property>
</bean>
</beans>
com.iris.test.Test.java
package org.iris.test;

import org.iris.entity.Student;
import org.springframework.context.ApplicationContext;
import org.springframework.context.support.ClassPathXmlApplicationContext;

public class Test {
	public static void main(String[] args) {
		ApplicationContext context = new ClassPathXmlApplicationContext("applicationContext.xml");
		Student stu =(Student)context.getBean("student");
		System.out.println("stu");
	}
}

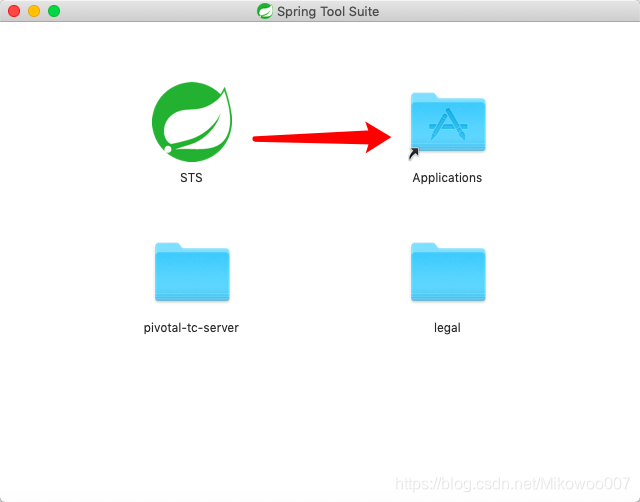
STS 搭建Spring环境
相当于 Eclipse ,自带 spring 插件
STS官网下载地址

MAC 安装
项目创建过程与Eclipse一样


 8592
8592

 被折叠的 条评论
为什么被折叠?
被折叠的 条评论
为什么被折叠?
 到【灌水乐园】发言


