


 本文介绍如何使用Spring Security实现基于表单的用户认证,包括配置自定义登录页面、处理登录流程及使用Ajax进行登录请求。
代码所在地址:https://gitee.com/lookoutthebush/spring-security-demo
一、创建配置类
1.创建configuration包,新建一个WebSecurityConfig类,使其继承WebSecurityConfigurerAdapter
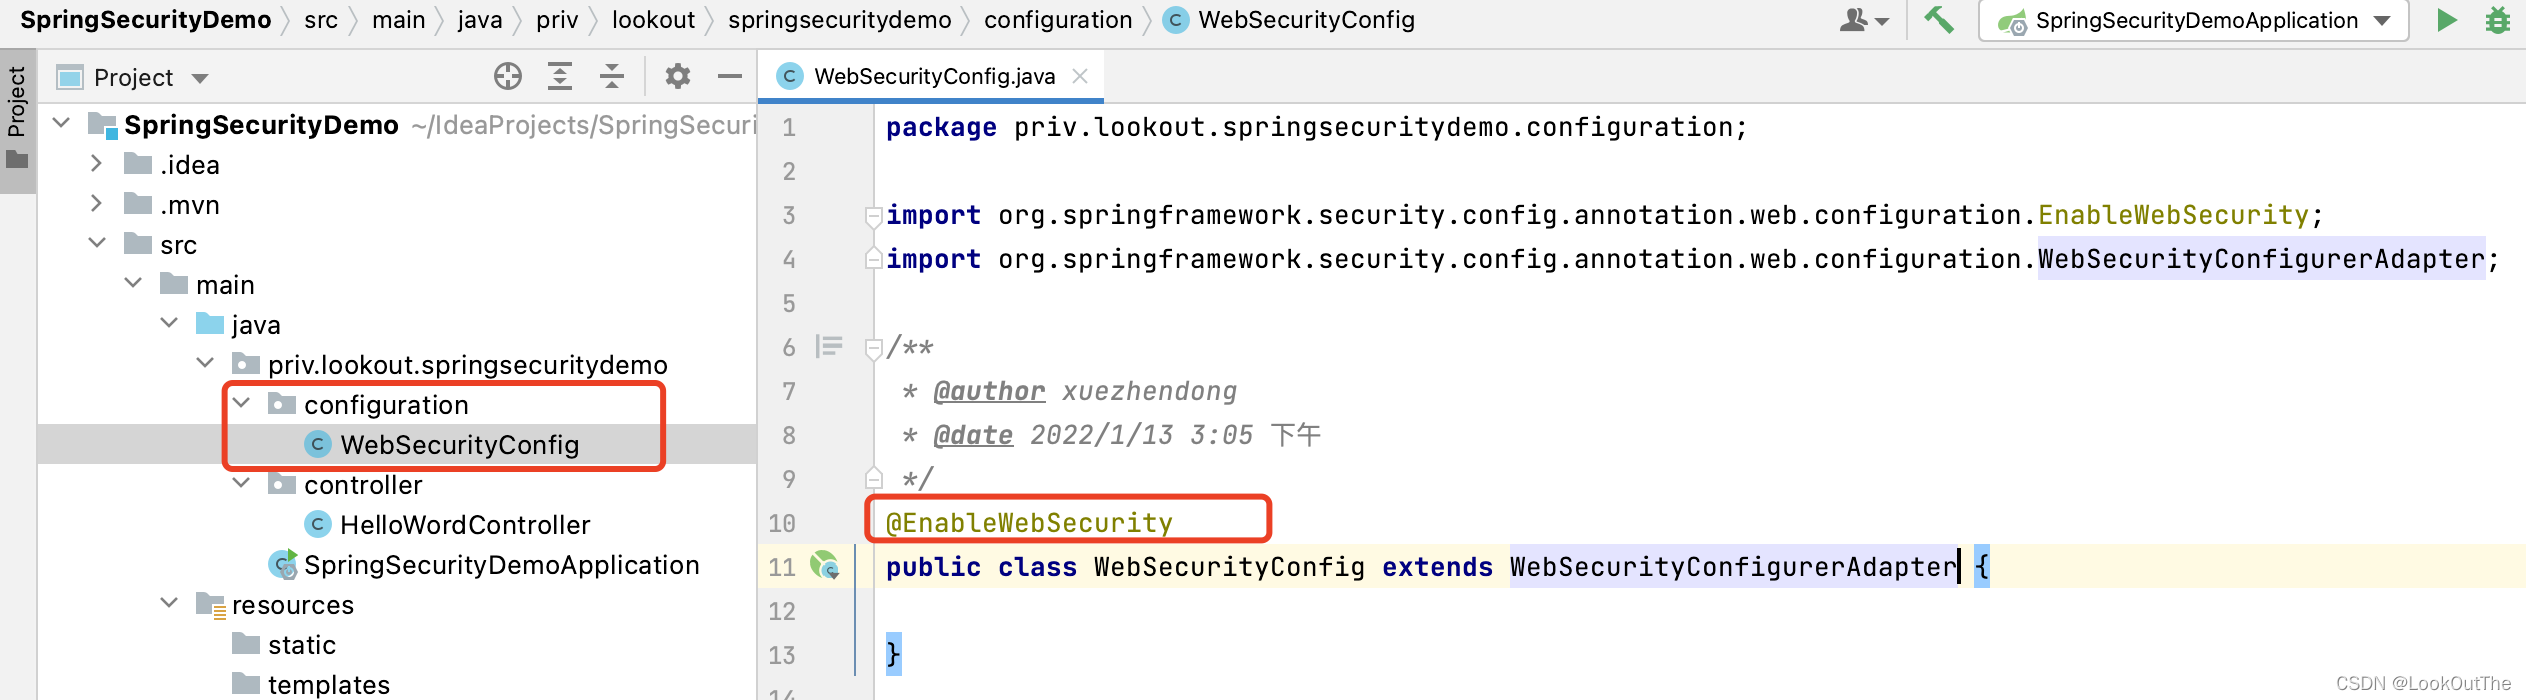
2.添加@EnableWebSecurity注解,让Spring发现并注入
3.可以看到WebSecurityConfigurerAdapter已经默认声明了一些安全特性
	protected void configure(HttpSecurity http) throws Exception {
		this.logger.debug("Using default configure(HttpSecurity). "
				+ "If subclassed this will potentially override subclass configure(HttpSecurity).");
		http.authorizeRequests((requests) -> requests.anyRequest().authenticated());
		http.formLogin();
		http.httpBasic();
}- 验证所有请求
- 允许通过表单登录
- 允许使用http基本认证
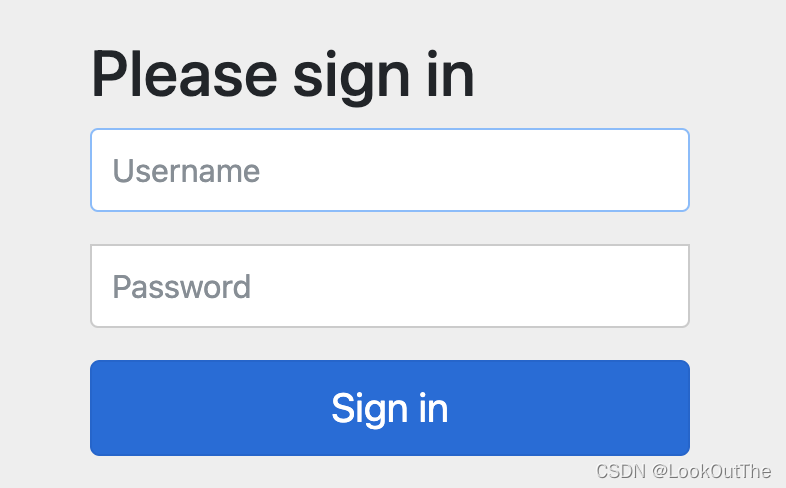
4.启动项目,访问,跳转到登录页。
二、自定义表单登录页
1.重写配置类
@EnableWebSecurity
public class WebSecurityConfig extends WebSecurityConfigurerAdapter {

    @Override
    protected void configure(HttpSecurity http) throws Exception {
        http.authorizeRequests()
                //以下资源允许访问
                .antMatchers("/css/**", "/js/**", "/picture/**")
                .permitAll()
                .anyRequest().authenticated()
                .and()
                .formLogin()
                //登录请求
                .loginPage("/login.html")
                .loginProcessingUrl("/login")
                .permitAll()
                .and()
                .csrf().disable();
    }
}
1.antMatchers中配置了静态资源允许所有角色访问
2.loginPage("/login.html")会先在controller中找是否有该路由,有的话走自定义的。没有则转到static目录下的login.html页面
2.认识HttpSecurity
HttpSecurity实际上对应了Spring Security命名空间配置方式中XML文件内的标签,允许我们为特 定的HTTP请求配置安全策略。
HttpSecurity被设计为链式调用,在执行每个 方法后,都会返回一个预期的上下文,便于连续调用。我们不需要关心每个方法究竟返回了什么、如何进行下一个配置等细节。
HttpSecurity提供了很多配置相关的方法,分别对应命名空间配置中的子标签。例如,authorizeRequests()、formLogin()、httpBasic()和 csrf()分别对应<intercept-url>、<form-login>、<http-basic>和<csrf>标签。调用这些方法之后,除非使用and()方法结束当前标签,上下文 才会回到HttpSecurity,否则链式调用的上下文将自动进入对应标签域。
authorizeRequests()方法实际上返回了一个 URL 拦截注册器,我们可以调用它提供的 anyanyRequest()、antMatchers()和regexMatchers()等方法来匹配系统的URL,并为其指定安全 策略。
formLogin()方法和httpBasic()方法都声明了需要Spring Security提供的表单认证方式,分别返回对应的配置器。其中,formLogin().loginPage("/login.html")指定自定义的登录页面login.html,同时,Spring Security会用login.html注册一个POST路由,用于接收登录请求。
csrf()方法是SpringSecurity提供的跨域请求伪造防护功能,当我们继承WebSecurityConfigurer Adapter时会默认开启csrf()方法。
3.添加controller
loginPage("/login.html")不走默认的,而是走我们自定义的路由,去访问templates/login.html页面
@Controller
public class IndexController {
    @GetMapping("login.html")
    public String login(){
        return "login";
    }
}
4.修改配置
配置类中添加.loginProcessingUrl("/login")
.loginPage("/login.html")前面说了会自动生成一个post方式的login.html路由来帮助我们处理登录。我们为了方便区分,使用.loginProcessingUrl("/login")来修改自动生成的路由名字。
4.编写表单登录页面
代码如下,放到resources/template/目录下
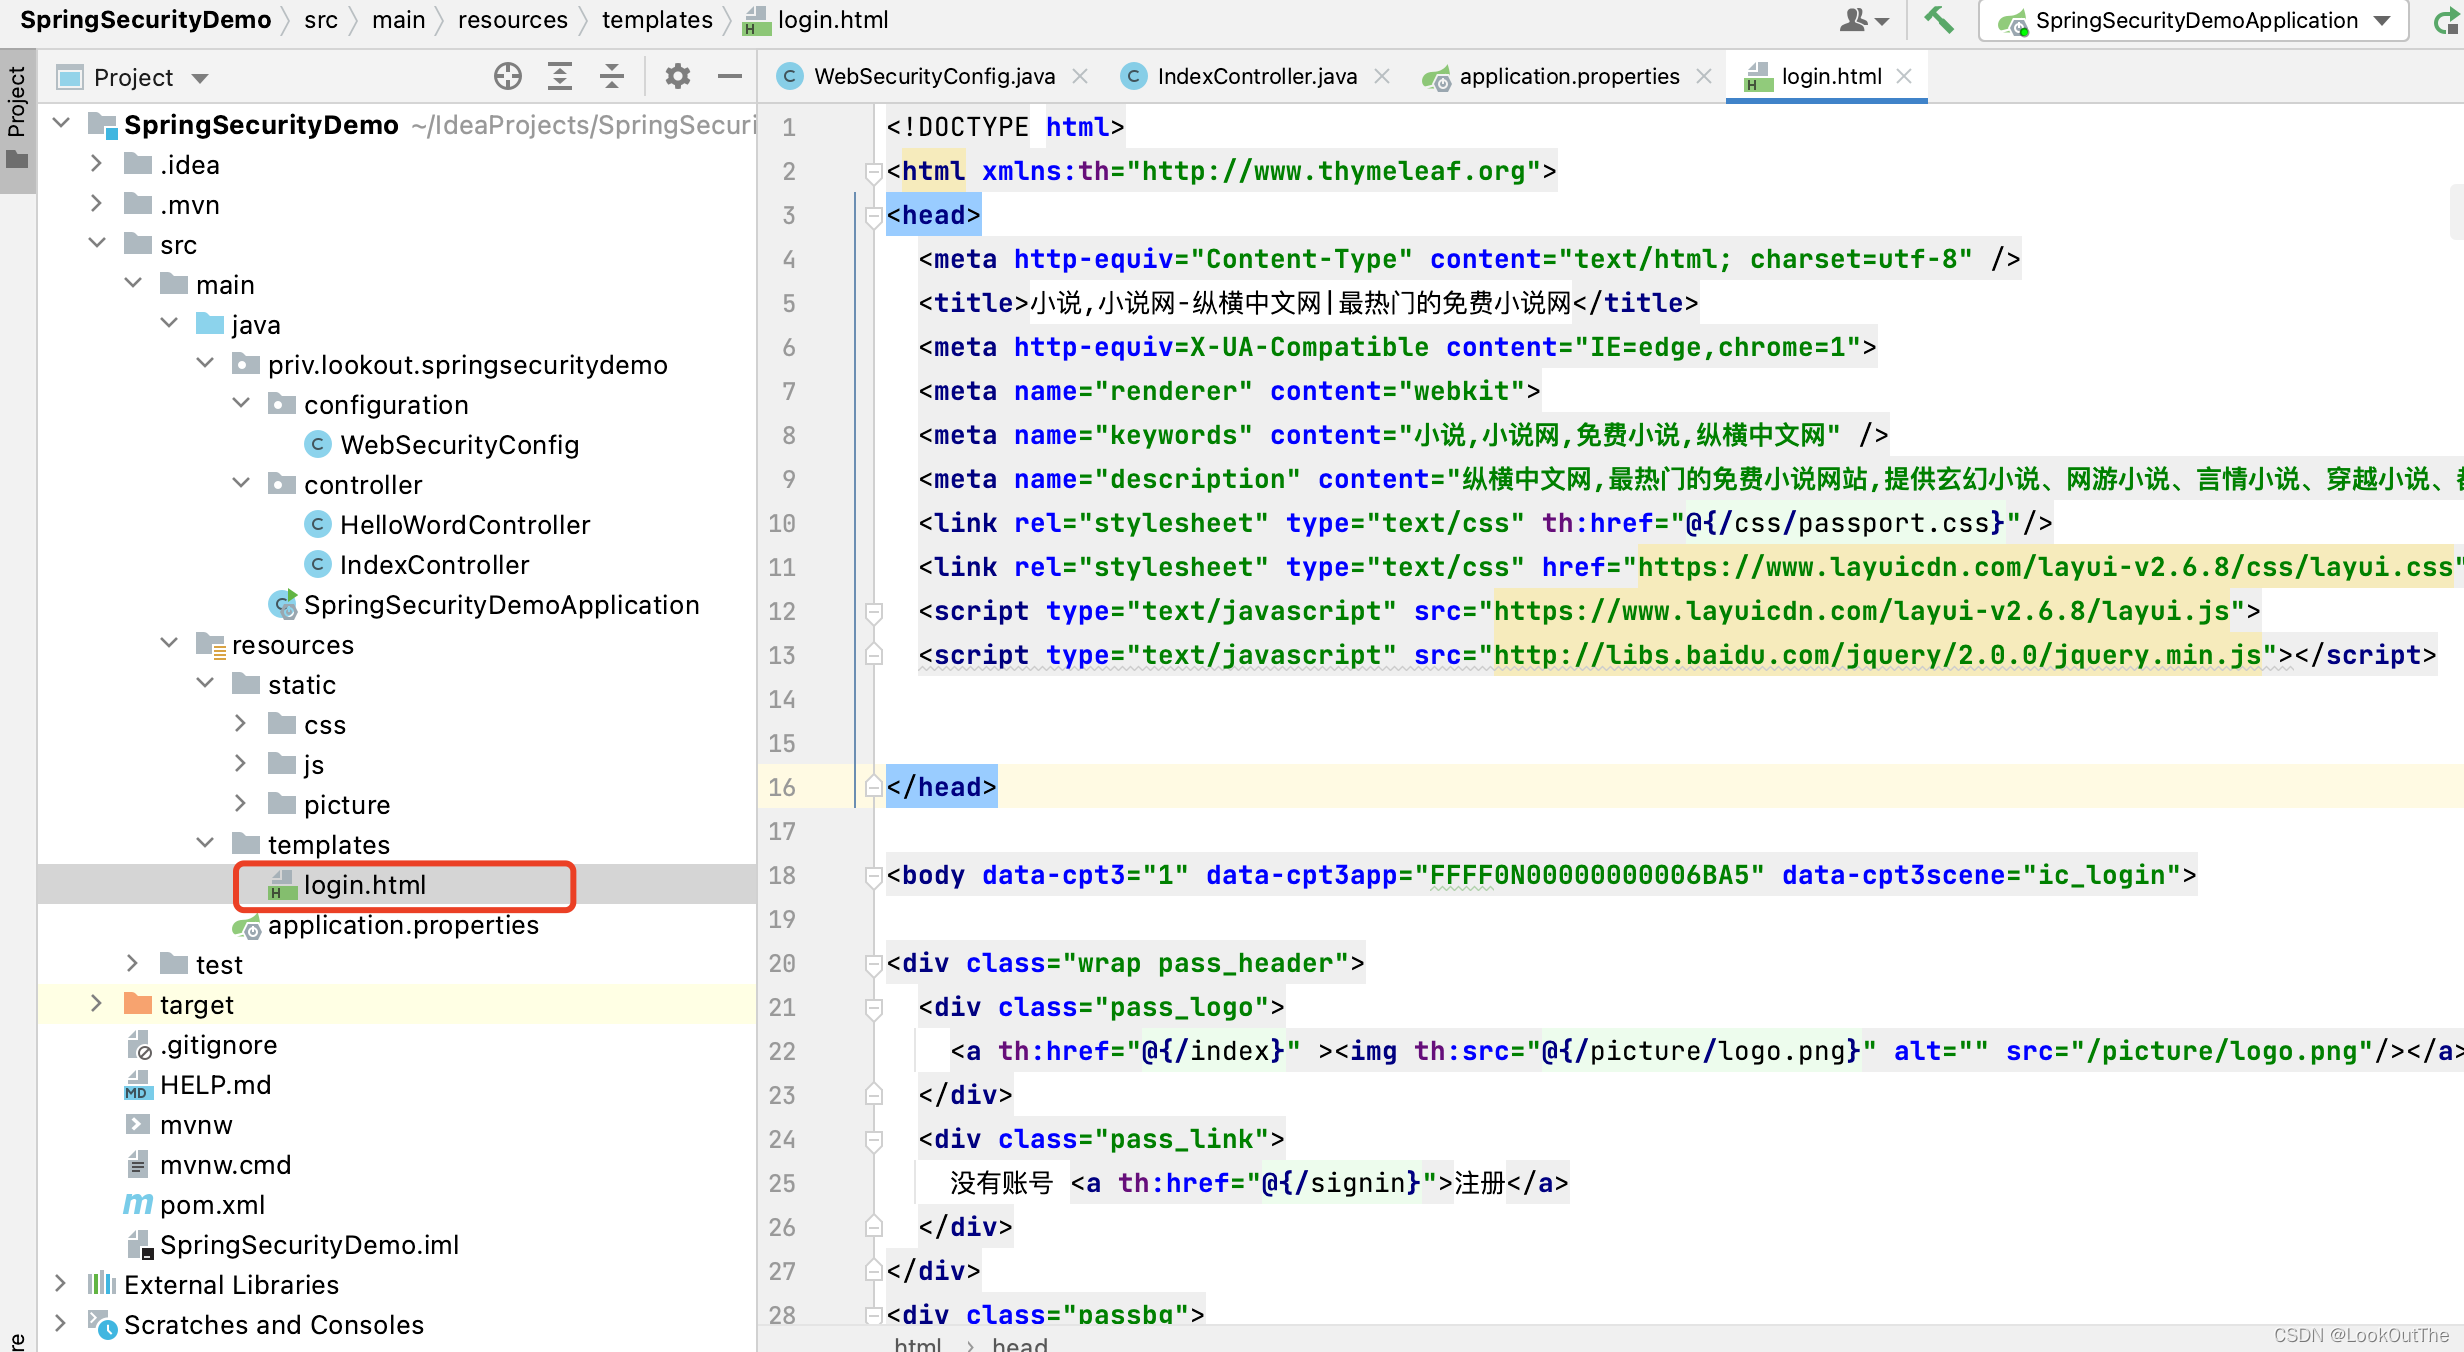
主要代码:
请求url是: /login
$.ajax({
url: "/login",
type: "POST",
data: {"username": data.field.username,"password":data.field.password},
dataType: 'json',
success: function (res) {
console.log(res);
if (res.status===200){
layer.msg(res.msg, {icon: 6});
window.location.href = "/";
}else {
layer.msg(res.msg, {icon: 5,anim: 6});
}
}
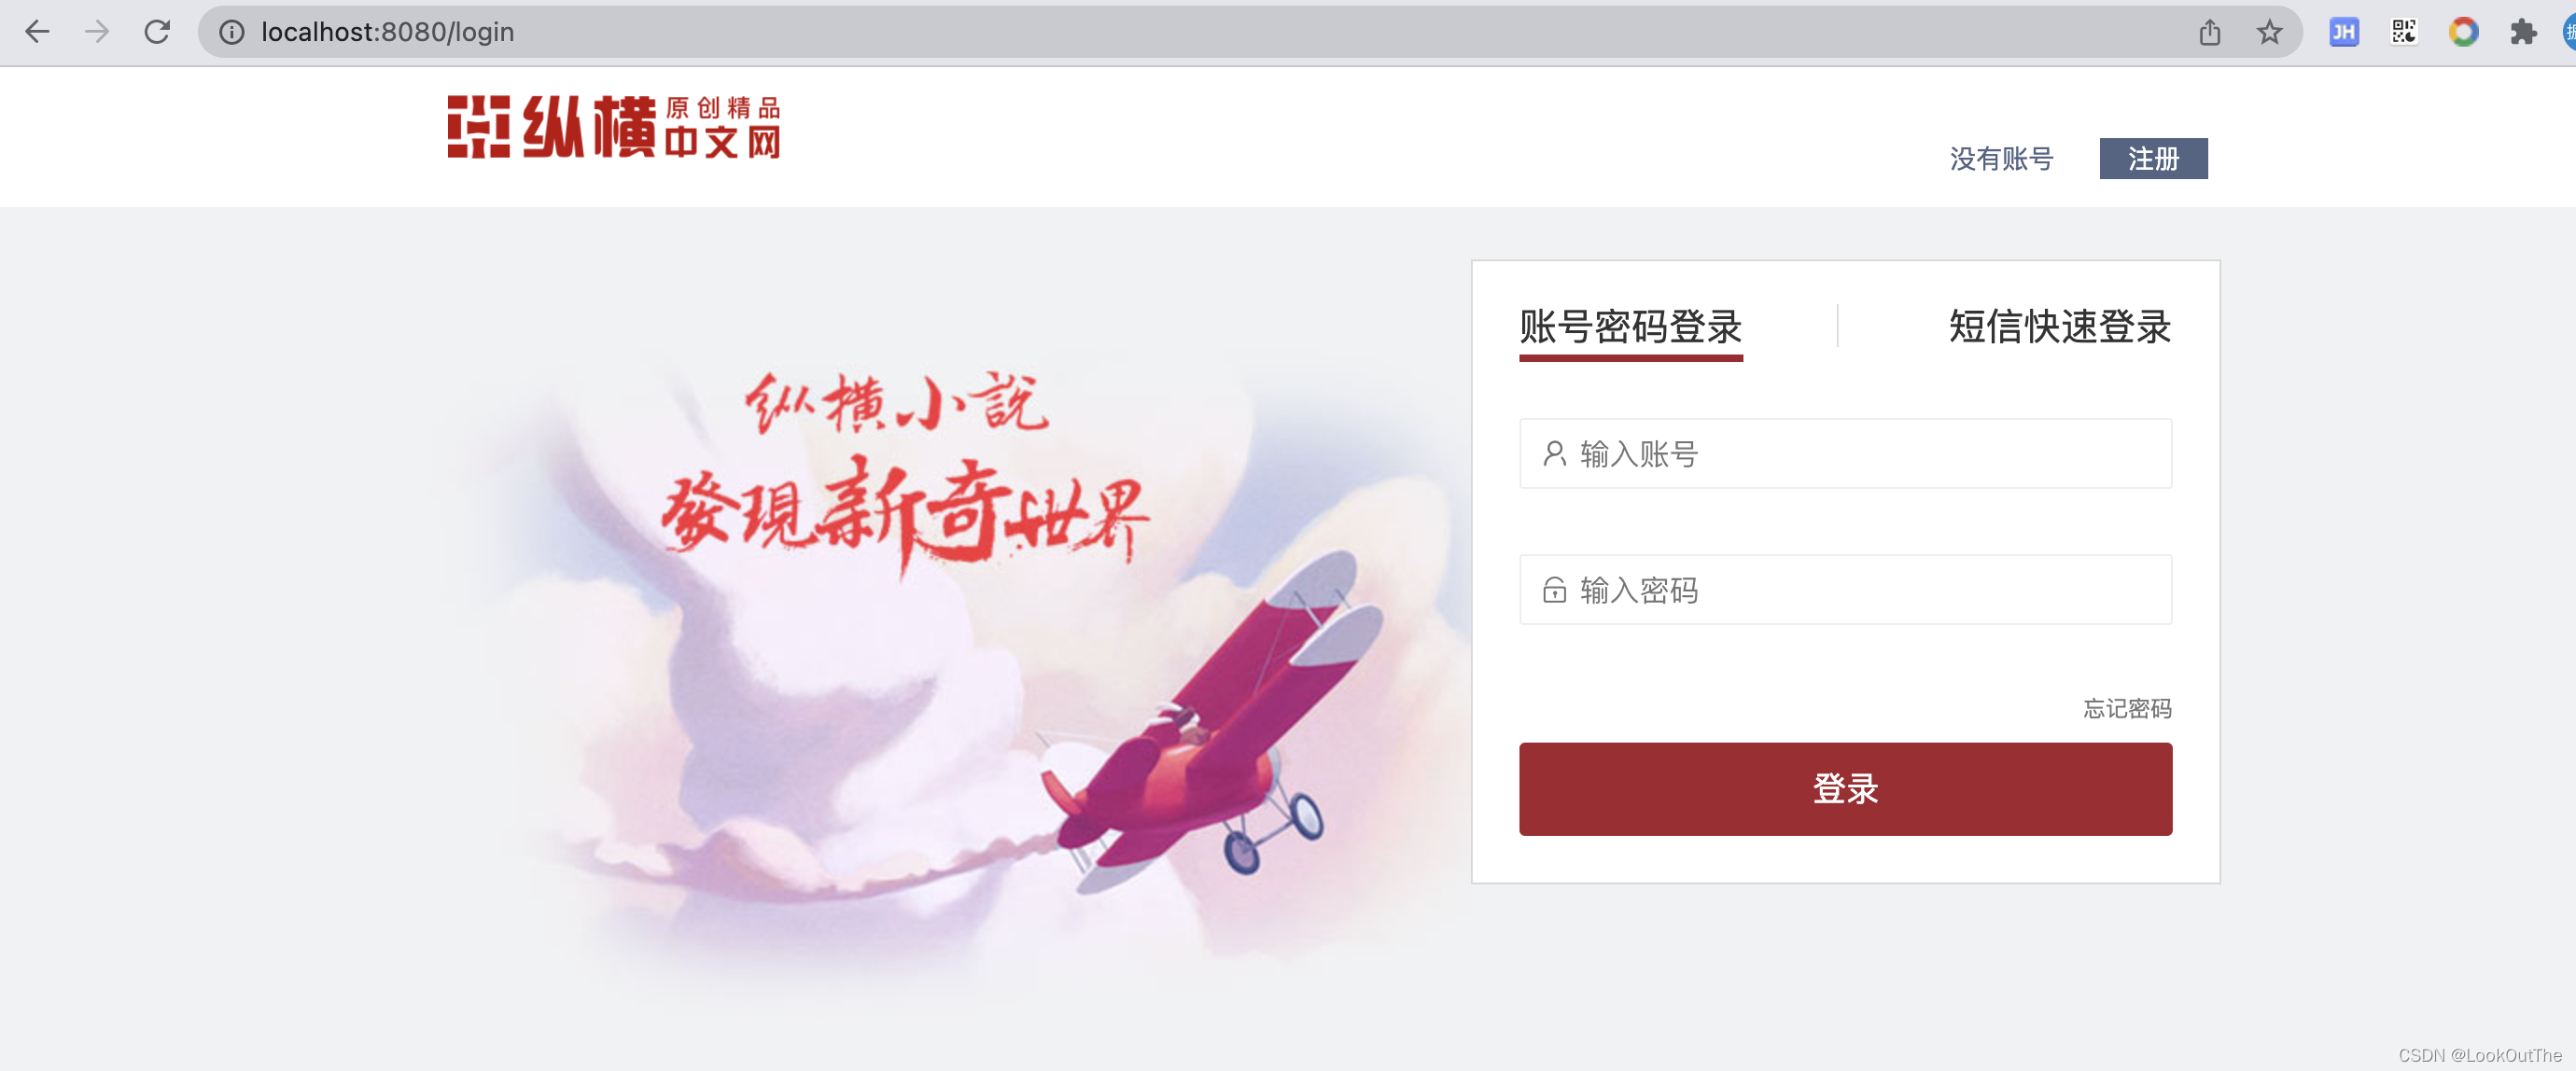
});4. 运行
访问localhost:8080跳转登录页面
5.输入账号密码点击登录
会出现2个请求,一个是登录请求login

第二个是登录成功后,帮我们自动请求的URL: /
这个路由定义:
    @GetMapping("/")
    public String index(){
        return "success";
    }
对应的HTML页面:
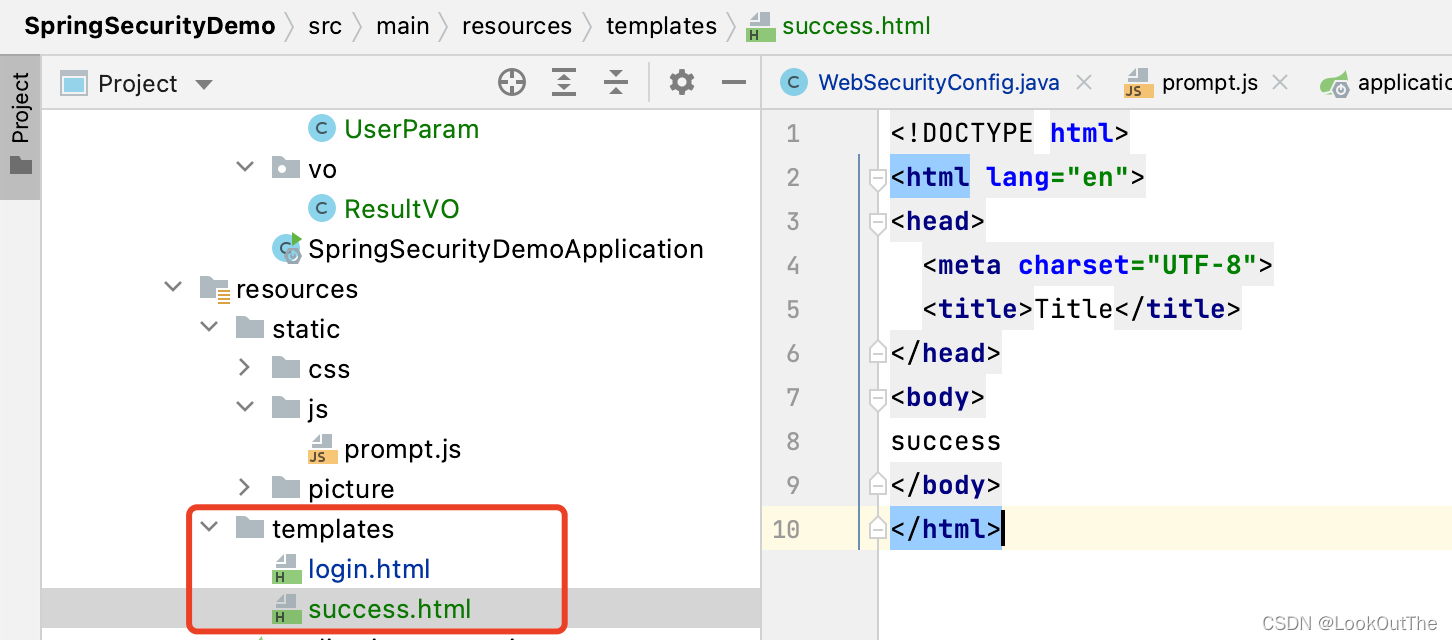
说明访问没问题,但是并没有走到ajax中的success方法,而是直接尝试跳转success页面,但是因为ajax方法,返回了文本。(如果改为表单提交则能正常跳转到success页面)
6. 处理ajax的跳转问题
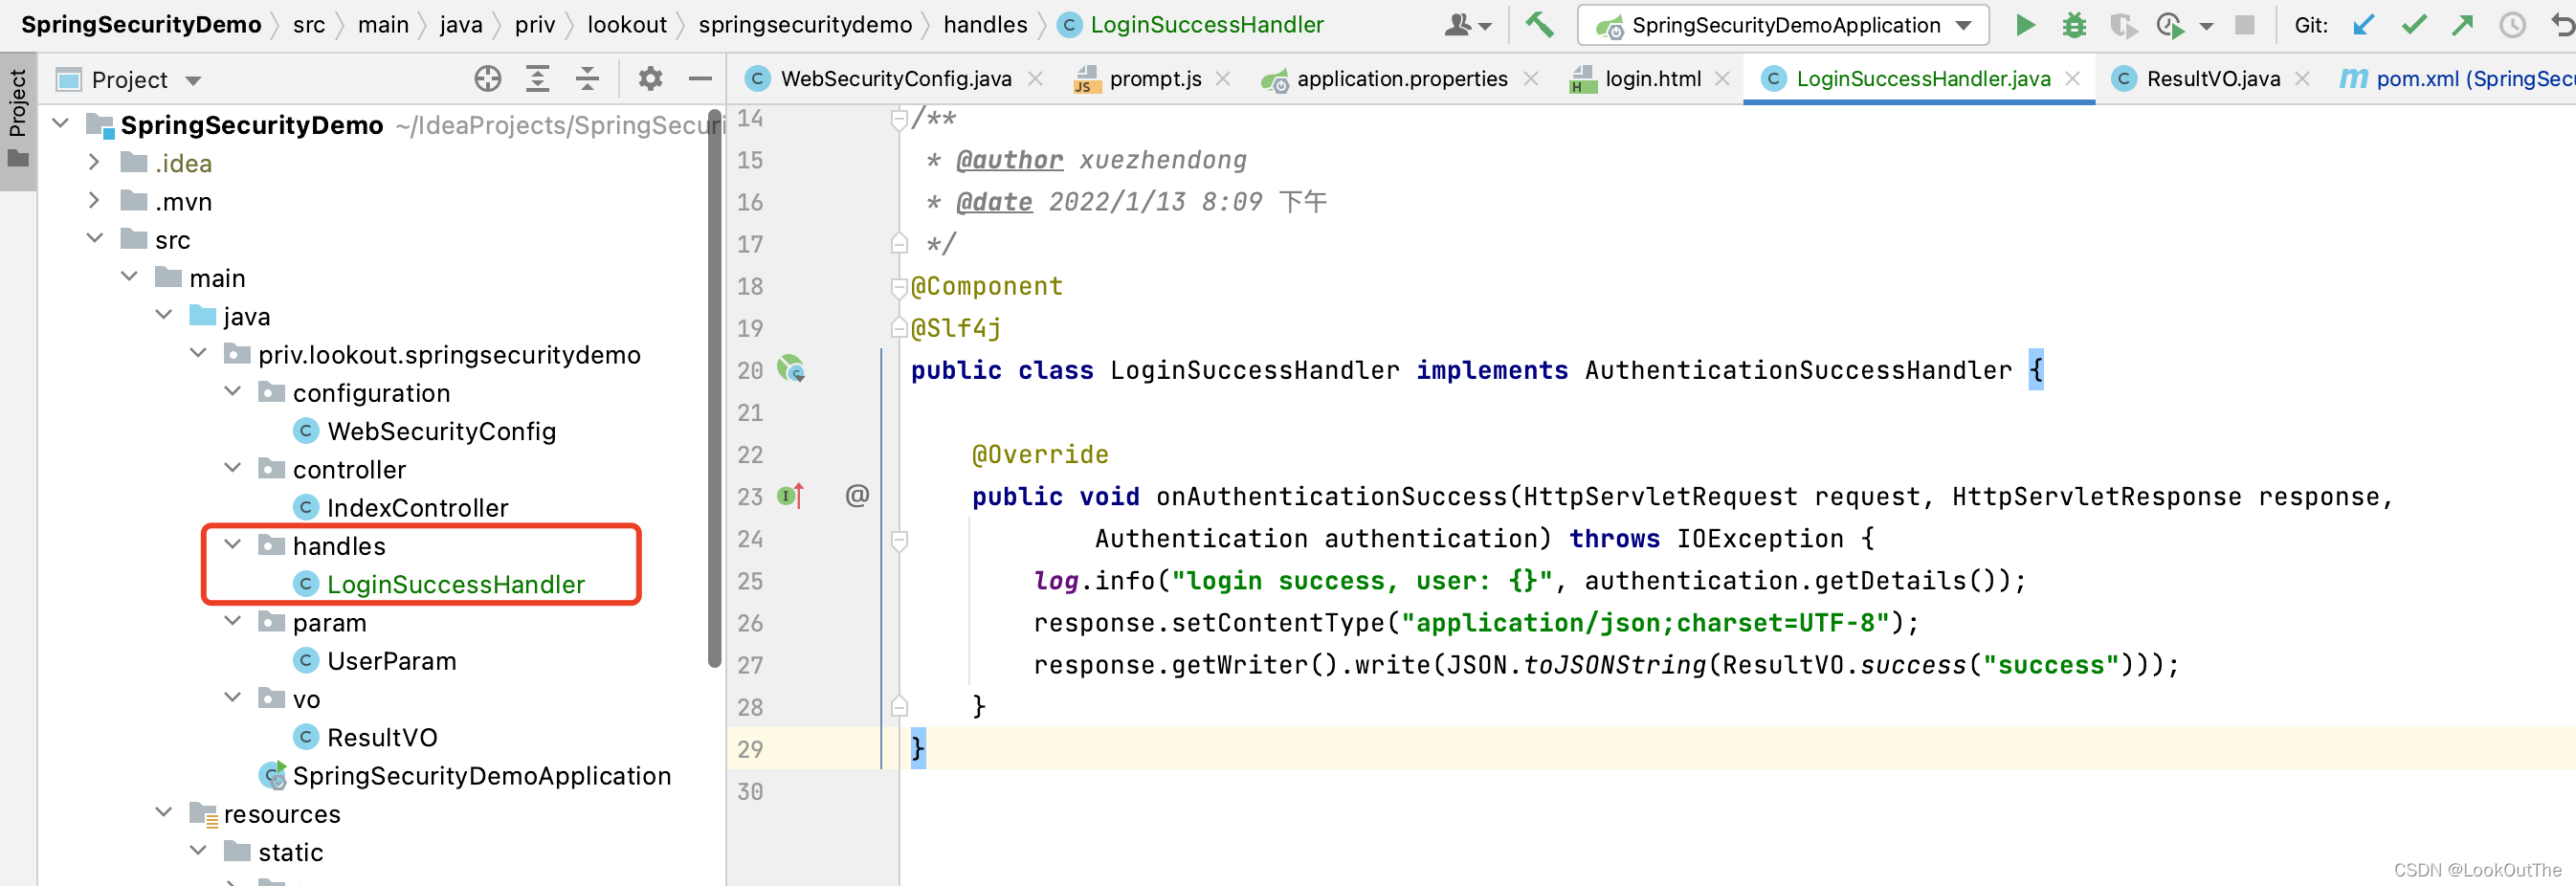
表单登录配置模块提供了 successHandler()和 failureHandler()两个方法,分别处理登录成功和登录失败的逻辑。其中,successHandler()方法带有一个Authentication参数,携带当前登录用户名及 其角色等信息;而failureHandler()方法携带一个AuthenticationException异常参数。具体处理方式需按照系统的情况自定义。
新增handler
修改配置:
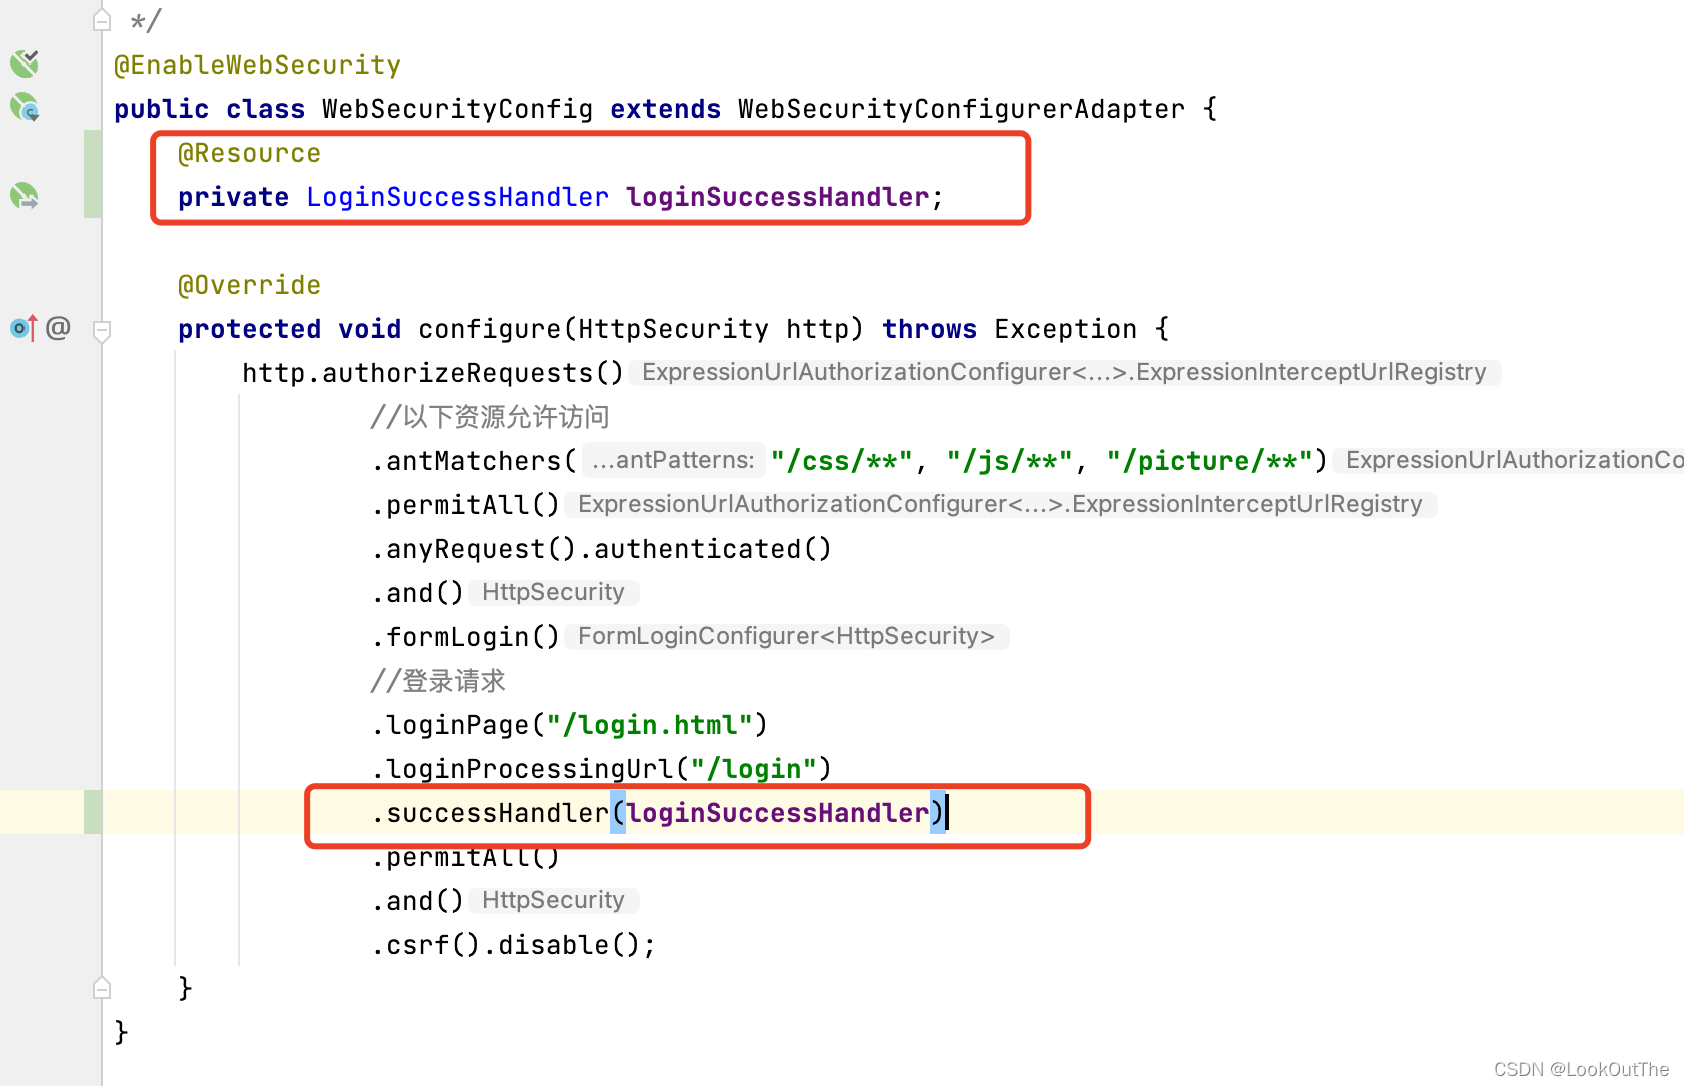
运行项目,再次登录后,ajax正常处理,跳转页面。


 525
525

 被折叠的 条评论
为什么被折叠?
被折叠的 条评论
为什么被折叠?
 到【灌水乐园】发言


