


 本文介绍了Swagger如何解决前后端集成联调的问题,通过API文档、实时测试和解释特性,提升团队协作效率。讲解了如何配置Swagger依赖、定制化文档、添加注释以及利用Swagger进行开发和测试的实战方法。
出现

前后端分离 出现的一个问题
前后端集成联调,前端人员和后端人员无法做到"及时协调,及时解决"
最终导致问题集中爆发,可能会前后端打起来
Swagger的出现解决这个问题
Swagger
作用:
1.可以通过swagger给一些比较难理解的属性或者接口,添加解释信息
2.接口文档随时更新
3.在线测试
开始
导入Swagger相关依赖
<!--swagger2 依赖-->
        <dependency>
        <groupId>io.springfox</groupId>
        <artifactId>springfox-boot-starter</artifactId>
        <version>3.0.0</version>
        </dependency>
修改Swagger的官方index.html及添加的一些功能
package com.zhang.config;
import org.springframework.context.annotation.Bean;
import org.springframework.context.annotation.Configuration;
import org.springframework.core.env.Environment;
import org.springframework.core.env.Profiles;
import springfox.documentation.builders.PathSelectors;
import springfox.documentation.builders.RequestHandlerSelectors;
import springfox.documentation.service.ApiInfo;
import springfox.documentation.service.Contact;
import springfox.documentation.spi.DocumentationType;
import springfox.documentation.spring.web.plugins.Docket;
import springfox.documentation.swagger2.annotations.EnableSwagger2;
import java.util.ArrayList;
//http://localhost:8081/swagger-ui/index.html 3.0版本的访问路径
@Configuration
@EnableSwagger2 //开启swagger2
public class swaggerConfig {
//配置swagger的Docket的bean实例
@Bean
public Docket docket(Environment environment){//参数获取配置所使用的环境
Profiles profiles = Profiles.of("dev", "test");//设置显示swagger的环境
//environment.acceptsProfiles 判断当前环境是否处于Swagger可显示的环境
boolean flag = environment.acceptsProfiles(profiles);
return new Docket(DocumentationType.SWAGGER_2)
.groupName("A")//配置开发人员的名字 heml右上角的多选框
.enable(flag)//判断swagger是否开启 true 开启 false
.apiInfo(apiInfo())
.select()//RequestHandlerSelectors.basePackage 配置swagger需要扫描的包 还有any等等要了解可以百度
.apis(RequestHandlerSelectors.basePackage("com.zhang.controller"))
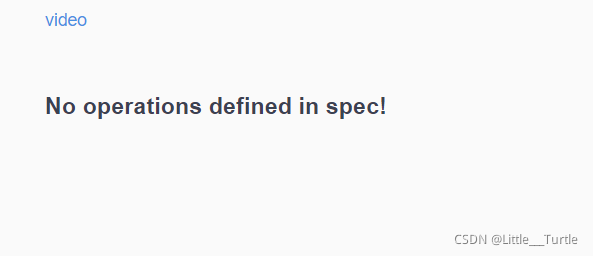
// .paths(PathSelectors.ant("/hello/h1"))//过滤什么路径 @RequestMapping("hello") @GetMapping("h1")中的东西 只访问/hello/h1
.build();
}
private ApiInfo apiInfo() {
Contact contact=new Contact("张三","https://www.bilibili.com/video/BV1Y441197Lw?p=3","12345678@qq.com");
return new ApiInfo("张三日记",
"张三的一生",
"v1.0",
"urn:tos",
contact,
"video",
"https://www.bilibili.com/video/BV1Y441197Lw?p=3",
new ArrayList());
}
}
配置路径的小技巧:
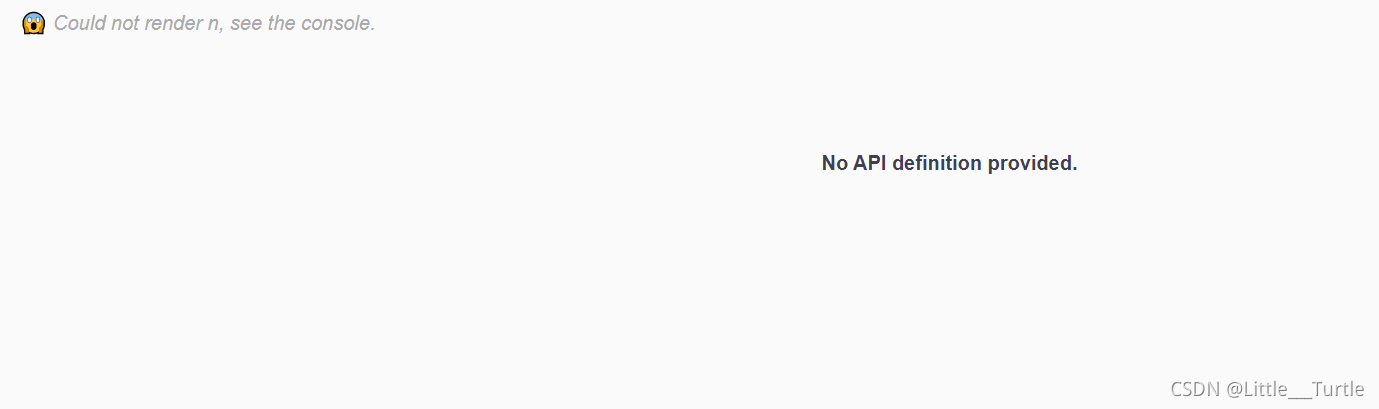
只希望在生产环境中用swagger,在发布中不使用?
1.判断是不是生产环境 flag=false
2.注入enable(flag)
不在指定开发环境的图:
过滤访问不到路径的图:
pojo中添加注释
package com.zhang.pojo;

import io.swagger.annotations.ApiModel;
import io.swagger.annotations.ApiModelProperty;
import lombok.AllArgsConstructor;
import lombok.Data;
import lombok.NoArgsConstructor;
import org.springframework.boot.context.properties.ConfigurationProperties;
import org.springframework.format.annotation.DateTimeFormat;
import org.springframework.stereotype.Component;
import org.springframework.validation.annotation.Validated;

import java.util.Date;
import java.util.List;
import java.util.Map;
@AllArgsConstructor
@NoArgsConstructor
@Data
@Component
@ApiModel("人实体类")
public class Person {
    @ApiModelProperty("名字")
    private String name;
    @ApiModelProperty("年龄")
    private int age;
    @ApiModelProperty("开心与否")
    private Boolean sad;
}
controller中添加注释:
package com.zhang.controller;

import com.zhang.pojo.Person;
import io.swagger.annotations.Api;
import io.swagger.annotations.ApiOperation;
import io.swagger.annotations.ApiParam;
import org.springframework.stereotype.Controller;
import org.springframework.web.bind.annotation.PostMapping;
import org.springframework.web.bind.annotation.RequestMapping;
import org.springframework.web.bind.annotation.ResponseBody;

@Controller
@RequestMapping("p1")
@Api(tags = "用户控制层")
public class UserController {
    @PostMapping("/person")
    @ApiOperation("填入个人信息")
    @ResponseBody//@ResponseBody的作用其实是将java对象转为json格式的数据
   public Person person(@ApiParam("用户信息")Person person){
        return person;
    }
}
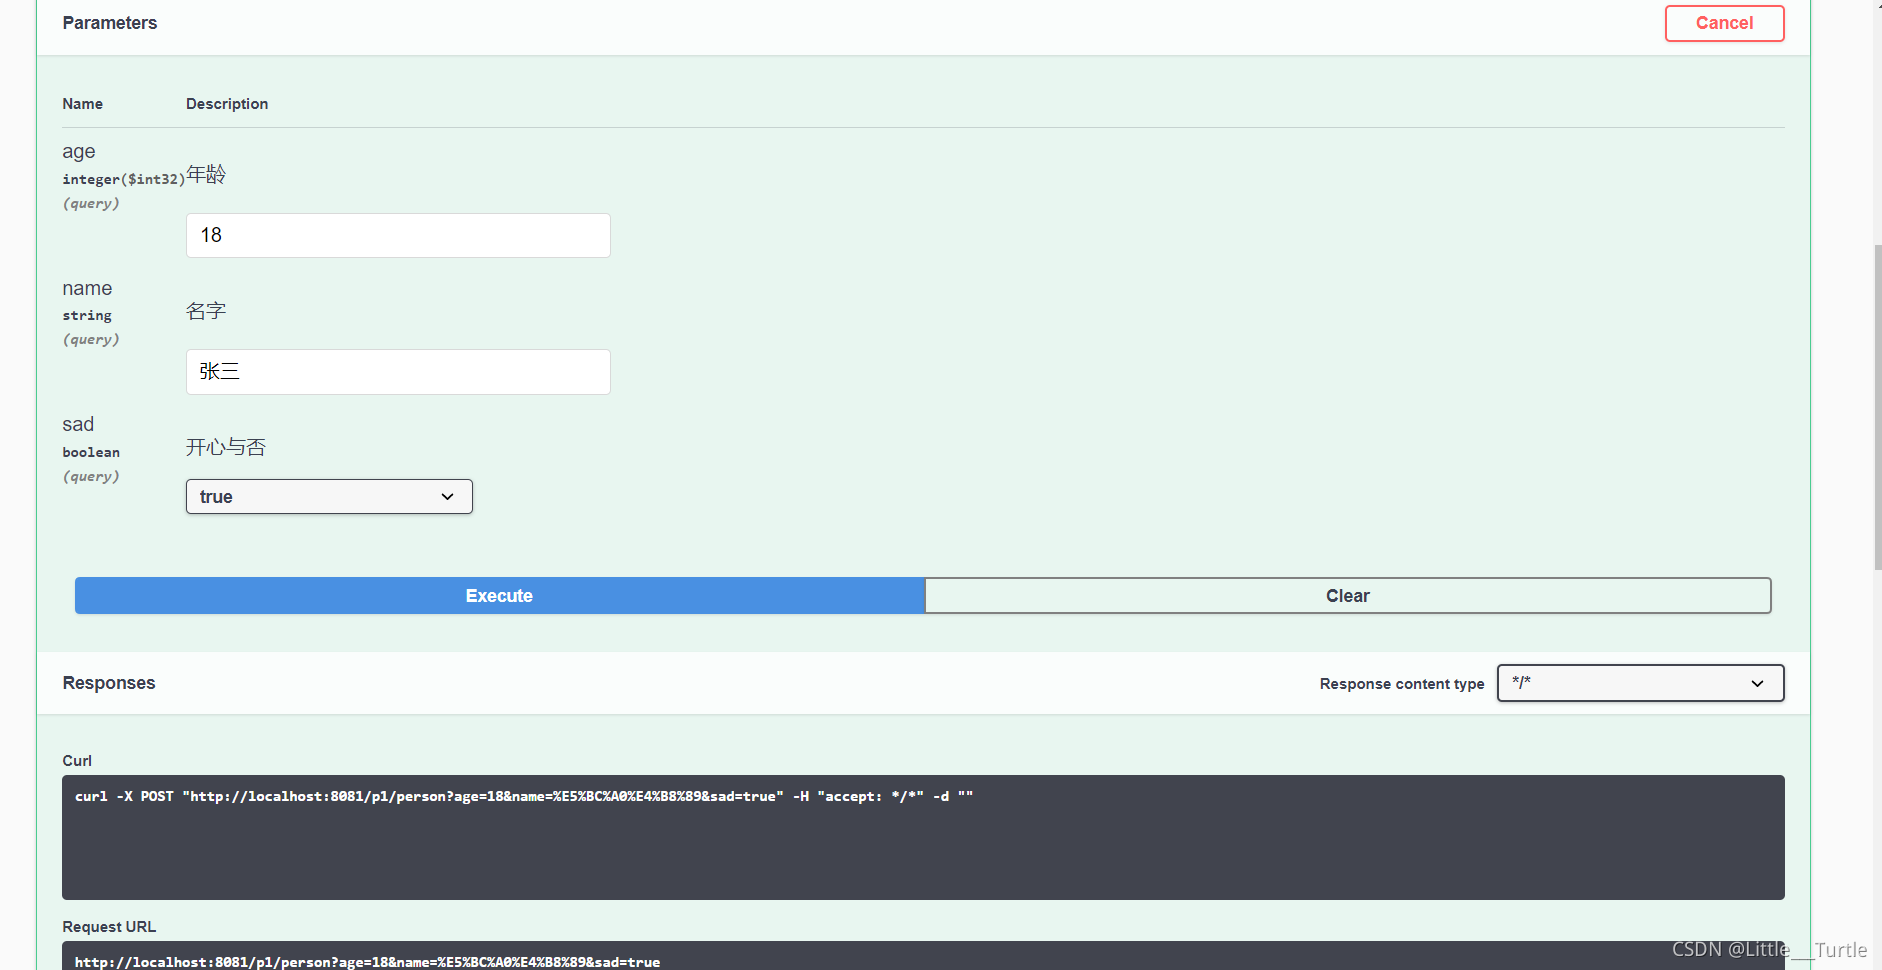
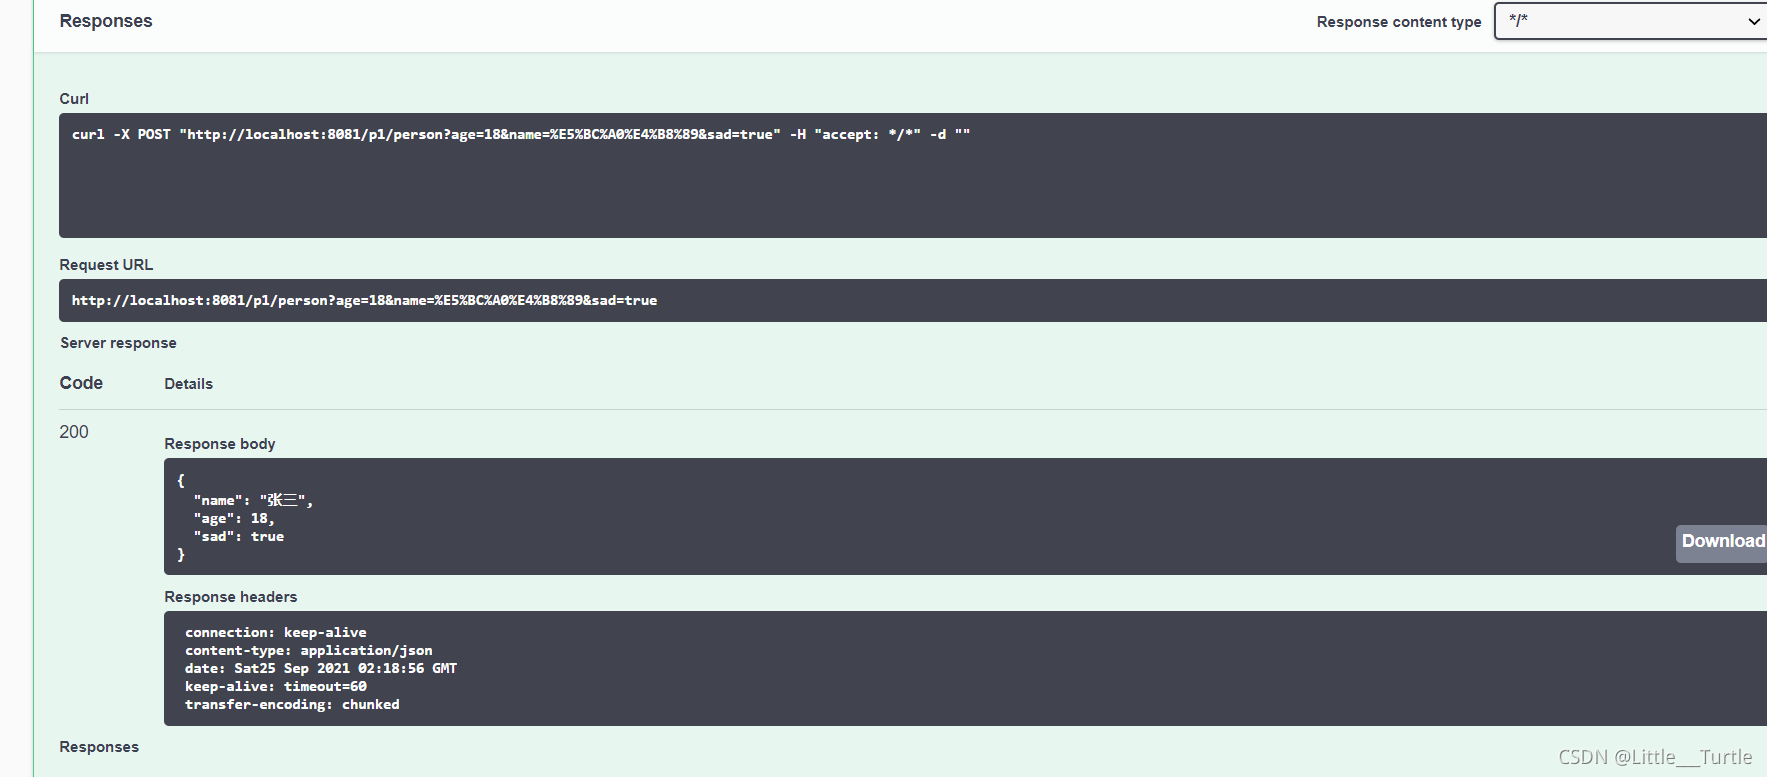
直接测试:
| Name | Description |
|---|---|
| @Api | Marks a class as a Swagger resource. |
| @ApiImplicitParam | Represents a single parameter in an API Operation. |
| @ApiImplicitParams | A wrapper to allow a list of multiple ApiImplicitParam objects. |
| @ApiModel | Provides additional information about Swagger models. |
| @ApiModelProperty | Adds and manipulates data of a model property. |
| @ApiOperation | Describes an operation or typically a HTTP method against a specific path. |
| @ApiParam | Adds additional meta-data for operation parameters. |
| @ApiResponse | Describes a possible response of an operation. |
| @ApiResponses | A wrapper to allow a list of multiple ApiResponse objects. |
| @Authorization | Declares an authorization scheme to be used on a resource or an operation. |
| @AuthorizationScope | Describes an OAuth2 authorization scope. |
@Api()用于类;
表示标识这个类是swagger的资源
@ApiOperation()用于方法;
表示一个http请求的操作
@ApiParam()用于方法,参数,字段说明;
表示对参数的添加元数据(说明或是否必填等)
@ApiModel()用于类
表示对类进行说明,用于参数用实体类接收
@ApiModelProperty()用于方法,字段
表示对model属性的说明或者数据操作更改
@ApiIgnore()用于类,方法,方法参数
表示这个方法或者类被忽略
@ApiImplicitParam() 用于方法
表示单独的请求参数
@ApiImplicitParams() 用于方法,包含多个 @ApiImplicitParam


 1418
1418

 被折叠的 条评论
为什么被折叠?
被折叠的 条评论
为什么被折叠?
 到【灌水乐园】发言


