


序言
本文给大家介绍 Zookeeper 单机部署流程、 如何与 Spring 整合使用。除此之外,还有 Zookeeper 作为注册中心与 SpringCloud 的整合流程。
一、部署流程
-
官网下载 Zookeeper 安装包
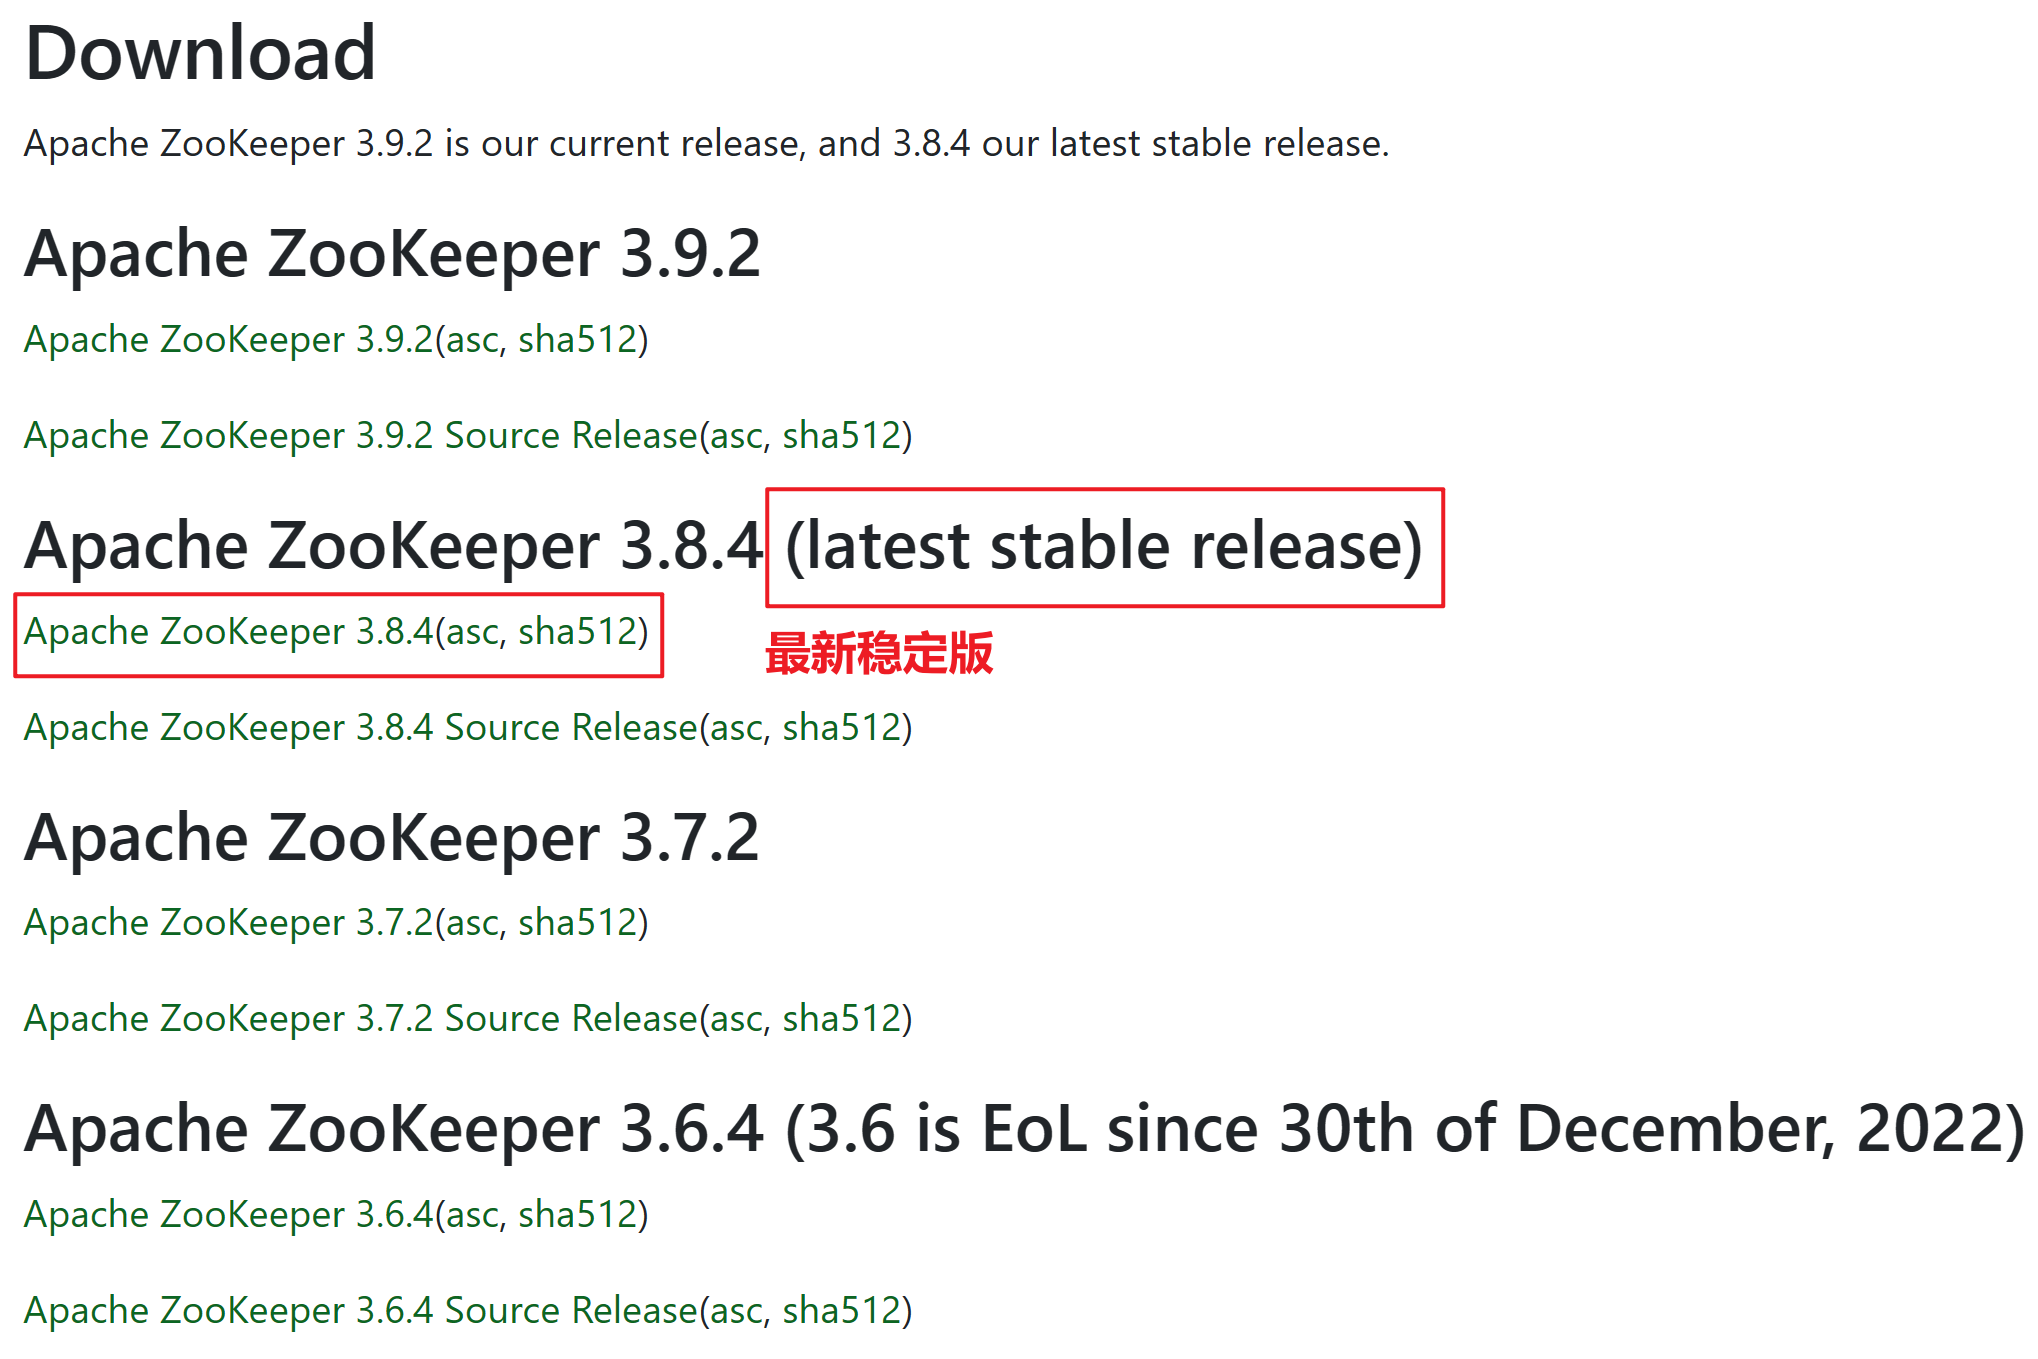
-
解压安装包到指定目录

-
进入
apache-zookeeper-3.8.4-bin/conf目录,使用cp zoo_sample.cfg zoo.cfg命令拷贝zoo_sample.cfg到当前目录。
-
进入
apache-zookeeper-3.8.4-bin目录,使用mkdir data命令创建数据存放目录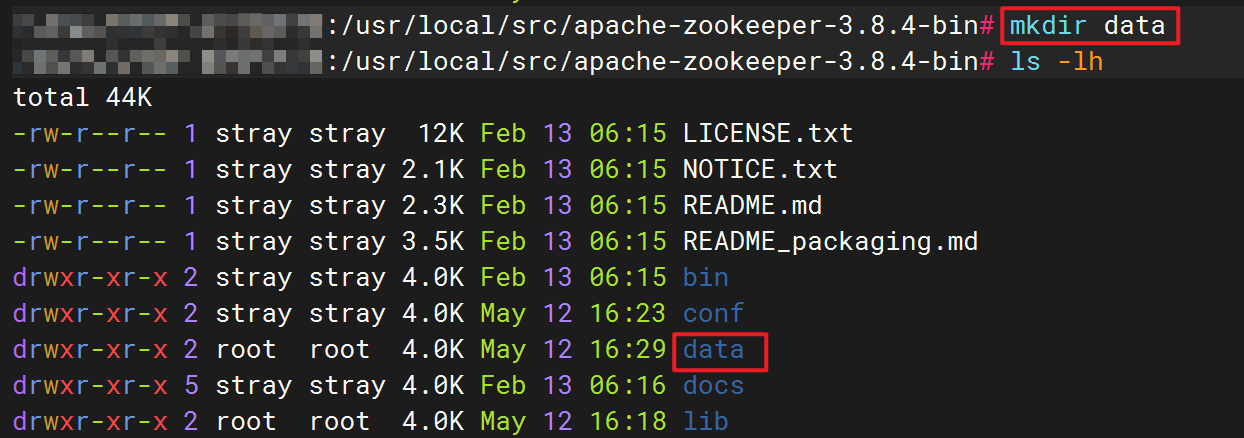
-
修改
apache-zookeeper-3.8.4-bin/conf/zoo.cfg配置文件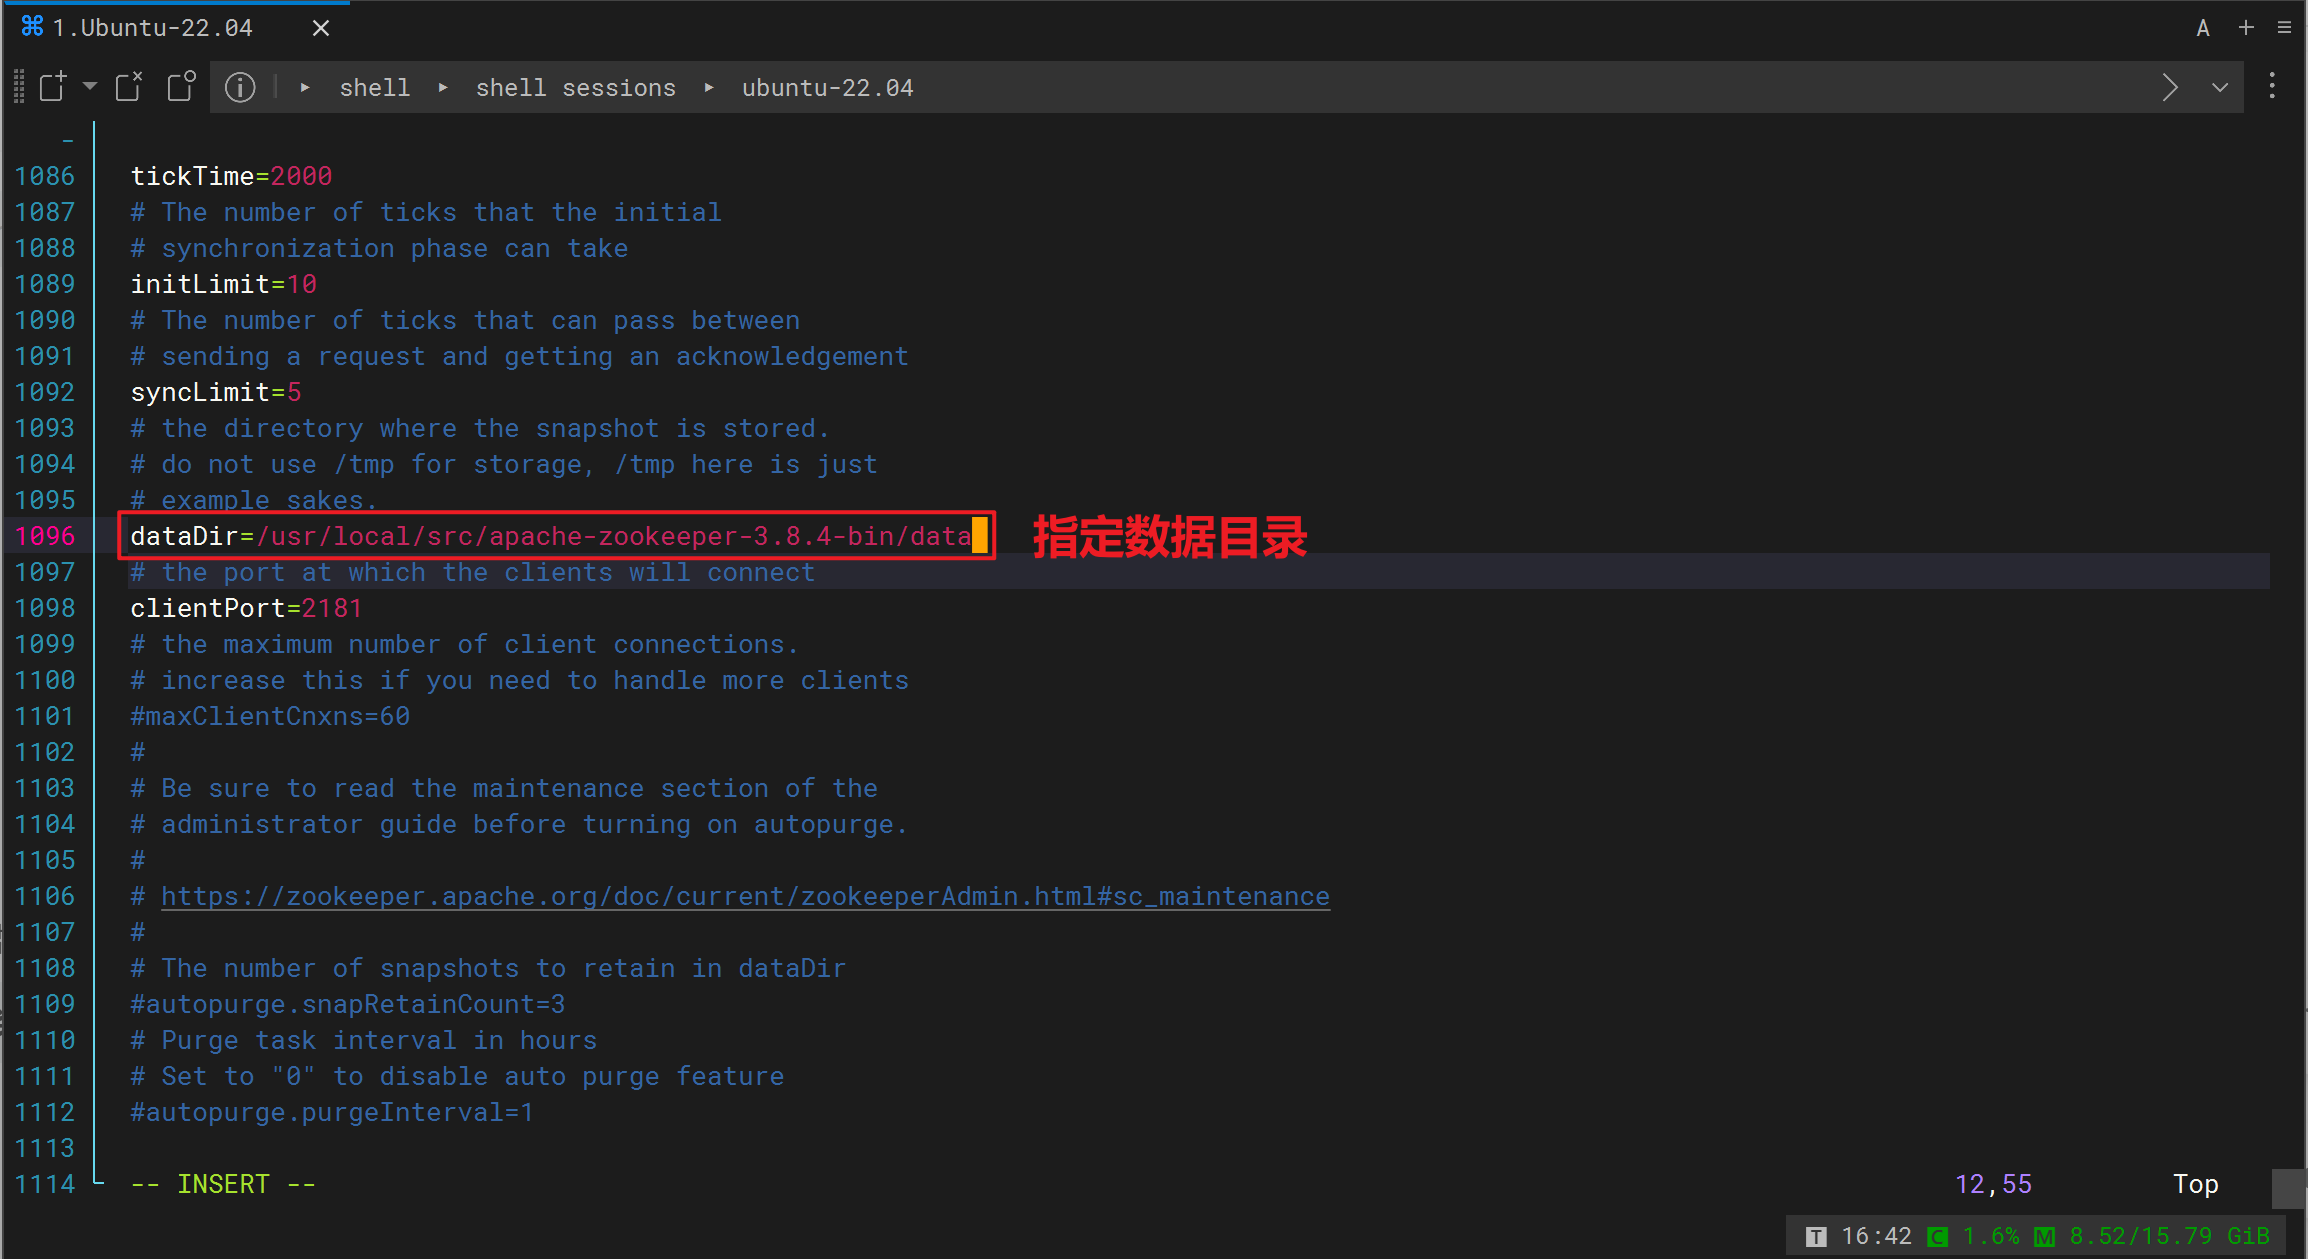
-
进入
apache-zookeeper-3.8.4-bin/bin目录,执行./zkServer.sh start命令启动 Zookeeper
二、Zookeeper 服务管理
-
启动 Zookeeper 服务
zkServer.sh start -
停止 Zookeeper 服务
zkServer.sh stop -
查看 Zookeeper 服务状态
zkServer.sh status -
重启 Zookeeper 服务
zkServer.sh restart
三、命令行客户端
-
连接 Zookeeper 服务
./zkCli.sh -server localhost:2181

# 可以直接按如下方式使用,默认指向的服务端:端口是 localhost:2181
./zkCli.sh
-
查看 Zookeeper 中的节点
ls /path
-
创建一个新的节点
# 创建新节点可以在后面跟上数据也可以不跟
create /path data
-
删除节点
delete /path
-
设置节点的数据
set /path data
-
查看节点的详细信息
get /path
-
关闭连接
quit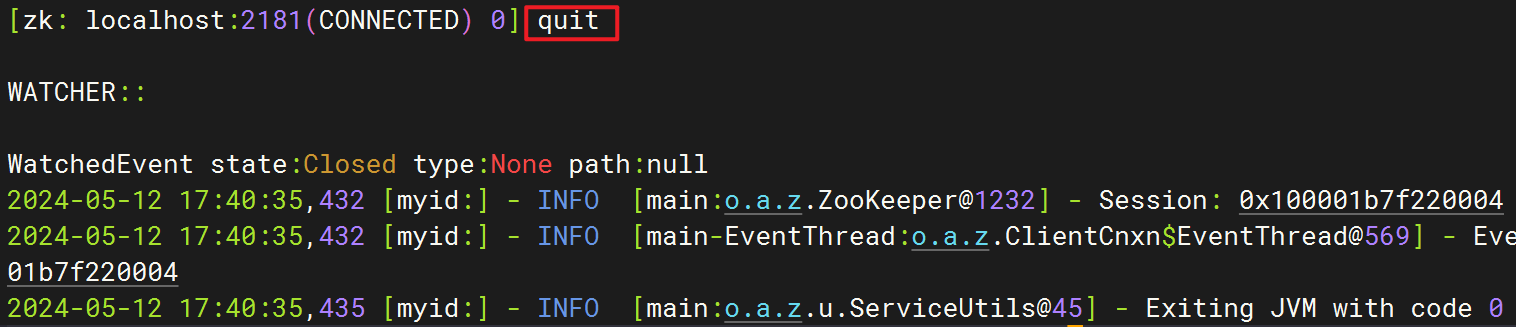
四、Spring 整合 Zookeeper
-
引入依赖
<dependencyManagement> <dependencies> <dependency> <groupId>org.springframework.boot</groupId> <artifactId>spring-boot-dependencies</artifactId> <version>2.7.3</version> <type>pom</type> <scope>import</scope> </dependency> <dependency> <groupId>org.springframework.cloud</groupId> <artifactId>spring-cloud-dependencies</artifactId> <version>2021.0.8</version> <type>pom</type> <scope>import</scope> </dependency> </dependencies> </dependencyManagement> <dependencies> <!-- 注册中心依赖 --> <dependency> <groupId>org.springframework.cloud</groupId> <artifactId>spring-cloud-starter-zookeeper-discovery</artifactId> </dependency> </dependencies> -
application.yml文件中编写配置spring: cloud: zookeeper: # 指定 Zookeeper 服务器地址 connect-string: localhost:2181 -
使用案例
@SpringBootTest
public class AppTest {

    @Resource
    private CuratorFramework curatorFramework;

    @Test
    public void test() throws Exception {
        // 创建节点(增加数据)
        curatorFramework.create().forPath("/hello", "zookeeper".getBytes());

        // 获取节点数据(查询数据)
        curatorFramework.getData().forPath("/hello");

        // 更新节点数据(修改数据)
        curatorFramework.setData().forPath("/hello", "world".getBytes());

        // 删除节点(删除数据)
        curatorFramework.delete().forPath("/hello");
    }
}
五、Zookeeper 注册中心
-
引入依赖
<dependencyManagement> <dependencies> <dependency> <groupId>org.springframework.boot</groupId> <artifactId>spring-boot-dependencies</artifactId> <version>2.7.3</version> <type>pom</type> <scope>import</scope> </dependency> <dependency> <groupId>org.springframework.cloud</groupId> <artifactId>spring-cloud-dependencies</artifactId> <version>2021.0.8</version> <type>pom</type> <scope>import</scope> </dependency> </dependencies> </dependencyManagement> <dependencies> <dependency> <groupId>org.springframework.boot</groupId> <artifactId>spring-boot-starter-web</artifactId> </dependency> <!-- 注册中心依赖 --> <dependency> <groupId>org.springframework.cloud</groupId> <artifactId>spring-cloud-starter-zookeeper-discovery</artifactId> </dependency> </dependencies> -
application.yml文件中编写配置spring: cloud: zookeeper: # 指定 Zookeeper 服务器地址 connect-string: localhost:2181 application: # 指定当前服务名称 name: user-service -
启动服务,查看服务注册情况


 1629
1629

 被折叠的 条评论
为什么被折叠?
被折叠的 条评论
为什么被折叠?
 到【灌水乐园】发言


