


在Java并发编程中,通过代码示例可以更直观地理解线程管理、同步机制和并发工具类的使用。以下是一些常见的Java并发编程示例,涵盖线程创建、同步控制、线程池、并发工具类等关键概念。
线程创建与启动
Java中创建线程的两种主要方式是继承Thread类和实现Runnable接口。这两种方式都可以用于定义线程任务并启动执行。
// 继承Thread类
public class MyThread extends Thread {
    @Override
    public void run() {
        System.out.println("线程运行中: " + Thread.currentThread().getName());
    }

    public static void main(String[] args) {
        new MyThread().start();
    }
}
// 实现Runnable接口
public class MyRunnable implements Runnable {
    @Override
    public void run() {
        System.out.println("线程运行中: " + Thread.currentThread().getName());
    }

    public static void main(String[] args) {
        new Thread(new MyRunnable()).start();
    }
}
线程池是一种更高效的线程管理方式,适用于并发任务较多的场景。Java提供了ExecutorService来简化线程池的使用。
import java.util.concurrent.ExecutorService;
import java.util.concurrent.Executors;

public class ThreadPoolExample {
    public static void main(String[] args) {
        ExecutorService executorService = Executors.newFixedThreadPool(5);
        for (int i = 0; i < 10; i++) {
            executorService.execute(() -> {
                System.out.println("任务执行中: " + Thread.currentThread().getName());
            });
        }
        executorService.shutdown();
    }
}
线程同步机制
在多线程环境下,多个线程可能同时访问共享资源,这可能导致数据不一致。Java提供了synchronized关键字和ReentrantLock来实现线程同步。
// 使用 synchronized 关键字
public class SynchronizedExample {
    private int count = 0;

    public synchronized void increment() {
        count++;
    }

    public static void main(String[] args) throws InterruptedException {
        SynchronizedExample example = new SynchronizedExample();
        Thread t1 = new Thread(() -> {
            for (int i = 0; i < 1000; i++) {
                example.increment();
            }
        });
        Thread t2 = new Thread(() -> {
            for (int i = 0; i < 1000; i++) {
                example.increment();
            }
        });

        t1.start();
        t2.start();
        t1.join();
        t2.join();

        System.out.println("最终计数值: " + example.count);
    }
}
// 使用 ReentrantLock
import java.util.concurrent.locks.Lock;
import java.util.concurrent.locks.ReentrantLock;

public class ReentrantLockExample {
    private int count = 0;
    private Lock lock = new ReentrantLock();

    public void increment() {
        lock.lock();
        try {
            count++;
        } finally {
            lock.unlock();
        }
    }

    public static void main(String[] args) throws InterruptedException {
        ReentrantLockExample example = new ReentrantLockExample();
        Thread t1 = new Thread(() -> {
            for (int i = 0; i < 1000; i++) {
                example.increment();
            }
        });
        Thread t2 = new Thread(() -> {
            for (int i = 0; i < 1000; i++) {
                example.increment();
            }
        });

        t1.start();
        t2.start();
        t1.join();
        t2.join();

        System.out.println("最终计数值: " + example.count);
    }
}
使用Condition实现线程协作
Condition接口与ReentrantLock结合使用,可以实现线程间的等待/通知机制,比传统的wait()和notify()更加灵活。
import java.util.concurrent.locks.Condition;
import java.util.concurrent.locks.Lock;
import java.util.concurrent.locks.ReentrantLock;

public class ConditionExample {
    private Lock lock = new ReentrantLock();
    private Condition condition = lock.newCondition();
    private boolean flag = false;

    public void await() throws InterruptedException {
        lock.lock();
        try {
            while (!flag) {
                condition.await();
            }
            System.out.println("等待结束");
        } finally {
            lock.unlock();
        }
    }

    public void signal() {
        lock.lock();
        try {
            flag = true;
            condition.signal();
        } finally {
            lock.unlock();
        }
    }

    public static void main(String[] args) throws InterruptedException {
        ConditionExample example = new ConditionExample();
        Thread t1 = new Thread(() -> {
            try {
                example.await();
            } catch (InterruptedException e) {
                e.printStackTrace();
            }
        });
        t1.start();

        Thread.sleep(2000);
        example.signal();
    }
}
使用CountDownLatch实现线程等待
CountDownLatch是一种同步工具类,它允许一个或多个线程等待其他线程完成操作。它通过计数器来控制线程的阻塞与释放。
import java.util.concurrent.CountDownLatch;

public class CountDownLatchExample {
    public static void main(String[] args) throws InterruptedException {
        int threadCount = 3;
        CountDownLatch latch = new CountDownLatch(threadCount);

        for (int i = 0; i < threadCount; i++) {
            new Thread(() -> {
                System.out.println("线程 " + Thread.currentThread().getName() + " 完成任务");
                latch.countDown();
            }).start();
        }

        latch.await();
        System.out.println("所有线程任务已完成");
    }
}
使用CyclicBarrier实现线程阶段性同步
CyclicBarrier用于协调多个线程在某个屏障点汇合,所有线程必须到达屏障后才能继续执行。适用于并行计算中的阶段性任务同步。
import java.util.concurrent.BrokenBarrierException;
import java.util.concurrent.CyclicBarrier;

public class CyclicBarrierExample {
    public static void main(String[] args) {
        int parties = 3;
        CyclicBarrier barrier = new CyclicBarrier(parties, () -> {
            System.out.println("所有线程已到达屏障点");
        });

        for (int i = 0; i < parties; i++) {
            new Thread(() -> {
                try {
                    System.out.println("线程 " + Thread.currentThread().getName() + " 到达屏障");
                    barrier.await();
                    System.out.println("线程 " + Thread.currentThread().getName() + " 继续执行");
                } catch (InterruptedException | BrokenBarrierException e) {
                    e.printStackTrace();
                }
            }).start();
        }
    }
}
使用Future和Callable实现异步计算
Callable接口与Future结合使用,可以实现带有返回值的异步任务执行。
import java.util.concurrent.*;

public class FutureExample {
    public static void main(String[] args) throws ExecutionException, InterruptedException {
        ExecutorService executor = Executors.newSingleThreadExecutor();
        Future<Integer> future = executor.submit(() -> {
            Thread.sleep(1000);
            return 42;
        });

        System.out.println("任务执行中...");
        System.out.println("任务结果: " + future.get());
        executor.shutdown();
    }
}
使用CompletableFuture实现异步编程
CompletableFuture是Java 8引入的异步编程工具,支持链式调用和组合多个异步任务。
import java.util.concurrent.CompletableFuture;

public class CompletableFutureExample {
    public static void main(String[] args) throws ExecutionException, InterruptedException {
        CompletableFuture<String> future = CompletableFuture.supplyAsync(() -> {
            return "Hello";
        }).thenApply(s -> s + " World");

        System.out.println(future.get());
    }
}
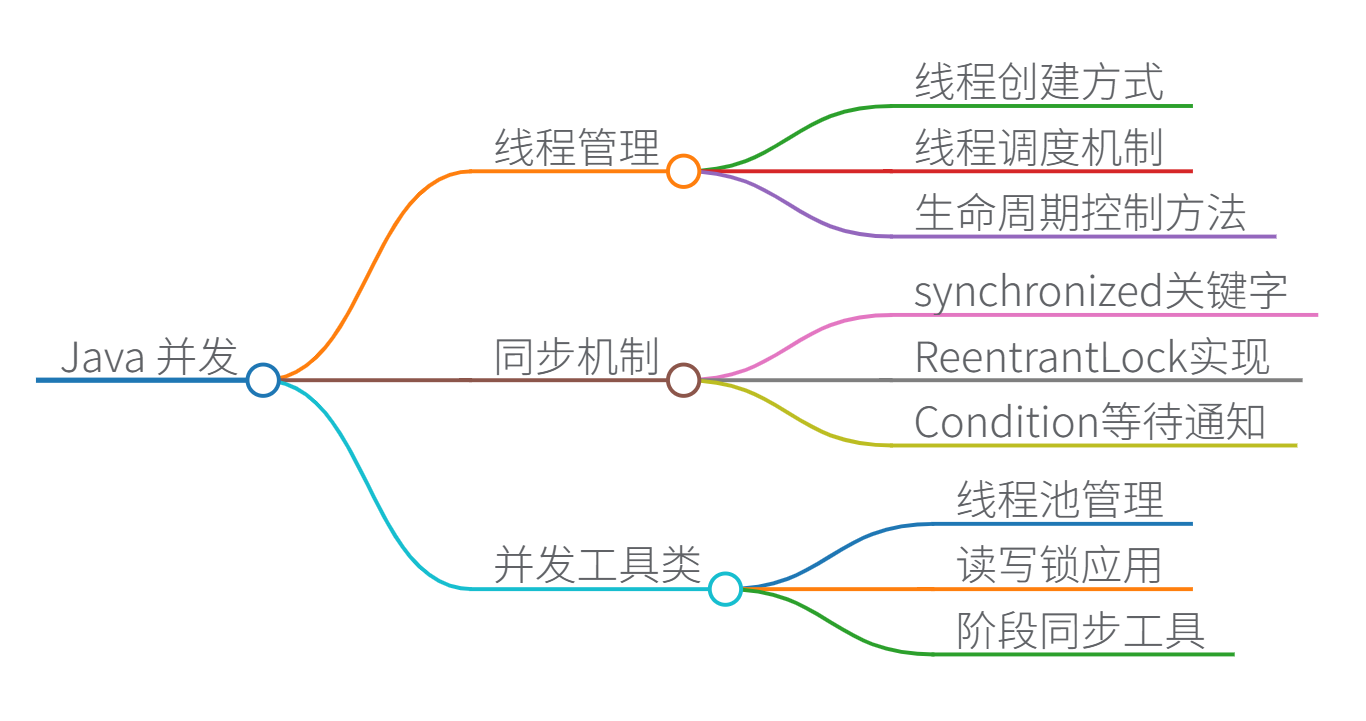
思维导图


 1335
1335

 被折叠的 条评论
为什么被折叠?
被折叠的 条评论
为什么被折叠?
 到【灌水乐园】发言


