


 本文介绍了如何使用Multi-Entry-Exit Detectors (E3) 检测器来收集交通流量数据,包括设置检测器、运行仿真及分析输出数据的过程。
一、E3检测器简介
Multi-Entry-Exit Detectors(E3)可以用来检测通过检测区域的平均速度、车辆通过检测区域的平均停车次数、车辆通过区域的平均延误、一段时间内进入检测区域车辆数、一段时间内进入检测区域但还未离开的所有车辆的平均速度、一段时间内进入检测区域但还未离开的所有车辆的平均停车次数等,详见下表。
| Name | Type | Description |
|---|---|---|
| begin | (simulation) seconds | The first time step the values were collected in |
| end | (simulation) seconds | The last time step + DELTA_T the values were collected in (may be equal to begin) |
| id | id | The id of the detector |
| meanTravelTime | s | The time vehicles needed to pass the area (the crossing of the vehicle front counts). Averaged over all vehicles which left the detector completely during the interval duration. |
| meanOverlapTravelTime | s | The time vehicles needed to pass the area (any time a part of the vehicle was in the detection range counts). Averaged over all vehicles that have left the detector completely during the interval duration. |
| meanSpeed | m/s | The mean speed of vehicles that have passed the area. Averaged over the interval and vehicles. |
| meanHaltsPerVehicle | # | The number of halts of vehicles that have passed the area. Averaged over all vehicles that have left the detector during the interval duration. |
| meanTimeLoss | s | The average time loss for all vehicles that have passed the area. |
| vehicleSum | # | The number of vehicles that have left the area during the interval. |
| meanSpeedWithin | m/s | The mean speed of those vehicles that have entered, but not yet left the area. Averaged over the time each vehicle was in the area and vehicles. |
| meanHaltsPerVehicleWithin | m/s | The mean number of haltings of those vehicles that have entered, but not yet left the area. Averaged over the time each vehicle was in the area and vehicles. |
| meanDurationWithin | s | The mean duration is within the area of those vehicles that have entered, but not yet left the area. Averaged over the time each vehicle was in the area and vehicles. |
| vehicleSumWithin | s | The number of vehicles that have entered but not yet left the area. |
| meanIntervalSpeedWithin | m/s | The mean speed of those vehicles that have entered, but not yet left the area, collected during the written interval. Averaged over the interval and vehicles. |
| meanIntervalHaltsPerVehicleWithin | # | The number of vehicles that have left the area during the interval, collected during the written interval. Averaged over the interval and vehicles. |
| meanIntervalDurationWithin | s | The number of vehicles that have left the area during the interval, collected during the written interval. Averaged over the interval and vehicles. |
| meanTimeLossWithin | s | The average time loss collected by vehicles that have entered but not yet left the area during the written interval. |
二、设置检测器
1. 创建 .add 文件
在文件夹中创建一个文本文件,将后缀改为“.add”。
2.写文件
用pycharm打开文件,将官网中关于定义的代码模板复制进去。
<additional>
   <entryExitDetector id="<ID>" freq="<AGGREGATION_TIME>" file="<OUTPUT_XMLFILE>"
   timeThreshold="<FLOAT>" speedThreshold="<FLOAT>">
      <detEntry lane="<LANE_ID1>" pos="<POSITION_ON_LANE>" friendlyPos="<BOOL>"/>
      <detEntry lane="<LANE_ID2>" pos="<POSITION_ON_LANE>" friendlyPos="<BOOL>"/>
      <detExit lane="<LANE_ID1>" pos="<POSITION_ON_LANE>" friendlyPos="<BOOL>"/>
      <detExit lane="<LANE_ID3>" pos="<POSITION_ON_LANE>" friendlyPos="<BOOL>"/>

      ... further entries ...

   </entryExitDetector>
</additional>
根据自己的实际需要修改其中的参数。
输入参数包括:
- ID编号;
- freq检测频率,经过多长时间要汇总一次检测数据,单位为秒;
- file输出文件的路径,文档名称,可以是.xml文件;
- timeThreshold,一个时间阈值,过多长时间车辆可以被认为是停车(问题:这个时间是指车辆在某个地方停留不动的时间吗),默认为1s;
- speedThreshold,基于速度的阈值,用于描述车辆必须以多慢的速度被识别为停车,默认为5/3.6m/s;
- openEntry,一个逻辑变量,为真时表示若发生检测到车辆从检测区域出去却没有检测到其进入检测区域的情况时,不报错;
- vTypes,类型为string,需要检测的车辆类型;
- detectPersons,类型为string,表示需要检测的是行人或乘客而不是机动车。
之后,设置检测器的位置。输入在哪条车道,即车道ID、什么位置设置检测器。一个Entry和它对应的Exit组成一个检测器。
<additional>
   <entryExitDetector id="ETW1" freq="30" file="output_E3.xml"
   timeThreshold="1" speedThreshold="3.6">
      <detEntry lane="-E1_0" pos="40" friendlyPos="<BOOL>"/> #东进口右转
      <detEntry lane="-E1_1" pos="40" friendlyPos="<BOOL>"/> #东进口第1直行车道
      <detEntry lane="-E1_2" pos="40" friendlyPos="<BOOL>"/> #东进口第2直行车道
      <detEntry lane="-E1_3" pos="40" friendlyPos="<BOOL>"/> #东进口第3直行车道
      <detEntry lane="-E1_4" pos="40" friendlyPos="<BOOL>"/> #东进口第1左转车道
      <detExit lane="E3_0" pos="40" friendlyPos="<BOOL>"/> #东进口右转
      <detExit lane="E0_0" pos="40" friendlyPos="<BOOL>"/> #东进口第1直行车道
      <detExit lane="E0_1" pos="40" friendlyPos="<BOOL>"/> #东进口第2直行车道
      <detExit lane="E0_2" pos="40" friendlyPos="<BOOL>"/> #东进口第3直行车道
      <detExit lane="E2_2" pos="40" friendlyPos="<BOOL>"/> #东进口第1左转车道

      ... further entries ...

   </entryExitDetector>
</additional>
三、进行仿真与检测
1.创建configuration文件
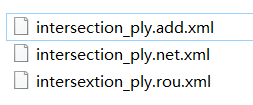
通过在netedit里画交叉口,得到了.net文件,也已经写好了.rou文件,还有上一步刚写好的用于布置检测器.add文件以及用于输出检测结果的.xml文件,接下来要通过configuration文件使他们能够运行。configuration文件的代码格式如下:
<configuration>
    <input>
        <net-file value="hello.net.xml"/>
        <route-files value="hello.rou.xml"/>
    </input>
    <time>
        <begin value="0"/>
        <end value="10000"/>
    </time>
</configuration>
除了net-file/route-file,configuration文件还可以输入这些:(详见链接:https://sumo.dlr.de/userdoc/sumo.html)
关于设置检测器时需要编写的.add文件的介绍:https://sumo.dlr.de/docs/sumo.html#format_of_additional_files
| Option | Description |
|---|---|
| -n <FILE> --net-file <FILE> | Load road network description from FILE |
| -r <FILE> --route-files <FILE> | Load routes descriptions from FILE(s) |
| -a <FILE> --additional-files <FILE> | Load further descriptions from FILE(s) |
| -w <FILE> --weight-files <FILE> | Load edge/lane weights for online rerouting from FILE |
| -x <STRING> --weight-attribute <STRING> | Name of the xml attribute which gives the edge weight; default: traveltime |
| --load-state <FILE> | Loads a network state from FILE |
| --load-state.offset <TIME> | Shifts all times loaded from a saved state by the given offset; default: 0 |
| --load-state.remove-vehicles | Removes vehicles with the given IDs from the loaded state |
| --junction-taz <BOOL> | Initialize a TAZ for every junction to use attributes toJunction and fromJunction; default: false |
创建一个文本文件,把后缀改为“.sumocfg"。用pycharm打开进行编辑。
<configuration>
    <input>
        <net-file value="intersection_ply.net.xml"/>
        <route-files value="intersection_ply.rou.xml"/>
        <additional-files value="intersection_ply.add.xml"/>
    </input>

    <time>
        <begin value="0"/>
        <end value="7200"/>
    </time>
</configuration>
2.进行仿真
用sumo-gui打开上一步的配置文件。

出现了错误,表示路网文件打不开,在文件夹看了一下,发现是路网文件的名字打错了,导致configuration文件中的路网文件名与实际的路网文件名不一致。
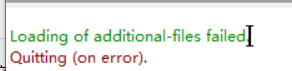
修改后又出现了新的错误,显示add文件加载失败:Loading of additional-files failed.
为了确定其他文件有没有问题,先在configuration文件中把与add文件相关的代码删掉,看看如果不加检测器的话是否能正常运行。
<configuration>
    <input>
        <net-file value="intersection_ply.net.xml"/>
        <route-files value="intersection_ply.rou.xml"/>


    </input>

    <time>
        <begin value="0"/>
        <end value="7200"/>
    </time>
</configuration>
用sumo-gui打开,仍然报错:Invalid departLane definition for flow 'd11'
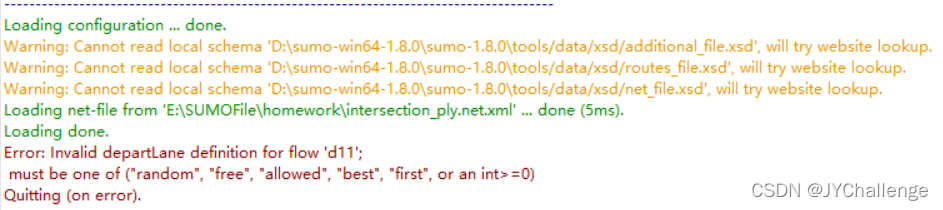
说明rou文件写错了。经过一番查找之后,发现“departLane"设置错了,不能输入车道的编号,需输入对应的index。
 #东进口第1左转车道
    <flow id="d11" color="1,1,0"  begin="0" end= "7200" vehsPerHour='180' type="CarA" departLane="-E1_4" departSpeed="max">
     <route edges="-E1 E2"/>
</flow> 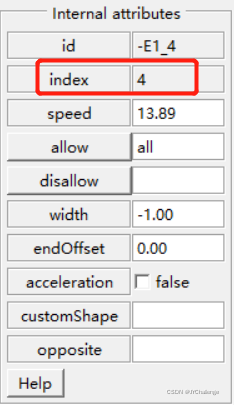
把上面的“departLane"参数改成如下形式(其他flow也进行修改),成功运行:
 #东进口第1直行车道
    <flow id="d12" color="1,1,0"  begin="0" end= "7200" vehsPerHour='296' type="CarA" departLane="1" departSpeed="max">
     <route edges="-E1 E0"/>
    </flow>
接下来把add文件重新加入到configuration文件中,看能否运行。还是显示Loading of additional-files failed.拖动报错栏,发现它提示了我哪里出错了——friendlyPos="<BOOL>"没有设置。(这个错误实在是...)
<detEntry lane="-E1_0" pos="40" friendlyPos="<BOOL>"/> #东进口右转通过搜索发现friendlyPos表示当设置的pos超出lane的范围是,自动设置位置为lane的起点或者终点,因此将其设置为1,改后代码如下,成功运行。
<additional>
<entryExitDetector id="ETW1" freq="30" file="output_E3.xml"
timeThreshold="1" speedThreshold="3.6">
<detEntry lane="-E1_0" pos="40" friendlyPos="1"/> #东进口右转
<detEntry lane="-E1_1" pos="40" friendlyPos="1"/> #东进口第1直行车道
<detEntry lane="-E1_2" pos="40" friendlyPos="1"/> #东进口第2直行车道
<detEntry lane="-E1_3" pos="40" friendlyPos="1"/> #东进口第3直行车道
<detEntry lane="-E1_4" pos="40" friendlyPos="1"/> #东进口第1左转车道
<detExit lane="E3_0" pos="40" friendlyPos="1"/> #东进口右转
<detExit lane="E0_0" pos="40" friendlyPos="1"/> #东进口第1直行车道
<detExit lane="E0_1" pos="40" friendlyPos="1"/> #东进口第2直行车道
<detExit lane="E0_2" pos="40" friendlyPos="1"/> #东进口第3直行车道
<detExit lane="E2_2" pos="40" friendlyPos="1"/> #东进口第1左转车道
... further entries ...
</entryExitDetector>
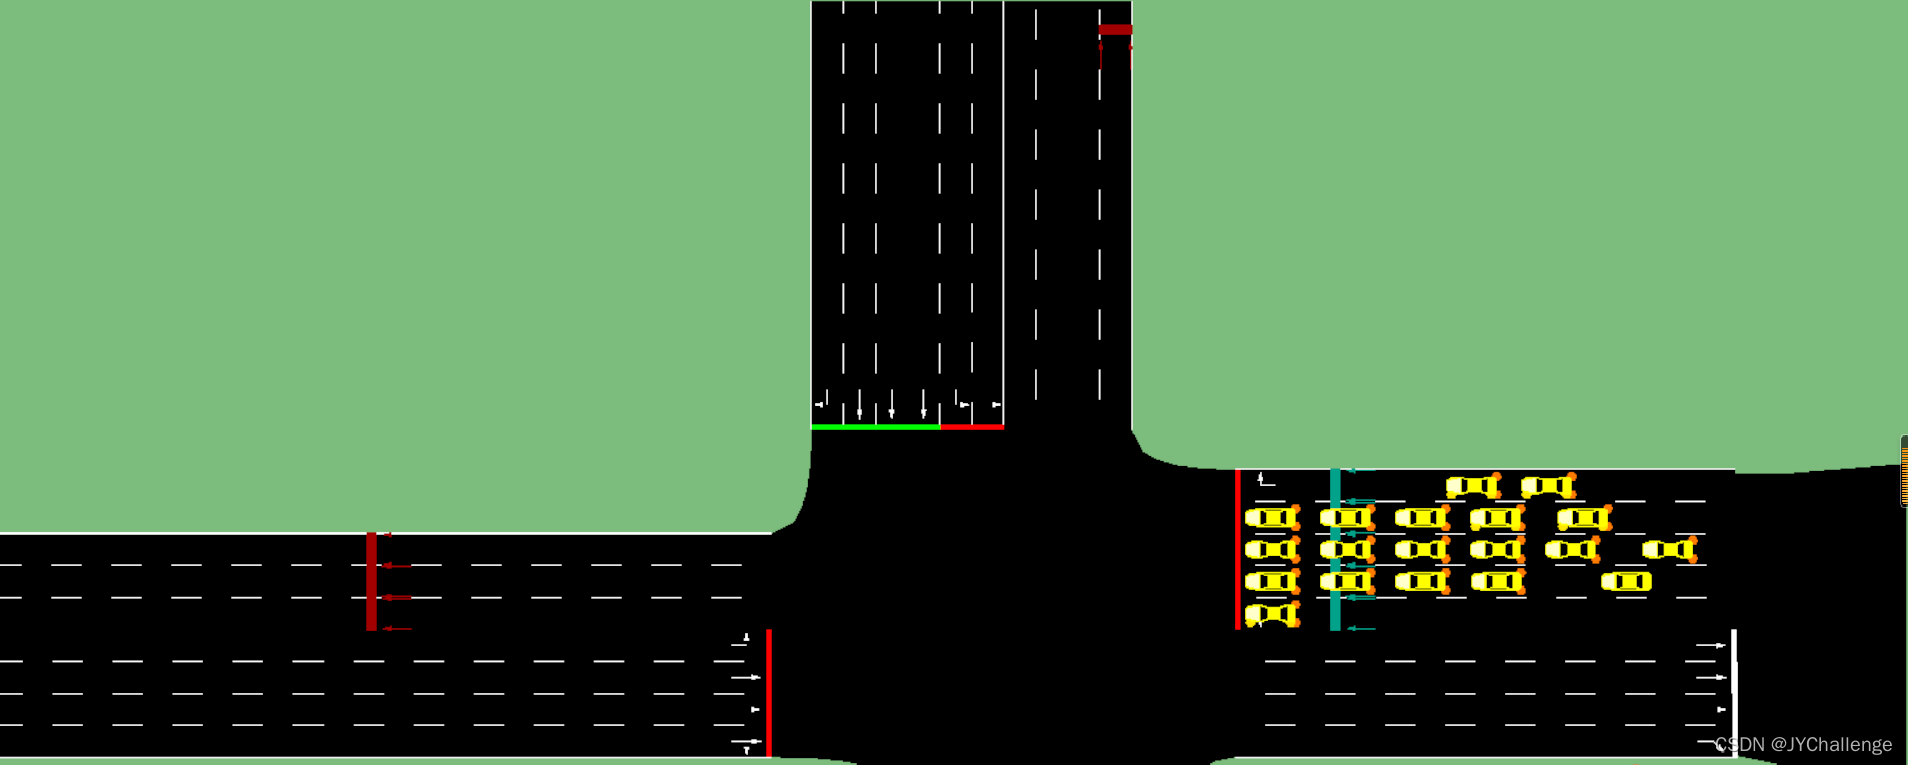
</additional>图中红色线和蓝色线表示的就是检测器(只设置了东进口的车流和检测器用于测试)。
3.输出数据分析
首先来看官网给出的检测数据示例:
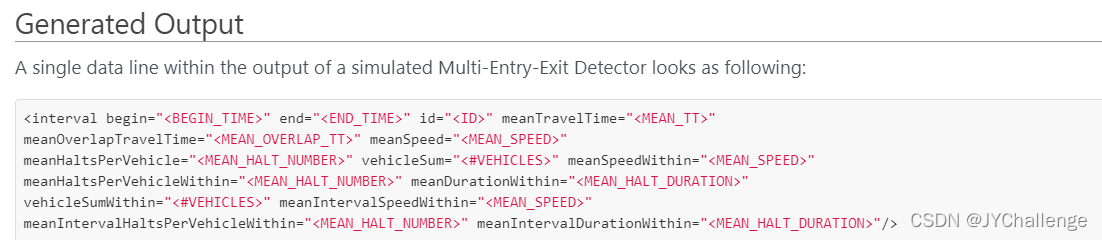
用pycharm打开之前创建的输出文件(.xml), 发现里面信息的格式是:每一行为每一秒检测到的各种输出数据,到30s时(之前设定的freq)就输出一行下面这样的信息。有时meanTravelTime、meanOverlapTravelTime的值为-1,猜测可能是因为这个间隔内由于红绿灯或其他原因而没有车辆通过检测区域。各项数据的含义可以参见官网。
<interval begin="240.00" end="270.00" id="ETW1" meanTravelTime="32.52" meanOverlapTravelTime="32.94" meanSpeed="9.07" meanHaltsPerVehicle="0.21" meanTimeLoss="25.45" vehicleSum="29" meanSpeedWithin="9.66" meanHaltsPerVehicleWithin="0.20" meanDurationWithin="23.99" vehicleSumWithin="10" meanIntervalSpeedWithin="9.64" meanIntervalHaltsPerVehicleWithin="0.00" meanIntervalDurationWithin="10.64" meanTimeLossWithin="6.34"/>


 3349
3349

 被折叠的 条评论
为什么被折叠?
被折叠的 条评论
为什么被折叠?
 到【灌水乐园】发言


