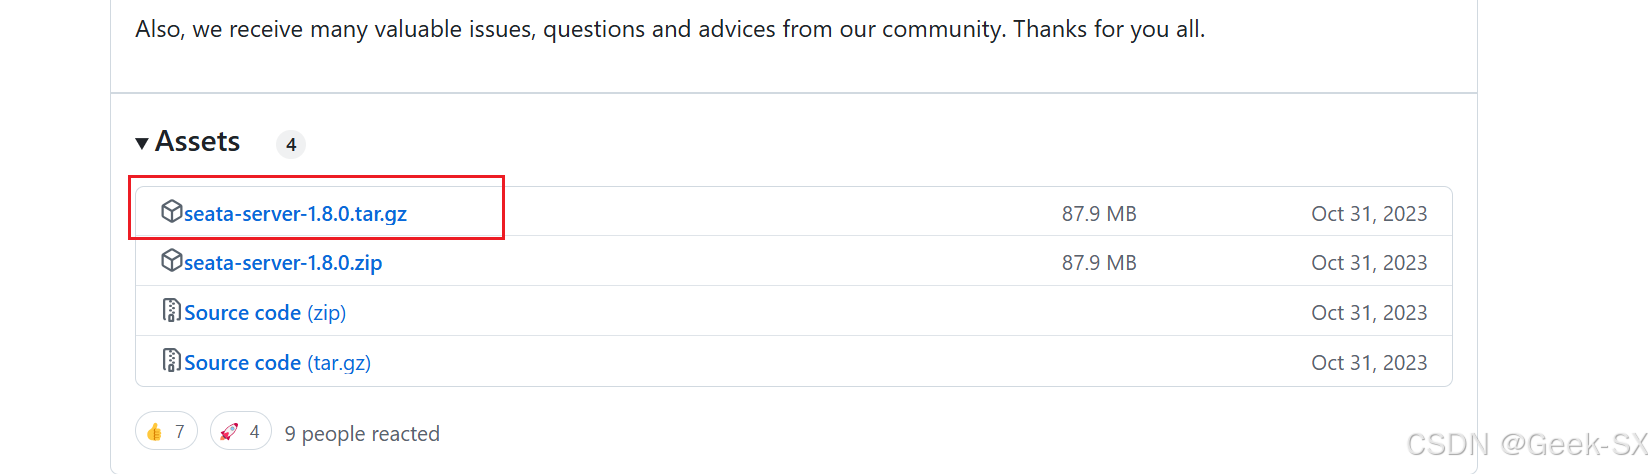
Seata1.8.0安装部署流程linux

1.下载安装包

下载地址 https://github.com/apache/incubator-seata/releases
在这里插入图片描述

2.上传安装包到服务器

将压缩包放到指定目录下 比如 /opt
解压 tar -zxvf seata-server-1.8.0.tar.gz

3.配置seata服务

进入到 seata/conf 目录
修改application.yml文件

vim application.yml

修改相关配置

#  Copyright 1999-2019 Seata.io Group.
#
#  Licensed under the Apache License, Version 2.0 (the "License");
#  you may not use this file except in compliance with the License.
#  You may obtain a copy of the License at
#
#  http://www.apache.org/licenses/LICENSE-2.0
#
#  Unless required by applicable law or agreed to in writing, software
#  distributed under the License is distributed on an "AS IS" BASIS,
#  WITHOUT WARRANTIES OR CONDITIONS OF ANY KIND, either express or implied.
#  See the License for the specific language governing permissions and
#  limitations under the License.

server:
  port: 7091

spring:
  application:
    name: seata-server

logging:
  config: classpath:logback-spring.xml
  file:
    path: /opt/seata/logs/seata
  extend:
    logstash-appender:
      destination: 127.0.0.1:4560
    kafka-appender:
      bootstrap-servers: 127.0.0.1:9092
      topic: logback_to_logstash

console:
  user:
    username: seata
    password: seata
seata:
  config:
    # support: nacos, consul, apollo, zk, etcd3
    type: file
    name: file.conf
  registry:
    # support: nacos, eureka, redis, zk, consul, etcd3, sofa
    type: eureka
    eureka: 
      serviceUrl: "http://127.0.0.1:8761/eureka"
      application: "seata-server"
      weight: "1"
  store:
    # support: file 、 db 、 redis
    mode: file
#  server:
#    service-port: 8091 #If not configured, the default is '${server.port} + 1000'
  security:
    secretKey: SeataSecretKey0c382ef121d778043159209298fd40bf3850a017
    tokenValidityInMilliseconds: 1800000
    ignore:
      urls: /,/**/*.css,/**/*.js,/**/*.html,/**/*.map,/**/*.svg,/**/*.png,/**/*.jpeg,/**/*.ico,/api/v1/auth/login

修改完成后 :wq保存

4.新建file.conf文件

同样在seata/conf 目录

touch file.conf

修改file.conf

vim file.conf
## transaction log store, only used in seata-server
store {
  ## store mode: file、db、redis
  mode = "db"

  ## file store property
  file {
    ## store location dir
    dir = "sessionStore"
    # branch session size , if exceeded first try compress lockkey, still exceeded throws exceptions
    maxBranchSessionSize = 16384
    # globe session size , if exceeded throws exceptions
    maxGlobalSessionSize = 512
    # file buffer size , if exceeded allocate new buffer
    fileWriteBufferCacheSize = 16384
    # when recover batch read size
    sessionReloadReadSize = 100
    # async, sync
    flushDiskMode = async
  }

  ## database store property
  db {
    ## the implement of javax.sql.DataSource, such as DruidDataSource(druid)/BasicDataSource(dbcp)/HikariDataSource(hikari) etc.
    datasource = "hikari"
    ## mysql/oracle/postgresql/h2/oceanbase etc.
    dbType = "mysql"
    driverClassName = "com.mysql.cj.jdbc.Driver"
    url = "jdbc:mysql://127.0.0.1:3306/seata?useSSL=true&useUnicode=true&characterEncoding=utf-8&zeroDateTimeBehavior=convertToNull&transformedBitIsBoolean=true&autoReconnect=true&failOverReadOnly=false&allowMultiQueries=true&serverTimezone=GMT%2B8"
    user = "root"
    password = "Hatech1618!@#"
    minConn = 5
    maxConn = 100
    globalTable = "global_table"
    branchTable = "branch_table"
    lockTable = "lock_table"
    queryLimit = 100
    maxWait = 5000
  }

  ## redis store property
  redis {
    host = "127.0.0.1"
    port = "6379"
    password = ""
    database = "0"
    minConn = 1
    maxConn = 10
    maxTotal = 100
    queryLimit = 100
  }

}

5.启动seata

进入seata/bin 目录
执行命令

nohup ./seata-server.sh -p 8091 -h (seata所在服务器的ip)  > seata.log 2>&1 &
### Seata 1.5.2 在 Linux 环境下的搭建与配置指南 Seata 是一个开源的分布式事务解决方案,支持高性能的分布式事务处理。以下是在 Linux 环境下搭建和配置 Seata 1.5.2 的详细步骤。 #### 1. 环境准备 在开始之前,确保系统中已安装以下组件: - **JDK 1.8 或更高版本**:Seata 依赖 Java 运行环境。 - **MySQL 5.7 或更高版本**:用于存储事务日志和全局事务信息。 - **Maven(可选)**:如果需要从源码构建 Seata,则需要安装 Maven。 #### 2. 下载 Seata 1.5.2 前往 [Seata GitHub Releases 页面](https://github.com/seata/seata/releases) 下载 `seata-server-1.5.2.zip`,或使用 `wget` 命令直接下载: ```bash wget https://github.com/seata/seata/releases/download/v1.5.2/seata-server-1.5.2.zip ``` 解压文件: ```bash unzip seata-server-1.5.2.zip ``` 进入解压后的目录: ```bash cd seata-server-1.5.2 ``` #### 3. 配置 Seata Server Seata 的配置文件位于 `conf` 目录下,主要包括 `application.yml` 和 `registry.conf`。 ##### 3.1 配置 `application.yml` 该文件用于配置 Seata Server 的核心参数,包括事务日志存储方式、数据库连接等。 ```yaml server: port: 7091 spring: application: name: seata-server cloud: alibaba: seata: data-id: seataServerFileStore group: DEFAULT_GROUP config: type: file seata: config: type: file registry: type: nacos nacos: application: seata-server server-addr: 127.0.0.1:8848 group: DEFAULT_GROUP namespace: cluster: default store: mode: db db: datasource: druid db-type: mysql driver-class-name: com.mysql.cj.jdbc.Driver url: jdbc:mysql://127.0.0.1:3306/seata user: root password: root min-conn: 5 max-conn: 30 global-table: global_table branch-table: branch_table lock-table: lock_table undo-log-table: undo_log timeout: 10000 ``` ##### 3.2 配置 `registry.conf` 该文件用于配置 Seata 的注册中心,通常使用 Nacos、Eureka、Redis 等。 ```conf registry { type = "nacos" nacos { application = "seata-server" server-addr = "127.0.0.1:8848" group = "DEFAULT_GROUP" namespace = "" cluster = "default" } } config { type = "file" file { name = "file.conf" } } ``` #### 4. 初始化数据库 使用 MySQL 作为事务日志存储时,需要创建相应的数据库和表。 ##### 4.1 创建数据库 ```sql CREATE DATABASE seata; USE seata; ``` ##### 4.2 创建事务日志表 Seata 提供了 SQL 脚本,位于 `script/server/db/mysql.sql`: ```sql -- global_table 用于存储全局事务 CREATE TABLE IF NOT EXISTS `global_table` ( `xid` VARCHAR(128) NOT NULL, `transaction_id` BIGINT, `status` TINYINT NOT NULL, `application_id` VARCHAR(32), `transaction_service_group` VARCHAR(32), `transaction_name` VARCHAR(128), `timeout` INT, `begin_time` BIGINT, `application_data` VARCHAR(2048), PRIMARY KEY (`xid`) ); -- branch_table 用于存储分支事务 CREATE TABLE IF NOT EXISTS `branch_table` ( `branch_id` BIGINT NOT NULL, `xid` VARCHAR(128) NOT NULL, `transaction_id` BIGINT, `resource_group_id` VARCHAR(32), `resource_id` VARCHAR(256), `lock_key` VARCHAR(128), `branch_type` VARCHAR(8), `status` TINYINT, `client_id` VARCHAR(64), `application_data` VARCHAR(2048), PRIMARY KEY (`branch_id`), KEY `idx_xid` (`xid`) ); -- lock_table 用于分布式锁 CREATE TABLE IF NOT EXISTS `lock_table` ( `row_key` VARCHAR(128) NOT NULL, `xid` VARCHAR(96), `transaction_id` BIGINT, `branch_id` BIGINT NOT NULL, `resource_id` VARCHAR(256), `table_name` VARCHAR(32), `pk` VARCHAR(36), `gmt_create` DATETIME, `gmt_modified` DATETIME, PRIMARY KEY (`row_key`) ); -- undo_log 用于回滚日志 CREATE TABLE IF NOT EXISTS `undo_log` ( `id` BIGINT(20) NOT NULL AUTO_INCREMENT, `branch_id` BIGINT(20) NOT NULL, `xid` VARCHAR(100) NOT NULL, `context` VARCHAR(200) NOT NULL, `rollback_info` LONGBLOB NOT NULL, `log_status` INT(11) NOT NULL, `log_created` DATETIME NOT NULL, `log_modified` DATETIME NOT NULL, PRIMARY KEY (`id`), UNIQUE KEY `ux_undo_log` (`xid`, `branch_id`) ); ``` #### 5. 启动 Seata Server 在 `bin` 目录下执行启动脚本: ```bash sh seata-server.sh -p 7091 -h 127.0.0.1 -m db ``` - `-p`:指定 Seata Server 的端口。 - `-h`:指定 Seata Server 的主机地址。 - `-m`:指定事务日志的存储模式(`file` 或 `db`)。 #### 6. 配置客户端 在应用端,需要引入 Seata 客户端依赖,并配置事务组和注册中心。 ##### 6.1 添加 Maven 依赖 ```xml <dependency> <groupId>io.seata</groupId> <artifactId>seata-spring-boot-starter</artifactId> <version>1.5.2</version> </dependency> ``` ##### 6.2 配置 `application.yml` ```yaml seata: enabled: true application-id: ${spring.application.name} transaction-service-group: my_test_tx_group registry: type: nacos nacos: server-addr: 127.0.0.1:8848 group: DEFAULT_GROUP namespace: cluster: default config: type: file ``` #### 7. 使用 Seata 进行分布式事务 在业务代码中,使用 `@GlobalTransactional` 注解来开启全局事务: ```java @Service public class OrderServiceImpl implements OrderService { @Autowired private OrderDao orderDao; @Autowired private AccountService accountService; @GlobalTransactional public void createOrder(Order order) { orderDao.save(order); accountService.deduct(order.getUserId(), order.getAmount()); } } ``` #### 8. 验证与测试 启动应用后,调用 `createOrder` 方法,观察数据库中的事务日志是否正常生成,并确保在发生异常时能够正确回滚。 --- ###
评论
成就一亿技术人!
拼手气红包6.0元
还能输入1000个字符
 
红包 添加红包
表情包 插入表情
 条评论被折叠 查看
添加红包

请填写红包祝福语或标题

红包个数最小为10个

红包金额最低5元

当前余额3.43前往充值 >
需支付:10.00
成就一亿技术人!
领取后你会自动成为博主和红包主的粉丝 规则
hope_wisdom
发出的红包
实付
使用余额支付
点击重新获取
扫码支付
钱包余额 0

抵扣说明:

1.余额是钱包充值的虚拟货币,按照1:1的比例进行支付金额的抵扣。
2.余额无法直接购买下载,可以购买VIP、付费专栏及课程。

余额充值