


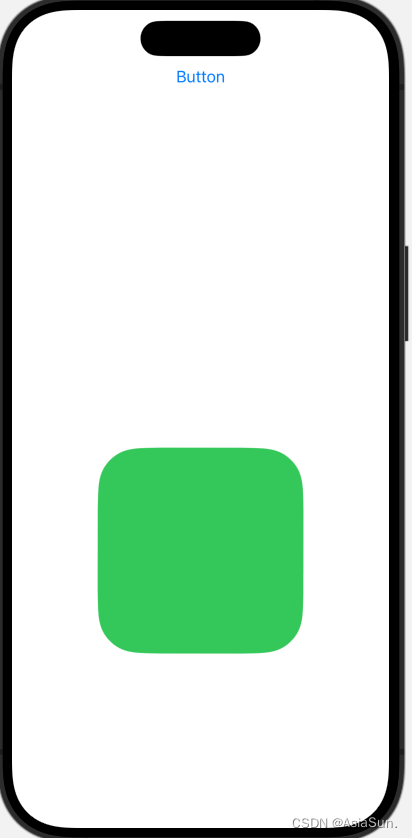
Animation
import SwiftUI

struct AnimationBootcamp: View {


    @State var isAnimation: Bool = false

    var body: some View {


        VStack{


            Button("Button"){


                withAnimation(
                    Animation
                        .default
                        //重复
                        //autoreverses: true:A-B-A-B
                        //false: A-B,A-B
                        .repeatForever(autoreverses: true)){


                    isAnimation.toggle()
                }

            }

            Spacer()

            Rectangle()
                .fill(isAnimation ? .green : .red)
                .cornerRadius(isAnimation ? 10 : 50)
                .frame(
                    width: isAnimation ? 300 : 100,
                    height: isAnimation ? 300 : 100)
                //移动距离
                .offset(y: isAnimation ? 200 : 0)
                //转动角度
                .rotationEffect(Angle(degrees: isAnimation ? 360 : 0))


            Spacer()
        }


    }
}

#Preview {


    AnimationBootcamp()
}
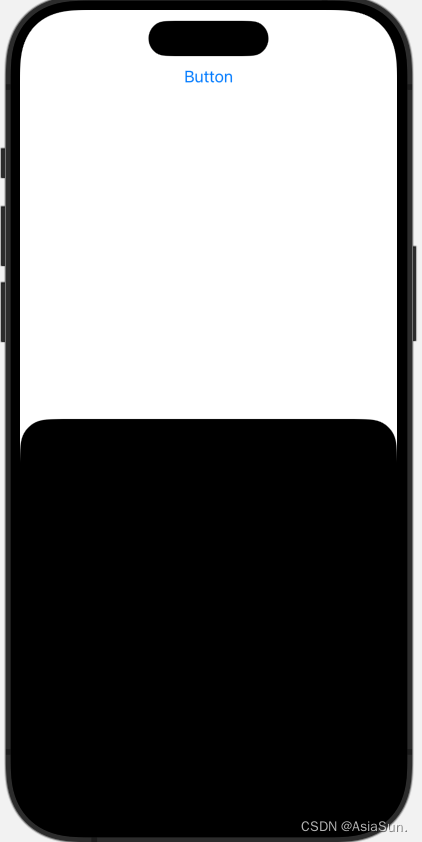
Transition
import SwiftUI

struct TransitionBootcamp: View {


    @State var isShowView: Bool = true

    var body: some View {


        ZStack(alignment: .bottom) {


            VStack {


                Button("Button") {


                    //等价于:isShowView = !isShowView
                    isShowView.toggle()
                }
                Spacer()
            }

            if isShowView {


                RoundedRectangle(cornerRadius: 30)
                    .frame(height: UIScreen.main.bounds.height * 0.5)
                    //从什么地方进,从什么地方出
                    .transition(.asymmetric(
                        insertion: .move(edge: .leading),
                        removal: .move(edge: .bottom)))
                    ///动画:慢进慢出
                    .animation(.easeInOut)
            }
        }

        ///忽略底部的间隙
        .edgesIgnoringSafeArea(.bottom)
    }
}

#Preview {


    TransitionBootcamp()
}
Sheets
import SwiftUI

struct SheetsBootcamp: View {


    @State var isPresented: Bool = false

    var body: some View {


        ZStack {


            ///绿色背景
            Color.green
                .edgesIgnoringSafeArea(.all)//全部填充满

            Button(action: {


                isPresented.toggle()
            }, label: {


                Text("pop另外一个view")
                    .foregroundColor(.green)
                    .font(.headline)
                    .padding(20)
                    .background(Color.white.cornerRadius(5.0))
            })

            ///pop出下一个view
            .sheet(isPresented: $isPresented, content: {


                NextSheetsBootcamp()
            })

            ///全屏出现
            .fullScreenCover(isPresented: $isPresented, content: {


                NextSheetsBootcamp()
            })

            ///方法二:Transition
            ZStack{


                if isPresented {


                    NextSheetsBootcamp(isPresented: $isPresented)
                        .padding(.top, 100)
                        .transition(.move(edge: .bottom))
                        .animation(.spring)
                }
            }
            //设置了视图的堆叠顺序(不加这个,也有动画效果)
            .zIndex(2)

            ///方法三:Animation
            NextSheetsBootcamp(isPresented: $isPresented)
                .padding(.top, 100)
                .offset(y: isPresented ? 0 : UIScreen.main.bounds.height)
                .animation(.spring)
        }
    }
}

///出现的新View
struct NextSheetsBootcamp: View {


    ///固定写法
    @Environment(\.presentationMode) var presentationMode

    var body: some View {


        ///关闭按钮在左上角
        ZStack(alignment: .topLeading) {


            Color.red
                .edgesIgnoringSafeArea(.all)

            Button(action: {


                ///点击按钮,关闭popView
                presentationMode.wrappedValue.dismiss()

                ///方法二、三的关闭
                isPresented.toggle()
            }, label: {


                Image(systemName: "xmark")
                    .foregroundColor(.white)
                    .font(.largeTitle)
 最低0.47元/天 解锁文章


 1214
1214

 被折叠的 条评论
为什么被折叠?
被折叠的 条评论
为什么被折叠?
 到【灌水乐园】发言


