


 本文详细介绍如何在Linux环境下通过在线下载及本地安装的方式部署MySQL数据库,包括安装过程、启动配置、密码设置、远程授权等关键步骤。
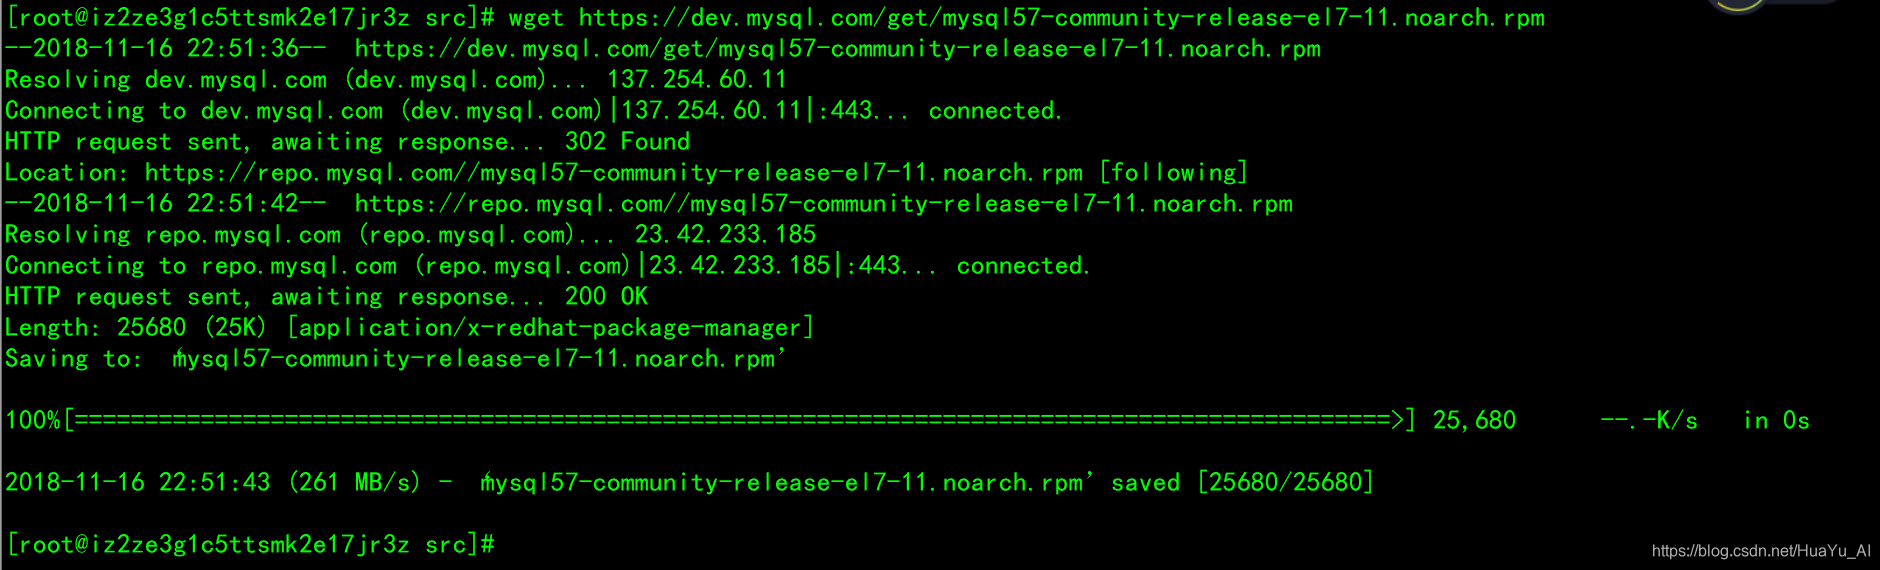
- 进入自己想要下载安装的目录。
- 在线下载安装:wget https://dev.mysql.com/get/mysql57-community-release-el7-11.noarch.rpm
- 安装源文件:yum localinstall -y mysql57-community-release-el7-11.noarch.rpm

- 安装服务:yum install -y mysql-community-server

启动mysql方式一引导启动
启动mysql:systemctl start mysqld
根据引导配置:mysql_secure_installation
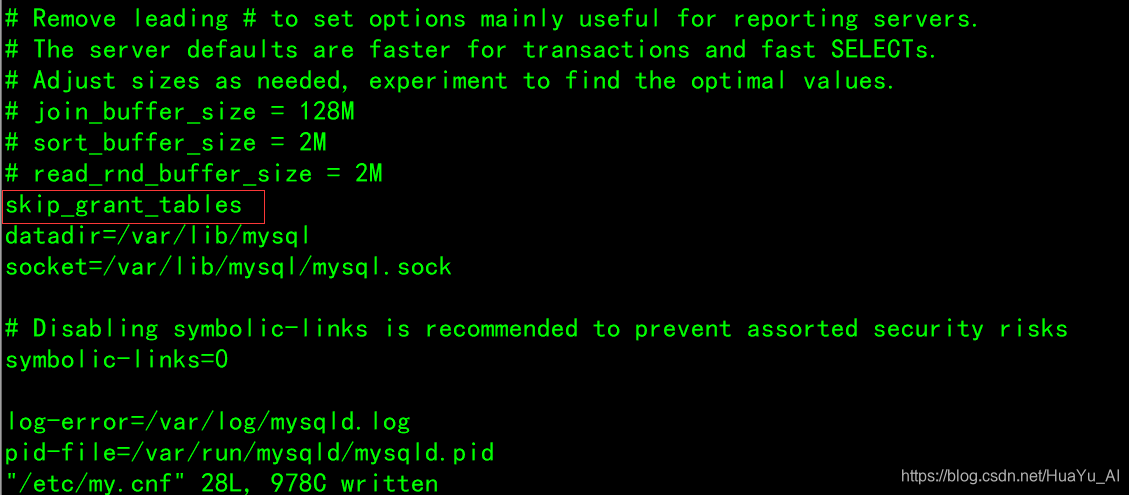
启动mysql方式二修改配置启动
- 修改配置文件设置无需校验即可进入:vim /etc/my.cnf 添加指令:skip_grant_tables 保存并退出
- 启动mysql:systemctl start mysqld
- 关闭防火墙:systemctl stop firewalld.service

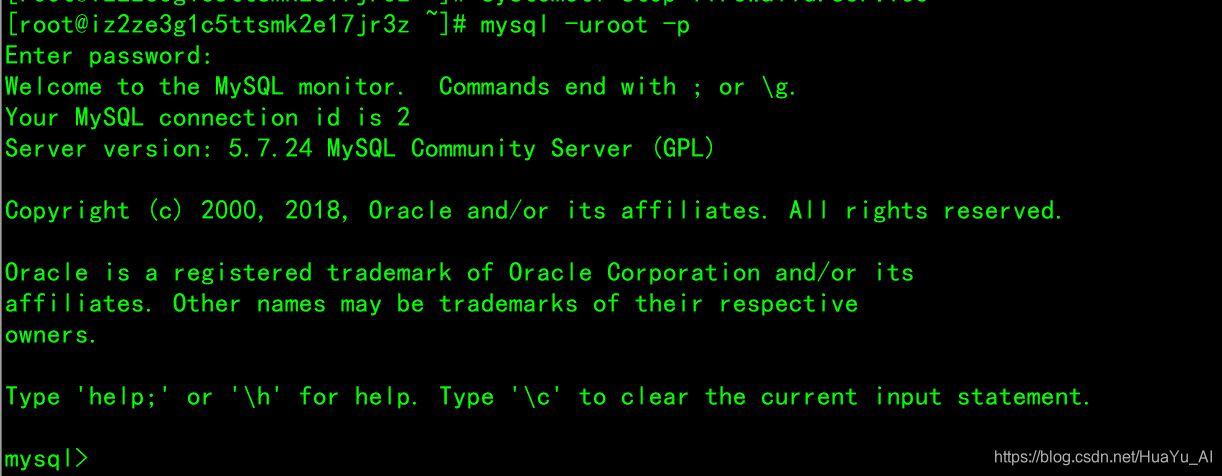
- 此时可以使用终端登陆也可以直接登录:mysql -uroot -p
- 设置密码:
-
切换数据库:use mysql;
-
登陆数据库执行指令:update user set authentication_string=password("123456") where user="root";(123456位置使用用户自定义密码)
-
开启授权:去除 /etc/my.cnf 中指令:skip_grant_tables
-
- 重启mysql:systemctl restart mysqld;
- 给远程IP授权:use mysql;grant all privileges on *.* to 'root'@'%' identified by '123456' with grant option;flush privileges;(123456为对应密码可自行设置,可能有密码强度验证,关闭指令:set global validate_password_length=6;set global validate_password_policy=LOW;)


 7万+
7万+

 被折叠的 条评论
为什么被折叠?
被折叠的 条评论
为什么被折叠?
 到【灌水乐园】发言


