


前言
新机装机一站式博客,因为每次换机都要重新装一遍,到处百度很麻烦,索性集合在一起
一、WINDOWS安装环境
JDK
下载
需要有oracle账号 登录目前需要外网
安装
下载解压包后安装即可,注意配置环境变量


检测

IDEA

Activation
lanyu
GIT
下载
检测

Maven
下载
选择压缩包即可
Downloading Apache Maven apache-maven-3.9.7-bin.zip
阿里云镜像
修改setting文件 apache-maven-3.9.9\conf\
<mirror>
   <id>alimaven</id>
   <mirrorOf>central</mirrorOf>
   <name>aliyun maven</name>
   <url>http://maven.aliyun.com/nexus/content/repositories/central/</url>
</mirror>
本地仓库
自定义个文件目录
<localRepository>C:\software\repository</localRepository>
环境


VsCode
NodeJS
下载
https://nodejs.org/en/download/
历史版本
https://nodejs.org/en/download/releases/
环境


检测

镜像
自带镜像很慢 建议使用淘宝镜像
官网 https://git-scm.com/download/win
淘宝 https://npm.taobao.org/mirrors/git-for-windows/
设置命令
npm config set registry https://registry.npm.taobao.org
先执行npm install 再npm run dev
二、LINUX
前言
先行校验
#检查虚拟机版本
[root@localhost nginx]# cat /etc/centos-release
CentOS Linux release 7.9.2009 (Core)
[root@localhost nginx]#
#查看内核版本 64就装64
[root@localhost nginx]# uname -r
3.10.0-1160.el7.x86_64
[root@localhost nginx]#
# 查看java 安装目录
[root@localhost nginx]# which java
[root@localhost nginx]#
#卸载所有java
 yum -y remove *java*
#检查本地是否安装
 rpm -qa | grep java
1.JDK
用XFTP放到你想安装的目录 建议/etc/jdk1.8
JDK下载 https://www.oracle.com/java/technologies/downloads/#java8

安装解压JDK
#解压
tar -xzf jdk-8u411-linux-x64.tar.gz
#查看解压
[root@localhost /]# ls etc/jdk1.8/
jdk1.8.0_411  jdk-8u411-linux-x64.tar.gz
#配置环境变量/etc/profile
vi /etc/profile
# 新增两行 注意不要有空格
export JAVA_HOME=/etc/jdk1.8/jdk/jdk1.8.0_411
export PATH=$PATH:$JAVA_HOME/bin:$JAVA_HOME/jre/bin
# vi 编辑;ESC按键+ :wq 保存退出 + q! 不保存退出
# 退出后可以重新 vi /etc/profile 查看是否有问题
# 重新加载配置文件
[root@localhost /]# source /etc/profile
[root@localhost /]#
# 检测是否全局可适用
[root@localhost /]# java -version
java version "1.8.0_411"
Java(TM) SE Runtime Environment (build 1.8.0_411-b09)
Java HotSpot(TM) 64-Bit Server VM (build 25.411-b09, mixed mode)
[root@localhost /]#
# 编写测试文件验证
[root@localhost /]# cat /etc/test.java
public class test{
       public static void  main (String[] args) {
                      System.out.println("helloWorld");
    }
}
[root@localhost /]#
# 编译测试
[root@localhost /]# cd etc
[root@localhost etc]# javac test.java
[root@localhost etc]# java test
helloWorld
[root@localhost etc]#
# 结束
2.Nginx
下载 https://nginx.org/en/download.html
#安装nginx所需要的依赖包 也可离线解压安装
yum install -y gcc-c++	zlib zlib-devel	openssl openssl-devel pcre pcre-devel
# 安装不了换个阿里云镜像再次安装 能安装不需要执行这一步
[root@localhost yum.repos.d]# curl -o /etc/yum.repos.d/CentOS-Base.repo http://mirrors.aliyun.com/repo/Centos-7.repo^C
[root@localhost yum.repos.d]#
#解压
[root@localhost etc]# cd nginx
[root@localhost nginx]# tar -zxvf nginx-1.26.1.tar.gz
#执行配置脚本 --prefix是指定安装目录
./configure --prefix=/etc/nginx
#如果执行失败 XXX not found则执行 安装时间有点久 安装后再次执行上边命令
yum -y install gcc gcc-c++ autoconf automake make
#对nginx编译和安装
make & make install

#启动脚本是在
# /etc/nginx/sbin/nginx
#启动
/etc/nginx/sbin/nginx -c /etc/nginx/conf/nginx.conf
#停止
/etc/nginx/sbin/nginx -s stop
#重载
/etc/nginx/sbin/nginx -s reload
#杀掉nginx
/etc/nginx/sbin/nginx -s quit

#启动
[root@localhost nginx-1.26.1]# /etc/nginx/sbin/nginx -c /etc/nginx/conf/nginx.conf
#检查是否启动
[root@localhost nginx-1.26.1]# ps -ef | grep nginx
root     27771     1  0 16:24 ?        00:00:00 nginx: master process /etc/nginx/sbin/nginx -c /etc/nginx/conf/nginx.conf
nobody   27772 27771  0 16:24 ?        00:00:00 nginx: worker process
root     27775 23814  0 16:24 pts/1    00:00:00 grep --color=auto nginx
[root@localhost nginx-1.26.1]#
访问nginx
默认端口80
端口号+80
访问不到可能是防火墙原因

#查看防火墙列表
[root@localhost nginx-1.26.1]# firewall-cmd --list-all
public (active)
  target: default
  icmp-block-inversion: no
  interfaces: ens192
  sources:
  services: dhcpv6-client ssh
  ports:
  protocols:
  masquerade: no
  forward-ports:
  source-ports:
  icmp-blocks:
  rich rules:

[root@localhost nginx-1.26.1]#
# 新增防火墙策略
[root@localhost nginx-1.26.1]# firewall-cmd --add-port=80/tcp --permanent
success
[root@localhost nginx-1.26.1]#
#重新加载配置
[root@localhost nginx-1.26.1]# firewall-cmd --reload
success
[root@localhost nginx-1.26.1]#
再次访问

# 设置为开机自启动
vim /etc/rc.local
# 追加 按i编辑 esc+:wq 保存退出
/usr/local/nginx/sbin/nginx
3.NodeJs
下载
官网 https://nodejs.org/en/download/package-manager
安装包下载 高版本的node需要3.9左右的pyton编译 建议低一些
https://nodejs.org/dist/v20.14.0/node-v20.14.0.tar.gz
https://nodejs.org/dist/v18.20.3/node-v18.20.3.tar.gz

安装
#解压
[root@localhost NodeJs]# tar -zxvf node-v20.14.0.tar.gz
#初始化
[root@localhost node-v20.14.0]# ./configure
Node.js configure: Found Python 2.7.5...
Please use python3.12 or python3.11 or python3.10 or python3.9 or python3.8 or python3.7 or python3.6.
[root@localhost node-v20.14.0]#
#编译node需要Python3.0+版本 出现这个是本地Python没有或者版本太低 我的是2.7.5 安装一个
# 下载一个压缩包 https://www.python.org/ftp/python/3.9.9/Python-3.9.9.tgz  版本自定义
# 安装一个目录 解压
tar -zxvf Python-3.9.9.tgz
#下载依赖
yum -y install zlib-devel bzip2-devel openssl-devel ncurses-devel sqlite-devel readline-devel tk-devel gcc make gdbm-devel db4-devel libpcap-devel xz-devel libffi-devel
#进入解压目录安装
./configure --prefix=/root/training/Python-3.9.9
# 编译
make
# 安装
make install
# 软连接 pip和python 都软连接
ln -s /root/training/Python-3.9.9 /usr/local/bin/python3
ln -s /usr/local/python3/bin/pip3.9 /usr/local/bin/pip3
# 配置环境变量 i进入编辑 ESC+:wq 保存退出 +:q! 不保存退出
vi ~/.bash_profile
#配置python追加
export PYTHON_HOME=/root/training/Python-3.9.9
export PATH=$PYTHON_HOME/bin:$PATH
#适用配置
source ~/.bash_profile
#查看是否全局作用
[root@localhost node-v20.14.0]# echo $PYTHON_HOME
/root/training/Python-3.6.5
# 查看Python版本
[root@localhost node-v20.14.0]# echo $PYTHON_HOME
/root/training/Python-3.6.5
[root@localhost node-v20.14.0]#
# 再次初始化配置 发现不成功 原因是由于gcc 版本太低
[root@localhost node-v20.14.0]# ./configure
#查看GCC版本
[root@localhost node-v20.14.0]# gcc -v
使用内建 specs。
...
gcc 版本 4.8.5 20150623 (Red Hat 4.8.5-44) (GCC)
[root@localhost node-v20.14.0]#
# 更新安装gcc
sudo yum -y install centos-release-scl
sudo yum -y install devtoolset-8-gcc*
scl enable devtoolset-8 bash
# 再次查看gcc版本
[root@localhost node-v20.14.0]# gcc -v
...
gcc version 8.3.1 20190311 (Red Hat 8.3.1-3) (GCC)
[root@localhost node-v20.14.0]#
# 再次初始化编译
[root@localhost node-v20.14.0]# ./configure
Node.js configure: Found Python 3.9.9...
INFO: configure completed successfully
[root@localhost node-v20.14.0]#
#编译
make
#安装
make install
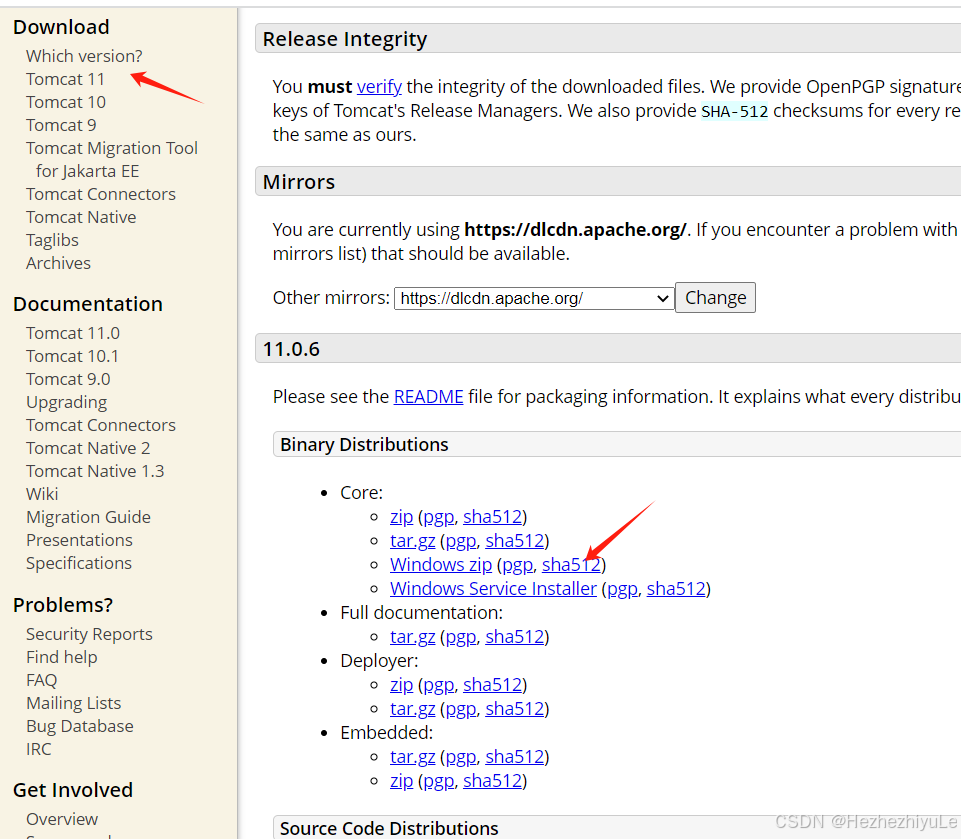
Tomcat
解压到指定目录即可
https://tomcat.apache.org/


 被折叠的 条评论
为什么被折叠?
被折叠的 条评论
为什么被折叠?
 到【灌水乐园】发言


