


 本文介绍如何通过编辑sshd_config,将UseDNS设置为no来加速SSH连接过程,重点在于解决SSH2_MSG_SERVICE_ACCEPT长时间等待问题。步骤包括修改配置、重启服务和验证改进效果。
当我们使用ssh连接我们的服务器时,总是要等待很长时间,当我们执行ssh -v 时可以看到,在运行 SSH2_MSG_SERVICE_ACCEPT 需要很长时间,下面我们可以将sshd_config文件中的UseDNS修改为no即可解决。
下面是具体的操作方法
- 第一步:
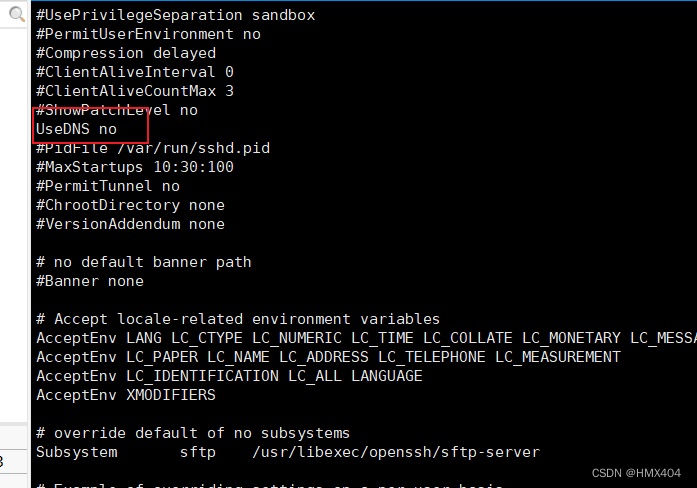
vi /etc/sshd_config
找到下面的配置文件,删除前面的注释符号“#”,划分Yes修改为no
- 重启openssh
再次连接远程服务器,这次应该很快,不会挂在SSH2_MSG_SERVICE_ACCEPTED。
service sshd restart
再次连接,体会秒级响应
ssh -v ramesh@remote-host


 2383
2383

 被折叠的 条评论
为什么被折叠?
被折叠的 条评论
为什么被折叠?
 到【灌水乐园】发言


